

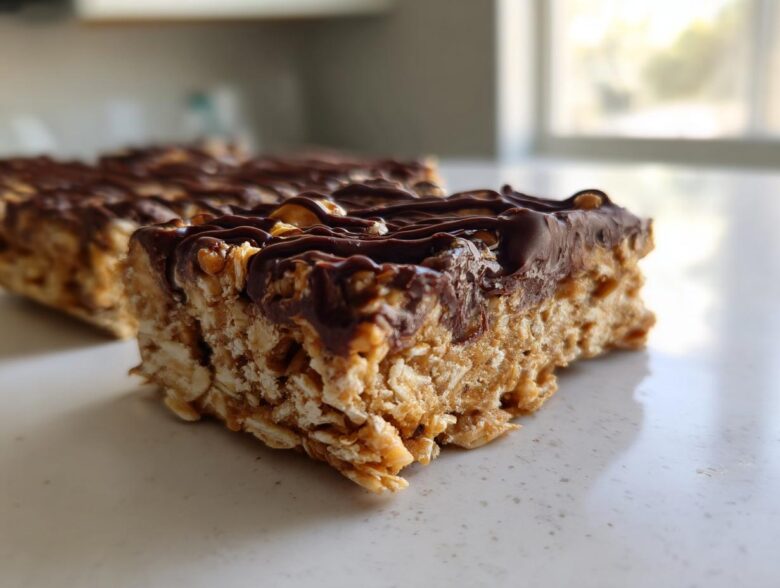
Are you tired of those chalky, weirdly textured store-bought protein bars that promise the world but deliver a sugar crash? I know I was! When Alex and I first got back from living overseas, everything felt so fast-paced, and I needed snacks that were genuinely good—not just ‘good for you.’ That led me straight back to basics, creating these Easy No-Bake 5-Ingredient Peanut Butter Protein Bars. Seriously, they are the definition of simple, requiring almost no effort, and I promise, they taste better than anything you grab off the shelf. If you need genuinely quick, high-protein fuel that doesn’t involve turning on the oven, you’ve found your new best friend.
Why You Will Love These Easy No-Bake Protein Bars
Honestly, these are some of the best easy protein bar recipes out there because they truly simplify snacking. Forget complicated steps; we’re aiming for delicious fuel with zero fuss. You’re going to thank me later when you realize how much time they save! Here’s the rundown on why this recipe makes my weekly rotation:
- Five Ingredients, Maximum Flavor: Seriously, just five core ingredients! It’s the ultimate simple homemade snack.
- Speedy Prep Time: You mix this up in about ten minutes flat. No oven required means no waiting around!
- Best Tasting Protein Bars Around: The peanut butter and honey combo is just irresistible. They are chewy, rich, and totally satisfying.
- Perfect Meal Prep Bars: Whip up a batch on Sunday, and you’ve got your grab-and-go energy handled for the week.
Gathering Ingredients for Your Peanut Butter Protein Bars
When you’re aiming for these easy protein bar recipes to be great protein bars, the quality of your ingredients really matters, even with just five things on the list! As an engineer, Alex likes precision, and I follow that lead here, especially with texture. We want these to be chewy, not crumbly, and the right ingredients are key to that success. If you’re looking for inspiration on ingredient pairings, check out some ideas over at this post!
Essential Components for Chewy Protein Bars
Here’s the short list of what you need to gather from your pantry:
- One full cup of rolled oats. Don’t grab the instant stuff; we need the structure the rolled oats give us for those chewy protein bars.
- Half a cup of natural peanut butter—the kind that’s just peanuts and salt is perfect for this.
- Half a cup of your preferred protein powder. I usually go with vanilla, but unflavored really lets the peanut butter shine through.
- A quarter cup of honey or maple syrup for that necessary binding sweetness.
- And finally, just a quarter cup of dark chocolate chips for a little drizzle on top. They make these simple homemade snacks feel super fancy!
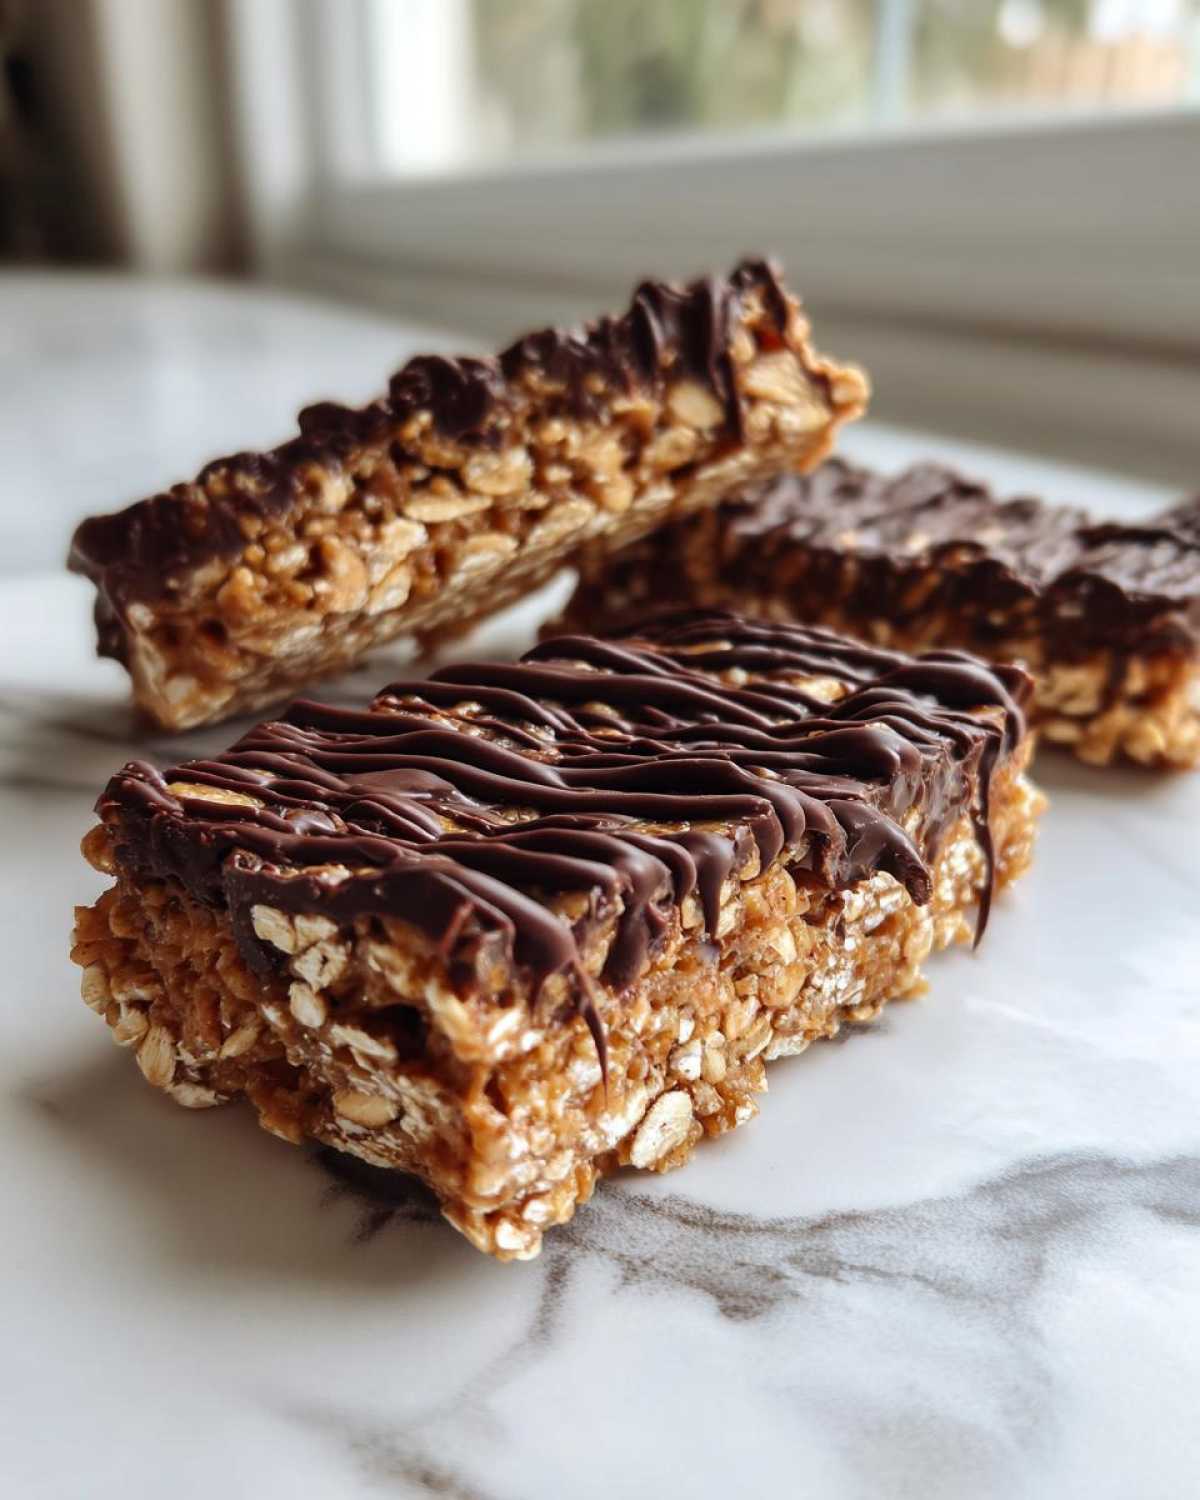
Ingredient Notes and Simple Substitutions
Getting the texture right often comes down to your powder choice. Whey protein tends to absorb liquid differently than plant-based versions, so if you’re going vegan—which is easy to do here by swapping honey for maple syrup—you might need an extra teaspoon of water or milk just to get it to stick together perfectly. Trust me, adjusting that moisture level slightly ensures you get those amazing, satisfying bars instead of a dry mess. Because we aren’t baking, every component has to pull its weight to keep everything firm!
Step-by-Step Instructions for No Bake Protein Bars
Okay, ready for the best part? Since these are no bake protein bars, the process is practically foolproof, but attention to detail is what keeps them from turning into protein bar dust when you cut them. This is where we build the structure for your best tasting protein bars yet! For more quick recipes that keep cooking time low, you can always check out great ideas over at this great site.
Preparation and Mixing Your High Protein Recipes Base
First things first, grab an 8×8 pan and line it with parchment paper, making sure you leave some overhang on the sides—that’s your built-in handle for lifting these out later. Now, in a bowl, mix your dry stuff: oats and protein powder. Then, dump in the peanut butter and the honey. Use a sturdy spoon at first, but honestly, just use your clean hands to really work everything together until it forms one thick, uniform dough. You have to press this mixture down *firmly* into that prepared pan. Pack it, press it, treat it like you’re setting concrete! That firmness stops those chewy protein bars from crumbling later.
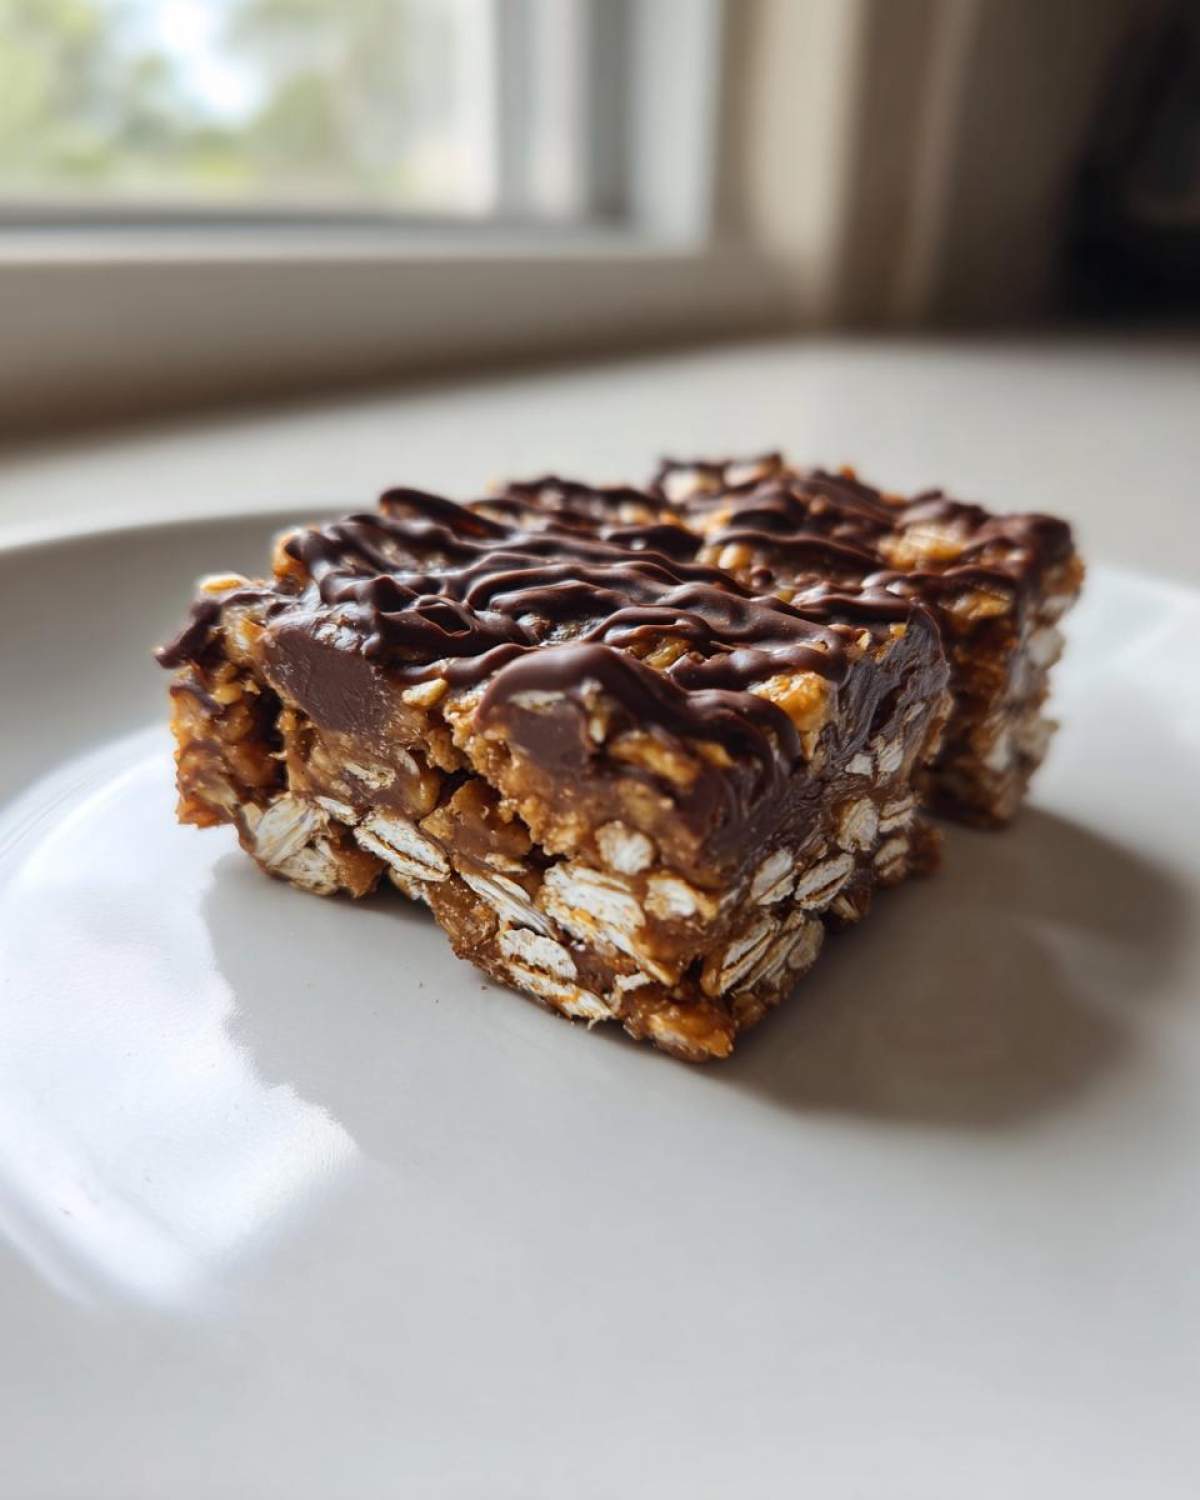
Adding the Chocolate Drizzle and Chilling These Protein Bars
Once your base is packed tighter than a suitcase you’re trying to take on a plane, it’s time for the chocolate! Melt your chips slowly in the microwave—use 30-second bursts and stir in between, because chocolate burns faster than I can eat one of these bars. Drizzle that glorious melted goodness right over the top. Now comes the hardest part for me: patience! You must get these into the refrigerator and let them chill for at least two hours until they are totally firm. Longer is even better! Once they pass the firmness test, use those parchment overhangs to lift the slab out and slice them into ten perfect squares.
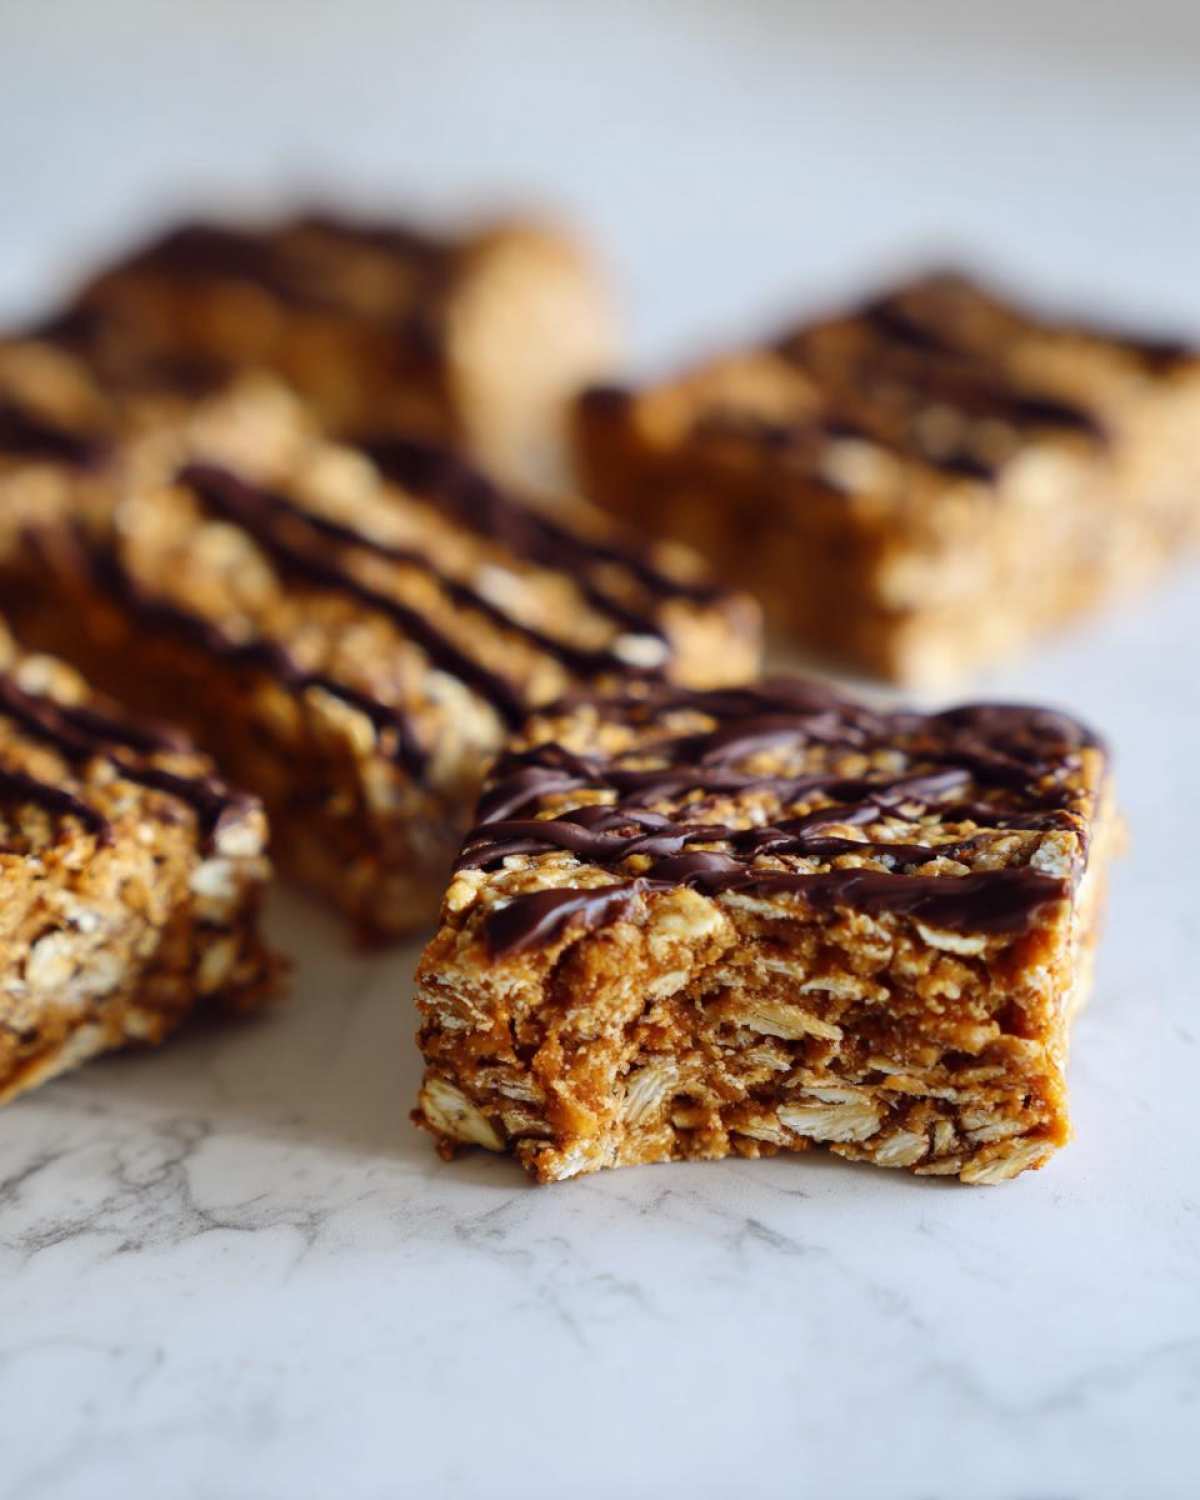
Tips for Perfect Homemade Protein Bars Every Time
Even though this recipe feels super easy—and it is!—there are just a few little tricks that take your protein bars for beginners from good to truly amazing. Trust me on these; they are the things I learned the hard way after ending up with either a sticky mess or a tray of sad crumbles. If you want the absolute best, chewiest bars, keep these tips handy. For more detailed guides on getting those homemade protein bars just right, you should definitely take a look at this guide on homemade protein bars.
First, let’s talk temperature. Make sure your peanut butter isn’t rock hard straight out of the fridge. If it’s too cold, it won’t properly incorporate with the honey. It doesn’t need to be warm, but letting it sit on the counter for ten minutes makes mixing so much easier. You’ll save your wrist from unnecessary strain!
Second, the pressing phase is non-negotiable! When you finally dump the dough into the prepared pan, get in there with a spatula or the bottom of a measuring cup and press down with conviction. This compacting step is what prevents those frustrating air pockets that lead to crumbs when you finally slice them. You want density!
Finally, if you find your mixture is just too dry—and this sometimes happens depending on how absorbent your specific protein powder is—don’t panic! Before reaching for more sweetener, add liquid one teaspoon at a time. A splash of water, milk, or even plant-based milk works wonders to bring that dry mix back to a cohesive, sticky dough consistency. It’s all about adjusting, my friend!
Making Ahead Protein Snacks: Storage for Your Protein Bars
One of the main reasons I love this recipe is that they are absolutely fantastic when made ahead of time. These really shine as your go-to meal prep bars! Because they rely on chilling rather than traditional baking, they set up beautifully and stay fresh for days, which is such a lifesaver when the week gets busy. I feel like I have my healthy snack cabinet stocked for a whole week just by dedicating 15 minutes one afternoon.
You need to keep these little powerhouses cool to maintain that perfect, chewy texture. Forget about leaving them out on the counter, especially if your kitchen gets warm during the day. Moisture is not their friend on the counter, even with the chocolate drizzle sealing some of it in.
For best results, you absolutely must store your homemade protein bars in an airtight container. I usually use a glass container because they don’t seem to get that weird fridge smell. If you have one of those square containers with the snap lids, that’s gold!
The official guidance from the recipe card says they’ll last up to one week refrigerated, and honestly, they usually disappear long before day seven. They stay firmer and chewier when kept cool. If you want them even firmer—say for tossing into a gym bag—you can absolutely put them in the freezer! If frozen, just let them sit on the counter for about 10 minutes before you want to dig in. It’s the easiest way to always have quick protein treats ready when you need them. For more ways to keep your prep game strong, check out this guide on making simple no-bake options.
Variations for Your Simple Homemade Snacks Protein Bars
Just because we nailed the perfect base for these protein bars doesn’t mean we stop there! That’s the beauty of a simple recipe like this—it’s a wonderful canvas for switching things up when you get tired of peanut butter (which, let’s be honest, takes a while!). I love having a few subtle variations ready to go so that I never get bored of my simple homemade snacks. Always remember to check out flavor inspirations like those compiled here when you’re ready to experiment a little!
The easiest way to change the whole vibe of the bar is right there in the nut butter slot. If peanut butter isn’t hitting the spot one week, swapping it out is a breeze. Try using almond butter for a slightly toastier, richer flavor. Cashew butter also works incredibly well, making the bars feel a little more decadent, though you might need an extra teaspoon of honey since cashew butter tends to be a bit drier than PB.
If you really want to shift the flavor profile of these quick protein treats, think about extracts! Vanilla is standard, but a tiny drop—and I mean tiny, maybe a quarter teaspoon—of peppermint extract transforms this into a holiday treat, especially when paired with dark chocolate. Oh, or how about adding a splash of almond extract? It pairs beautifully with the oats and makes everything taste brighter.
Finally, don’t forget the protein powder itself! If you’ve been using vanilla, switch to chocolate protein powder. If you do that, you may want to skip the chocolate drizzle on top to prevent flavor overload, or swap the honey for something less sweet, like unsweetened applesauce if your powder is already sweetened. See? So many ways to keep your homemade protein bars exciting without adding complexity to the process!
Serving Suggestions for These Quick Protein Treats
Honestly, these peanut butter protein bars are so versatile they fit into just about any part of my day when I need a little something sweet or powerful to keep me going. Since they are ridiculously easy and require zero baking, I keep them stocked and ready for anything. Don’t let the simplicity fool you; these are genuine fuel!
My favorite time to grab one is right alongside my afternoon coffee. It’s that perfect salty-sweet combination that really hits the spot around 3 PM when the energy dip hits hard. They feel indulgent enough to qualify as a little dessert replacement but they have the protein punch I need to power through the rest of the workday. For more easy snack ideas that fit into a busy schedule, I always look at what Jen and I cooked up over at Kitchen Meal Plan.
Of course, these are custom-made for fitness fuel, too. They are excellent pre-workout fuel if you need a little sustained energy right before you head to the gym. They aren’t heavy, and the oats give you a nice slow release of energy. They also work great post-workout, especially if you used a whey protein powder, helping shuttle those nutrients where they need to go without leaving you feeling weighed down.
And finally, don’t hesitate to treat them like a healthy dessert! If you’re craving something rich right after dinner but don’t want a load of refined sugar, just grab one of these chilled bars. The coldness makes them feel extra sturdy and satisfying, almost like fudge. Seriously, enjoy them chilled straight from the fridge for the best experience!
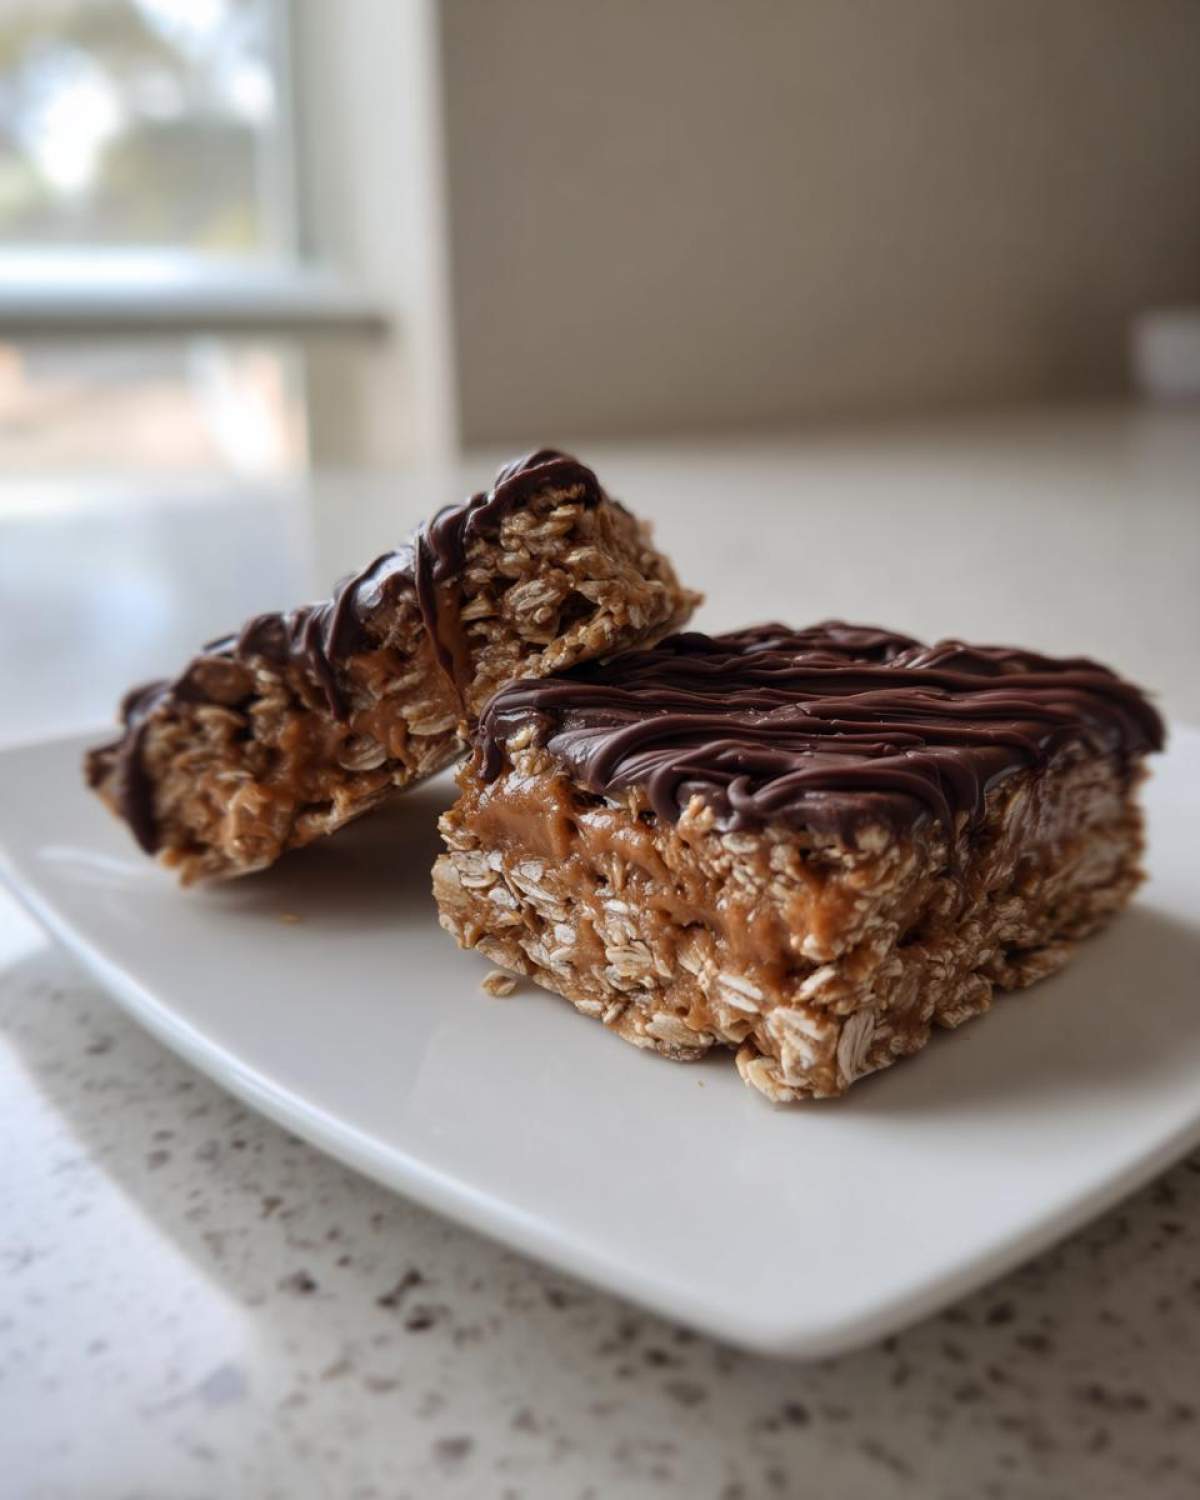
Frequently Asked Questions About Homemade Protein Bars
I know when you start making your own homemade protein bars, you’re going to have a few questions float up. That’s totally normal! We all want to make sure our high protein recipes turn out perfectly. Don’t sweat it; Alex and I have trial-and-errored everything so you don’t have to. For more troubleshooting tips on getting your protein bars just right, I always recommend looking at the advice over at Build Your Bite.
Can I bake these no bake protein bars?
That’s the funny thing about this recipe—the “no bake” part is key! Baking these would actually change the whole texture we’re aiming for. Baking causes the protein powder and oats to dry out much faster, and we really need that sticking power from the peanut butter and honey to hold everything together when it’s chilled. Stick to the chilling time for that perfect, chewy texture!
How do I make these diabetic-friendly protein bars?
This recipe uses honey or maple syrup, which does add sugar. If you are looking for low sugar protein bars or something more diabetic-friendly, you can certainly swap out the liquid sweetener. You’ll need to use a granulated zero-calorie sweetener that dissolves well, like monk fruit or erythritol, but be careful! These granulated sweeteners don’t bind like liquid honey does, so you might need to add a teaspoon or two of water or melted coconut oil to help bring the dry ingredients together into a cohesive dough.
What is the best protein powder for these protein bars?
This is a great question because different powders act very differently! Most people use standard whey protein isolate or concentrate, and that works beautifully. However, if you use a thick casein protein or a very specific plant-based blend, you might find the mixture too stiff. If you’re using a plant-based powder for vegan protein bars recipe purposes, be prepared that it might soak up more moisture than whey does. Just keep that extra teaspoon of water close by to adjust consistency if it looks too crumbly!
Estimated Nutritional Profile for These Protein Bars
Now, let’s talk numbers because even though these are amazing homemade protein bars, we want to know what we’re fueling our bodies with, right? Transparency is huge for us, especially since we rely on these quick protein treats all the time. Remember, these numbers are calculated based on the exact measurements I used in the main recipe above, so if you swap out that peanut butter for sunflower seed butter, things will change a little. Always treat these figures as a good starting point!
If you’re tracking macros, this recipe delivers a fantastic balance of protein and healthy fats that keeps you feeling full for hours. We always keep the original recipe card on hand, and you can find more guides on adjusting macros for your specific needs over at this resource.
Here is the estimated breakdown per one bar (based on 10 servings):
- Calories: 220
- Protein: 15g (That’s a great punch for a no-bake snack!)
- Fat: 12g (Mostly the good kind from the peanut butter)
- Total Carbohydrates: 20g
- Sugar: 8g
- Fiber: 3g
Because we use natural sweeteners like honey or maple syrup, the sugar content is way lower than those processed bars filled with artificial syrups. I always look at the fiber and protein ratio, and these pass with flying colors. Just remember, this calculation doesn’t include the chocolate drizzle, as that varies based on how generously you drizzle—though I rarely skimp!
PrintEasy No-Bake 5-Ingredient Peanut Butter Protein Bars
Make these simple, chewy, no-bake peanut butter protein bars using only five ingredients. They are perfect for quick meal prep and satisfy cravings better than store-bought options.
- Prep Time: 10 min
- Cook Time: 0 min
- Total Time: 2 hr 10 min
- Yield: 10 servings
- Category: Snack
- Method: No-Bake
- Cuisine: American
- Diet: Vegetarian
Ingredients
- 1 cup rolled oats
- 1/2 cup natural peanut butter
- 1/2 cup protein powder (vanilla or unflavored)
- 1/4 cup honey or maple syrup
- 1/4 cup dark chocolate chips (for topping)
Instructions
- Line an 8×8 inch baking pan with parchment paper, leaving an overhang on the sides for easy removal.
- In a medium bowl, combine the rolled oats, protein powder, and peanut butter.
- Add the honey or maple syrup to the mixture.
- Mix all ingredients thoroughly until a thick, uniform dough forms. You may need to use your hands to fully incorporate everything.
- Press the mixture evenly into the prepared pan. Pack it down firmly to prevent crumbling later.
- Melt the chocolate chips in a microwave-safe bowl in 30-second intervals, stirring until smooth.
- Drizzle the melted chocolate over the top of the bar mixture.
- Place the pan in the refrigerator and chill for at least 2 hours, or until the bars are firm.
- Use the parchment paper overhang to lift the bars out of the pan. Cut into 10 even bars.
- Store your homemade protein bars in an airtight container in the refrigerator for up to one week.
Notes
- For a vegan option, use maple syrup instead of honey and ensure your protein powder is plant-based.
- If the mixture seems too dry, add one teaspoon of water or milk at a time until it holds together.
- These are excellent for high protein recipes and meal prep bars.
Nutrition
- Serving Size: 1 bar
- Calories: 220
- Sugar: 8
- Sodium: 110
- Fat: 12
- Saturated Fat: 3
- Unsaturated Fat: 9
- Trans Fat: 0
- Carbohydrates: 20
- Fiber: 3
- Protein: 15
- Cholesterol: 0