

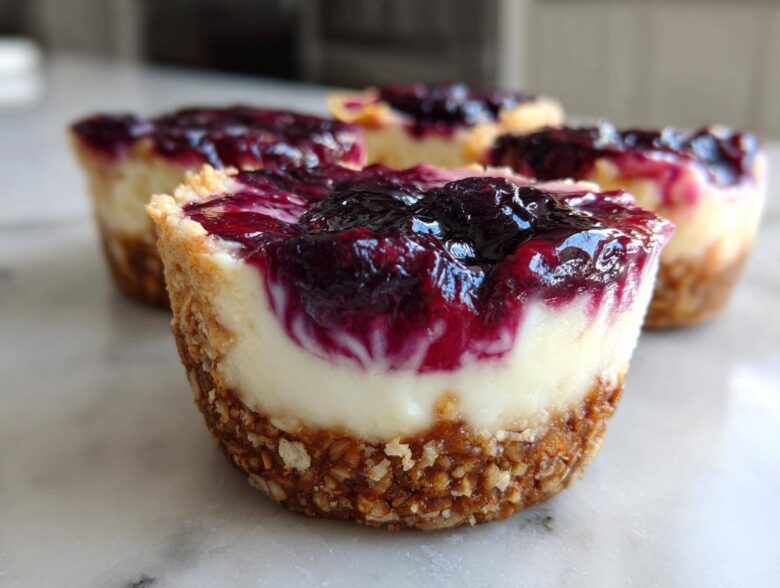
Oh my gosh, friends, if you’re like me, when the summer heat hits, the last thing you want to do is turn on your oven for an hour! I live for desserts that taste decadent but take zero actual baking time. That’s why I developed this absolute winner: these **No-Bake Blueberry Cheesecake Oat Cups** will change your life.
These aren’t your heavy, traditional cheesecakes. We’re talking individual servings that are perfectly portion-controlled (hello, easy dieting!), and they feature the crunchiest, most satisfying base made right from rolled oats. Seriously, I made a batch last weekend for a picnic, and they vanished before the potato salad was even touched! They are creamy, they’re tangy from the fresh blueberries, and they come together faster than boiling water. Trust me, you need this recipe in your warm-weather rotation.
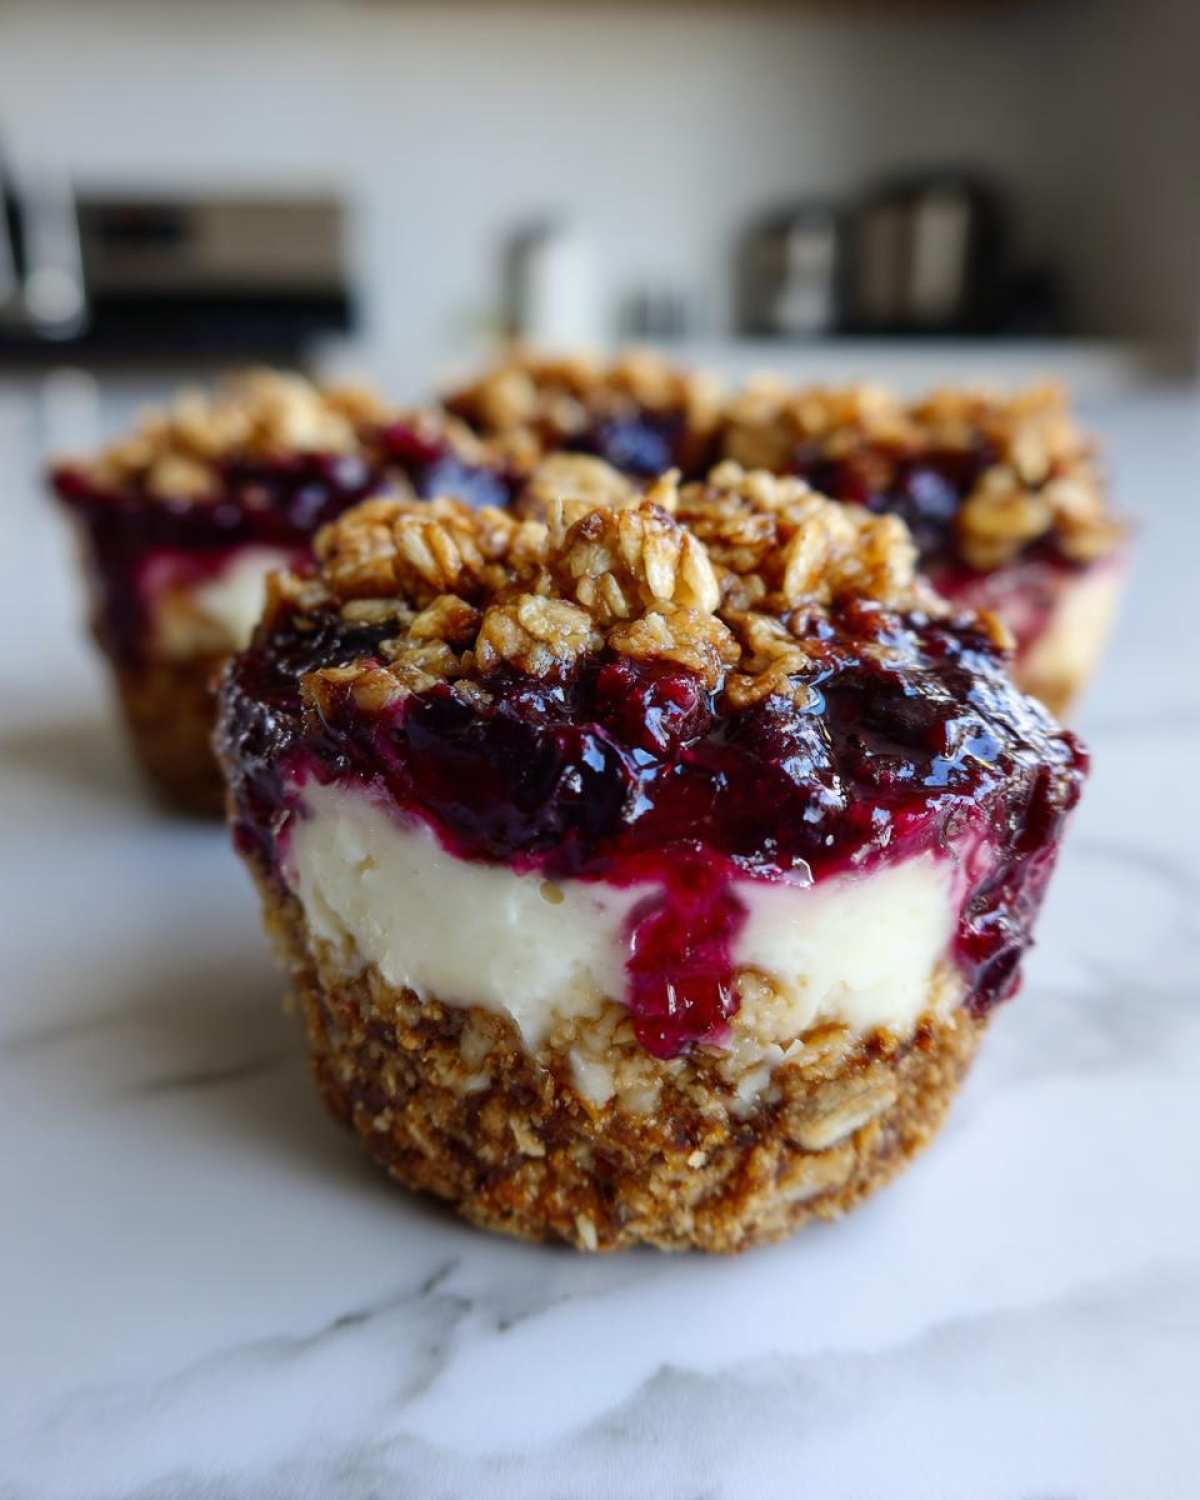
Why You Will Love These No-Bake Blueberry Cheesecake Oat Cups
Honestly, what’s not to love about a dessert that skips the oven entirely? These little cups are my go-to for everything from a spur-of-the-moment craving to a fancy backyard gathering. They truly check every box!
- Zero Oven Time Required: That’s right—just mixing and chilling! We keep the kitchen cool, even in July.
- Perfect Portion Control: Because they are already divided into individual cups, it’s easy to grab just one (or two, I don’t judge!).
- The Amazing Oat Crust: We ditched the heavy graham crackers for a heartier oat base. It adds such a lovely texture contrast to the smooth filling.
- Make-Ahead Magic: These cheesecake bites are best made a day ahead, meaning all your dessert stress is gone before your guests even arrive.
If you love easy desserts that still look fantastic, you absolutely have to try these creamy little bundles of joy. They taste just like proper baked cheesecake but save you so much time!
Essential Ingredients for No-Bake Blueberry Cheesecake Oat Cups
Okay, gather your ingredients! The beauty of these **No-Bake Blueberry Cheesecake Oat Cups** is that they use simple things you probably already have stocked in your pantry or fridge. You don’t need any fancy stabilizers or weird powders here—just straightforward goodness that creates amazing flavor.
For the base, we’re mixing up the oat crust. You’ll need:
- 1 cup rolled oats (I use old-fashioned, but quick works too!)
- 1/4 cup melted butter
- 2 tablespoons brown sugar
Now for that dreamy cheesecake filling. This is where the texture really comes together, so please, don’t skimp on quality here!
- 8 ounces cream cheese, softened (Make sure it’s genuinely soft, not cold from the fridge, or you’ll get lumps!)
- 1/2 cup powdered sugar
- 1 teaspoon vanilla extract
- 1/2 cup heavy cream, whipped (This gives us that light, airy lift!)
And finally, the star topping! Make sure your berries look nice and plump before you start:
- 1 cup fresh or frozen blueberries
- 1 tablespoon lemon juice
That lemon juice is non-negotiable, by the way. It cuts right through the richness of the cream cheese and makes the blueberry flavor really pop. If you want the absolute creamiest texture, make sure that cream cheese is at room temperature because it blends so much nicer. If you’re interested in leveling up your cream cheese game in general, check out my tips on making the smoothest cream cheese frosting!
Tips for Perfect No-Bake Blueberry Cheesecake Oat Cups
Listen, I’ve made these oat cups enough times to know exactly where things can go sideways—but don’t worry, I’m here to guide you! Getting the texture right on these **No-Bake Blueberry Cheesecake Oat Cups** is all about paying attention to three main things: temperature, pressing, and chilling. If you nail these, you’ll have perfect, individual bites every single time.
The blueberry component is forgiving, but the cream cheese filling relies on proper technique. If your cream cheese is cold, you end up with lumps, and nobody wants a lumpy cheesecake. If you rush the chill time, the whole cup collapses when you try to lift the paper liner. Don’t sabotage your hard work!
Crust Consistency and Pressing
When you mix your oats, butter, and sugar, it should look like wet sand—just damp enough so that when you squeeze a handful, it holds its shape. When you press it into those muffin liners, be firm! Use the back of a spoon or the bottom of a shot glass to really compact that oat base down into the bottom of the cup. You want it dense enough to scoop out cleanly, but don’t press so hard that it turns into concrete! If you’re looking for more ideas on crust building, check out my guide on easy oat crust recipes.
Achieving Smooth Cheesecake Filling
This is the magic step for that melt-in-your-mouth texture. First, ensure your cream cheese is *truly* room temperature. Beat it alone until it’s light and fluffy before adding the powdered sugar. The most crucial part, though, is integrating that whipped heavy cream. You have to fold it in, not stir it in! Use a spatula and gently cut down the middle and flip the batter over itself. We want to keep every bit of that air we whipped into the cream; that’s what keeps the filling from becoming too dense once it sets up in the fridge.
Step-by-Step Instructions for Your No-Bake Blueberry Cheesecake Oat Cups
Okay, time to get hands-on! This is the fun part where everything comes together. For your **No-Bake Blueberry Cheesecake Oat Cups**, we are going to work in clear stages so nothing gets messy or rushed. Remember, speed is the enemy of a perfect no-bake dessert—patience with the chilling is key!
Preparing the Oatmeal Crust Base
First things first, get your muffin tin ready with those paper liners. In a medium bowl, toss together your rolled oats, melted butter, and brown sugar. Mix it up until every oat flake looks coated and slightly sticky—you want that perfect wet sand consistency we talked about. Now, scoop about two tablespoons of that mix right into the bottom of each liner. Seriously pack it down! Use a small glass or the back of a spoon to press it flat and firm. Once they’re packed, pop that whole tin into the freezer or fridge to chill for at least 15 minutes while you whip up the creamy layer.
Creating the Creamy Filling
Grab your mixer (or your strong arm!) and beat that softened cream cheese until it’s completely smooth and fluffy—no lumps allowed, remember? Then add your powdered sugar and vanilla and mix until it’s just combined and velvety smooth. Next, and this is vital, gently fold in that pre-whipped heavy cream using a spatula. Don’t stir aggressively, or you’ll deflate it! You want that cloudy, light texture folded in gently until it looks uniform. Divide this beautiful filling evenly over your chilled crusts.
Making the Blueberry Topping
We need to cook the blueberries down just a tiny bit to create a jammy sauce. In a small saucepan over medium heat, warm up your cup of blueberries with the tablespoon of lemon juice. Let them bubble gently for about five minutes. They should soften up and start bursting, releasing all that beautiful purple juice. Take them off the heat immediately and let them cool completely. If you pour hot sauce onto cold cheesecake filling, things get messy fast!
Assembly and Final Setting Time
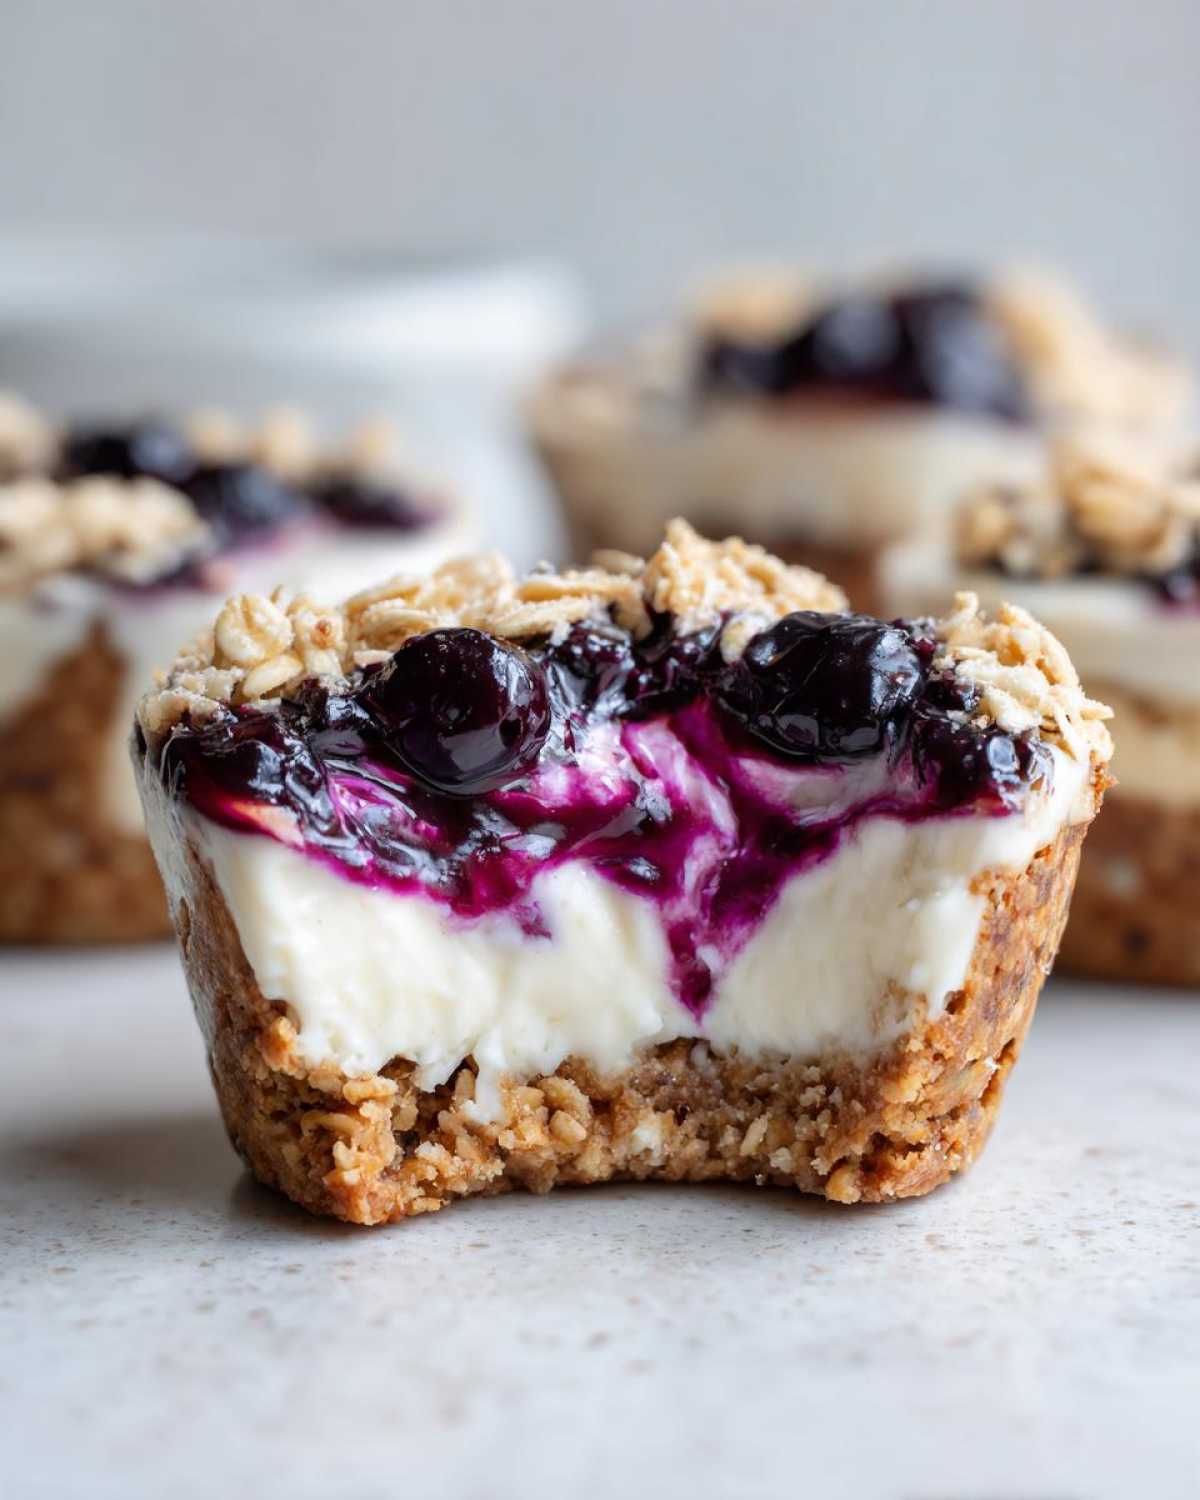
Once that blueberry mixture is cool, spoon dollops of it over the cheesecake filling in each cup. If you want a pretty swirl, take a toothpick and gently drag it through the topping a couple of times—don’t over-swirl, or you’ll mix it right into the white layer! Now comes the hardest part: waiting. These **No-Bake Blueberry Cheesecake Oat Cups** absolutely need to chill in the refrigerator for a minimum of four long hours. Overnight is even better! This gives them time to set up so they hold their shape perfectly when you peel off the liner. If you need more make-ahead inspiration, check out my favorite make ahead dessert cups recipes!
Blueberry Cream Cheese Dessert Variations and Substitutions
Honestly, once you have the base recipe down for these **Blueberry Cream Cheese Dessert** cups, you can go wild! I love sticking to the blueberry version, but sometimes I crave something different, especially when berries are out of season.
If blueberries aren’t your thing, try swapping them out entirely! Raspberries work beautifully, or you can mix in chopped mango for a tropical twist. For the crust, while I adore the oat base, you can absolutely substitute half of the oats with crushed vanilla wafers or even some finely chopped pecans if you want more crunch. It’s a fantastic, simple way to customize these **Individual Cheesecake Bites** without changing the filling at all.
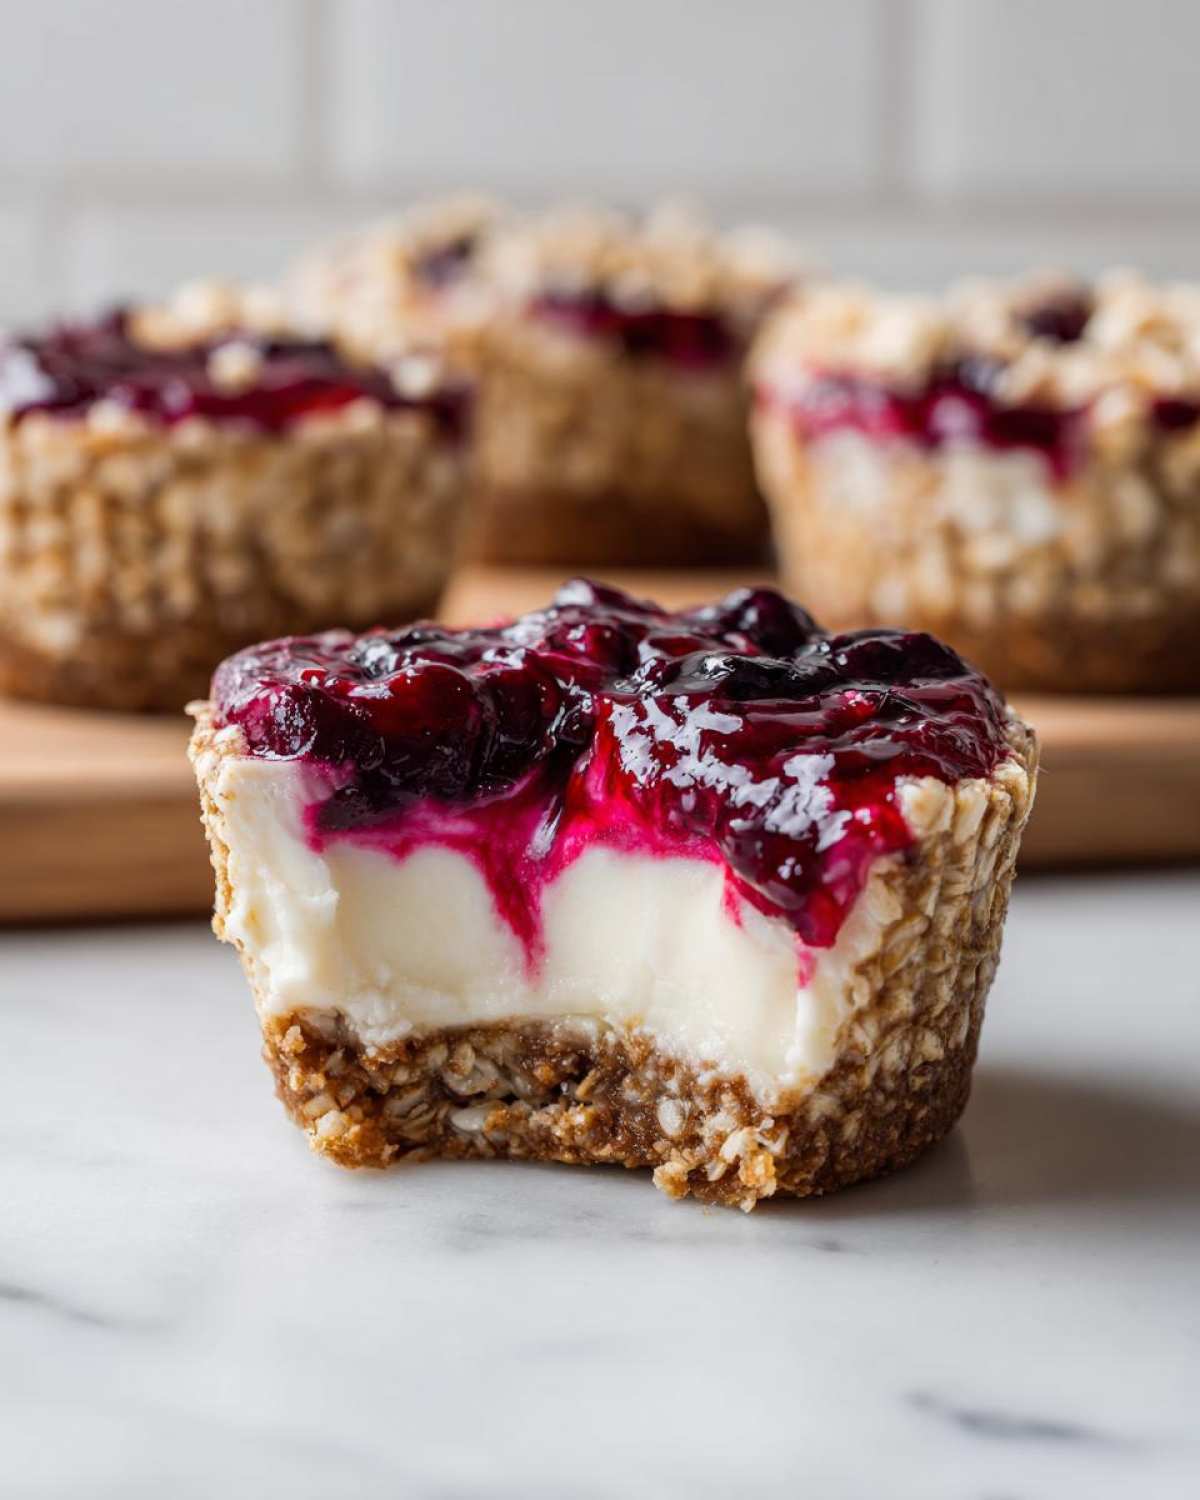
My favorite swap, though? Adding lemon zest straight into the cheesecake filling before you fold in the whipped cream—it brightens everything up instantly! If you enjoyed tweaking the blueberries here, you might love seeing how I play with fruit in my blueberry banana bread recipe, too!
Serving Suggestions for Your No-Bake Blueberry Cheesecake Oat Cups
Because these **No-Bake Blueberry Cheesecake Oat Cups** are already perfectly portioned, serving them is honestly the easiest part of the whole process! They truly shine as an easy summer party treat because you don’t have to fuss with cutting slices or worrying about messy plates.
For presentation, I love serving them right out of the muffin tin if I’m bringing them to a very casual gathering, but if you want them to look a little dressier, wait until they are fully set, peel off the paper liners, and arrange them on a simple white platter. A light dusting of powdered sugar right before serving—even though we have powdered sugar in the filling—just makes them pop visually.
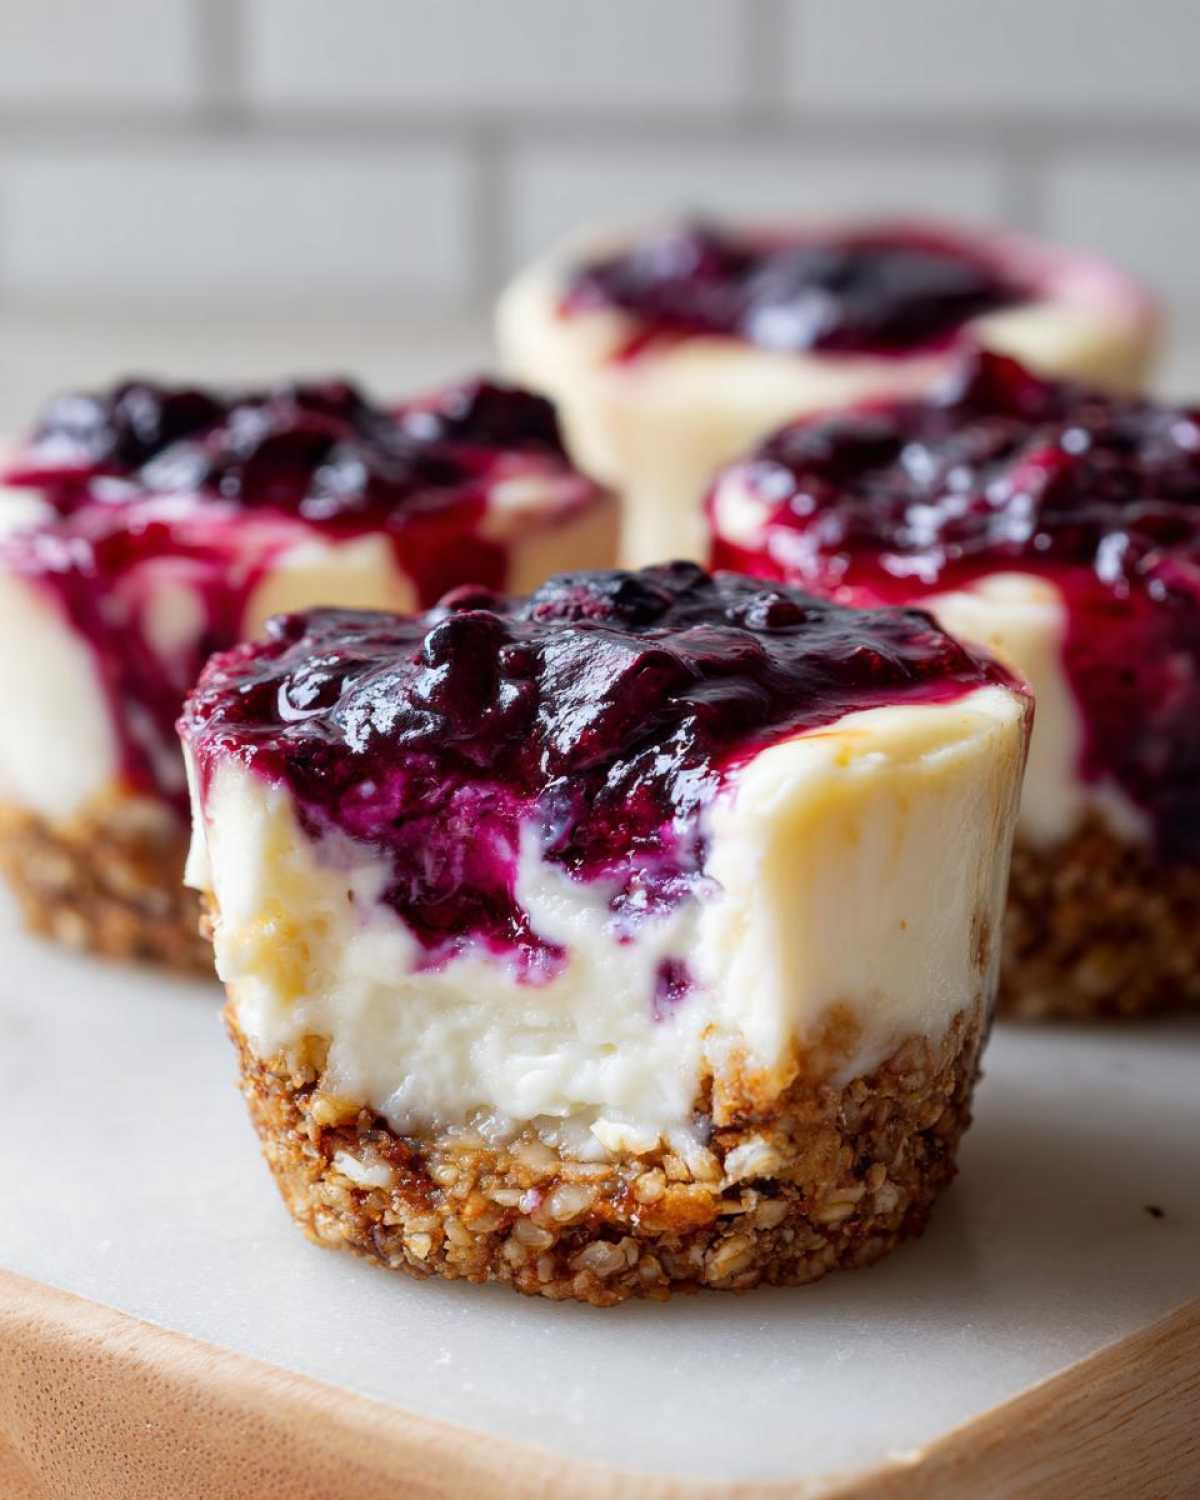
Pairing them is simple. They are robust enough to stand up to a strong cup of coffee in the afternoon, but if it’s a hot day, they are heavenly alongside a tall glass of sparkling water with extra lemon or maybe a light iced tea. They also make a fantastic, light finish after a big barbecue meal. I have another fantastic dessert that is perfect for those same summer evenings, my quick summer cheesecake recipe, but these cups are just so much easier when you’re outside!
Storage and Make Ahead Dessert Cups
This is honestly where these little **Make Ahead Dessert Cups** really earn their stripes. If you are someone who hates last-minute scrambling, you are going to adore the fact that these set up beautifully in the fridge!
You must keep these **No-Bake Blueberry Cheesecake Oat Cups** stored in an airtight container in the refrigerator. Seriously, seal them up tight! They last wonderfully for about four to five days this way. I’ve made them on a Sunday night, and they are still perfectly creamy and delicious by Thursday!
Now, can you freeze them? Yes, you absolutely can! If I know I won’t need them for a while, I skip peeling off the paper liners—just freeze them right in the muffin tin cup. Pop the whole tin into a freezer bag once they are frozen solid, and they will keep okay for about a month. Just remember, when you thaw them, let them sit on the counter for maybe 30 minutes before peeling off the liner, or the oat crust might crumble a bit. If you enjoy prepping ahead for grab-and-go snacks or breakfasts, you should definitely check out my guide to make ahead breakfast cups!
Frequently Asked Questions About No-Bake Blueberry Cheesecake Oat Cups
I always get so many questions once readers finally try these, and honestly, I love helping you troubleshoot! These **No-Bake Blueberry Cheesecake Oat Cups** are so simple, but sometimes little tweaks make all the difference. Here are the things people ask me about most often when they are assembling their first batch.
If you’re making these for a special gathering, like those easy picnic desserts I mentioned in my guide on easy picnic desserts, getting the texture and sweetness just right is important! Don’t stress about these little details; they are easy to fix.
Can I make these No-Bake Blueberry Cheesecake Oat Cups sweeter?
Oh, absolutely! My recipe aims for that tangy-sweet balance, but if your sweet tooth is stronger, you have a couple of options! You can bump up the powdered sugar in the cream cheese filling by another quarter cup—just be aware that adding too much powder can sometimes make the filling a tiny bit stiff once it sets. My personal favorite trick for a little extra sweetness right before serving is to drizzle just a tiny bit of warm honey or maple syrup over the blueberry topping once the cups are fully set and firm!
How do I ensure these Individual Cheesecake Bites are gluten-free?
That’s a great question, especially since oats are doing the heavy lifting in our crust here! Rolled oats naturally don’t contain gluten, but they often get cross-contaminated during processing, which is a problem if you’re strictly gluten-free. To make sure these **Individual Cheesecake Bites** are totally safe for anyone with an intolerance, you must use oats that are specifically labeled as “Certified Gluten-Free.” Everything else in the recipe—the butter, cream cheese, sugar, and blueberries—is naturally gluten-free, so swapping those oats is the only step you need to take!
Estimated Nutritional Data for This Recipe
Now, I always feel a little weird talking about numbers when we’re talking about something so delicious, but I know some of you are tracking things, so here is the very approximate rundown for one of these dreamy **No-Bake Blueberry Cheesecake Oat Cups**.
Please remember that these figures are just estimates based on the portion sizes and the specific ingredients I used in my test batch. If you substitute butter for coconut oil, or use low-fat cream cheese, those numbers are going to change! Also, remember we’re counting the crust, filling, and topping together in these estimates.
- Serving Size: 1 cup
- Calories: 280
- Fat: 17g (with 9g being saturated fat)
- Carbohydrates: 28g
- Sugar: 18g
- Protein: 5g
See? Not bad for a cheesecake dessert! Because we used oats in the crust instead of just graham crackers, you get a little bit of fiber in there, thank goodness. Enjoy them guilt-free—they are truly a lighter way to get your dessert fix, especially during the warm weather when you don’t want anything heavy!
PrintNo-Bake Blueberry Cheesecake Oat Cups
Prepare individual servings of creamy blueberry cheesecake with a simple oat crust. This recipe requires no oven time and sets easily in the refrigerator.
- Prep Time: 20 min
- Cook Time: 5 min
- Total Time: 260 min
- Yield: 6 servings
- Category: Dessert
- Method: Refrigeration
- Cuisine: American
- Diet: Vegetarian
Ingredients
- 1 cup rolled oats
- 1/4 cup melted butter
- 2 tablespoons brown sugar
- 8 ounces cream cheese, softened
- 1/2 cup powdered sugar
- 1 teaspoon vanilla extract
- 1/2 cup heavy cream, whipped
- 1 cup fresh or frozen blueberries
- 1 tablespoon lemon juice
Instructions
- Combine rolled oats, melted butter, and brown sugar in a bowl. Mix until the oats are coated.
- Press about 2 tablespoons of the oat mixture firmly into the bottom of 6 standard muffin cups lined with paper liners. Chill the crusts for 15 minutes.
- In a separate bowl, beat the softened cream cheese, powdered sugar, and vanilla extract until smooth.
- Gently fold the whipped heavy cream into the cream cheese mixture until just combined.
- In a small saucepan, combine blueberries and lemon juice. Heat over medium heat for 5 minutes until the berries soften slightly and release juice. Let cool for 10 minutes.
- Spoon the cheesecake filling evenly over the chilled oat crusts.
- Spoon the cooled blueberry mixture over the filling. Swirl gently with a toothpick if desired.
- Refrigerate the cups for at least 4 hours, or until firm, before serving.
Notes
- Use quick-cooking oats if you prefer a softer crust texture.
- If using frozen blueberries, do not thaw them before cooking them down with the lemon juice.
- You can substitute graham cracker crumbs for half of the oats in the crust for a more traditional flavor.
Nutrition
- Serving Size: 1 cup
- Calories: 280
- Sugar: 18
- Sodium: 110
- Fat: 17
- Saturated Fat: 9
- Unsaturated Fat: 8
- Trans Fat: 0
- Carbohydrates: 28
- Fiber: 2
- Protein: 5
- Cholesterol: 45