

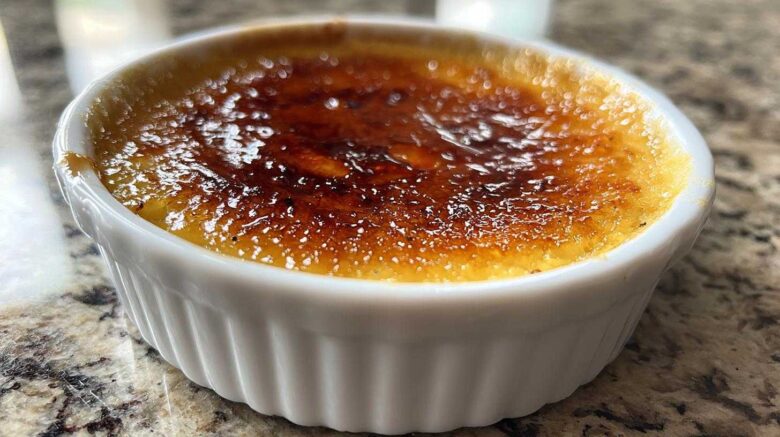
We’ve all got those dessert cravings, right? The kind that whisper sweet nothings and demand something truly special. Well, my friends, prepare to be delighted. These Mini Maple Pumpkin Crème Brûlées are more than just a dessert; they’re a little piece of heaven. Imagine a silky, rich custard infused with the warmth of pumpkin and a kiss of maple, all crowned with that satisfying crackle of caramelized sugar. It’s a delightful treat that feels both sophisticated and wonderfully comforting, a perfect way to end any meal.
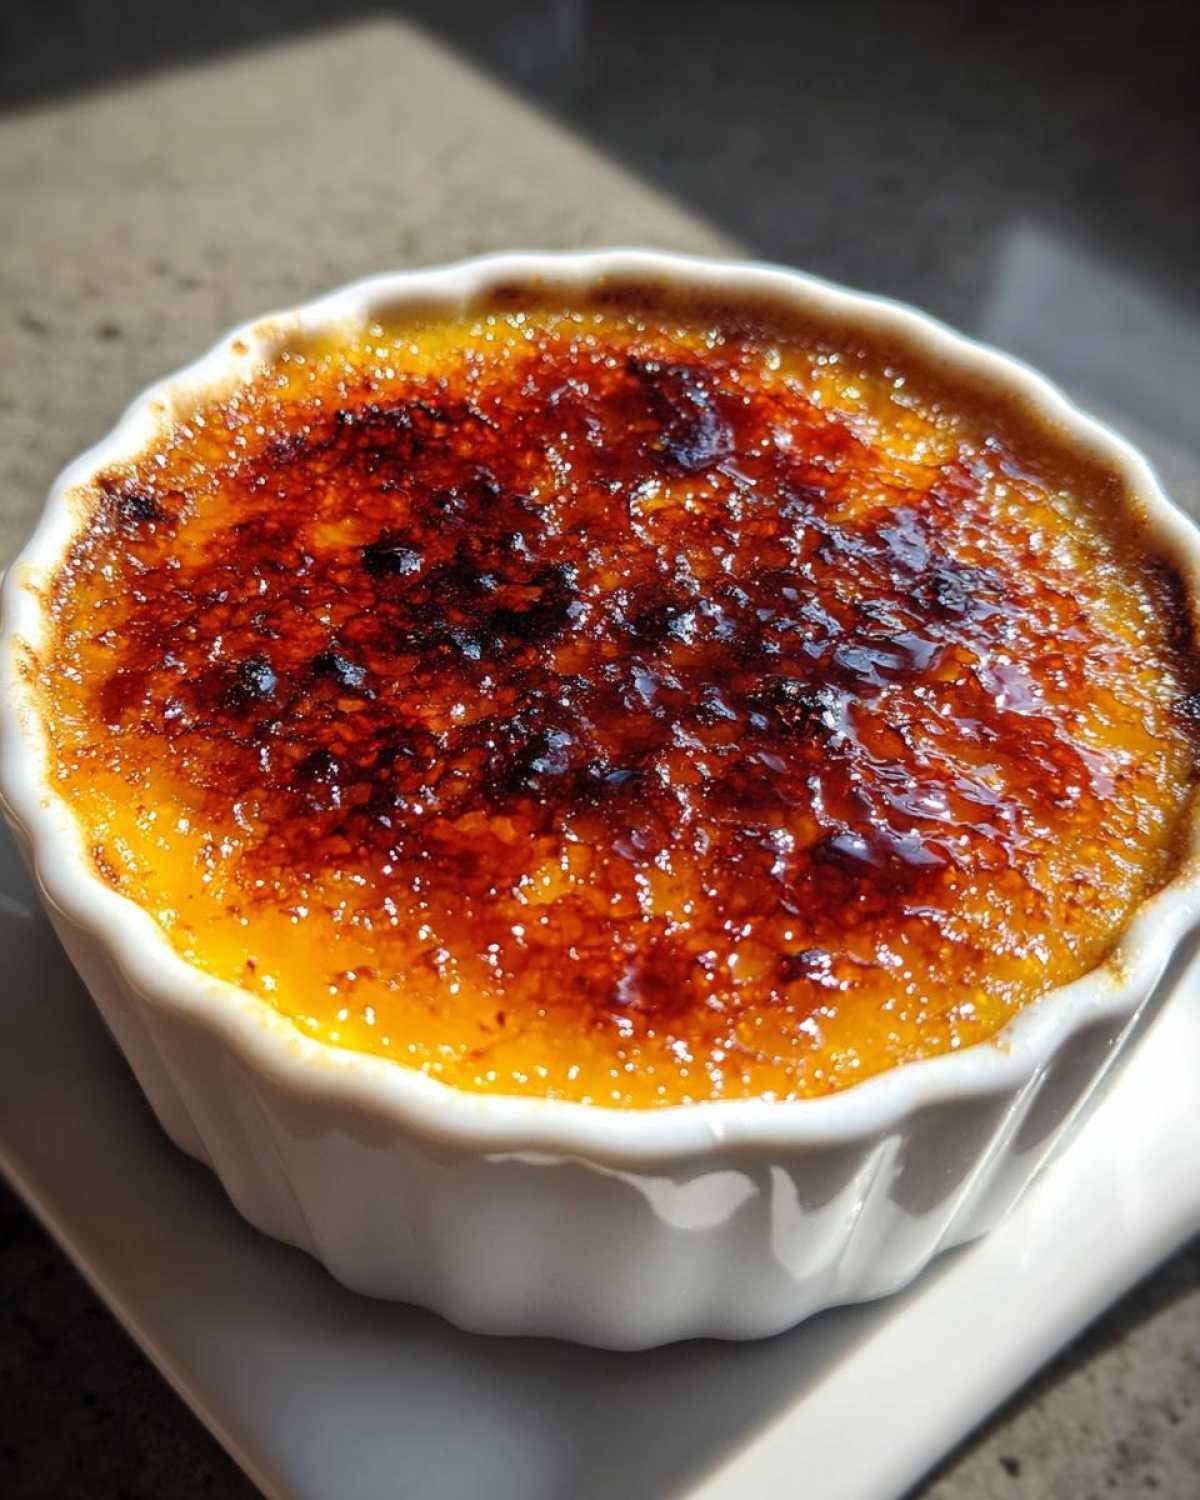
Why You’ll Love These Mini Maple Pumpkin Crème Brûlées
- Effortlessly elegant, yet surprisingly simple to make.
- The perfect blend of creamy pumpkin and sweet maple.
- That iconic crisp, caramelized sugar topping is pure magic.
- A delightful taste of fall in every bite.
A Sweet Taste of Fall: The Story Behind Mini Maple Pumpkin Crème Brûlées
When Alex and I were living across Africa, food was our compass. We learned to find comfort and connection through shared meals, often in tiny kitchens that became our creative hubs. Even though our days were filled with new spices and vibrant street markets, there were moments, especially as autumn approached, when a craving for something familiar, something cozy, would hit. This recipe for Mini Maple Pumpkin Crème Brûlées is born from that feeling. It’s a nod to the comforting flavors of home, infused with the spirit of adventure we discovered abroad. It’s like a warm hug on a crisp fall day, a taste of my own kitchen’s evolution, blending the best of both worlds.
Gather Your Ingredients for Mini Maple Pumpkin Crème Brûlées
Let’s get our kitchen ready for some magic! Gathering the right ingredients is the first step to these delightful Mini Maple Pumpkin Crème Brûlées. Don’t worry, it’s all pretty straightforward. Having everything measured out makes the process so much smoother. Think of it like laying out your tools before starting a project. It ensures we capture that perfect balance of creamy custard and sweet, crackly topping.
Essential Ingredients for Creamy Custard
For that luscious, velvety base, we’ll need:
- 2 cups heavy cream: This is the heart of our custard, giving it that rich, decadent feel.
- 1/2 cup pumpkin puree: Make sure it’s pure pumpkin, not pumpkin pie filling, for the best flavor.
- 6 large egg yolks: These bind everything together and create that signature creamy texture. Room temperature is best!
Sweeteners and Spices for Flavor
Now for the sweet notes and warm spices:
- 1/2 cup granulated sugar, divided: We’ll use some in the custard and some for that glorious caramelized topping.
- 1/4 cup pure maple syrup: This adds a wonderful depth of flavor that pairs perfectly with pumpkin.
- 1/4 teaspoon ground cinnamon
- 1/8 teaspoon ground nutmeg
- Pinch of ground cloves
- Pinch of salt: Just a touch to balance all the sweetness.
Crafting Your Mini Maple Pumpkin Crème Brûlées
Now for the fun part: bringing these Mini Maple Pumpkin Crème Brûlées to life! Don’t be intimidated by crème brûlée; I’ll walk you through each step. We’re aiming for that perfect balance. A smooth, creamy custard meets a satisfyingly crisp sugar shell. It’s a dessert that truly sings. Let’s create some magic together in the kitchen!
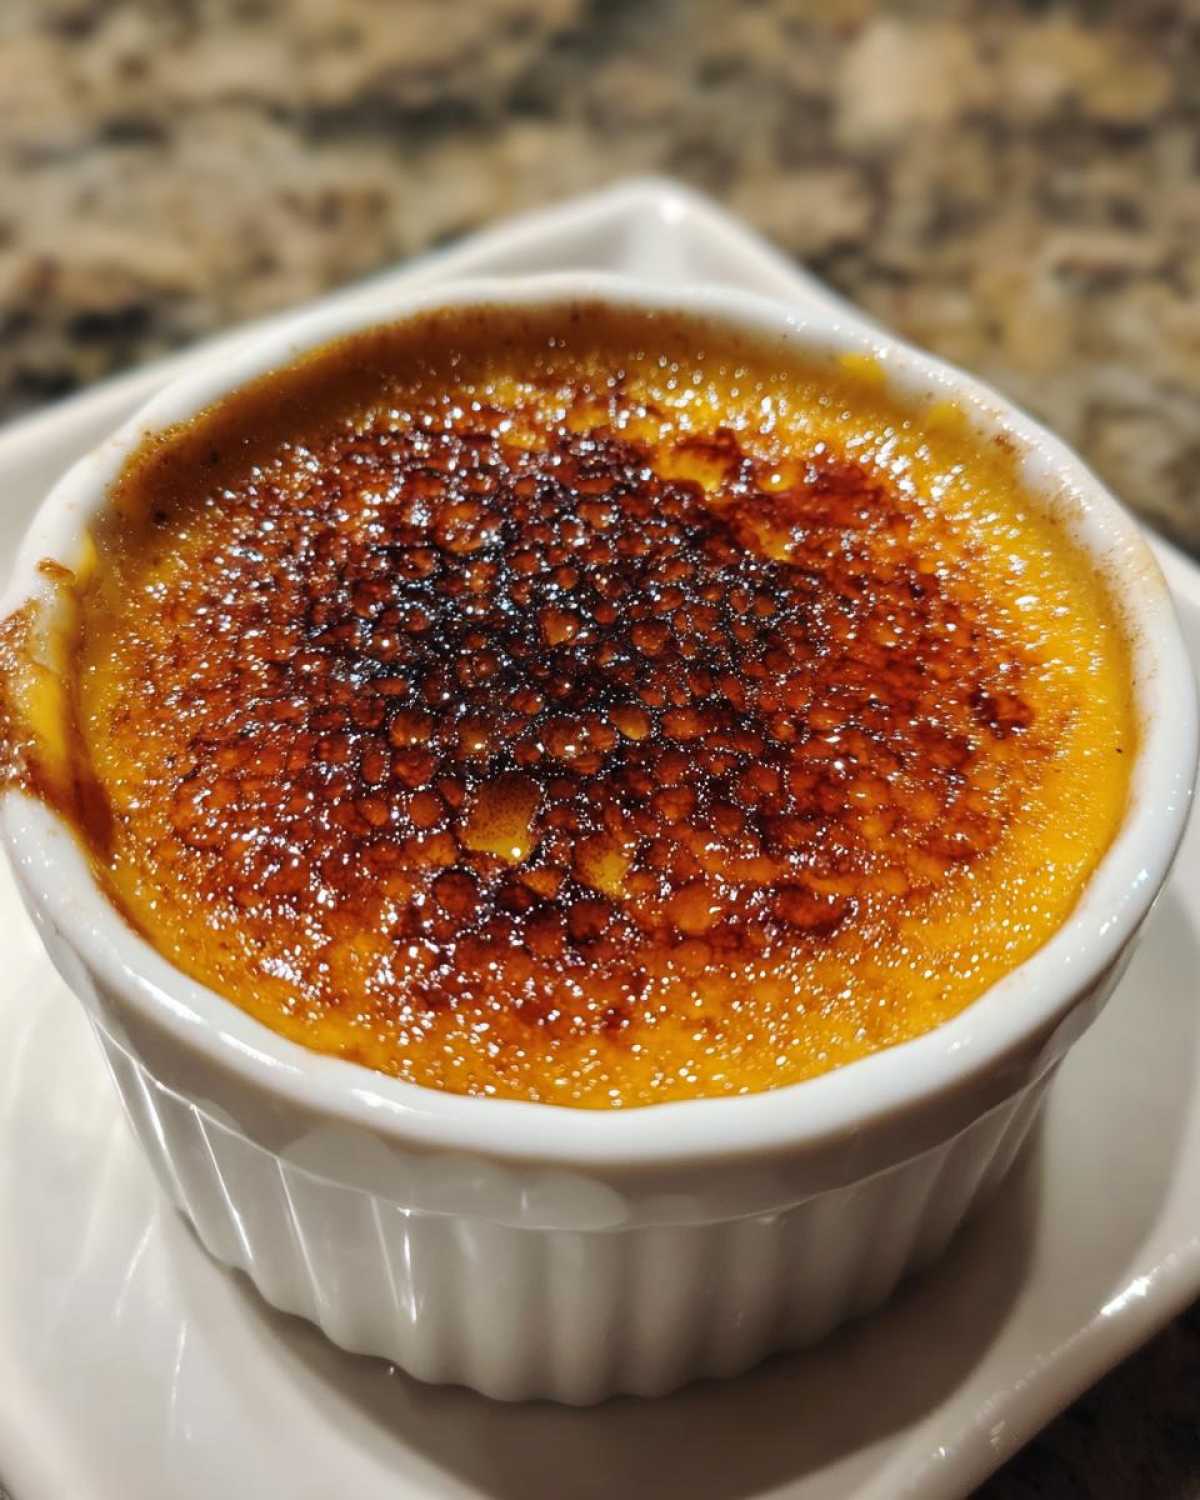
Preparing the Pumpkin Custard Base
First things first, let’s get our oven preheated to 300°F (150°C). This gentle heat is key for a silky custard. Grab a medium saucepan. Into it goes your heavy cream, pumpkin puree, a quarter cup of that granulated sugar, cinnamon, nutmeg, cloves, and a pinch of salt. Give it a good stir.
Now, place this on medium heat. Stir now and then. We want it to just start to simmer around the edges. Seriously, do not let it boil! Boiling can mess with the cream’s texture. Once it’s steaming, take it off the heat. Let it sit and steep for about 10 minutes. This lets all those lovely flavors meld together beautifully.
Tempering and Finishing the Custard
While the cream mixture is steeping, let’s work on the yolks. In a separate bowl, whisk together your egg yolks and the remaining quarter cup of granulated sugar. Keep whisking until they look pale yellow and a bit thicker. This is called tempering, and it’s super important.
Here’s the trick: slowly, and I mean *slowly*, whisk about half of the warm cream mixture into the egg yolks. This gently warms up the eggs. If you dump it all in at once, you’ll end up with scrambled eggs. Nobody wants that! Once that’s blended, pour the tempered egg mix back into the saucepan with the rest of the cream. Whisk in your pure maple syrup.
For the smoothest custard, strain this whole mixture through a fine-mesh sieve. I like to pour it into a bowl or a large measuring cup first. This catches any little bits of cooked egg or spices. You want pure silkiness!
Now, pour this smooth custard evenly into six 4-ounce ramekins. Place these little ramekins into a larger baking dish. Carefully pour hot water into the baking dish. The water should come about halfway up the sides of your ramekins. This water bath helps the custards cook gently and evenly.
Baking and Chilling for Perfect Set
Pop that whole setup into your preheated oven. Bake for about 35 to 45 minutes. You’ll know they’re ready when the edges look set, but the center still has a slight wobble, like a tiny jelly. Don’t overbake them!
Carefully remove the ramekins from the water bath. Let them cool completely on a wire rack. Once they’re cool to the touch, cover them snugly with plastic wrap. Pop them into the refrigerator. They need at least 4 hours to chill, but overnight is even better. This chilling time is crucial for them to set up perfectly. Patience here really pays off!
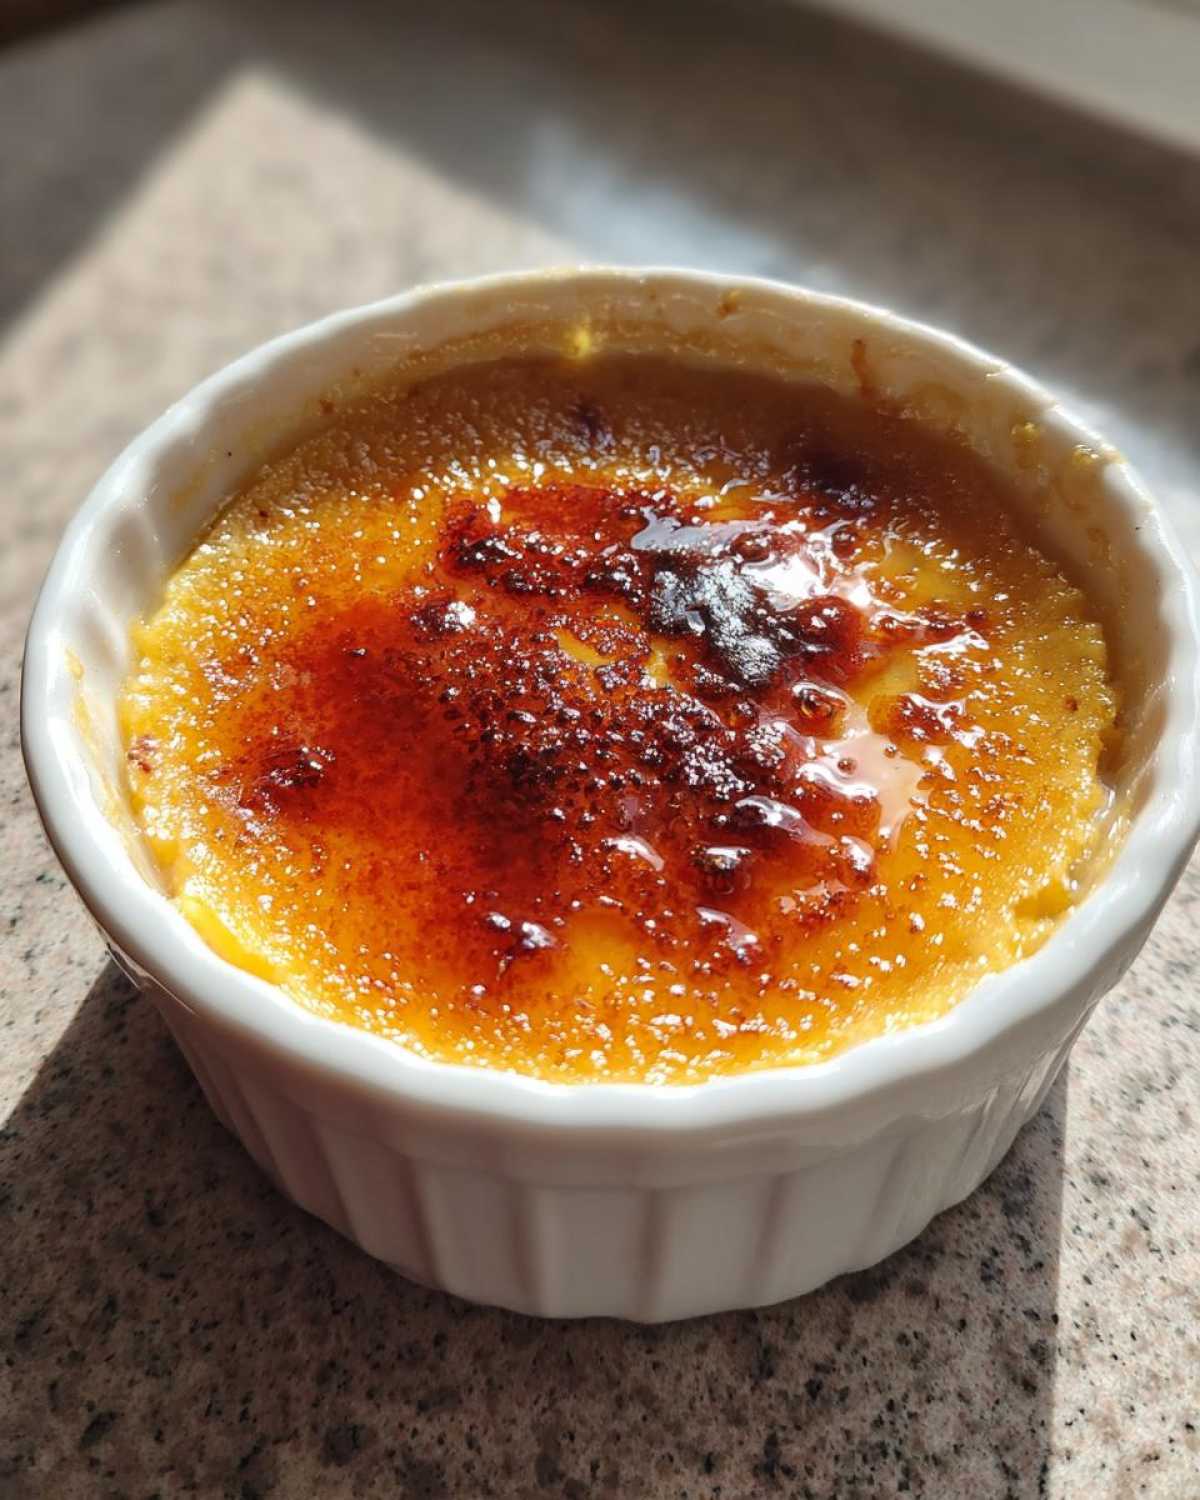
Achieving the Signature Brûlée Topping
This is the grand finale! Just before you’re ready to serve, take your chilled custards out. Sprinkle an even layer of granulated sugar over the top of each one. You want a thin, consistent coating. Now, grab your kitchen torch. If you’re new to using one, maybe practice on a little sugar in a separate bowl first. It just helps you get a feel for the heat.
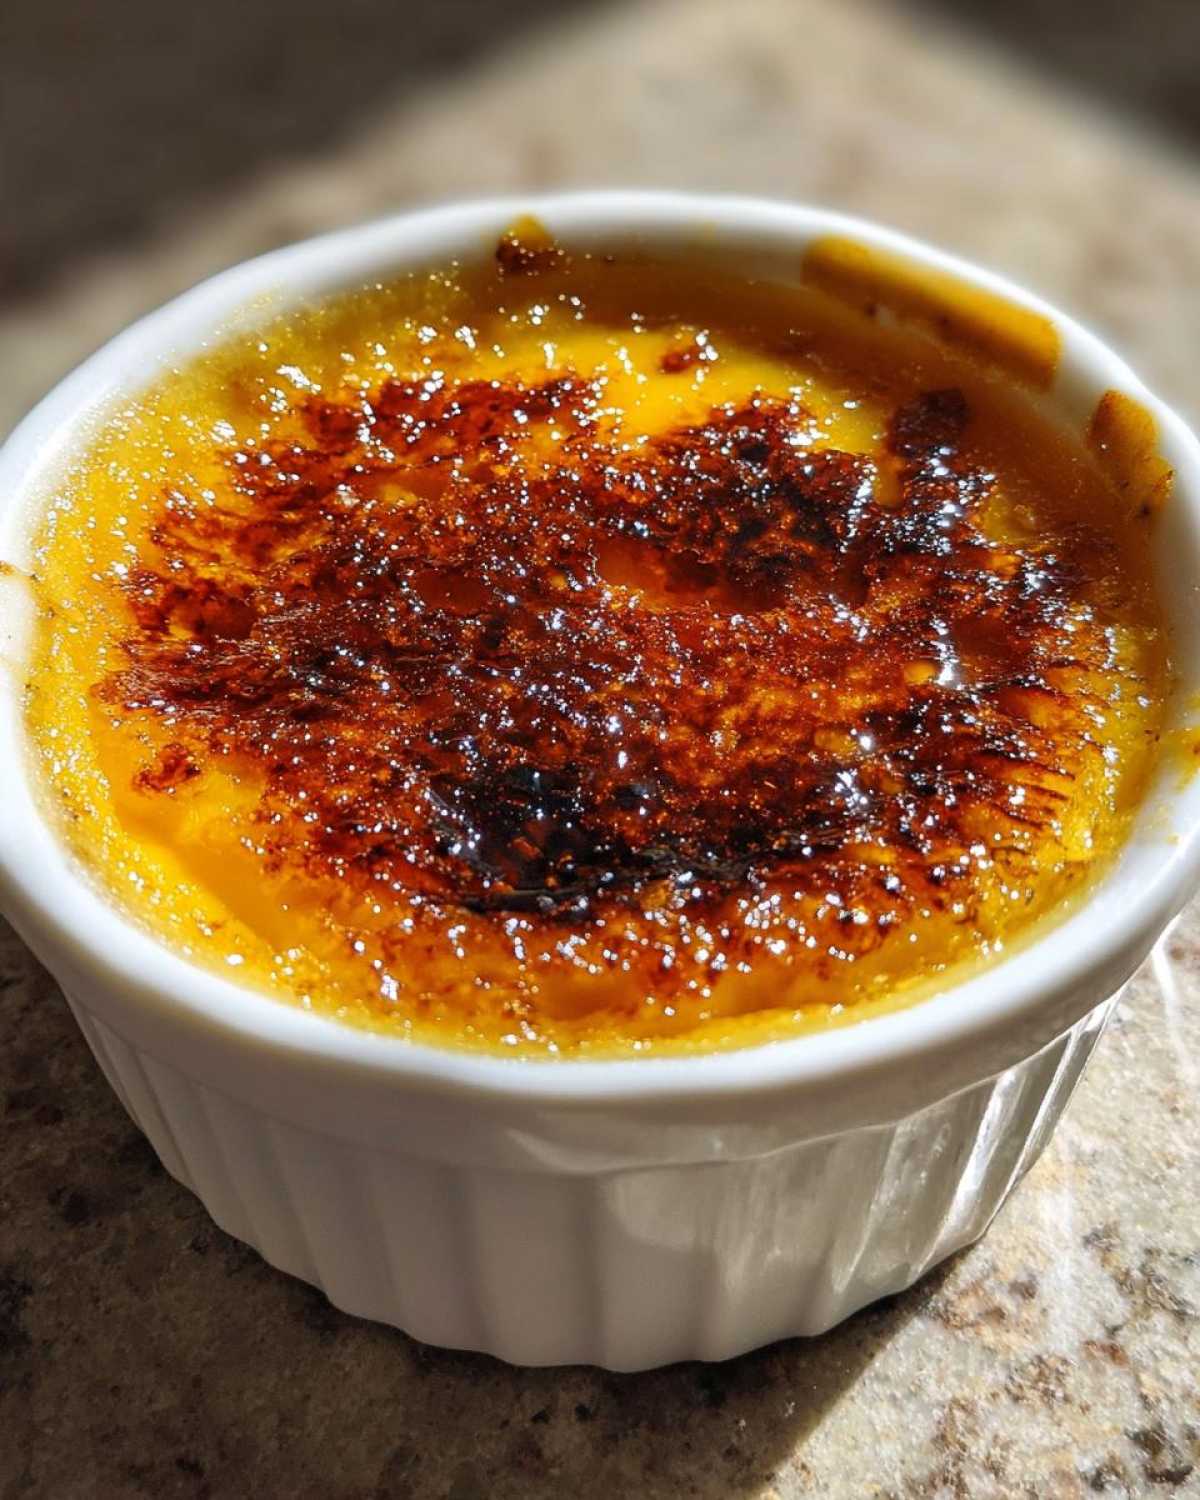
Hold the torch a few inches above the sugar. Move it in a steady, circular motion. Watch as the sugar melts, bubbles, and turns a beautiful golden brown. Be careful not to burn it! Once it looks beautifully caramelized, let the crème brûlées sit for a minute or two. This lets that gorgeous sugar crust harden up. Then, serve them immediately and enjoy that satisfying crack!
Expert Tips for Perfect Mini Maple Pumpkin Crème Brûlées
Achieving that restaurant-quality Mini Maple Pumpkin Crème Brûlée at home is totally doable! A few simple tricks will elevate your dessert game. I’ve learned a lot through my own kitchen adventures, and I’m excited to share what works best for these delightful treats. Let’s make sure your custards are as smooth as silk and your sugar topping cracks just right!
Achieving a Silky Smooth Custard Texture
The secret to a super smooth custard lies in a few key steps. First, temper your egg yolks gently. This means slowly adding the warm cream mixture to the yolks. It prevents them from cooking too fast. Then, straining the custard mixture is non-negotiable! It catches any tiny bits that might make it lumpy. A fine-mesh sieve works wonders here. Lastly, the water bath during baking is crucial. It creates a moist environment for gentle, even cooking. For more on the science behind custards, check out this guide to custards.
Mastering the Caramelized Sugar Crust
That crackly sugar topping is the star of crème brûlée! For an even layer, sprinkle your chilled custard with granulated sugar just before torching. A thin, uniform coating works best. Hold your kitchen torch a few inches away and keep it moving in a circular motion. This prevents burning one spot. Watch for the sugar to melt and turn a beautiful amber color. If you don’t have a torch, you can try broiling, but watch it *very* closely as it can burn fast. Let it cool for a minute to harden.
Frequently Asked Questions About Mini Maple Pumpkin Crème Brûlées
Got questions about making these delightful Mini Maple Pumpkin Crème Brûlées? I’ve got answers! It’s always good to clear things up, especially when you’re aiming for that perfect dessert. Let’s dive into some common queries to make your baking experience a breeze.
Pumpkin Puree vs. Pumpkin Pie Filling
This is a super common question! Always use plain pumpkin puree. It’s just mashed pumpkin. Pumpkin pie filling, on the other hand, already has sugar and spices mixed in. Using pie filling will throw off the sweetness and flavor balance of your custard. We want control over those delicious pumpkin and maple notes, right? For more on pumpkin varieties, see this guide from Allrecipes.
Can I Make Mini Maple Pumpkin Crème Brûlées Ahead of Time?
Absolutely! This is one of my favorite things about this recipe. You can make the custards right up to the chilling step (step 14 in the instructions). Cover them well and keep them in the fridge for up to two days. Just caramelize the sugar topping right before serving. It’s the perfect make-ahead dessert for parties! You might also like these no-bake strawberry cheesecake bites for another make-ahead option.
What If I Don’t Have a Kitchen Torch?
No kitchen torch? No problem! You can still get that lovely crackly top. Carefully sprinkle your sugar over the chilled custard. Place the ramekins on a baking sheet. Pop them under a hot broiler for just a minute or two. Keep a very close eye on them; the sugar can burn fast! You can also try inverting a hot cast-iron skillet onto the sugar, but this takes practice. The torch is easiest, but these methods work!
Ingredient Substitutions and Notes for Mini Maple Pumpkin Crème Brûlées
Sometimes we need to get a little creative in the kitchen! When making these Mini Maple Pumpkin Crème Brûlées, you might wonder about swapping ingredients. I’m here to help! Understanding why certain ingredients work is key. It ensures your dessert turns out just as delicious, even with a little twist. Let’s explore some options.
Maple Syrup Alternatives
Pure maple syrup adds a lovely depth that complements the pumpkin so well. If you don’t have it, a good quality dark agave nectar can work in a pinch. It offers a similar sweetness but with a slightly different flavor profile. You could also try a simple syrup made from brown sugar for a richer, molasses-like taste. Just be aware that these substitutions will subtly change the final flavor notes. For more on maple syrup grades, check out this guide to maple syrup grades.
Spice Adjustments
The spices in this recipe are designed to evoke that cozy fall feeling. If you’re not a fan of cloves, feel free to omit them. You can also increase the cinnamon slightly if you love that warm spice flavor. Some people even add a tiny pinch of ground ginger for an extra kick. Taste your warm cream mixture before tempering the eggs, and adjust the spices to your liking. Remember, a little goes a long way!
Serving and Storing Your Mini Maple Pumpkin Crème Brûlées
The best part? Enjoying your beautiful Mini Maple Pumpkin Crème Brûlées! These are best served shortly after torching. They look stunning on their own, but a little something extra can make them pop. And if you happen to have any leftovers (which is rare in my house!), here’s how to keep them tasting great.
Presentation Ideas
Honestly, the gorgeous crackly sugar top is all the decoration these Mini Maple Pumpkin Crème Brûlées need! Serve them right in their cute ramekins. For an extra touch, you could place a tiny, fresh mint leaf or a small, thin slice of candied ginger on top. It adds a pop of color and a hint of freshness. If you enjoy creative presentations, you might like these snack ideas for inspiration.
Leftover Storage and Reheating
If, by some miracle, you have leftovers, cover the ramekins tightly with plastic wrap. Store them in the refrigerator for up to two days. The caramelized sugar topping will soften over time, so it won’t have that initial crisp crack. You can re-torch the sugar just before serving again if you like, but be quick as it can melt into the custard.
Estimated Nutritional Information
Please remember that the nutritional values for these Mini Maple Pumpkin Crème Brûlées are just estimates. They can vary quite a bit depending on the specific brands of ingredients you use and the exact portion sizes. This is especially true for items like heavy cream and sugar. Always consider these figures as a general guideline for your delicious dessert.
PrintMini Maple Pumpkin Crème Brûlées: 6 Divine Bites

Indulge in these delightful Mini Maple Pumpkin Crème Brûlées, a perfect sweet treat to satisfy your dessert cravings with a rich, creamy custard and a crisp caramelized sugar topping.
- Prep Time: 20 minutes
- Cook Time: 45 minutes
- Total Time: 4 hours 15 minutes
- Yield: 6 servings
- Category: Dessert
- Method: Baking and Torching
- Cuisine: American
- Diet: Halloween
Ingredients
- 2 cups heavy cream
- 1/2 cup pumpkin puree
- 1/2 cup granulated sugar, divided
- 1/4 teaspoon ground cinnamon
- 1/8 teaspoon ground nutmeg
- Pinch of ground cloves
- Pinch of salt
- 6 large egg yolks
- 1/4 cup pure maple syrup
Instructions
- Preheat your oven to 300°F (150°C).
- In a medium saucepan, combine the heavy cream, pumpkin puree, 1/4 cup of the granulated sugar, cinnamon, nutmeg, cloves, and salt.
- Heat the mixture over medium heat, stirring occasionally, until it just begins to simmer. Do not boil.
- Remove from heat and let it steep for 10 minutes.
- In a separate bowl, whisk together the egg yolks and the remaining 1/4 cup of granulated sugar until pale and slightly thickened.
- Slowly temper the egg mixture by gradually whisking in about half of the warm cream mixture.
- Pour the tempered egg mixture back into the saucepan with the remaining cream mixture.
- Whisk in the maple syrup.
- Strain the custard through a fine-mesh sieve into a bowl or large measuring cup to ensure a smooth texture.
- Pour the custard evenly into six 4-ounce ramekins.
- Place the ramekins in a large baking dish. Carefully pour hot water into the baking dish until it comes halfway up the sides of the ramekins, creating a water bath.
- Bake for 35-45 minutes, or until the edges of the custards are set but the centers still have a slight jiggle.
- Remove the ramekins from the water bath and let them cool completely on a wire rack.
- Once cooled, cover the ramekins with plastic wrap and refrigeritate for at least 4 hours, or preferably overnight.
- Just before serving, sprinkle an even layer of granulated sugar over the top of each custard.
- Using a kitchen torch, caramelize the sugar until it forms a crisp, golden-brown crust.
- Let the crème brûlées sit for a minute or two to allow the caramelized sugar to harden before serving.
Notes
- Ensure your oven temperature is accurate for best results.
- The water bath is crucial for even cooking and a silky smooth texture.
- Allow ample chilling time for the custards to set properly.
- Practice with the kitchen torch on a small amount of sugar before torching your custards if you are new to using one.
Nutrition
- Serving Size: 1 ramekin
- Calories: 350
- Sugar: 25g
- Sodium: 50mg
- Fat: 25g
- Saturated Fat: 15g
- Unsaturated Fat: 10g
- Trans Fat: 0.5g
- Carbohydrates: 28g
- Fiber: 1g
- Protein: 5g
- Cholesterol: 200mg