

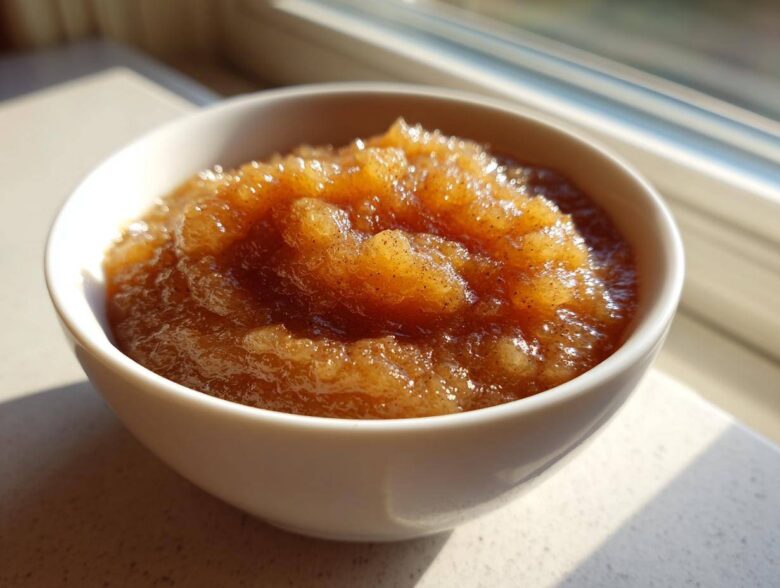
Honestly, once you taste genuinely fresh, homemade applesauce, you look at that stuff in the jar on the supermarket shelf like it’s dusty cardboard. I used to buy it, especially during busy weeks, but the texture was always… sad. Making your own isn’t just about avoiding sneaky sugars; it’s about getting that perfect kiss of warmth and bite that only freshly simmered fruit can give you. And guess what? You don’t need some complicated contraption or hours waiting around. This is my absolute favorite, easiest stovetop cinnamon applesauce recipe, and trust me, it’s faster than driving to the store!
Why This Easy Applesauce Recipe Beats the Store-Bought Kind
The difference is wild. That first taste of this Homemade Applesauce Recipe always makes me stop and smile because it tastes exactly like autumn should. When you make it yourself, you control everything! You know there aren’t weird unnecessary fillers or way too much white sugar lurking in there. We’re aiming for a really flavorful, naturally sweet result here.
What really sells this recipe, though, is the timing. I know everyone wants simple, but I mean truly Quick Applesauce. We’re talking 10 minutes of prep and 20 minutes actively cooking. So, right around 30 minutes total, and you have enough to snack on, save for later, or use in your baking!
Choosing the Best Apples for Perfect Applesauce
This is where we pull out the expert knowledge, trust me. If you just grab whatever is softest, you’ll end up with mush that tastes flat. For the absolute best flavor balance in this applesauce, you need apples that hold up a little bit and have some natural zing. I always reach for Gala or Fuji apples because they are firm and just sweet enough. Biting into those tart notes keeps the sauce from tasting boring!
Gathering Ingredients for Your Stovetop Cinnamon Applesauce
Okay, time to talk about what we actually need to make this miracle happen! While the list is tiny—seriously, maybe only four things you already have—the specifics matter a ton, especially for texture. We’re using about six medium apples, and you absolutely must peel, core, and chop them into roughly 1-inch pieces so they break down evenly. We need a half cup of water to get things moving on the stove, and a full teaspoon of ground cinnamon for that classic warmth. I also sneak in a tablespoon of lemon juice just to keep things bright, but that’s totally optional if you don’t have any.
Ingredient Notes and Naturally Sweetened Applesauce Options
Since we’re aiming for a Naturally Sweetened Applesauce vibe, that cinnamon does a lot of heavy lifting to convince your taste buds it’s perfectly sweet, even without spoonfuls of sugar. But hey, I get it—sometimes the apples are just too tart! If that happens, you can absolutely stir in about a tablespoon of brown sugar or maple syrup right near the end of the cooking process. That little bit of added depth really tastes fantastic alongside the inherent fruit sweetness, and it still keeps things much cleaner than what you find in the store.
Step-by-Step Instructions: How to Make Applesauce on the Stovetop
Now for the best part—watching the magic happen! This is the simplest Stovetop Applesauce method you’ll ever try, and it really only takes a little patience while it simmers. Remember we chopped those apples into roughly 1-inch chunks? Get those into a large saucepan—I mean *large*, because they cook down almost immediately. Toss in your half cup of water and the optional lemon juice right on top.
Turn the heat up to medium-high and bring that water to a nice, rolling boil. Don’t walk away just yet! Once it’s boiling hard, you must immediately reduce the heat way down to low. Cover the pan tightly. Now, we simmer. You need to let this go for about 15 to 20 minutes. Give it a stir every few minutes because you absolutely do not want the apples sticking to the bottom and scorching. They should become super tender, breaking apart easily when poked.
Once they are soft, take the pan completely off the heat. This is essential! Then, stir in your teaspoon of ground cinnamon. That’s it for the cooking part! Now we decide what kind of applesauce we want for our snack today…
Achieving Your Preferred Applesauce Texture: Chunky Applesauce vs. Smooth Applesauce
This is where your personal preference for Chunky Applesauce comes into play! If you love bits of apple, grab a sturdy potato masher or even a solid fork. Mash the apples right there in the warm pot until you get the consistency you like. I aim for about 70% mashed with lots of delightful little chunks left.
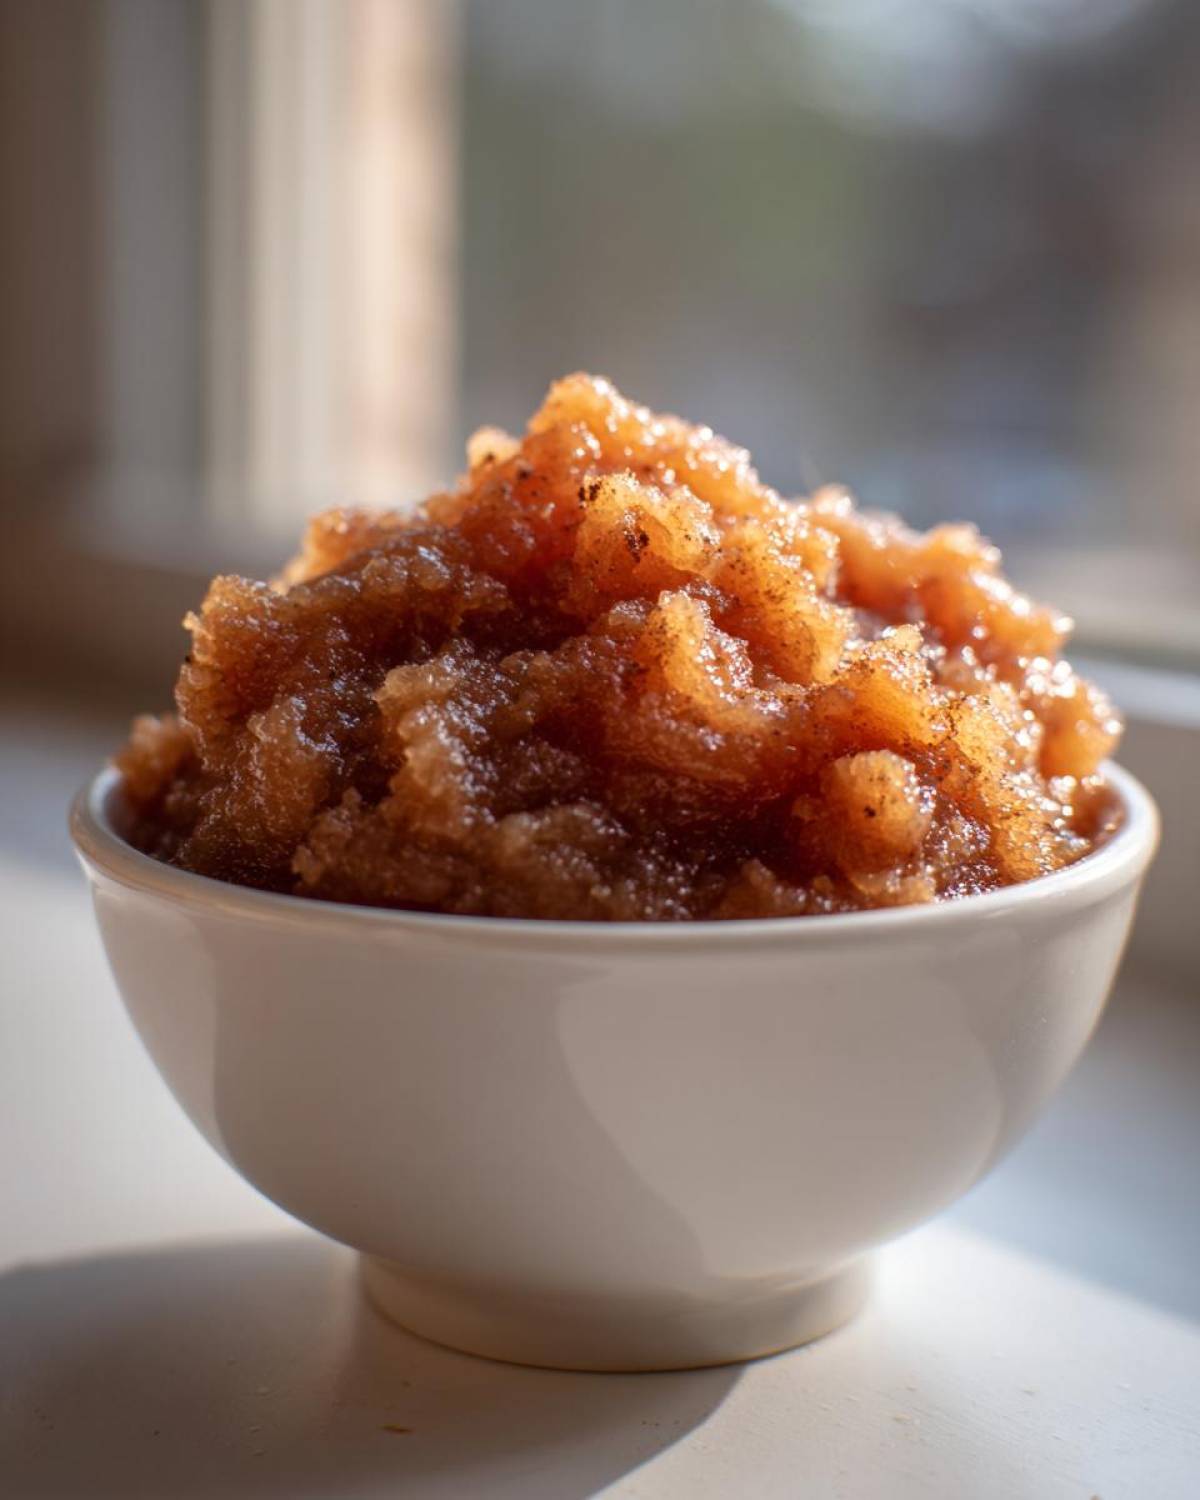
If you live for Smooth Applesauce, you have two great options. You can use an immersion blender directly in the warm pot—just stick it down and blend until silky smooth. Or, if you are careful (it will be hot!), you can carefully transfer the mixture to a regular blender and process it until it’s perfectly uniform. Either way, do this *after* you’ve added the cinnamon!
Expert Tips for Perfect Homemade Applesauce Every Time
Okay, you’ve got the basics down, but here are the little tricks I use to turn my good apple cinnamon rolls-scented applesauce into something truly crave-worthy. The biggest thing is liquid control. When you start simmering, stick close! If you notice the liquid evaporating too quickly and the apples look like they might stick before they are tender, splash in just one more tablespoon of water. Don’t drown them; we just want enough steam to do the softening work.
For maximum flavor infusion, I often add the cinnamon *during* the last five minutes of simmering, rather than waiting until the very end. This lets the spice flavor really meld with the hot apples. Also, don’t be shy about grating the peel off your apples if you want a super silky-smooth final product later, though leaving the peel on gives you extra fiber!
When mashing for chunky, be gentle. You aren’t trying to pulverize them; you’re just persuading them to break apart slightly. If you let the sauce cool down completely before seasoning or blending, you get a much better, thicker final texture, so be patient about that cooling time!
Storage and Making Freezer Friendly Applesauce
This batch of Freezer Friendly Applesauce is almost too good to last, but thankfully, it keeps beautifully! The most important storage tip I can give you is to make sure you let it cool down completely before you seal it up in anything. Putting hot sauce in the fridge steams it, which isn’t great for freshness.
Once it’s totally cool, you can pop it into airtight containers and pop it into the refrigerator. It stays perfectly delicious and fresh for about a week, maybe a little longer because we didn’t add a ton of sugar, which acts as a preservative!
But if you’ve made a giant batch like I always do, freezing is the way to go. Transfer your cooled applesauce into sturdy freezer bags or containers, leaving about an inch of headspace because liquids expand when they freeze. You can easily enjoy this homemade goodness for up to three months! Thaw overnight in the fridge when you need a quick, healthy snack.
Serving Suggestions for Your Fresh Applesauce
Now that you’ve got this glorious, warm batch of homemade applesauce cooling down, the real fun begins: eating it! I find myself using this recipe year-round, not just when the fall air hits. It’s so much more versatile than people think. Forget thinking of it just as a side dish for pork chops; this stuff levels up *everything*.
My absolute favorite way to enjoy it when I’m rushing in the morning is to treat it like a real Healthy Apple Snack. I grab a bowl, scoop in a generous portion of the chunky stuff, and maybe stir in a tiny dash of granola or a few chopped walnuts. It’s satisfying, warm, and zero effort.
But we can definitely get fancier! This applesauce is incredible served warm over a dollop of plain Greek yogurt. If you have pancakes or waffles waiting, forget the boring syrup for a minute—a spoonful of this cinnamon applesauce on top tastes like dessert for breakfast. Honestly!
If you’re using it as a baking ingredient, remember that it’s a fantastic fat replacement. When making muffins or quick breads, you can usually swap half the oil or butter with applesauce. It keeps things incredibly moist without that heavy, greasy feeling cakes sometimes get. It’s my go-to secret weapon for fluffier baked goods!
Frequently Asked Questions About Making Applesauce
I know you might have a few lingering questions because making applesauce from scratch feels intimidating, but trust me, it’s really straightforward once you know the ropes. I’ve collected the things readers ask me most often after they try this recipe for the first time. Hopefully, this clears everything up so you can enjoy your batch!
Can I make this recipe using a Slow Cooker Applesauce method?
Oh yes, you totally can! If your stovetop is tied up, or you just want that classic ‘set it and forget it’ method, the slow cooker is your pal. Instead of simmering on the stove, just put all your peeled, chopped fruit and water right into your slow cooker or Crockpot. You’ll want to set it on LOW for about three to four hours—keep checking after three—or you can use the HIGH setting for about an hour and a half to two hours. It ends up tasting almost identical to the stovetop version, just less hands-on time!
What if I want a chunkier texture for my applesauce?
We talked about this a little, but I want to stress the tool you use matters! The key to perfect Chunky Applesauce is that you mash it *after* it’s fully cooked and *after* you’ve taken the pot off the heat. If you mash it too early, the chunks turn to soup! Use a sturdy potato masher; it gives you immediate control over the texture. Just mash until you hit that perfect sweet spot where it’s mostly soft but still has some satisfying bites of apple left in there.
Do I have to use cinnamon? What about other spices?
Cinnamon is what gives this recipe its signature warmth without needing any added sugar, but you absolutely do NOT have to stick to just that if you’re feeling adventurous! If you want a real fall blast, try using a tiny pinch of nutmeg and maybe a sliver of a whole star anise while it simmers. Just remember, they are potent! Pull out the star anise before you blend or mash, though. People also love adding ground cloves for a richer flavor profile, giving you a more complex Cinnamon Applesauce variation.
Why is my homemade applesauce turning brown?
Ah, oxidation! It happens fast when you work with fresh fruit, but don’t panic—it’s still safe to eat, it just looks less appealing for serving guests. The lemon juice is your main defense against browning (that’s why I always include it as optional!), but if you skip it, just make sure you’re working quickly. If you notice it starting to darken after blending, just stir in another tiny squeeze of fresh lemon juice. That acid stops the enzymatic reaction right in its tracks.
Estimated Nutritional Snapshot for This Applesauce
I always get asked about the health side of things, and honestly, that’s another huge win for homemade stuff! Since we’re keeping the sugar low and using whole fruit, this is a genuinely great Healthy Apple Snack. Per half-cup serving, we’re looking at about 110 calories. That’s pretty light, right?
The natural sugars from the fruit itself clock in around 18 grams, mostly because apples are naturally sweet, which is totally fine by me because we aren’t adding tons of refined white sugar. Better yet, you get about 4 grams of fiber in that small serving, which is fantastic for keeping things moving! The best part? It’s essentially zero fat and zero cholesterol, which makes it a wonderful, light addition to any meal.
Now, I have to give you the standard disclaimer here, because I’m not a registered dietitian writing a chemistry report! These numbers are based on using those medium Gala/Fuji apples and skipping out on any extra maple syrup or brown sugar we talked about in the ingredient notes. If you do decide to add sweeteners, or if you use super sugary apples, those sugar counts will creep up a bit, so keep that in mind when you’re logging those treats!
Share Your Homemade Applesauce Creations
So, now you have the secret—the absolute easiest, fastest way to make the best homemade applesauce that tastes miles better than anything store-bought. I just love knowing that you’re going home with a batch of real fruit goodness that took less than 30 minutes to make!
I am so excited for you to try this. When you do, I really, really want to know what you think! Did you stick with the chunky texture, or did you blend it until it was velvety smooth? More importantly, what apples did you use? Tell me which varieties gave you the best balance of sweet and tart for your batch.
Take a moment and let me know how it went! Drop your star rating right below, or share any fun variations you tried in the comments section. Did you add pumpkin pie spice instead of just cinnamon? Did you use it as a topping on your pancakes this morning? I read every single note you leave, and hearing about your successes makes all my recipe testing worthwhile!
PrintEasy Stovetop Cinnamon Applesauce
Make simple, flavorful homemade applesauce on the stovetop. This recipe uses cinnamon for natural sweetness and cooks quickly.
- Prep Time: 10 min
- Cook Time: 20 min
- Total Time: 30 min
- Yield: 4 servings
- Category: Side Dish
- Method: Stovetop
- Cuisine: American
- Diet: Vegetarian
Ingredients
- 6 medium apples (like Gala or Fuji)
- 1/2 cup water
- 1 teaspoon ground cinnamon
- 1 tablespoon lemon juice (optional)
Instructions
- Peel, core, and chop the apples into roughly 1-inch pieces.
- Place the chopped apples, water, and lemon juice (if using) into a large saucepan.
- Bring the mixture to a boil over medium-high heat.
- Reduce the heat to low, cover the pan, and simmer for 15 to 20 minutes, or until the apples are very tender. Stir occasionally to prevent sticking.
- Remove the pan from the heat. Stir in the ground cinnamon.
- For chunky applesauce, mash the apples lightly with a potato masher or fork. For smooth applesauce, use an immersion blender or transfer the mixture to a regular blender and process until smooth.
- Cool completely before serving or storing.
Notes
- Use firm, slightly tart apples for the best flavor balance.
- If you prefer a sweeter sauce, add 1 tablespoon of maple syrup or brown sugar during the last 5 minutes of cooking.
- This applesauce freezes well for up to three months.
Nutrition
- Serving Size: 1/2 cup
- Calories: 110
- Sugar: 18g
- Sodium: 2mg
- Fat: 0g
- Saturated Fat: 0g
- Unsaturated Fat: 0g
- Trans Fat: 0g
- Carbohydrates: 29g
- Fiber: 4g
- Protein: 0g
- Cholesterol: 0mg