

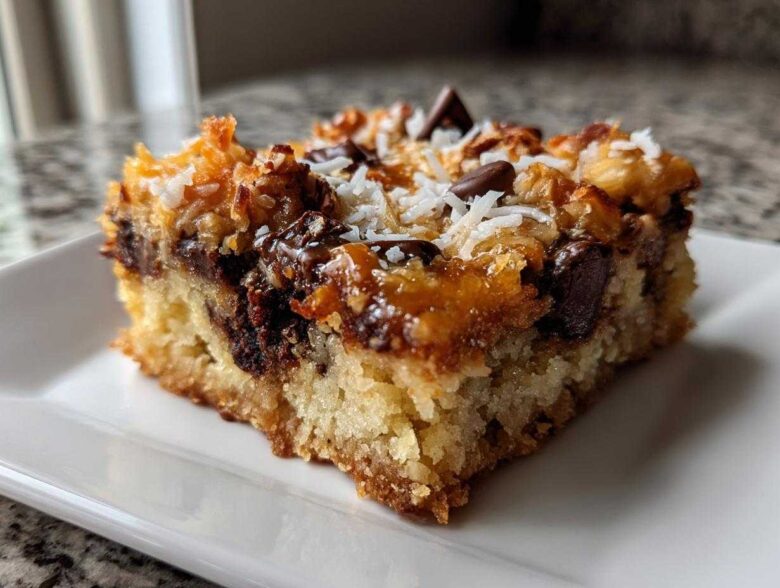
Oh my gosh, if you are looking for a dessert that screams comfort but takes virtually zero brain power, stop right here. I’ve made these legendary **magic cookie bars**—or as my aunt calls them, “Hello Dollies”—for every potluck, holiday gathering, and impromptu Tuesday night craving we’ve ever had, and they are always the first thing gone. Honestly, you cannot mess these up! The real magic, and what sets mine apart, is that impossible gooey, chewy texture we chase in layered bars. It all comes down to getting the layering just right and using that can of sweet milk correctly. These aren’t just good; they are the absolutely definitive 7-Layer Bars that will make you look like a baking genius with minimal effort. Trust me on this one!
Why You Will Love These Easy Cookie Bars
I mean, what’s not to adore about a dessert where you don’t even need to touch your electric mixer? These **easy cookie bars** practically assemble themselves. When I need a fast dessert using things I already have in the pantry, these are my total go-to solution. They are perfect for everything!
- They are so fast! Prep takes maybe fifteen minutes, turning them into genuinely quick dessert bars for busy evenings.
- Zero complication needed—seriously, no mixer, no fancy chilling stages (until the end, ha!).
- That texture! They bake up perfectly gooey and wonderfully chewy every single time.
- They look beautiful! That layered look is why they’re called 7-Layer Bars, and it impresses everyone.
- You can totally customize the chips and nuts to suit whoever you’re serving.
- They slice up beautifully (once cooled!) into perfect squares for sharing or bake sales.
Essential Ingredients for Perfect Magic Cookie Bars
When we make these bars, I treat the ingredient list like a sacred text—everything has a job to do, especially that magic can of milk! We are building seven distinct layers, so make sure you have all your components measured out before you start pressing that crust. You’ll need 1 1/2 cups of fine graham cracker crumbs, 1/2 cup of butter that’s already melted down, and of course, that indispensable 14-ounce can of sweetened condensed milk. I always use the full can; don’t try substituting it with evaporated milk—it won’t work the same way! Then you load up on the fun stuff: 1 cup of semi-sweet chocolate chips, 1 cup of butterscotch chips, 1 1/2 cups of flaked coconut, and 1 cup of chopped pecans or walnuts.
Ingredient Notes and Substitutions for Your Magic Cookie Bars
The texture here depends on the quality of your base ingredients. Make sure those graham cracker crumbs are fine, almost dusty, so your crust packs tightly. If you use nuts, walnuts give you a slightly softer bite, while pecans give a bit more structure. If you can’t find butterscotch chips, white chocolate chips are a perfectly acceptable swap—they melt beautifully! Remember, the sweetened condensed milk must be the full-fat variety, just like the classic Eagle Brand kind, because that’s what holds the entire magnificent, gooey structure together!
Step-by-Step Instructions for the 7 Layer Bars Recipe
Okay, this is where the fun happens, but you have to follow the layers in order if you don’t want the whole thing to turn into a sloppy mess! Don’t worry, following the **magic cookie bars** recipe exactly makes these foolproof. First things first: get that oven warmed up to 350 degrees Fahrenheit. Always make sure you line that 9×13 pan with parchment paper, leaving plenty of paper hanging over the sides—that overhang is your handle later when everything is hot and gooey from the oven. You’ll mix your crust, press it down firmly, and start building those beautiful layers one by one. The two pours of milk are the secret weapon here! We are building that spectacular base ready for baking, just like in my cherry almond oatmeal crisp recipe, but better!
Preparing the Graham Cracker Crust for Magic Cookie Bars
Start by getting your oven preheated to 350°F. Line your 9×13 pan! I cannot stress this enough: leave those flaps of parchment paper hanging out over the edges. It’s your built-in serving tool later. Now, mix those graham cracker crumbs with the melted butter until everything looks evenly coated. Really press this mixture down hard into the bottom of the pan. A firm, tight crust means your **magic cookie bars** won’t disintegrate when you go to cut them!
Layering the Sweetened Condensed Milk Desserts
Once the crust is set, pour about half of that can of sweetened condensed milk evenly over the top. Now, sprinkle on half of your chocolate, butterscotch, coconut, and nuts. Next, you drizzle the remaining milk over everything. This second application of milk is crucial because it seeps down and melts into the gaps between the toppings you just added, binding everything together. Finally, top it gently with the rest of your chips, nuts, and coconut. That layering process is what creates that gorgeous, complex texture of these **sweetened condensed milk desserts**.
Pop it into the oven for about 25 to 30 minutes until you see those edges turning golden brown. Be careful not to overbake, or you’ll lose that goo factor we are aiming for! Remember to let them cool completely before you even think about slicing them.
Tips for Success When Making Ultimate Gooey Bars
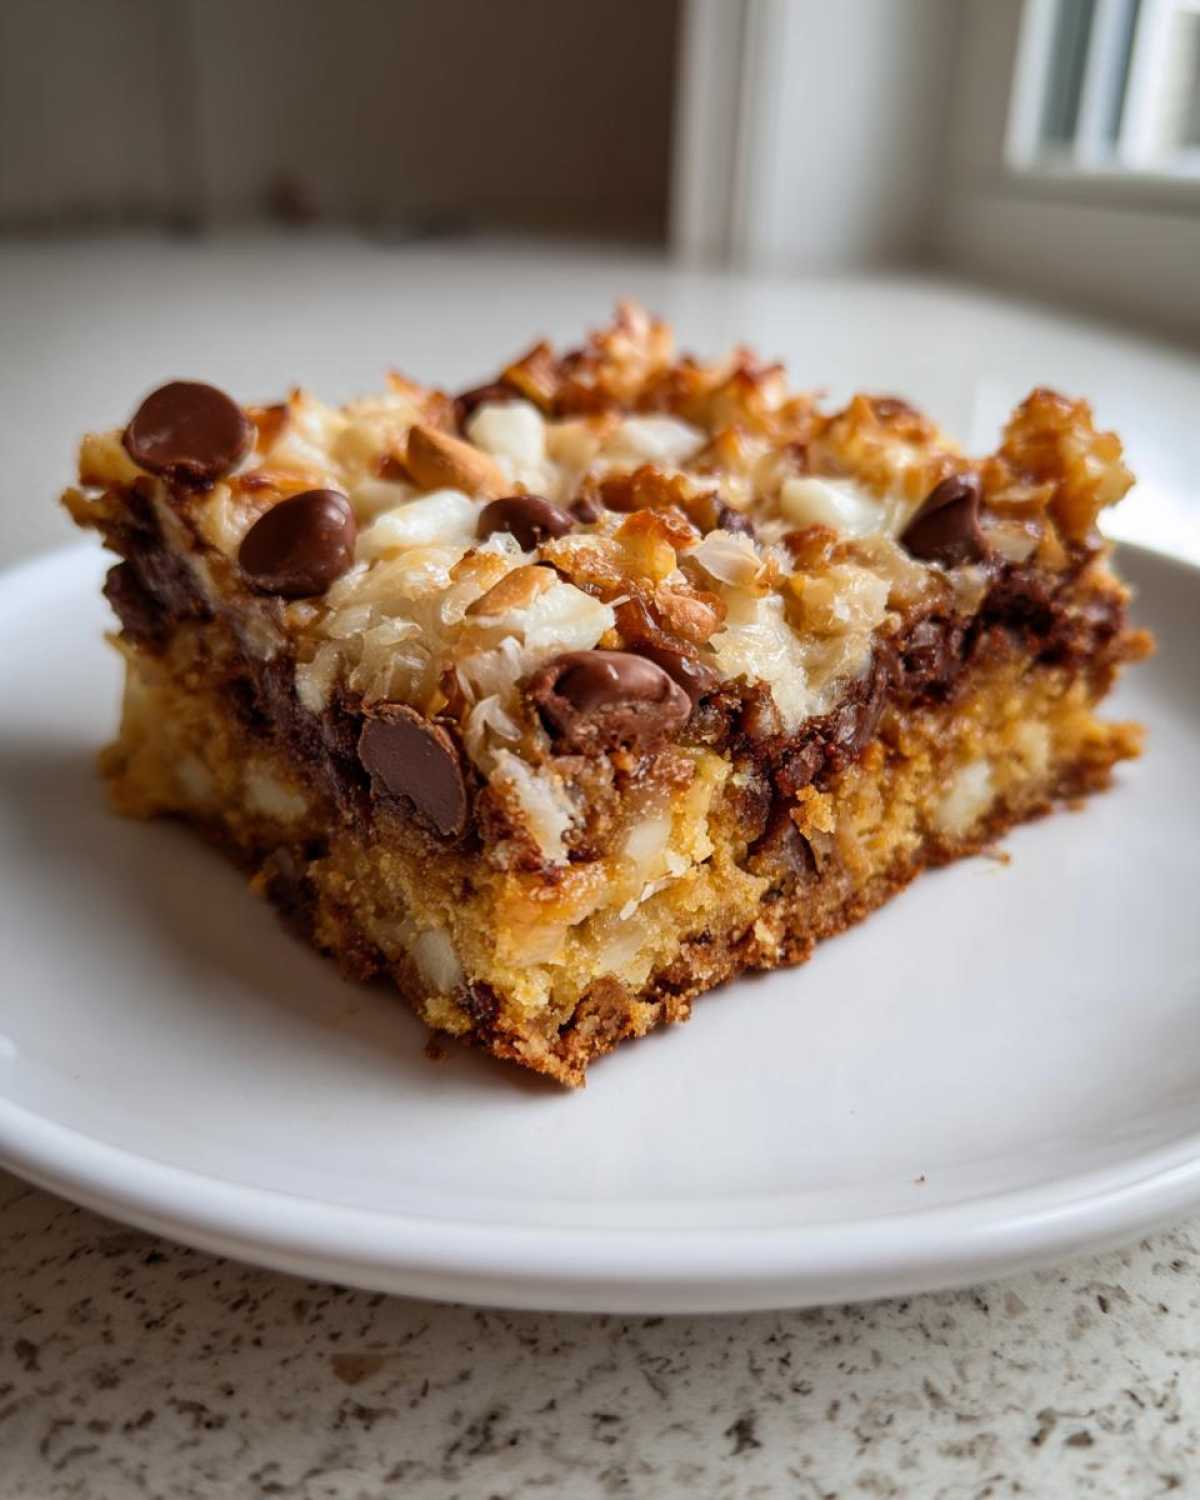
Making the **best chewy bars recipe** isn’t just about throwing everything in a pan; it’s about the timing after they come out of the oven! Honestly, the biggest mistake people make with my **ultimate gooey bars** is trying to cut them while they’re still warm. You’ll end up with a beautiful puddle of melted caramel and chips, but zero clean squares for serving.
You absolutely must let these cool completely on a wire rack after you pull them out of the oven. I mean it—let them sit there for at least two hours! If you’re impatient like me sometimes, pop the whole pan (still in the parchment sling!) into the fridge for an hour to speed things up. Chilling helps the sweetened condensed milk firm up just enough so you get those perfect, picture-ready squares. It’s similar to how I prep my chai tea scones—patience pays off!
Also, when you lift them out using that parchment overhang, set the whole slab onto a sturdy cutting board. Use a very sharp, large knife for slicing. A gentle sawing motion works better than trying to press straight down, especially through the sticky layers.
Storage and Reheating Instructions for Classic Layered Dessert
Storing these **magic cookie bars** is simple, which is one reason they are such fantastic **potluck friendly desserts**! Once they’re completely cool, I just stack them in an airtight container. You can definitely keep them right on the counter at room temperature for two or three days, and they stay perfectly gooey. If you want them to last longer—maybe you made them way ahead of a party—toss them in the fridge; they just firm up a bit more there.
Now, reheating? Honestly, I never bother! They are designed to be eaten at room temperature, and if you try to warm them up too much, that sweetened condensed milk gets super runny and oily. Just let them sit on the counter for about 20 minutes after chilling, and they’ll be perfect. You want that chewy, slightly melty consistency you get right out of the container, like in my Heaven on Earth Cake.
Variations for Holiday Cookie Exchange Bars
While the classic combination is already amazing—seriously, chocolate, butterscotch, and coconut are eternal—these bars are so fun to dress up for different seasons! If you’re bringing these to your next big gathering and need them to feel extra special, try swapping out the chips for the holidays. Think peanut butter chips mixed with milk chocolate for a Reese’s vibe, or maybe use a mix of dark chocolate and butterscotch for a deeper flavor profile. These make the most glorious **holiday cookie exchange bars**.
You can also switch up the nuts! Toasted almonds bring a fantastic aroma, or for something really fun and retro, skip the pecans and use crushed pretzels in the layering for a salty crunch. It’s all about making these **magic cookie bars** your own signature bake, just like my Mexican Hot Chocolate Brownies!
Frequently Asked Questions About Magic Cookie Bars
You know, I get so many questions every time I post these beauties online. They are simple, but everyone wants to know the little tricks to make them absolutely perfect! Here are the most common things folks ask about making these wonderful layered treats.
Can I make these magic cookie bars without nuts?
Oh, absolutely! If you or anyone you’re baking for has a nut allergy, you can totally skip them. But here’s the thing—those nuts take up a good chunk of volume in that seventh layer! If you leave them out, you need to replace that space so the top doesn’t look too bare. I usually suggest adding another half-cup of coconut flakes or maybe tossing in a handful of butterscotch or peanut butter chips instead. That way, you maintain that beautiful texture throughout your **graham cracker crust bars**.
Are ‘Hello Dolly bars’ the same as 7-layer bars?
Yes, they totally are! It’s funny how many names one simple, delicious dessert can have, right? If someone calls them **Hello Dolly bars**, or maybe they heard someone call these **classic layered dessert** squares “seven-layer bars,” you can be certain they are talking about this exact recipe with the graham cracker base and sweetened condensed milk binder. It’s just regional slang!
What is the secret to cutting these chewy bars cleanly?
I tell everyone that cooling is serious business when it comes to sticky bars like this. The secret to getting those perfect, clean edges on your **chewy bars recipe** isn’t the knife—it’s the temperature. You have to let them cool completely on the counter first, and then, if you want those truly perfect, shiny cuts, stick the entire pan (still wrapped in the parchment sling!) into the refrigerator for at least an hour before slicing. The cold helps solidify that thick layer of melted chips and milk just enough so your knife glides right through without pulling everything into a gooey mess. Try those spiced orange biscotti; they need cooling too, but for a different reason!
Nutritional Estimate for This Crowd Pleasing Dessert Squares
Now, I’m not a nutritionist, so please take this as a very rough estimate for one square of these **crowd pleasing dessert squares**! When you’re making something this rich with chocolate, coconut, and that sweet condensed milk, you know they pack a punch. If you’re tracking macros, it’s good to have a ballpark idea, but remember this is based on using standard ingredients and cutting the batch into 24 pieces, just like my recipe suggests.
Here is the general breakdown per serving from my calculations. They are definitely a treat, but oh boy, are they worth every bite! You can find more info on the whole recipe over on my smoothie page if you’re looking for lighter fare later!
- Calories: Around 210
- Total Fat: About 13g
- Saturated Fat: Roughly 6g
- Carbohydrates: Around 22g
- Sugar: This is where it gets high, usually around 18g—that’s all that delicious condensed milk talking!
- Protein: About 3g
It checks out—these are rich! But hey, isn’t that why we love **magic cookie bars** so much? They are pure, decadent comfort baked into a bar!
Share Your Best Chewy Bars Recipe Experience
Now that you’ve got my absolute favorite recipe for **magic cookie bars**, I really, truly want to hear what you think! Don’t be shy—baking should be a conversation, not a secret held tight in the kitchen.
Did you try the classic version, or did you go rogue with peanut butter chips? Did you remember the parchment flap? Tell me everything!
If you made these and they turned out perfectly chewy—or even if you learned something new along the way—please drop a comment down below and tell me how it went. A simple star rating lets other bakers know this recipe is a winner, too! I always check back here to see your results. And if you snap a picture of your beautiful squares, please tag me on social media. I get such a thrill seeing everyone enjoying these crowd-pleasing retro dessert bars in their own homes. Happy baking, sweet friends!
PrintThe Best Classic Magic Cookie Bars (7-Layer Bars)
Make these simple, crowd-pleasing Magic Cookie Bars, also called 7-Layer Bars or Hello Dollies, using sweetened condensed milk for a perfectly gooey texture.
- Prep Time: 15 min
- Cook Time: 30 min
- Total Time: 45 min
- Yield: 24 squares
- Category: Dessert
- Method: Baking
- Cuisine: American
- Diet: Vegetarian
Ingredients
- 1 1/2 cups graham cracker crumbs
- 1/2 cup unsalted butter, melted
- 1 (14 ounce) can sweetened condensed milk
- 1 cup semi-sweet chocolate chips
- 1 cup butterscotch chips
- 1 1/2 cups flaked coconut
- 1 cup chopped pecans or walnuts
Instructions
- Preheat your oven to 350 degrees Fahrenheit. Line a 9×13 inch baking pan with parchment paper, leaving an overhang on the sides for easy removal.
- In a medium bowl, mix the graham cracker crumbs and melted butter until the crumbs are evenly moistened.
- Press the crumb mixture firmly and evenly into the bottom of the prepared baking pan to form the crust.
- Pour half of the can of sweetened condensed milk evenly over the crust.
- Sprinkle half of the chocolate chips, half of the butterscotch chips, half of the coconut, and half of the nuts over the milk layer.
- Drizzle the remaining sweetened condensed milk over the first layer of toppings.
- Top with the remaining chocolate chips, butterscotch chips, coconut, and nuts in even layers.
- Bake for 25 to 30 minutes, or until the edges are golden brown and the center is set.
- Remove the pan from the oven and let the bars cool completely in the pan on a wire rack. Cooling is important for clean slicing.
- Once cool, use the parchment paper overhang to lift the bars out of the pan. Cut into squares before serving.
Notes
- For a richer flavor, toast the coconut lightly before adding it to the layers.
- If you do not have butterscotch chips, you can substitute them with an equal amount of white chocolate chips.
- Chill the bars for at least two hours before slicing for the neatest cuts.
Nutrition
- Serving Size: 1 square
- Calories: 210
- Sugar: 18
- Sodium: 75
- Fat: 13
- Saturated Fat: 6
- Unsaturated Fat: 7
- Trans Fat: 0
- Carbohydrates: 22
- Fiber: 1
- Protein: 3
- Cholesterol: 20