

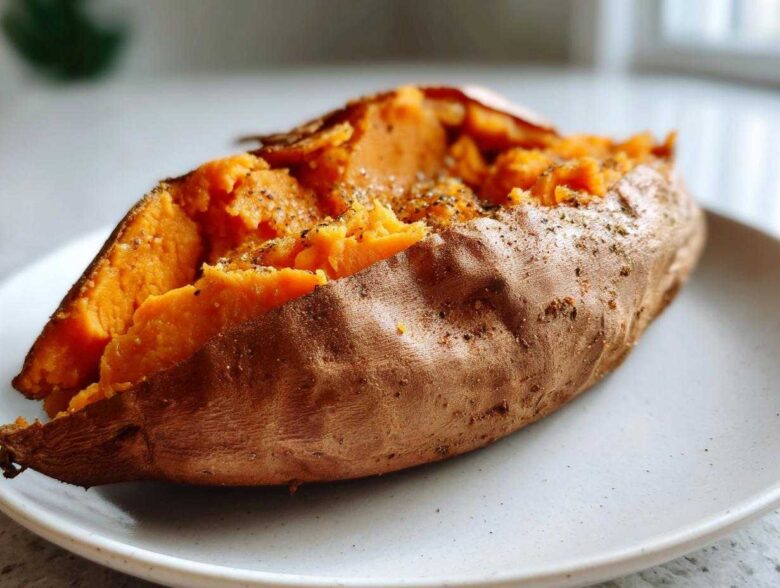
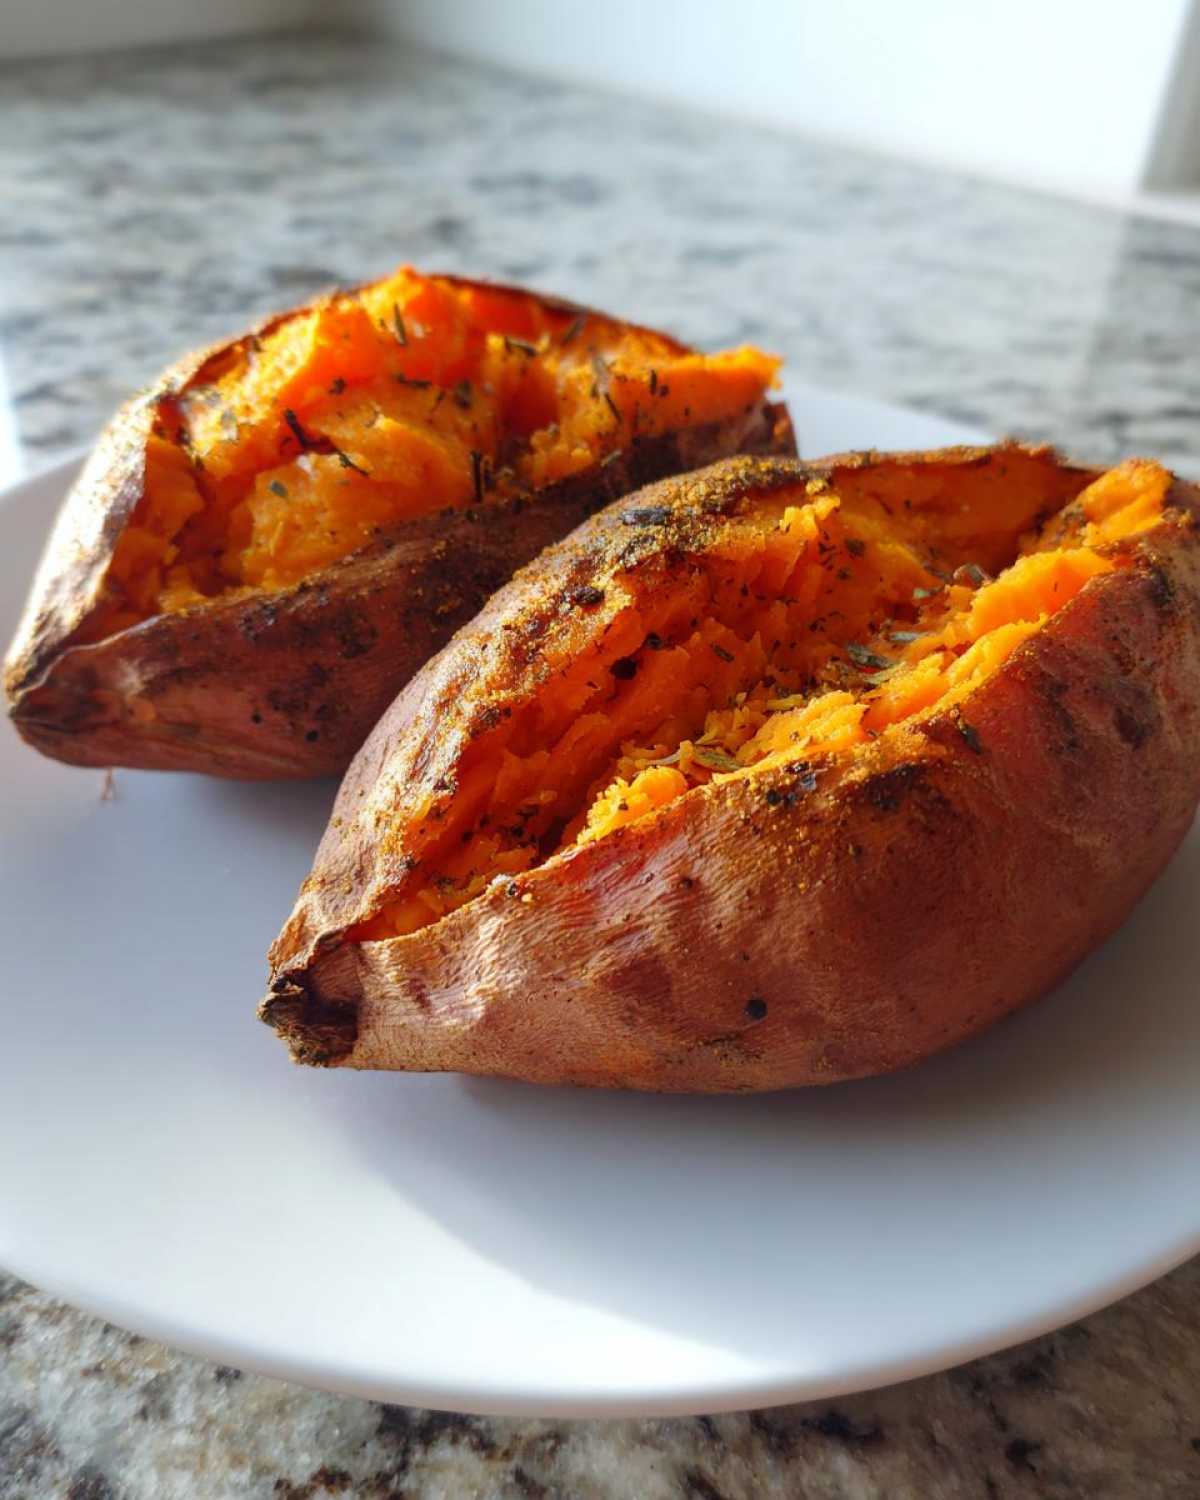
If you’ve ever cut open a sweet potato only to find the center slightly dry or the skin soggy, I totally get it. That’s why I’m sharing the absolute simplest, most foolproof method for making a truly perfect baked sweet potato. We’re talking about a creamy, fluffy interior that melts under a fork and skin that actually gets wonderfully caramelized and crispy!
This technique is one of Alex’s favorites because it requires almost zero fuss. He loves order, and this method keeps everything perfectly clean and predictable. Forget wrapping them in foil—that’s where the magic dies! We want that naked potato right on the rack to achieve peak sweet potato perfection every single time.
Why This Baked Sweet Potato Method Delivers Perfection
The reason our baked sweet potato recipe works so well is all about letting the heat do its job without interference. If you want that intensely sweet flavor and that unbelievable fluffy center, you have to ditch the foil. Seriously, wrapping them traps steam inside the wrapper, which steams the *skin* and makes it soft and pale—we don’t want that!
By placing them directly on the oven rack—yes, directly onto the metal—we allow hot air to circulate all around the potato. This dries out the exterior while simultaneously cooking the interior perfectly. It is Alex’s precise technique shining through!
Achieving the Fluffy Interior of Your Baked Sweet Potato
The key to fluffiness is making sure the inside can actually steam itself. That’s where piercing comes in. You need to poke those holes deeply, about five or six times around the body of the potato. These punctures are your safety release valves; they let the internal moisture turn to steam and push outwards, ensuring the flesh becomes light and airy instead of dense and gummy. Trust me, if you skip the piercing step, you risk a messy oven clean-up!
Tips for Crispy Skin on Your Baked Sweet Potato
For that beautiful, slightly crisp, savory skin, it’s a two-part job. First, oil it up! The oil helps conduct that dry heat right into the skin. Secondly, you absolutely need coarse salt sprinkled all over. The salt draws out just a touch of moisture from the skin during baking, firming it up and making it taste amazing. This direct-heat method is the only way to get that incredible contrast between the firm, salty skin and the sweet, fluffy sweet potato inside.
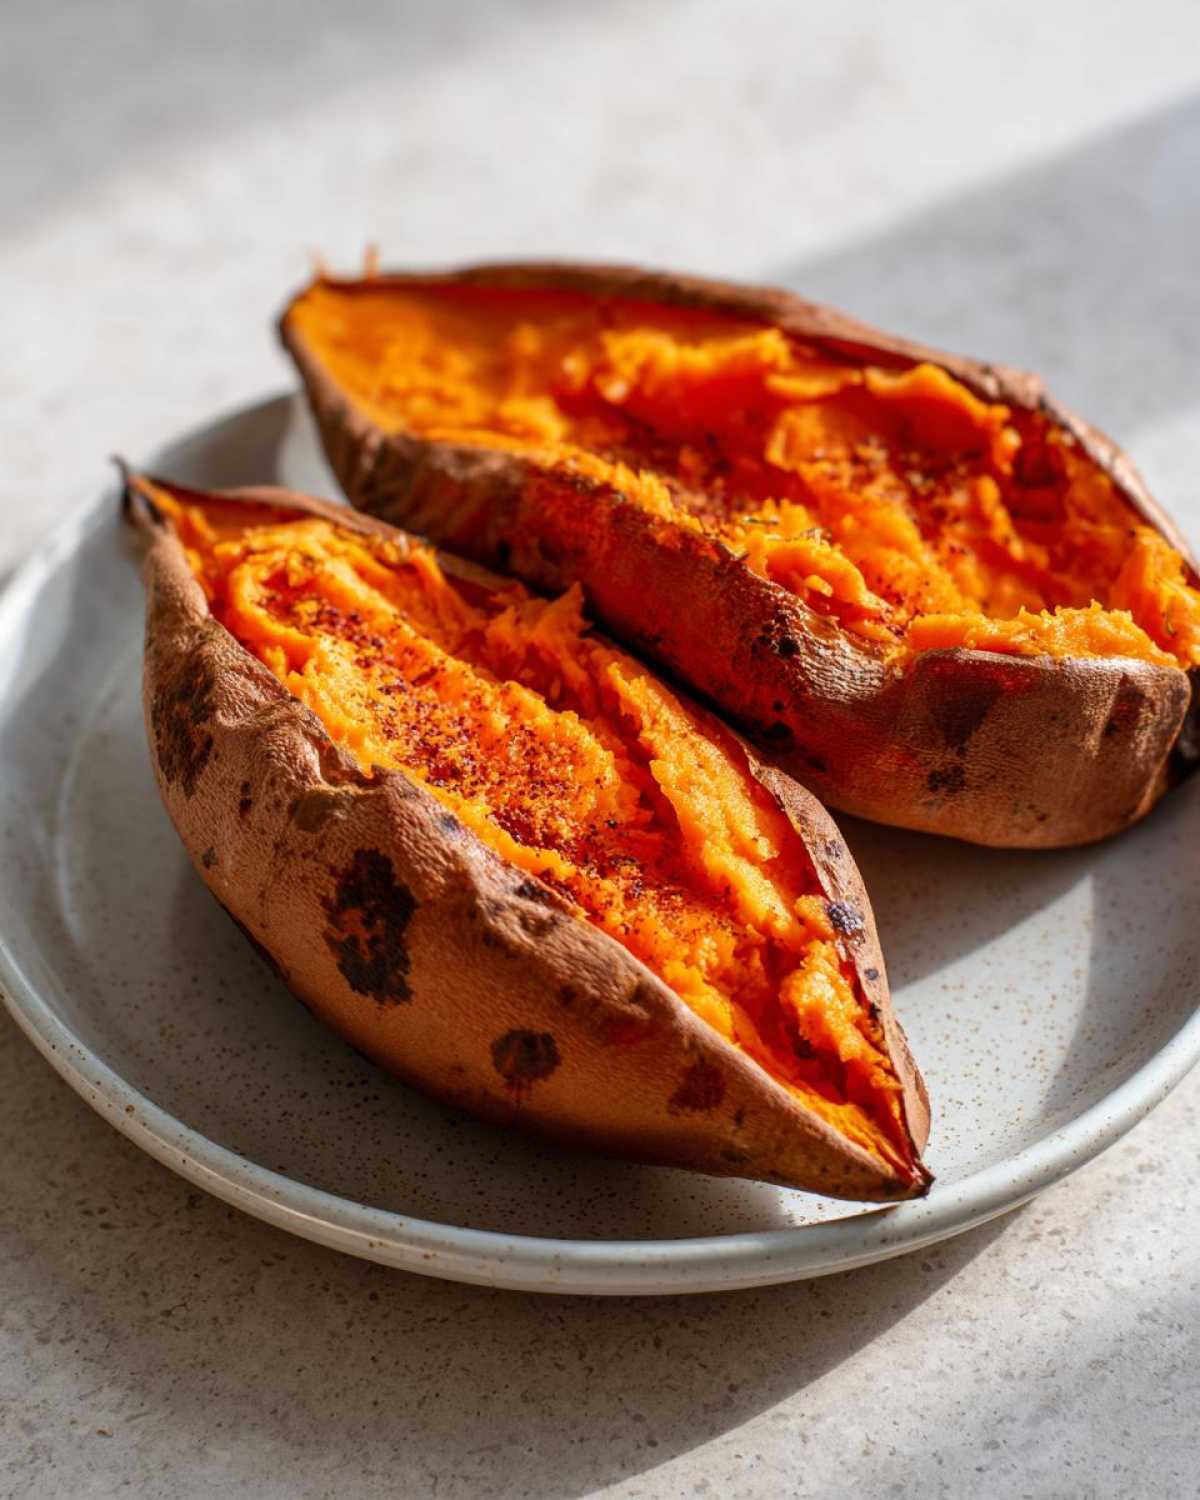
Ingredients Needed for the Best Baked Sweet Potato
You might love complex recipes, but this one celebrates simplicity! You truly just need a few things to make the best baked sweet potato you’ve ever had. When Alex looks at this ingredient list, he feels reassured because everything is basic and easy to find.
Here is exactly what you need for four servings:
- 4 medium sweet potatoes, scrubbed really well under the water
- 1 tablespoon olive oil or avocado oil (we stick to these neutral ones)
- 1 teaspoon coarse salt – none of that fine dusty stuff!
- 1/2 teaspoon freshly cracked black pepper
That’s it! No sugar, no fancy spices yet—we want the potato flavor to shine through before we smother it in toppings later on.
Step-by-Step Instructions: How to Bake Sweet Potatoes
Okay, this is where we put theory into practice! Since Alex loves precision, follow these steps exactly, and you’ll end up with four perfectly cooked sweet potatoes ready for whatever you decide to top them with. It’s simple baking, but clarity in the prep means a fluffy result, guaranteed. We’re using a high heat here to encourage that crispy skin we talked about, so make sure your oven is ready to go.
Preparation and Seasoning for Your Baked Sweet Potato
First things first: get that oven heated up to 400°F (200°C). While it’s warming, grab your sweet potatoes and scrub them hard under running water. Dirt hides in those bumps! After scrubbing, you have to dry them completely—damp skin will steam, and we want dry for crispiness. Now, take a sturdy fork and pierce each potato deeply about six times all over. This is non-negotiable; it lets the steam escape so the potato doesn’t explode on you!
Once poked, take your oil and rub it all over the surfaces—don’t miss any spots. Now, for the seasoning! Sprinkle that coarse salt and black pepper evenly across the oily skin. Remember, we are seasoning the outside here to make a crust, not the inside yet. Lay them directly onto the middle oven rack. That’s right, no baking sheet underneath them!
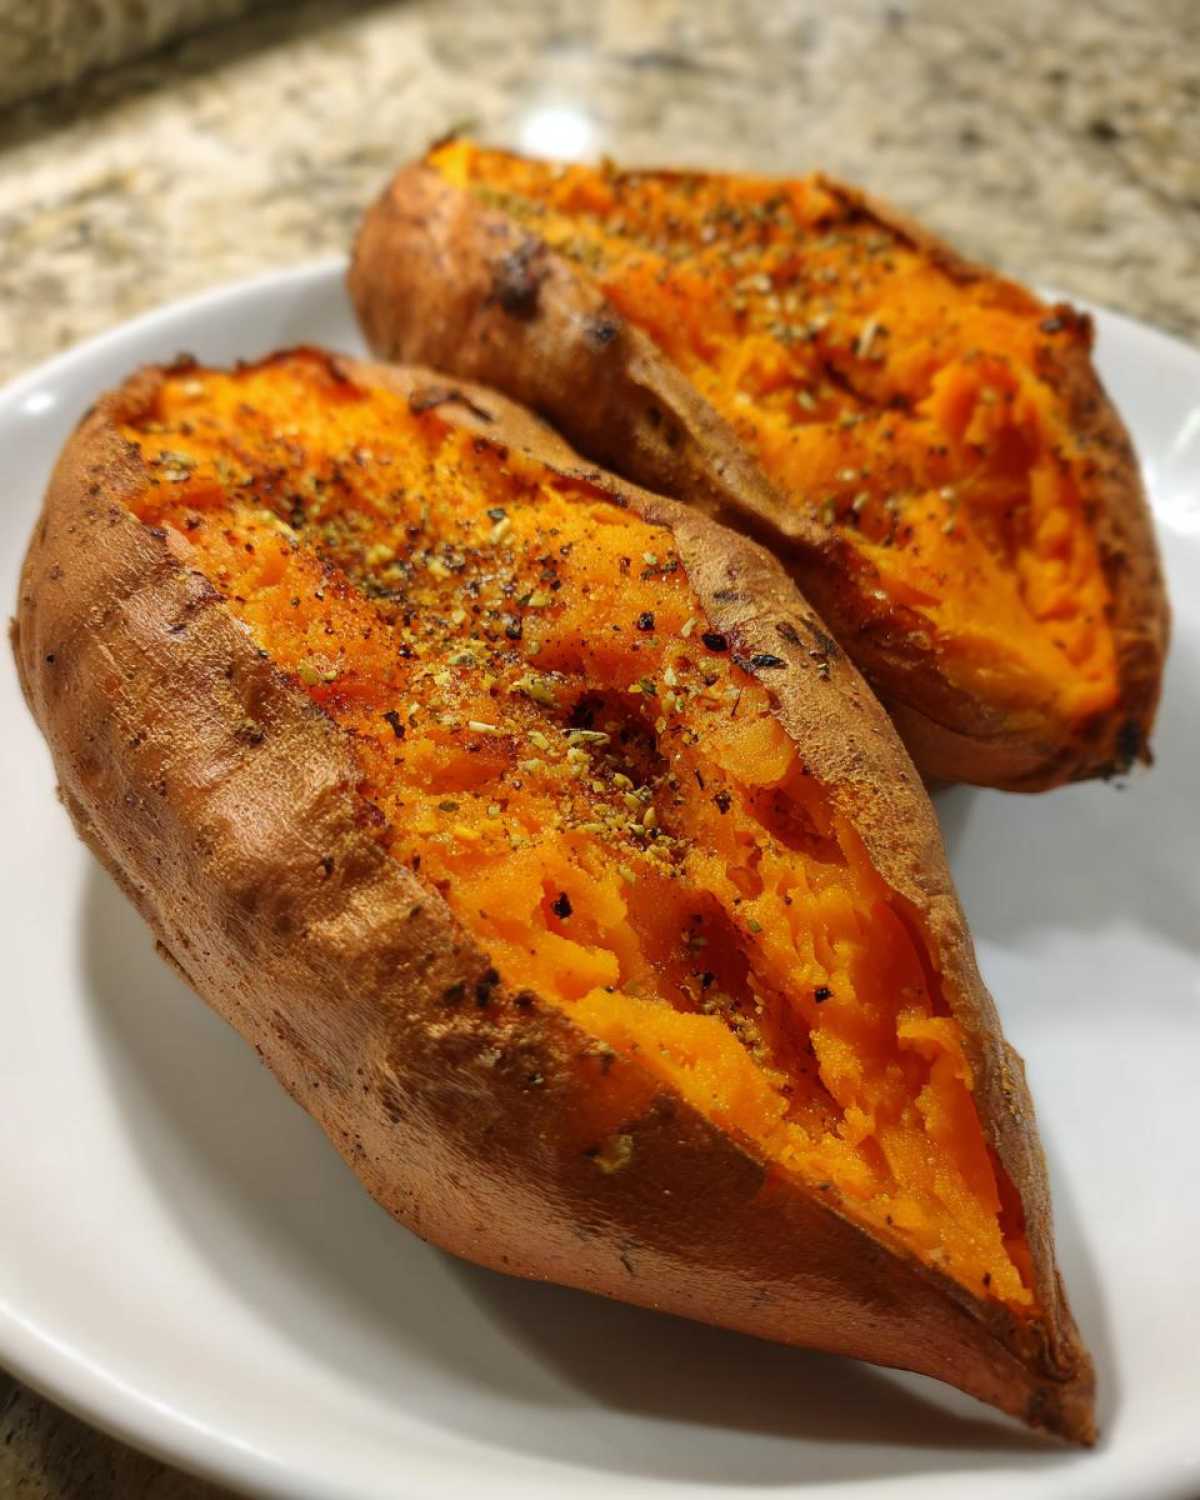
Baking Time and Knowing When Your Baked Sweet Potato is Done
Pop those beauties into the hot oven for about 45 to 60 minutes. I know, I know, that’s a wide window, but it really depends on how big your potatoes are. Smaller ones might be ready near the 45-minute mark, while larger ones—oh, those chunky ones—might need that full hour. You’ll know they are done when the skin looks slightly wrinkled and crispy, and most importantly, when a fork slides all the way into the center with zero resistance. Don’t rush the fork test!
Once they pass the test, pull them out. Let them rest on the counter for about five minutes; they’ll be screaming hot. A slight rest makes them easier to handle before you slice them open lengthwise for loading up with toppings, perhaps some of that homemade spiced butter!
Expert Tips for Sweet Potato Perfection
Even though Alex insists on his specific direct-rack method for the *best* result, I know sometimes life is busy and you just can’t wait an hour for dinner sides! That’s why we have a couple of little secrets tucked away for when we need to speed things up or when we’re serving little ones who prefer softer skin.
These aren’t my first choice for the ultimate **baked sweet potato**, but they absolutely save the day when you’re short on time ahead of a big meal. We always keep these tweaks in our back pocket!
Speeding Up the Baked Sweet Potato Cooking Process
If you’re running behind, listen up! This microwave trick is how we get a head start. You can microwave your scrubbed and pierced potatoes for about three to five minutes before they ever see the oven. This isn’t meant to cook them all the way through, only to jump-start the process internally. When you pull them out of the microwave, they’ll feel warm, and then you just proceed with the oiling, salting, and baking steps as normal. They might shave off 15 to 20 minutes in the oven, making dinner timing much easier!
Adjusting the Skin Texture of Your Baked Sweet Potato
Now, sometimes, that gorgeous crisp skin I love so much is just too tough for someone at the table—maybe for a little one, or perhaps you just prefer that softer, roasted jacket texture. If that’s the case, we revert to one of the old ways: wrapping them loosely in aluminum foil before they go in the oven. Don’t seal the foil tight; let it come together loosely. This traps just enough moisture so the skin softens up nicely while the inside cooks beautifully. It’s a slightly different texture than the naked roast, but perfect for loading up later with something like our sweet potato taco filling!
Serving Suggestions for Your Fluffy Baked Sweet Potato
The best part about getting that perfect baked sweet potato is slicing it open and seeing that steam ghost out—it’s practically begging for toppings! Since the potato itself is naturally sweet, you have so much room to play here. My absolute go-to, the one I make most often, is a simple knob of good quality butter that melts right into the center, a tiny sprinkle of salt (because salt makes sweet things taste sweeter!), and maybe a dash of cinnamon from a freshly opened container.
Alex often likes to go savory, especially if he’s turning it into a full meal. He loves stirring in some sharp cheddar cheese until it’s gooey, or maybe adding a dollop of sour cream and some fresh chives. If you’re feeling inspired, try mixing that butter with some spices first. We have a killer recipe for homemade cinnamon butter that takes these potatoes over the top—it’s seriously a game-changer for weeknights!
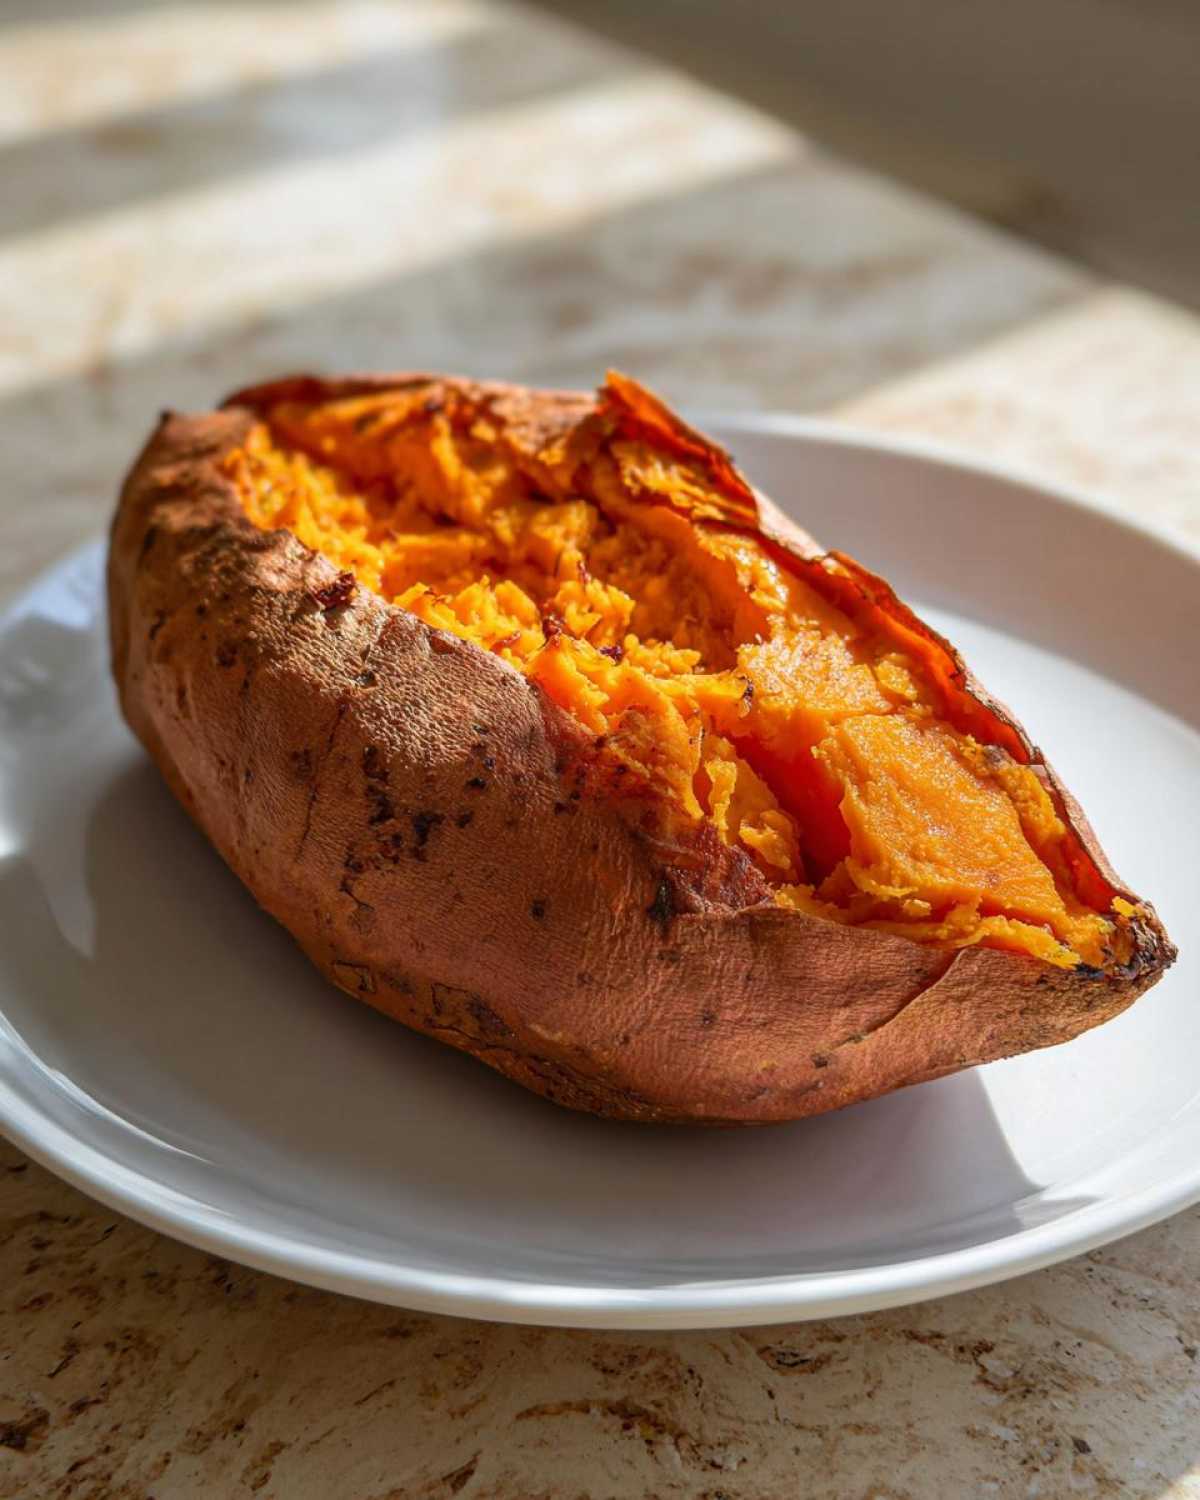
Storage and Reheating Instructions for Baked Sweet Potato Leftovers
Sometimes you just can’t eat four perfectly baked sweet potatoes in one sitting, right? Good news! These beauties hold up really well for meal prep. I always try to store them whole if I can. You can keep your leftover whole, un-cut baked sweet potato in the fridge for up to four days. Just make sure they cool down completely before putting them into an airtight container or a zip-top bag. Don’t even think about storing them if they’re still warm—that’s how you invite sogginess!
Now, reheating is where we have to be a little careful if we want to keep that fluffy texture. If you just microwave a whole potato for too long, it gets steamy and dense again. I prefer popping them directly back into a 350°F oven for about 10 minutes. If you’re in a real hurry, the microwave works, but only use short 30-second bursts while checking often. We want to gently wake up that fluffy interior, not steam it into submission!
Frequently Asked Questions About How to Bake Sweet Potatoes
I know cooking anything new can bring up a few niggling questions, so I wanted to collect the things that Alex and I get asked most often about getting that perfect **baked sweet potato**. We’ve been doing this simple oven method for years, so hopefully, we’ve covered what you’re wondering!
Can I use foil when baking sweet potatoes?
This is the number one question, and my answer is always: only if you *want* soft skin! For the absolute crispiest skin and the fluffiest interior, you must bake them naked directly on the rack. If you wrap them in foil, you’re trapping all the moisture, which essentially boils the skin instead of roasting it. If you absolutely must have softer skin, Alex suggests wrapping them loosely, but for my money, skipping the foil is the secret weapon!
How do I know what size sweet potato to choose?
When you’re at the store, try to pick potatoes that are as uniform in size and shape as possible. This is crucial because if you put one giant potato next to one tiny potato, one will be raw while the other is falling apart! Medium-sized potatoes, about the length of your hand, usually cook perfectly in that 45 to 60-minute window we discussed. Consistency is key here for even baking!
What if I want to bake sweet potatoes from frozen?
Honestly? I’d encourage you to avoid baking them from frozen if you can. Freezing changes the cell structure of the potato, and when you bake it directly from frozen, you usually end up with a wetter, mushier texture, even if the outside looks okay. If you must use frozen, I would definitely use that microwave trick we talked about first to thoroughly thaw and slightly cook them before seasoning and baking. Check out more of our general cooking thoughts over on the AfriPaket blog!
Are these baked sweet potatoes good for meal prep?
Yes, they are fantastic for meal prep! We store ours whole—meaning we don’t cut them open until we are ready to eat them. Once they are totally cool, slide them into a sealed container and keep them in the fridge. They hold up beautifully for about four days, much longer than if you cooked them and then started chopping them up right away. Reheating them whole works wonders to maintain that fluffy texture, too. If you’re looking for more budget-friendly cooking tips, you might want to peek at what the folks over at Budget Bytes do!
Nutritional Estimate for One Baked Sweet Potato Serving
I always feel it’s important to know roughly what you’re putting into your body, even with a simple side dish like this. Since we aren’t adding anything heavy—just a tiny bit of oil, salt, and pepper—the numbers mostly reflect the potato itself. Alex insists on posting this because transparency builds trust, even if the exact values can swing a little bit based on how big the potato was that day!
Keep in mind these are estimates for one medium potato, prepared using our basic oil and salt method. If you load it up with butter, cinnamon sugar, or cheese later, of course, those numbers are going to climb!
- Serving Size: 1 medium potato
- Calories: 180
- Sugar: 13g
- Sodium: 230mg
- Total Fat: 0.3g
- Carbohydrates: 41g
- Fiber: 7g
- Protein: 4g
You can see that the fiber content is fantastic, which is one of the many reasons we love reaching for sweet potatoes so often. It’s real, whole food power right there! Just remember, our little bit of oil and the salt we put on the outside account for those minimal fat and sodium counts listed here.
Share Your Perfect Baked Sweet Potato Creations
That’s it! We’ve gone through the slicing, the seasoning, and the waiting game—now it’s your turn to bring these perfect baked sweet potatoes to *your* table! Alex and I absolutely love seeing how you use these simple techniques in your own kitchens, whether it’s for a busy Tuesday night or a big holiday spread.
Please, if you try this method and finally achieve that fluffy texture you’ve been chasing, come back and leave us a rating right here on the post. Those little stars mean the world to us and help other folks find their way to sweet potato perfection.
And if you snap a photo, tag us on social media! Seeing your beautiful, crispy-skinned spuds popping out of the oven makes my whole week. It’s about building this community of curious cooks together, just like we learned to do when we were figuring out those first few recipes in Addis Ababa. If you have questions or want to share a topping idea that blew your mind, don’t hesitate to reach out via our contact page!
We’re so proud of this easy recipe, and I hope it brings a little simplicity and a lot of flavor to your plate. If you try it, maybe check out what the nice folks over at Simple Bites are up to next!
PrintHow to Bake Perfect Sweet Potatoes (Fluffy & Tender Every Time)

Learn the simple, no-fuss method for baking sweet potatoes that results in a creamy interior and perfectly caramelized skin. This is your guide to achieving the best baked sweet potato for any meal.
- Prep Time: 5 min
- Cook Time: 50 min
- Total Time: 55 min
- Yield: 4 servings
- Category: Side Dish
- Method: Baking
- Cuisine: American
- Diet: Vegetarian
Ingredients
- 4 medium sweet potatoes
- 1 tablespoon olive oil or avocado oil
- 1 teaspoon coarse salt
- 1/2 teaspoon black pepper
Instructions
- Preheat your oven to 400°F (200°C).
- Scrub the sweet potatoes well under running water to remove any dirt. Dry them completely with a paper towel.
- Pierce each sweet potato several times deeply with a fork. This allows steam to escape and prevents bursting.
- Rub the entire surface of each potato with the oil.
- Sprinkle the salt and pepper evenly over the oiled skin of each potato.
- Place the seasoned sweet potatoes directly onto the middle oven rack. Do not use a baking sheet or foil for the best crispy skin.
- Bake for 45 to 60 minutes. The time depends on the size of your potatoes. They are done when the skin is slightly crispy and you can easily pierce the center with a fork.
- Remove from the oven and let them cool for about 5 minutes before serving.
- Slice open lengthwise and serve immediately with your favorite toppings.
Notes
- For faster cooking, you can microwave the potatoes for 3-5 minutes before baking.
- If you prefer a softer skin, you can wrap the potatoes loosely in aluminum foil before baking.
- These baked sweet potatoes are excellent for meal prep; store them whole in the refrigerator for up to four days.
Nutrition
- Serving Size: 1 medium potato
- Calories: 180
- Sugar: 13
- Sodium: 230
- Fat: 0.3
- Saturated Fat: 0.0
- Unsaturated Fat: 0.3
- Trans Fat: 0.0
- Carbohydrates: 41
- Fiber: 7
- Protein: 4
- Cholesterol: 0