

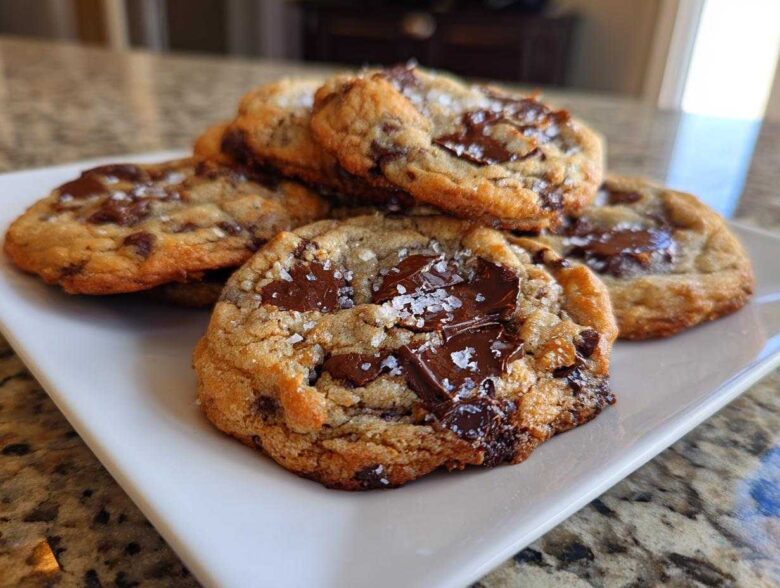
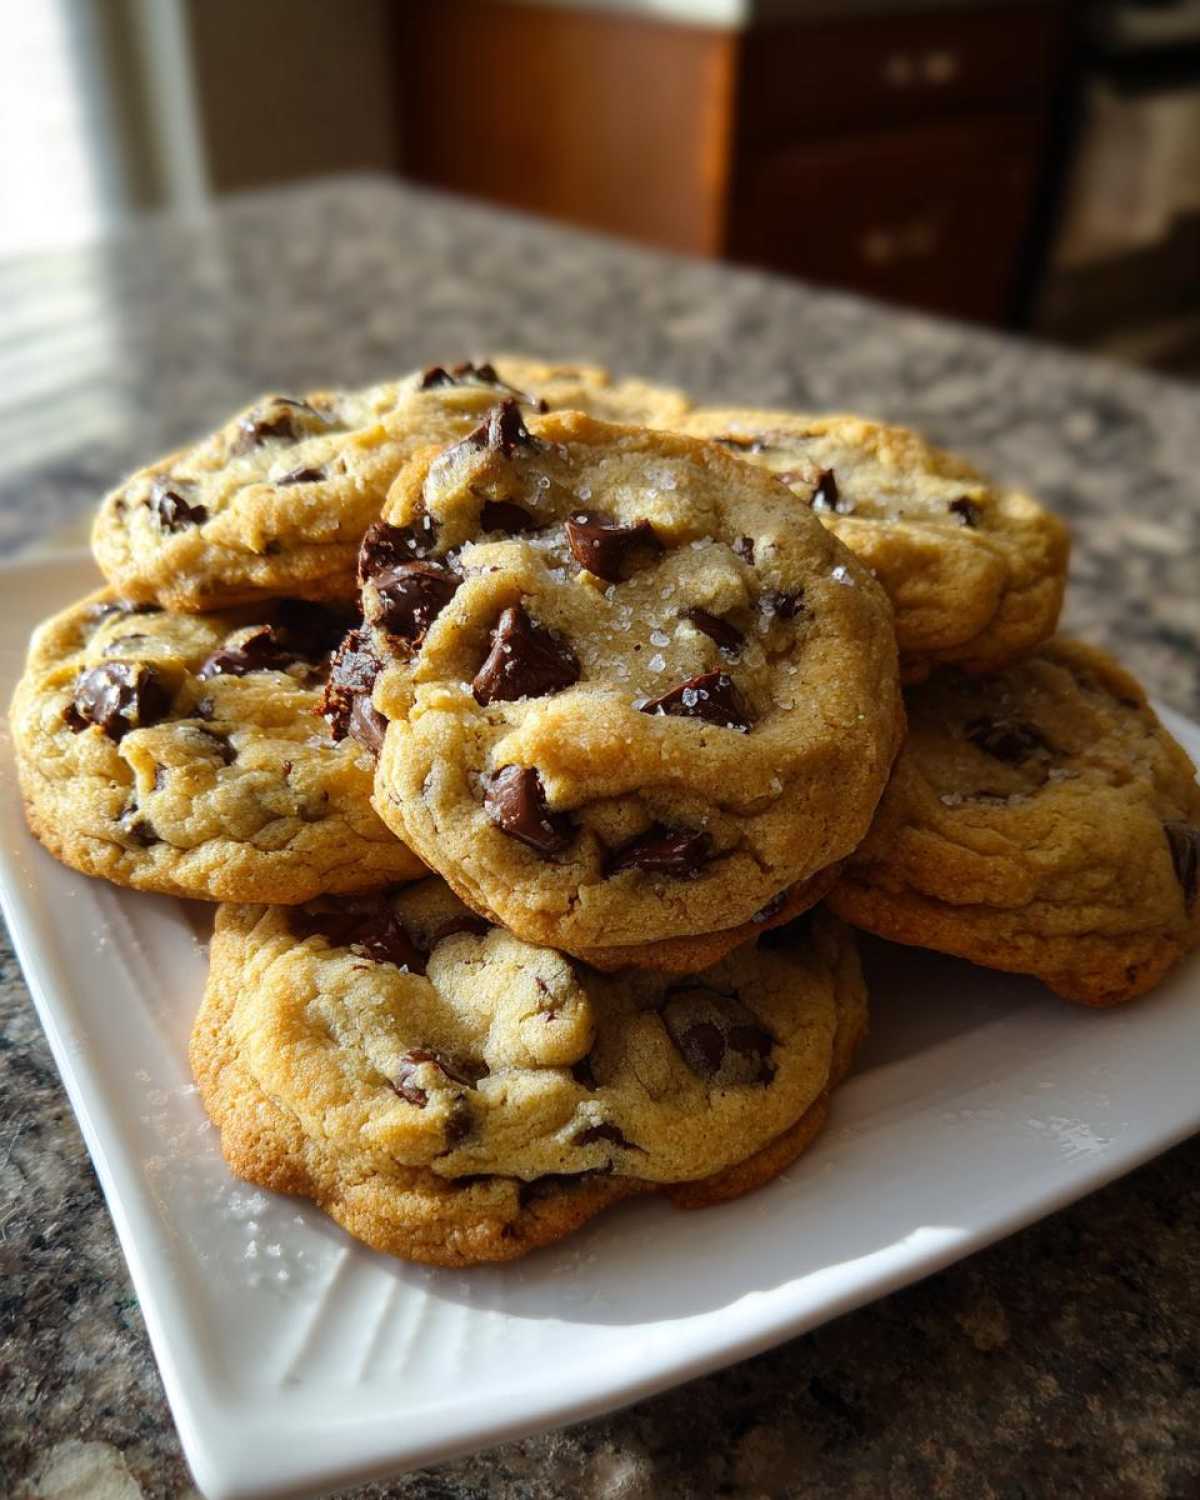
If you’ve ever stared sadly at a flat, crispy disk and wondered where your soft baked chocolate chip cookie went wrong, stop worrying right now! I promise you, achieving that perfect, thick, bakery-style look—crispy on the edges but unbelievably soft and chewy inside—is totally achievable. Alex, my very methodical husband, approaches baking like an engineering problem, and this Ultimate Soft and Chewy chocolate chip cookie recipe is the result of his precise testing. Trust me, this is the only cookie recipe you’ll ever look at again. Get your mixers ready; we’re making magic! This foolproof method is what we share here on the blog.
Why This is The Best Chocolate Chip Cookie Recipe Ever
Honestly, I’ve thrown out more batches of sad, flat cookies than I care to admit over the years. But Alex cracked the code for us! This recipe just works consistently, and I think that’s why we love it so much. It hits every single mark we look for in a perfect homemade treat.
- We get those amazing, thick, bakery-style cookies that don’t immediately turn into pancakes in the oven.
- The flavor is deep because we use melted butter instead of softened—it adds richness you can taste!
- The texture is absolutely unbeatable: soft, chewy, and never cakey.
The secret sauce, which we’ll go over later, is the required chilling time. Don’t skip it; it’s part of what makes these cookies so incredibly good.
Achieving Crispy Edge Soft Center Cookies
This texture is the dream, right? You want those slightly golden, almost brittle edges that give way to a warm, molten middle. This happens because we use a slightly higher ratio of brown sugar to white sugar. The brown sugar, being molasses-heavy, keeps things nice and moist later on. But the chilling is key for structure! If you bake straight from mixing, the cookies spread too fast before the structure sets.
Also, you absolutely have to pull them out when they look *slightly* underdone. Trust me on this, they keep cooking on the hot tray, resulting in those perfect crispy edge soft center cookies every single time!
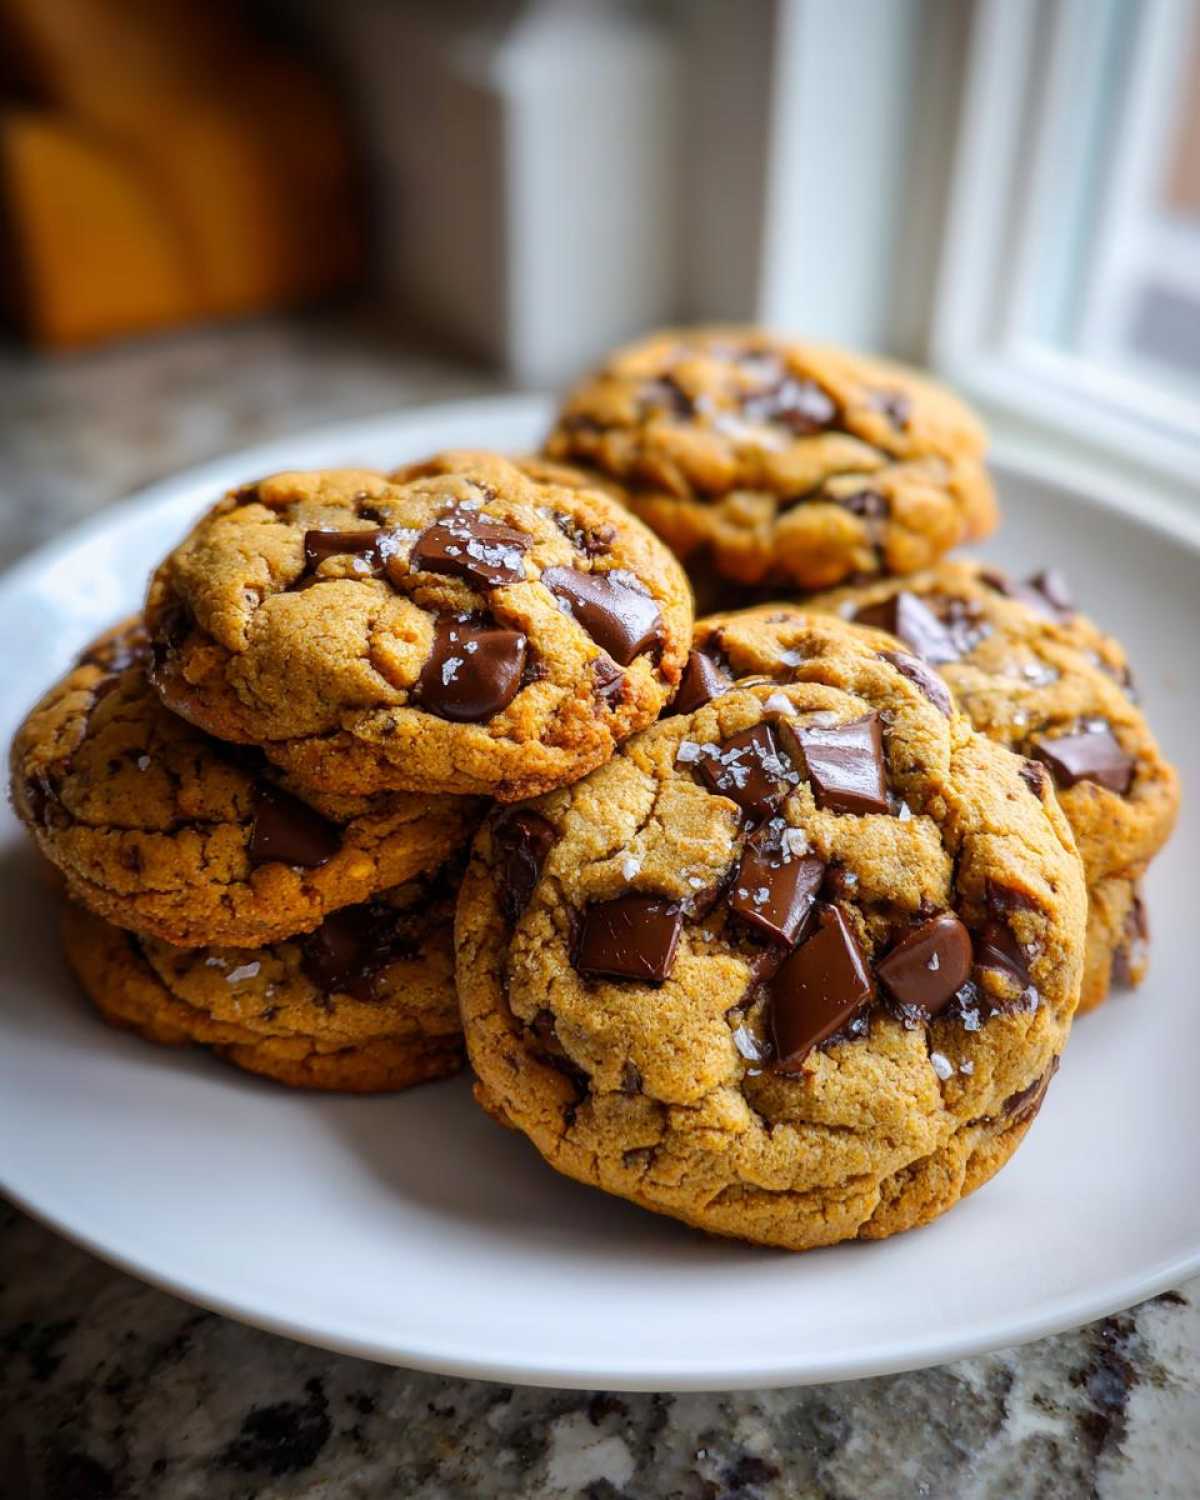
Gathering Ingredients for Your Chocolate Chip Cookie Masterpiece
Okay, for the assembly part! Getting the ingredients ready is half the battle, and if you measure carefully, you prevent so much stress later on. Alex always lays everything out on the counter first, which I call the ‘mise en place’ method, but you can totally just gather as you go if you prefer! The main thing is making sure you use the exact measurements mentioned in the ingredients list. We found that quality matters here, especially when we’re aiming for that ultimate texture.
We use two types of chocolate chips—semi-sweet is the base, but I sneak in the milk chocolate chips because those melt into glorious little pools of goo. Don’t skip that optional second bag if you want truly gooey chocolate chip cookies!
Ingredient Notes and Chocolate Chip Secrets
Let’s talk about those two eggs! They must be at room temperature. If you throw cold eggs into that lovely mixture of melted butter and sugar, it can curdle the batter, and we absolutely don’t want that separating mess. Seriously, pull them out before you even start scooping the flour.
Also, about the butter: I mentioned melted butter is key, but if you really want an extra layer of nutty, deep flavor—that’s where you brown the butter first! It’s messy, but oh my goodness, it makes a difference. And please, use good quality chocolate chips. They’re the star of the show, so don’t go for the cheapest stuff; you’ll taste it in the final product!
Step-by-Step Instructions for Foolproof Cookie Recipe Success
Alright, deep breath! This is where the magic starts to happen, and I promise, it is genuinely simple once everything is measured and ready to go. We’re going to move quickly through the wet ingredients first, then gently bring in the dry stuff. Remember what I said about not overmixing? That philosophy is crucial here. We’re working with melted butter, which loves to create thin, flat cookies if you agitate the dough too much after the flour goes in.
Once everything is mixed, we move immediately to the most important step—the cold nap for the dough. We need to get that oven preheated to 375 degrees F while the dough takes its rest. I know you’re excited, but patience here really pays off. Once the oven is hot, scoop those lovely mounds out onto parchment-lined sheets, leaving plenty of room for them to spread just a little bit as they bake. You want about 2 inches between each one!
The Essential Chill Time for Perfect Chocolate Chip Dough
Okay, confession time: The very first time I tried this recipe, I was so impatient. I skipped Step 6 entirely, thinking, “It’s just dough, how much difference can 30 minutes make?” Big mistake! They spread out until they were basically wafers, thin and crispy all the way through. Not what we wanted!
Chilling the dough is absolutely non-negotiable because it solidifies the melted butter again. When that firm dough hits the hot oven, the outside sets up quickly, trapping the inner dough to bake slowly. That’s precisely how you get those glorious chewy chocolate chip cookies! If you can swing it, chill overnight; it deepens the flavor too, but 30 minutes gets you in the ballpark.
Baking Tips for Bakery Style Cookies
This part takes intuition more than timing, but I’ll give you Alex’s exact visual cues. They bake between 9 and 12 minutes, but always watch the edges! When the edges turn a nice golden brown, but the very center still looks just a little bit gooey and shiny? Pull them out immediately. Seriously, take them then.
Don’t be tempted to put them back in! They must rest on that hot baking sheet for a solid 5 minutes. That waiting period is vital because it allows the remaining heat to finish setting the center without burning the outside edge. Only after those 5 minutes do you gently slide a spatula underneath and move them to a bakery style cookies wire rack to cool the rest of the way.
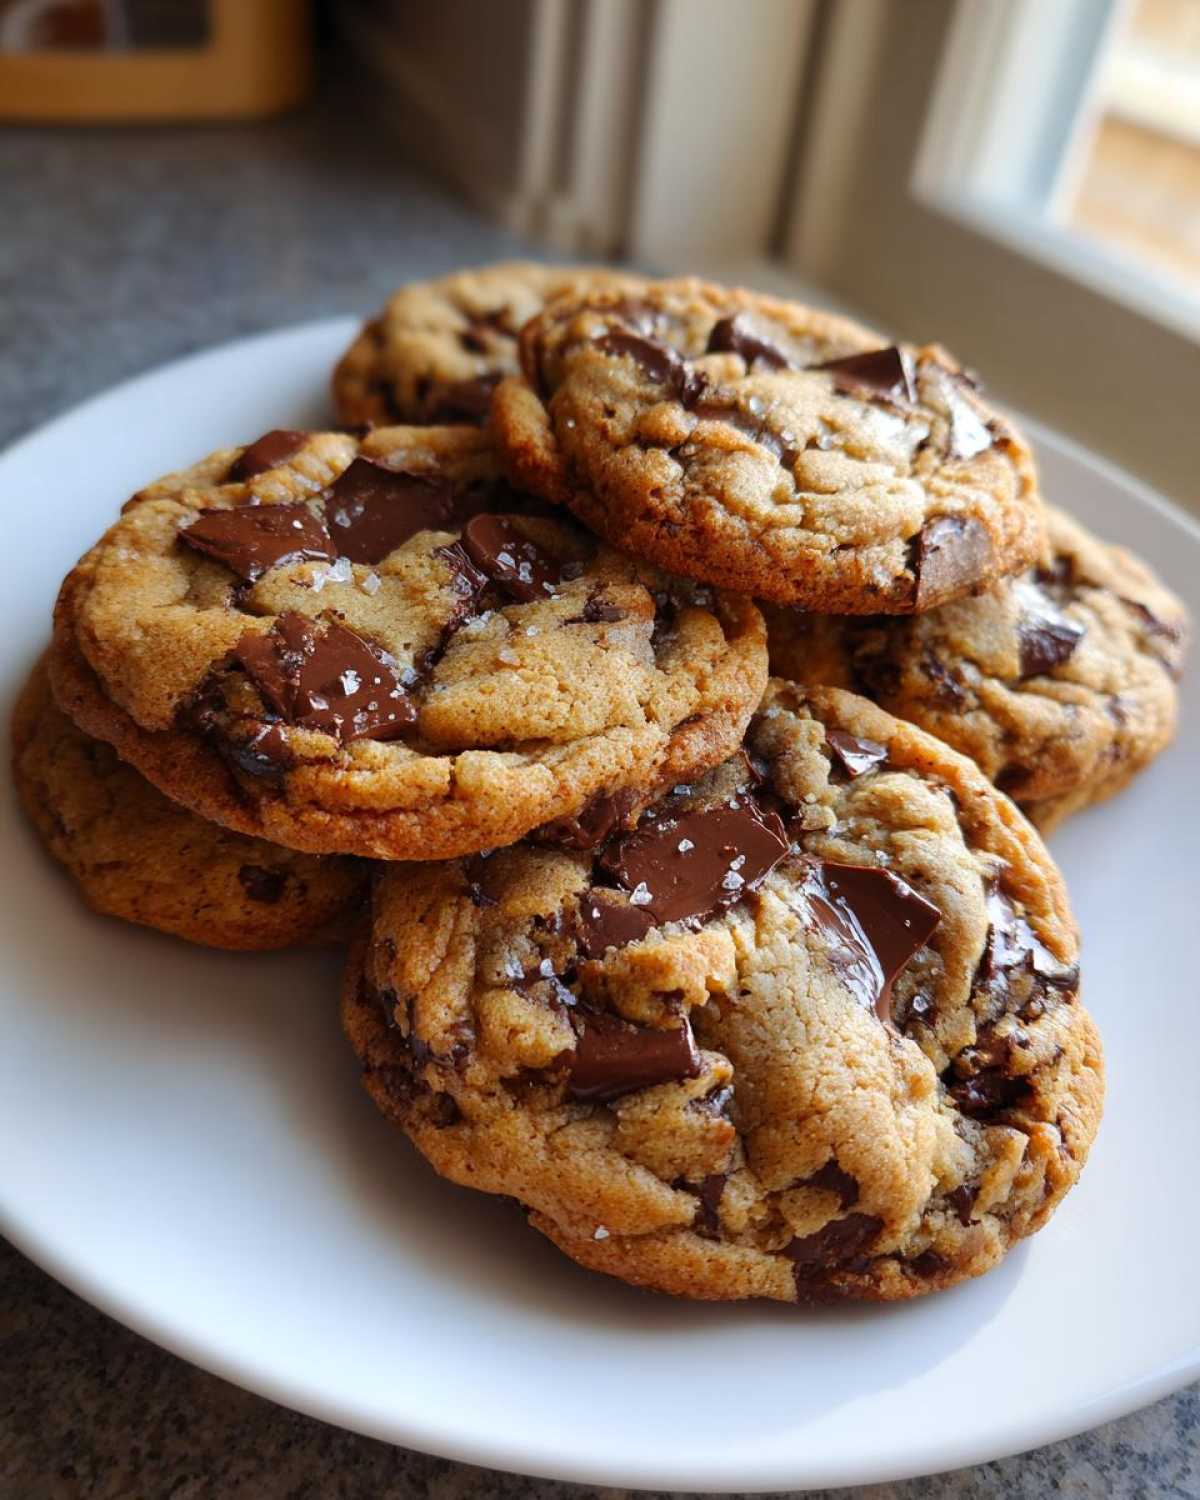
Tips for Success: Mastering Your Chocolate Chip Baking
I swear, baking is 90% knowing these little tweaks that the big recipe developers don’t always mention. For me, the biggest one, especially with cookies, is measuring flour correctly. Do *not* scoop the flour directly out of the bag with your measuring cup! That packs it in way too tightly, and you end up adding way too much dry stuff, which makes your cookies dry and cakey—the opposite of what we want here. Always spoon the flour lightly into the cup and then level it off.
Also, use parchment paper every single time. I know some folks swear by silicone mats, and they’re fine, but parchment paper prevents almost any possible sticking and helps the cookie edges bake evenly by keeping them slightly separated from the hot metal pan. You can find great parchment sheets that fit standard pans perfectly, which makes cleanup a breeze, too! You’ll thank me later when you don’t have to scrape hardened dough off your sheet pan after your chocolate chip bake.
Storage & Reheating Instructions for Soft Baked Chocolate Chip Cookies
These are honestly best eaten the day they are baked, warm from the oven, but since they are so rich, you might actually have leftovers—lucky you! To keep that glorious chewiness, you have to store them properly. Tuck them into a truly airtight container as soon as they are completely cool. If you stack them, place a small square of parchment paper between the layers so they don’t stick together thanks to those lovely melted puddles of chocolate.
If you want to bring back that fresh-out-of-the-oven moment? Pop one or two on a microwave-safe plate for about 10 seconds. That’ll bring the chocolate back to perfection. For a slightly crispier edge revival, warm them in a low 300-degree oven for just a couple of minutes. We want them warm, not crunchy! Find more great tips on storing chocolate chip cookies over here!
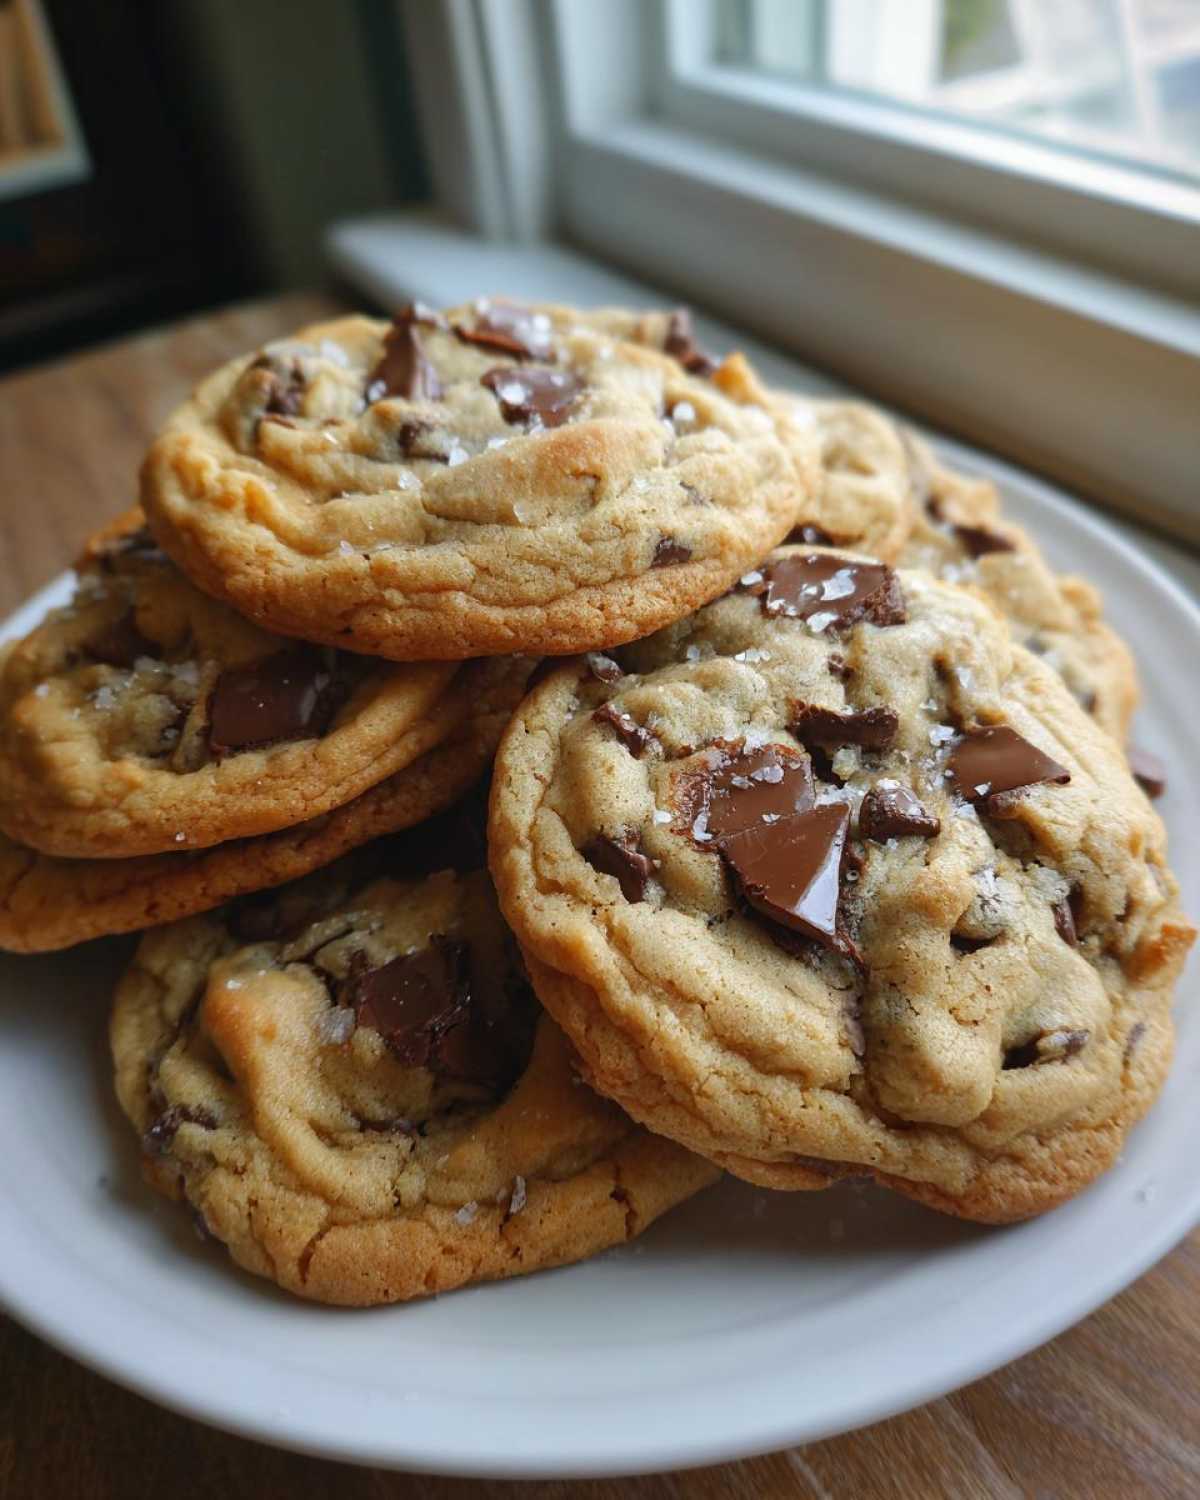
Variations on the Classic Chocolate Chip Recipe
While this recipe is absolutely the gold standard in my book, sometimes you just need to switch things up! Baking should be fun, right? Alex is usually a strict traditionalist when it comes to this particular classic chocolate chip recipe, but even he admits these little tweaks can be fantastic, especially when you have leftover ingredients hanging out in the pantry.
The beauty of using melted butter is that the dough is so forgiving. You can fold in almost anything and it holds its shape beautifully!
Here are the ways we like to mix things up without ruining the perfect texture:
- The Chocolate Upgrade: Instead of just semi-sweet, try tossing in about half a cup of dark chocolate chunks *and* half a cup of white chocolate chips. The combination of sweet, bitter, and creamy chocolate makes for the ultimate layered chocolate experience.
- Nuts for Crunch: If you’re a fan of texture, add about 3/4 cup of toasted pecans or walnuts. Toasting them first makes a huge difference in flavor—don’t skip the toasting!
- Coffee Kick: This is my favorite secret weapon for deep flavor! Add one teaspoon of instant espresso powder right in with your dry ingredients (flour, salt, baking soda). You won’t taste coffee, but it amplifies the chocolate intensity significantly. It makes these the ultimate chocolate chip cookie!
- Flaky Salt Power: If you didn’t add the flaky sea salt on top immediately when they came out of the oven, try folding in just a small pinch of fine sea salt directly into the dough for an overall balanced sweetness.
Don’t you love how easy it is to customize? Now you have the knowledge to make these your own, whether you prefer a nutty vibe or a bittersweet chocolate chip cookie explosion!
Serving Suggestions for Ultimate Chocolate Chip Cookies
So, your cookies are perfectly baked—crisp edges, gooey centers. Now what? You absolutely can’t just eat one standing over the cooling rack, though I’ve certainly done it!
These cookies are just begging for the perfect pairing. My favorite way to enjoy them, especially when they are still slightly warm, is alongside a giant glass of really cold whole milk. If you want to get fancy, make a batch of my quick homemade chocolate milk—that’s double the chocolate goodness, what’s not to love about that? The rich chocolate just complements the salty-sweet cookie perfectly.
Alternatively, a hot cup of strong black coffee cuts through the richness beautifully, or you bake them right when you’re ready for a decadent dessert, pair them with a scoop of excellent vanilla ice cream. Wow! That’s heaven on a plate, honestly.
Frequently Asked Questions About Making Chocolate Chip Cookies
This recipe is pretty foolproof, but you know how it is with baking! Sometimes little questions pop up once you actually get into the mixing bowl phase. I always try to address the most common things folks ask me so you feel completely confident tackling these amazing cookies. It’s usually about texture or whether you can cheat a step—and I’ll tell you frankly if skipping a step is a disaster!
Can I skip chilling the dough for these chocolate chip cookies?
Oh, darling, I hate to say it, but no, you really shouldn’t skip the chill time if you want these to be anything like the bakery-style cookies we described! If you try to bake the dough right away, those sticks of melted butter spread out immediately when they hit the heat. You’ll end up with very thin, mostly flat, and overly crisp cookies. Chilling lets the flour hydrate and the butter firm up again, which is the secret to those beautiful, soft baked chocolate chip cookies.
What is the secret to gooey chocolate chip cookies?
There are two big secrets here, and they work together beautifully! First, we always use a combination of chocolate chips—semi-sweet and milk chocolate. The milk chocolate melts down softer and creamier, creating those pockets of gooiness. Second, and maybe more important, is pulling them from the oven when they look slightly raw in the middle; that residual heat finishes the process beautifully. That slight underbake is what guarantees you get that gooey chocolate chip cookies texture instead of a firm, cakey center! Don’t overthink it; slightly underdone equals perfectly gooey!
Estimated Nutritional Data for This Chocolate Chip Recipe
Now, I know we aren’t out here making diet food when we are whipping up the ultimate chocolate chip cookies, but it is smart to know what you’re working with!
Here is the breakdown based on our testing and the ingredients listed. Please remember these numbers are just estimates and can bounce around depending on the brand of butter or the exact size of your chocolate chips. If you have questions about this recipe, feel free to reach out to us!
- Calories: 210
- Fat: 12g
- Carbohydrates: 26g
- Sugar: 18g
- Protein: 2g
As you can see, they are rich; that melted butter really packs a punch! Definitely pair them with that cold milk we talked about. For more amazing baking inspiration, check out this recipe inspiration online!
PrintThe Ultimate Soft and Chewy Chocolate Chip Cookies

Follow this foolproof recipe to make bakery-style chocolate chip cookies that are perfectly soft and chewy with slightly crisp edges. This is the best homemade cookie you will ever bake.
- Prep Time: 15 min
- Cook Time: 12 min
- Total Time: 27 min
- Yield: 20 cookies
- Category: Dessert
- Method: Baking
- Cuisine: American
- Diet: Vegetarian
Ingredients
- 1 cup (2 sticks) unsalted butter, melted and slightly cooled
- 1 cup packed light brown sugar
- 1/2 cup granulated sugar
- 2 large eggs, room temperature
- 1 tablespoon vanilla extract
- 2 1/4 cups all-purpose flour
- 1 teaspoon baking soda
- 1/2 teaspoon salt
- 1 1/2 cups semi-sweet chocolate chips
- 1 cup milk chocolate chips (optional, for extra gooey texture)
- Flaky sea salt for topping (optional)
Instructions
- Whisk together the melted butter, brown sugar, and granulated sugar in a large bowl until fully combined.
- Beat in the eggs one at a time, mixing well after each addition. Stir in the vanilla extract.
- In a separate bowl, whisk together the flour, baking soda, and salt.
- Gradually add the dry ingredients to the wet ingredients, mixing on low speed until just combined. Do not overmix.
- Fold in the semi-sweet and milk chocolate chips.
- Cover the dough and chill in the refrigerator for at least 30 minutes, or up to 24 hours, for the best texture.
- Preheat your oven to 375 degrees Fahrenheit. Line baking sheets with parchment paper.
- Scoop rounded tablespoons of dough onto the prepared sheets, leaving about 2 inches between each mound. For bakery-style thickness, press the dough balls down slightly.
- Bake for 9 to 12 minutes, or until the edges are golden brown but the centers still look slightly underbaked.
- Remove from the oven. Immediately sprinkle the tops with flaky sea salt, if using.
- Let the cookies cool on the baking sheet for 5 minutes before transferring them to a wire rack to cool completely.
Notes
- Chilling the dough is a secret to achieving that perfect chewy center and preventing the cookies from spreading too much.
- For richer flavor, brown your butter before melting it, then let it cool slightly before mixing with the sugars.
- Use a mix of chocolate chip types, like dark and milk, for complex chocolate flavor.
Nutrition
- Serving Size: 1 cookie
- Calories: 210
- Sugar: 18
- Sodium: 120
- Fat: 12
- Saturated Fat: 7
- Unsaturated Fat: 5
- Trans Fat: 0
- Carbohydrates: 26
- Fiber: 1
- Protein: 2
- Cholesterol: 35