

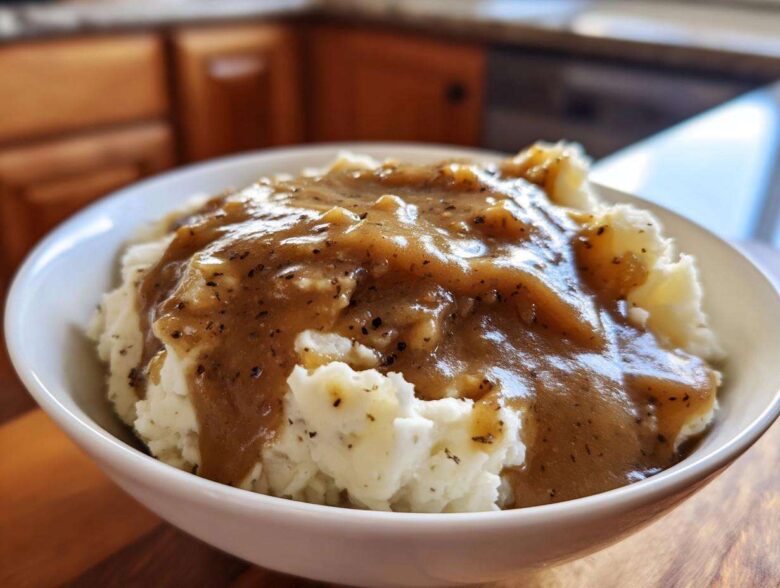
Oh, that sad, watery sauce masquerading as gravy! Don’t you just hate it when you make perfect mashed potatoes or a beautiful slice of meatloaf, and you smother it with something thin and flavorless? Me too! After years of standing over the stove—seriously, I’ve cooked up a mountain of stovetop sauces over the decades—I finally perfected my secret weapon. This is, hands down, the best homemade brown gravy you’ll ever make, and the absolute best part? You don’t need any leftover meat drippings whatsoever. We are making magic using just good pantry staples. Trust me, once you try this gravy without drippings, you won’t even look at those packets again.
Why This Easy Homemade Brown Gravy Recipe Works So Well
This recipe just works, plain and simple. It’s fast—we’re talking dinner-plate ready in under twenty minutes—and it gives you that deep, savory flavor you crave without needing to roast a bird or pan-sear a steak first. It’s pure shortcut genius in a saucepan!
- It’s the ultimate gravy without drippings hero. We rely on quality beef broth for the base.
- It’s lightning fast, making it perfect for a last-minute side dish topper.
- The foundation (the roux) guarantees a smooth texture you usually only get from a mix.
Achieving Rich Flavor Without Drippings
People think you need brown juices from a roast, but honestly, you just need good building blocks! We use quality beef broth, sure, but the trick for that savory depth is the seasoning blend. Adding a splash of Worcestershire sauce doesn’t just add tang; it gives you that rich, almost meaty brown color that makes people think you slaved over a roast all day. It’s my little secret for instant umami!
The Secret to Thick Brown Gravy Consistency
If you’re sick of simmering gravy forever to get it to thicken up, this is for you. We use the foundational technique: the roux. Butter and flour cooked together is foolproof. It creates a perfectly thick brown gravy every time and ensures you get that beautifully velvety gravy drape over your potatoes without any clumps sneaking through. It’s the most dependable method out there, I promise. Next time you’re in a rush, remember this quick sauce trick; it works for everything!
Gathering Ingredients for Your Homemade Brown Gravy Recipe
Okay, gathering the supplies is easy because this is meant to be a pantry staple gravy situation. We aren’t running to the store for anything strange! The list is short, which means less guesswork and more time eating. When I gather these items, I always make sure my beef broth is low-sodium, just because I control the salt in the final seasoning, which gives me way more control over the final taste.
Here’s what you need lined up before you even think about lighting the stove:
- Four tablespoons of unsalted butter. Don’t skimp here; the butter equals richness!
- Four tablespoons of regular all-purpose flour. This is our thickener, our partner in crime for the roux.
- Two cups of beef broth. I strongly suggest low-sodium so that our savory flavor pops!
- One teaspoon of onion powder and half a teaspoon of garlic powder. These two pack a huge flavor punch when you aren’t relying on drippings.
- About half a teaspoon of salt and pepper—we’ll taste later for precise amounts.
- And finally, half a teaspoon of Worcestershire sauce. Yes, it’s optional, but oh my goodness, it deepens that brown color and saltiness!
Ingredient Notes and Substitutions
Let’s talk substitutions, because life happens! If you don’t have straight beef broth—maybe you only have veggie broth on hand—you can totally save this. Use the vegetable broth, sure, but you absolutely MUST mix in a teaspoon or so of beef bouillon base or paste. That’s what brings back that deep, meaty flavor we are after. Don’t skip this addition if you go that route!
As for that Worcestershire sauce? It’s there to make your **savory sauce recipe** taste like it took hours. It’s packed with umami. If you don’t have it and you want that visual appeal, you can use a tiny dash of soy sauce instead, but I still recommend trying to keep the Worcestershire if you can!
Simple Stovetop Gravy Instructions for Perfect Homemade Brown Gravy
This is where the magic happens, and honestly, it moves so fast that you need to have everything ready! We are aiming for that perfect **Easy Brown Gravy**, and that starts with building the base completely right. Pay attention when you make the roux; that’s the difference between a clump-filled disaster and a smooth, luxurious sauce!
Making the Roux for Rich Meat Gravy Base
First things first, get that medium saucepan over steady medium heat. Toss in your butter and let it melt completely until it’s sizzling gently. Now, dump in all four tablespoons of flour at once. Immediately start whisking like you mean it! You need to cook this paste—the roux—for about one or two minutes. You’re looking for it to smell slightly nutty and maybe change color to a light peanut butter shade. If you want a super dark **Rich Meat Gravy**, cook it a little longer, but keep whisking so it doesn’t burn on the bottom. That toasty flavor is essential!
Whisking in Liquid for a Lumps-Free Homemade Gravy Recipe
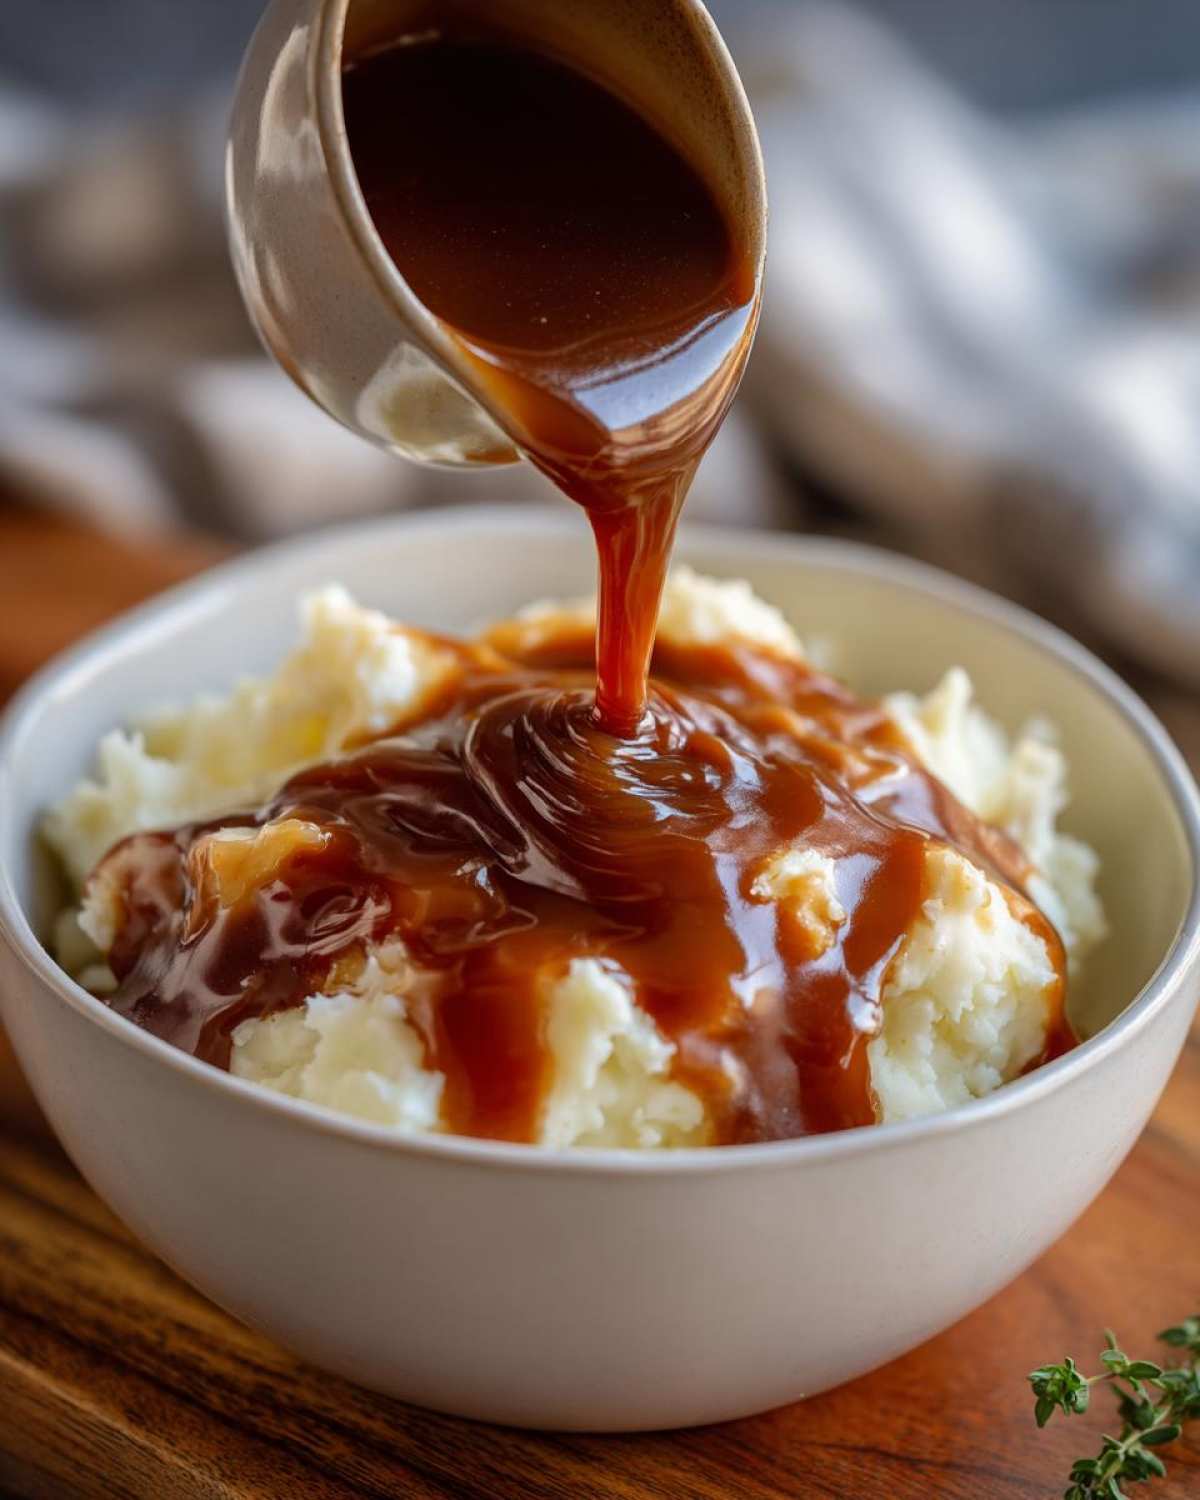
Once your roux is colored, this is the critical moment: slowly, slowly start pouring in your beef broth. I mean drizzle it in while whisking non-stop. If you dump it all at once, you’ll get soup lumps, guaranteed! Keep whisking until every bit of flour paste is incorporated and the liquid is smooth. Bring that mixture up to a gentle simmer. Let it bubble softly for five to eight minutes, stirring often. This simmering time is what activates the flour to thicken everything into a beautiful, smooth Homemade Gravy Recipe. Once it coats the back of a spoon nicely, you are almost done!
Tips for The Best Brown Gravy Every Time
Even with the most tested recipe, sometimes things shift on the stovetop, right? Don’t panic if your gravy isn’t exactly where you thought it would be when you first finish simmering. That’s what makes cooking fun, even if it’s a little nerve-wracking! Since this recipe is built on a solid roux, fixing texture issues is usually super simple. I’ve learned a few things over my years of making sauces that guarantee you can rescue your dinner side dish!
Adjusting Consistency: How to Make Gravy Thick
If you taste your gravy and realize it’s still a little too thin—maybe it runs right off your spoon—you have two options to fix this so you can achieve that perfect, thick goodness. First, make sure you gave it the full five to eight minutes to simmer down. Often, it just hasn’t had enough time! If it’s still too runny after that, you need a quick fix, not a whole new batch.
To get that guaranteed How to Make Gravy Thick result: grab a tiny bowl. Mix one teaspoon of cornstarch—yes, cornstarch works great for thickening sauces in a snap—with two teaspoons of *cold* water. Whisk it until it’s totally smooth; this is called a slurry. Pour that slurry slowly into your simmering gravy while whisking hard. Let it bubble for just sixty seconds, and bam! It will tighten right up. You’re looking for it to coat your spoon nicely, not pour like soup.
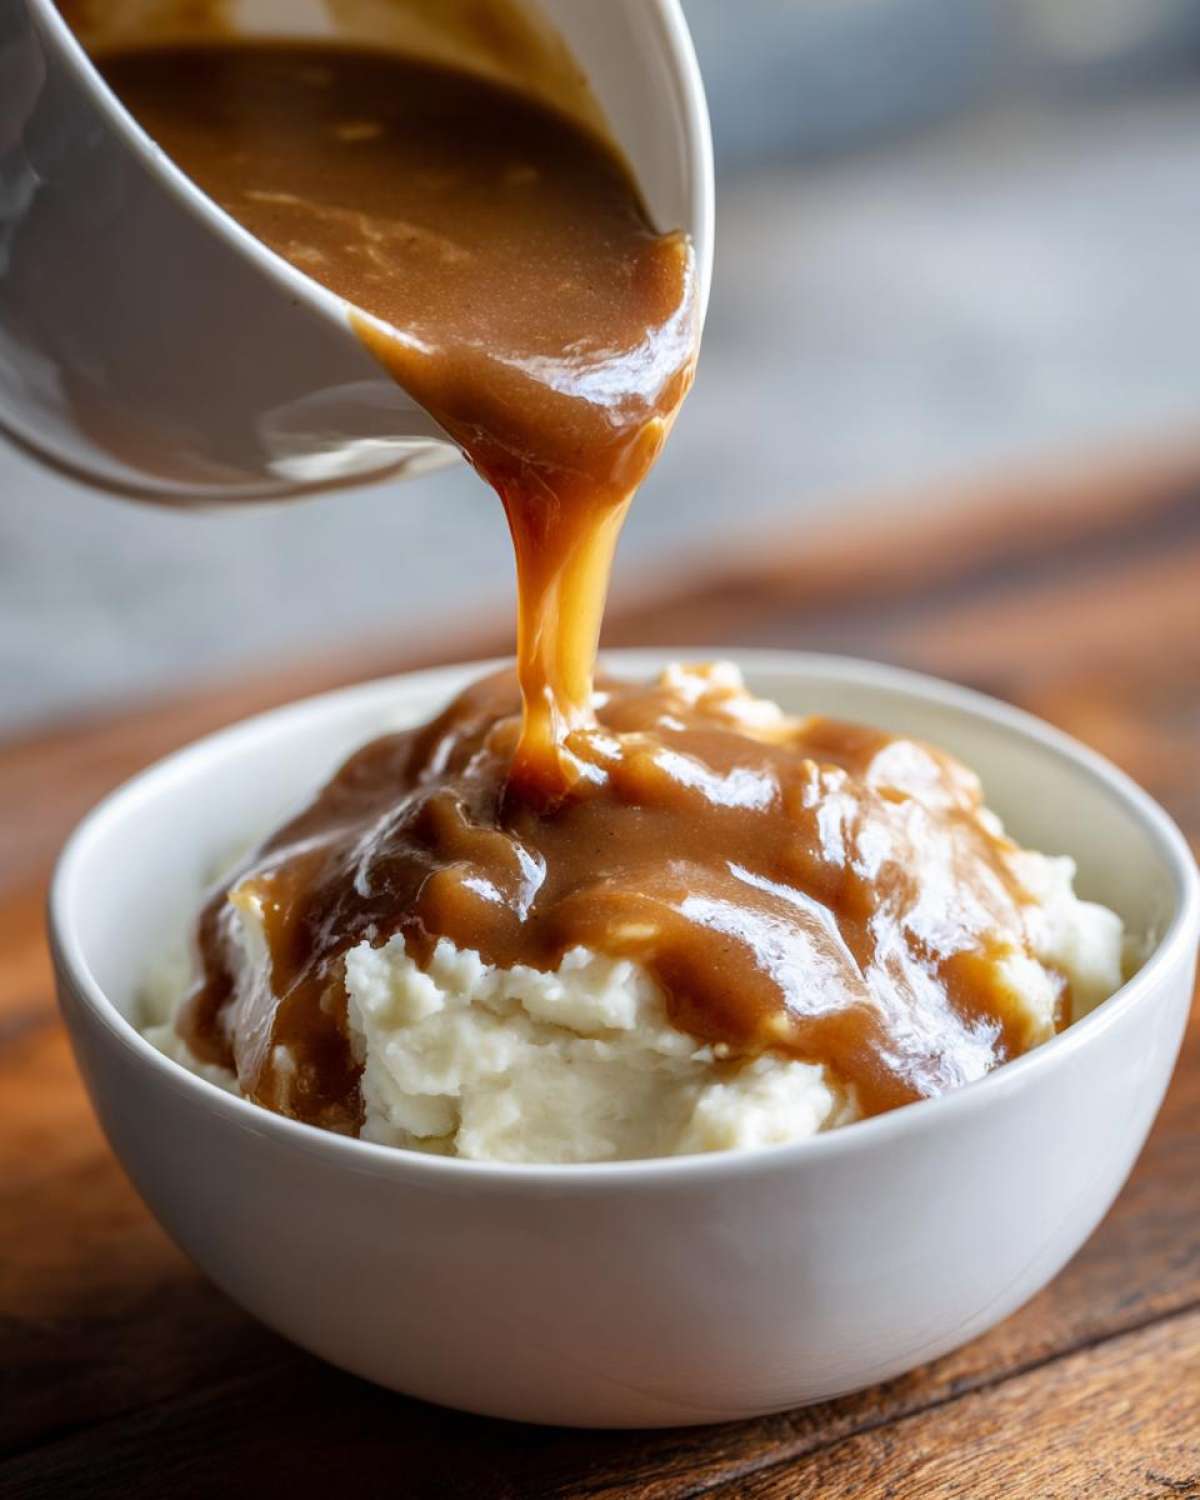
Now, what if you got too enthusiastic with the roux or added too much broth and the gravy is closer to paste? Don’t worry! This is a common mistake, and it’s easy to remedy. I just take a tablespoon of warm water or, even better, warm beef broth, and whisk it right into the thick gravy until it loosens up to that perfect rich consistency you want for the best brown gravy.
Serving Suggestions for Classic Brown Sauce
Honestly, once you have this perfect Classic Brown Sauce ready to go, the possibilities are endless! This recipe was truly designed to be the ultimate comfort food topping. Forget those dry, sad-looking dinners; this gravy fixes everything immediately. I keep a batch of this on hand because you never know when you’ll need an instant upgrade.
My immediate go-to, naturally, is a big, fluffy mound of potatoes. Forget plain gravy; you need this rich flavor soaking into every crevice. I highly recommend making my roasted garlic mashed potatoes with this—the combined flavors are just heavenly. You need that saltiness from the gravy cutting through the richness of the buttered potatoes!
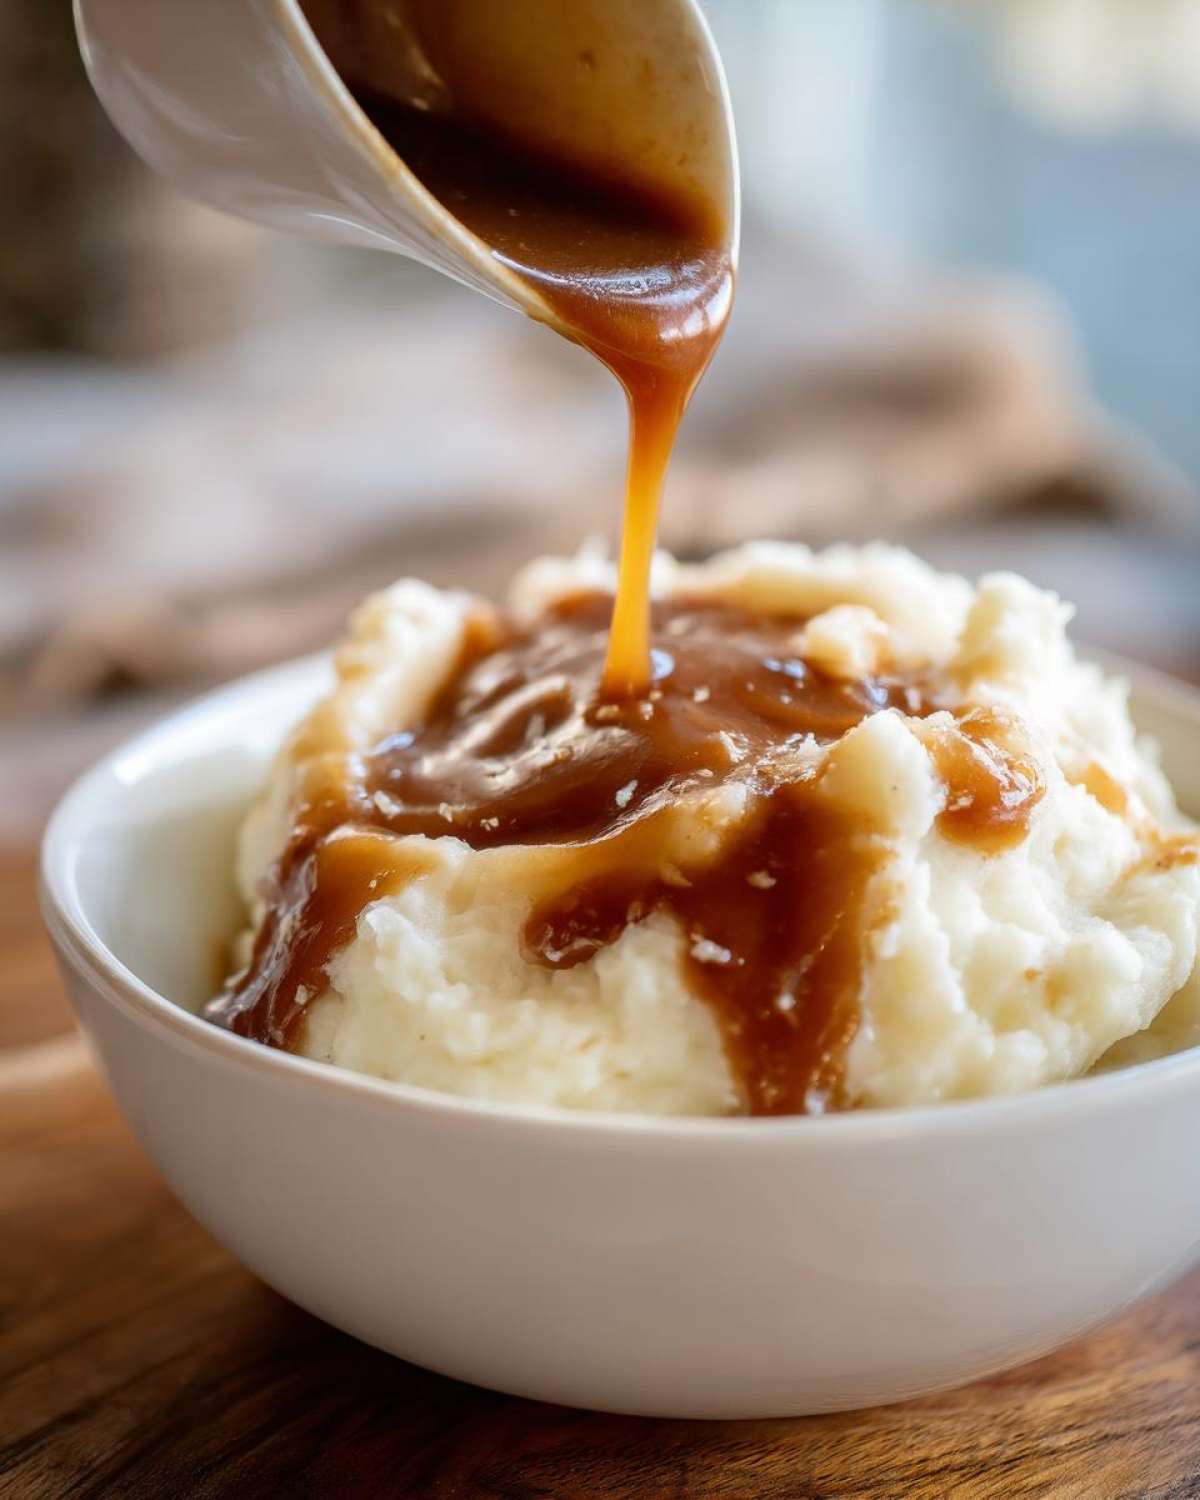
But don’t stop there! We use this for so much more than just potatoes. It’s fantastic spooned generously over meatloaf. Seriously, if your meatloaf usually tastes a little dry, this is the answer. And speaking of meat, this is the perfect partner for any kind of roast. If you’re making a pork roast, like my favorite juicy pork loin roast, you want this velvety gravy ready right when it comes out of the oven.
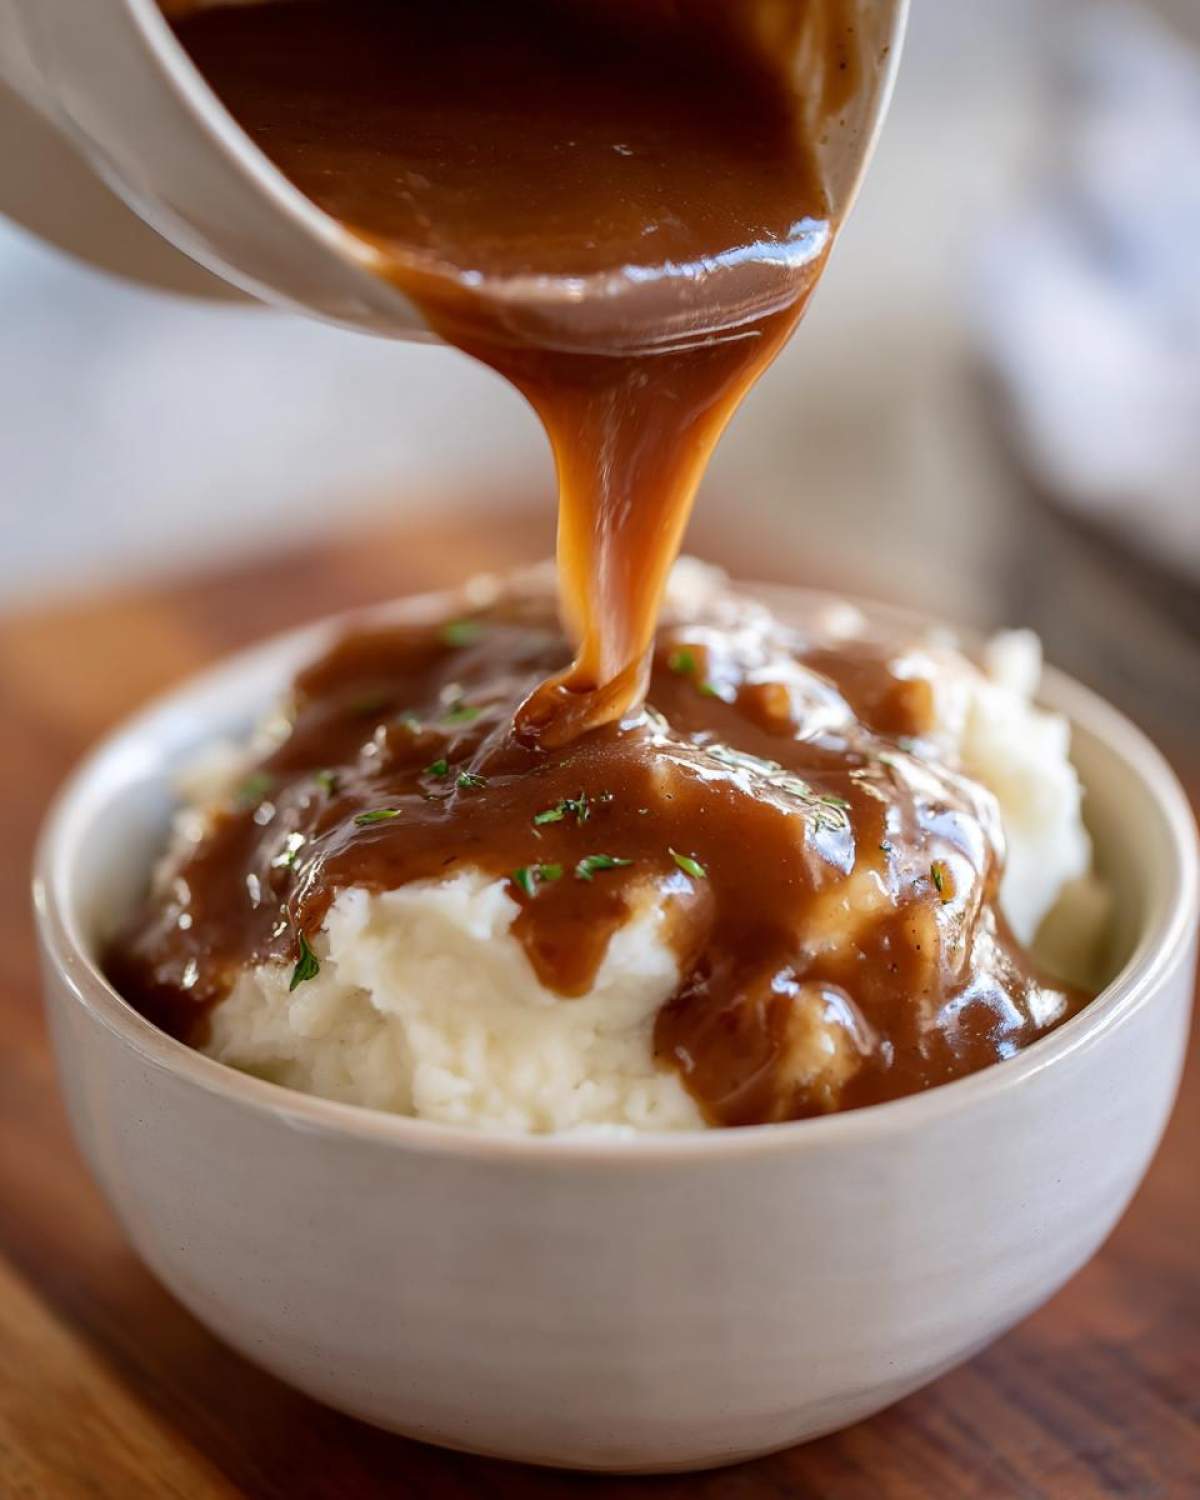
Think savory biscuits and gravy, but brown! It’s amazing over biscuits if you’re stretching a meal, or poured over simple things like steamed green beans to make them exciting. Seriously, if it needs a savory, thick coating, this is your answer. It’s the MVP of dinner sides!
Storage and Reheating Instructions for Homemade Brown Gravy
Because this is made completely from scratch, it stores a whole lot better than those thin, powdery mixes, which is great news for leftovers! You absolutely want to save any extra gravy because honestly, it tastes even better the next day when the flavors have really melded together. This is a real, solid sauce, so treat it like one!
When it comes to keeping it fresh, pop it into an airtight container immediately after it cools down slightly. Don’t leave it sitting out for hours—food safety first, always! You can easily keep this Homemade Gravy Recipe sealed up in the fridge for about four days. I usually store mine in a mason jar because they seal so well.
Now, if you’ve gone overboard (it happens when something tastes this good!), you can freeze it too! This gravy freezes beautifully for about three months. Pour it into a sturdy freezer bag or small container, leaving a little space near the top because liquids expand when they freeze solid. Mark the date on it so you remember when you made it.
Reheating Tips for That Perfect Texture
When it’s time to bring your gravy back to life, whether it’s from the fridge or the freezer, the key word is *gentle*. You don’t want to shock it with high heat, especially if it’s been chilled.
If it’s chilled, put it in a saucepan over low to medium-low heat. You’ll notice it’s probably super thick, almost like a soft paste, which is normal because of the way the butter sets up. This is where you need that little bit of extra liquid to loosen it up and get your Quick Gravy Fix back on track!
Whisk in a tablespoon or two of warm water or, preferably, warm beef broth. Adding warm liquid helps it melt back into sauce form seamlessly instead of trying to re-melt clumpy cold butter. Stir constantly over that low heat until it’s smooth and perfectly pourable again. Be patient; it might take three or four minutes of gentle stirring, but you’ll end up with a silky, uniform sauce that tastes just as good as when you first made it. No one will ever know it came from a container!
Frequently Asked Questions About Gravy Without Drippings
I get so many questions about getting big flavor when you skip the drippings, and that’s totally fair! Making a truly savory sauce from scratch takes a little know-how, but once you nail the basics, you’ll be whipping up a perfect savory sauce recipe any night of the week. Here are some of the top things people ask me when they try my no-drippings method.
Can I make this homemade brown gravy recipe vegan?
That’s a fantastic question! If you want to try to pivot this into a vegan version, you absolutely can, though it will shift the flavor profile slightly away from that deep ‘beefy’ taste. The key is replacing the two main animal products: the butter and the broth. For the fat, just swap the unsalted butter for the same amount of solid vegan butter or even just a neutral-flavored oil, like canola or sunflower oil. For the broth, use a high-quality vegetable broth.
To bring the flavor back up—because veggie broth is much lighter—you’ll need to rely heavily on our seasonings! Use a bit more onion and garlic powder, and consider adding a dash of smoked paprika for depth. It won’t be beef gravy, but it will be a really rich, savory vegetable gravy!
How do I get my gravy to taste like KFC Style Gravy Clone?
Oh, the crispy chicken place! I get this comparison a lot, and it’s funny because their style relies heavily on poultry seasonings, which is an interesting flavor note for a brown sauce. If you are looking to clone that specific mouthfeel, try adding about a quarter teaspoon of poultry seasoning right when you add your onion and garlic powder. It brings in notes of sage and thyme which really changes the profile!
Also, many people find that the original version of that famous gravy has a slightly more peppery kick to it than a traditional beef gravy. So, if you want that specific taste, increase your black pepper just a touch—maybe to a half teaspoon instead of a quarter. It’s a small tweak that really makes a difference in nailing that flavor profile, turning it into a great quick gravy fix for fast food cravings!
My gravy has lumps. Can I save it?
Lumps! The bane of every home cook’s existence! But don’t you dare throw that pot out! Absolutely, you can save it, and it’s usually super easy. If you catch it right away while it’s still simmering, just whisk aggressively for another minute; sometimes the heat and motion fix minor issues.
If whisking just won’t cut it, here’s the trick: grab a fine-mesh sieve—you know, the one you use for dusting powdered sugar? Set that over a clean bowl. Slowly pour your lumpy gravy right through the sieve. Use the back of a spoon or a rubber spatula to push the thick lumps against the mesh so the smooth liquid drips through underneath. What’s left in the sieve is just wasted flour paste, and what’s left in the bowl is beautiful, smooth gravy ready to eat. Strain it, taste it, and you’re back in business!
Nutritional Estimate for This Pantry Staple Gravy
If you’re like me, you don’t bake or cook *for* the nutritional breakdown, but it’s nice to know what you’re indulging in, right? Since this is a favorite part of the dinner and not the whole meal, the serving size is quite small, which keeps things reasonable. But remember, this is just a guideline!
I calculated this based on the ingredients listed, assuming four servings total (about half a cup each). It’s important to know that these numbers are approximations because the richness of your exact broth or the specific brand of butter you use can change things slightly for your final batch.
Here is a rough idea of the numbers for about a quarter cup serving:
- Serving Size: 1/4 cup
- Calories: Around 95 calories. Not bad for something so comforting!
- Fat: About 7 grams total, with most of that coming from our lovely, rich butter.
- Protein: Roughly 2 grams per serving.
- Carbohydrates: About 6 grams, mostly from the flour we use to thicken everything up.
- Sodium: This one is higher, usually around 350mg, which is why I always stress using low-sodium broth, to give you more control!
Keep in mind, this gravy is naturally very low in sugar—only about half a gram—so you aren’t getting a hidden sugar bomb here, which I love! It’s pure fat and flavor doing the heavy lifting. Don’t sweat the details too much, though; if you’re serving this over mashed potatoes, the *potatoes* are where most of the volume and extra calories come from anyway!
Share Your Experience Making This Comfort Food Sauce
So there you have it! My complete blueprint for the most reliable, flavorful homemade brown gravy that requires absolutely nothing fussy or leftover to make it happen. I really hope you give this a try next time you need that perfect savory topping for dinner. It’s moments like these, when a simple sauce brings a whole meal together, that remind me why I love cooking so much!
I’m dying to know how it turned out for you! Were you surprised by how rich it tasted even without any drippings? Did you add anything extra to your seasoning blend? Please, don’t be shy! Head down to the comments section below; I read every single one, and I love hearing about your dinner success stories.
If you felt this recipe saved your dinner plans (I know it’s saved mine countless times!), please consider leaving a quick star rating right above the comments. It truly helps other home cooks find this foolproof recipe and realize they can ditch the packets for good. Happy cooking, sweet friend, and enjoy every velvety slice of that next meal topped with the best gravy you’ve ever made from scratch!
PrintEasy Homemade Brown Gravy (No Drippings Required)

Make a rich, savory brown gravy from scratch using simple pantry ingredients. This recipe does not require meat drippings and yields a thick, velvety sauce perfect for mashed potatoes or roast beef.
- Prep Time: 5 min
- Cook Time: 15 min
- Total Time: 20 min
- Yield: About 2 cups
- Category: Side Dish
- Method: Stovetop
- Cuisine: American
- Diet: Vegetarian
Ingredients
- 4 tablespoons unsalted butter
- 4 tablespoons all-purpose flour
- 2 cups beef broth (low sodium preferred)
- 1 teaspoon onion powder
- 1/2 teaspoon garlic powder
- 1/2 teaspoon salt, or to taste
- 1/4 teaspoon black pepper, or to taste
- 1/2 teaspoon Worcestershire sauce (optional, for deeper color/flavor)
Instructions
- Melt the butter in a medium saucepan over medium heat.
- Whisk the flour into the melted butter until a smooth paste forms. Cook this roux, stirring constantly, for 1 to 2 minutes until it turns a light peanut butter color. Do not let it burn.
- Slowly pour in the beef broth while whisking continuously to prevent lumps from forming.
- Bring the mixture to a simmer, still whisking occasionally.
- Reduce the heat to low and let the gravy simmer for 5 to 8 minutes, or until it thickens to your desired consistency. Stir often.
- Stir in the onion powder, garlic powder, salt, pepper, and Worcestershire sauce, if using.
- Taste the gravy and adjust salt and pepper as needed before serving hot.
Notes
- For a darker brown color, cook the roux for an extra minute or two until it reaches a deep brown shade before adding the liquid.
- If the gravy becomes too thick, whisk in a tablespoon of warm water or broth until the consistency is right.
- If you have lumps, strain the finished gravy through a fine-mesh sieve.
Nutrition
- Serving Size: 1/4 cup
- Calories: 95
- Sugar: 0.5
- Sodium: 350
- Fat: 7
- Saturated Fat: 4
- Unsaturated Fat: 3
- Trans Fat: 0
- Carbohydrates: 6
- Fiber: 0.2
- Protein: 2
- Cholesterol: 15