

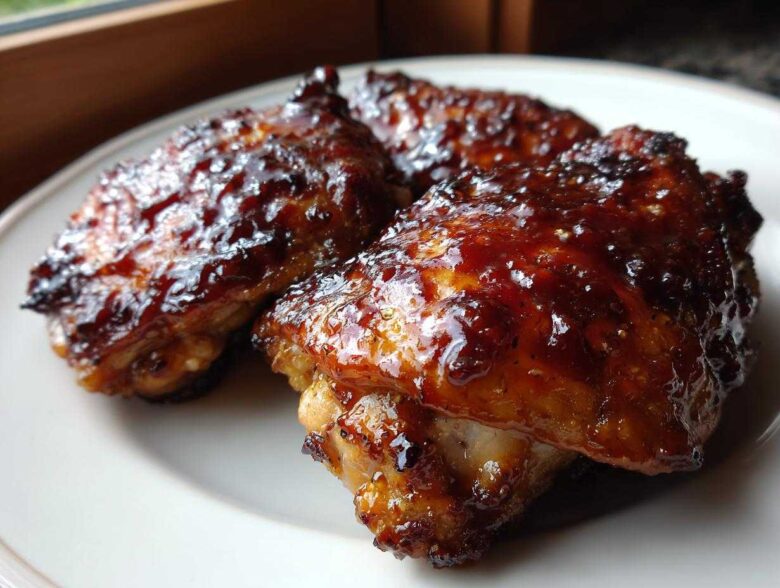
Oh my gosh, are you tired of opening the fridge after soccer practice and realizing you have absolutely zero energy left to cook something exciting? Me too, friend, me too. That’s why I spent what feels like a lifetime trying every single trick to get true, sticky, fall-off-the-bone flavor without having to babysit the grill or dirty a million pots. Trust me, I have cracked the code. This Oven-Baked BBQ Chicken recipe is my secret weapon. It’s the easiest, juiciest bbq chicken formula I’ve ever perfected for those frantic weeknight dinners. Seriously, it’s practically foolproof.
Why This Oven Baked BBQ Chicken Thighs Recipe is Your New Favorite
I know you’ve seen hundreds of “easy” chicken recipes, but this one actually delivers. I keep coming back to this method because it checks every single box after a long day. It’s incredibly reliable! We’re talking tender, moist meat every single time, even if you get distracted checking your email for three minutes.
Here’s why you need to ditch whatever complicated prep you were planning and go with this one:
- Guaranteed Juicy Results: We’re sticking to thighs, which hold onto moisture better than anything else.
- Super Quick Prep: You only need 10 minutes of actual hands-on work before the oven takes over.
- Speedy Cook Time: Everything is done and ready in under an hour total. Hello, quick chicken dinner!
- Totally Family Friendly: The sweet and tangy flavor profile wins over even the pickiest eaters at my table.
- Perfect for Meal Prep: Double the batch! This keeps beautifully for lunch bowls or those inevitable next-day BBQ chicken sandwiches.
Essential Ingredients for Juicy BBQ Chicken
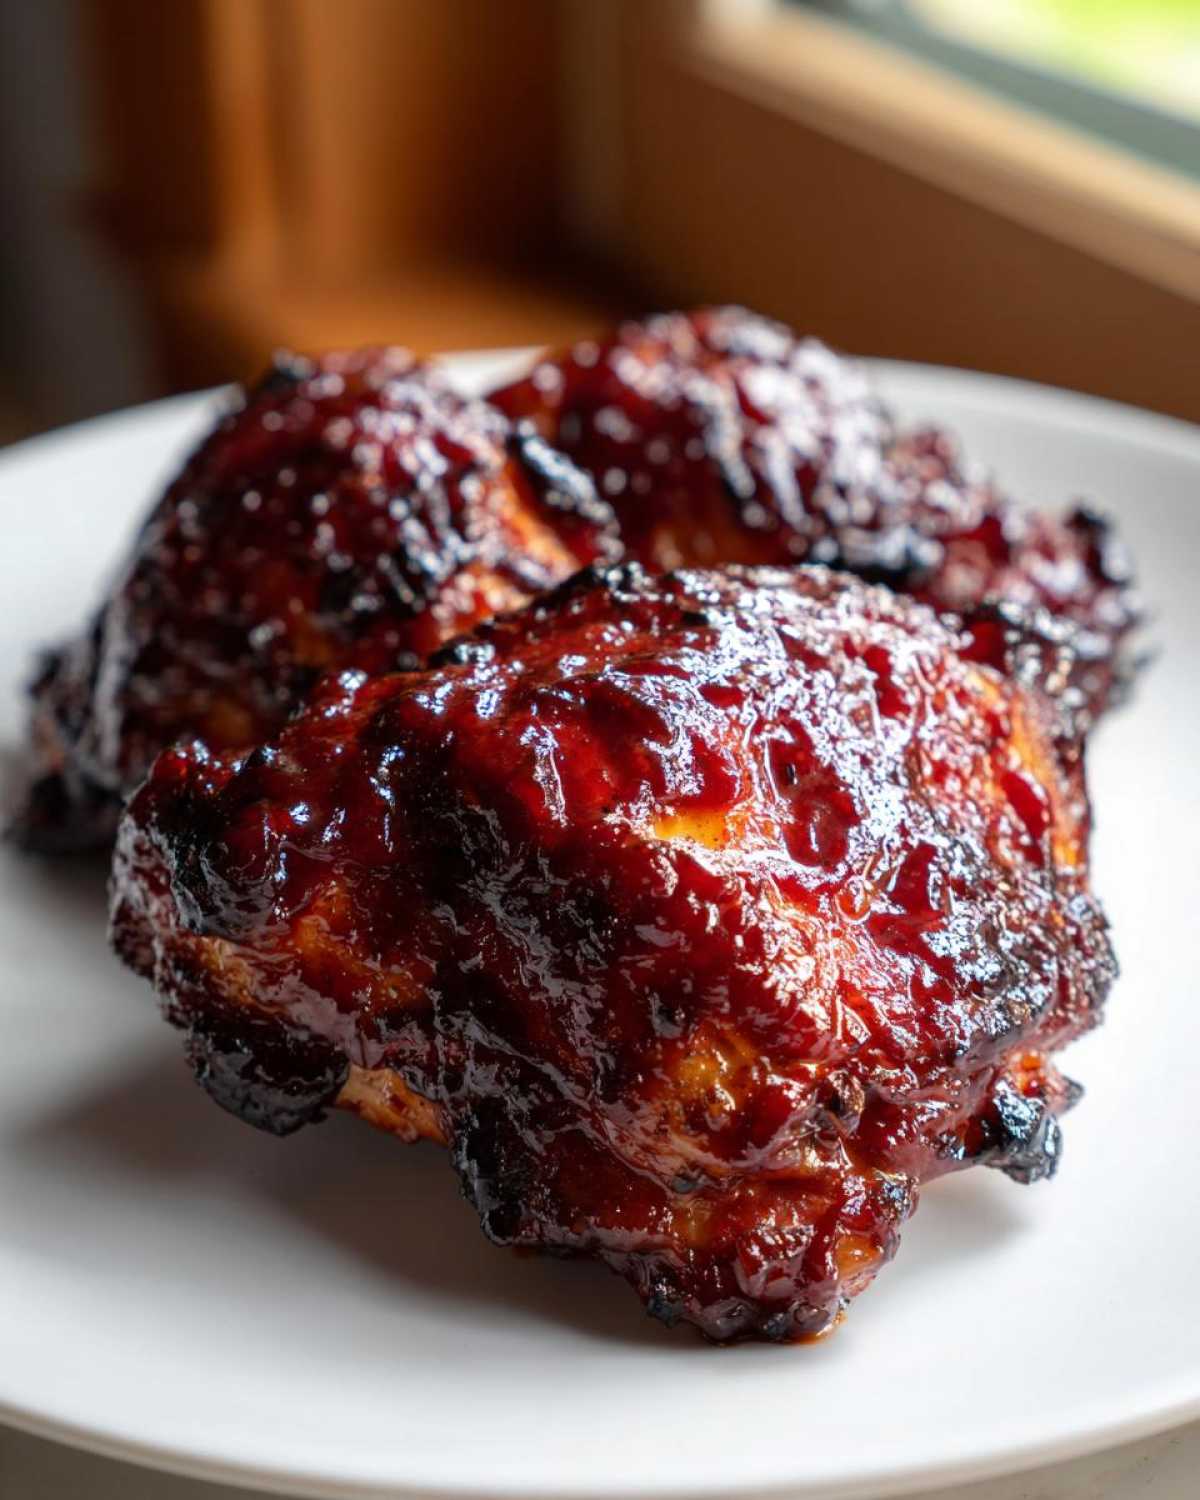
Okay, I have to be totally honest here: this recipe is so simple because it relies on really good, straightforward ingredients. You don’t need a whole pantry of spices that you’ll only use once! For this batch of flavorful bbq chicken, we’re using eight bone-in, skin-on chicken thighs. That skin is our best friend for texture, remember?
Then we keep the seasoning light—just olive oil, salt, pepper, garlic powder, and paprika. That’s it! The real star, though, is your sauce. I swear, the quality of your BBQ sauce makes or breaks the whole meal. Use one you actually love eating straight off the spoon. We use 1 1/2 cups, but honestly, if you’re serving this on rice bowls and want it extra saucy, feel free to sneak a little more in there when nobody’s watching!
Ingredient Notes and Substitutions for Best BBQ Chicken
If you only have boneless, skinless thighs or even breasts, go ahead and use them! Just remember what I mentioned earlier: breasts dry out much faster, so you’ll shave about 5 to 7 minutes off that final bake time for them. For the sauce, if your favorite is already really spicy, you might want to mix in a spoonful of honey to keep that sweet element balanced. Thighs are my absolute go-to because they are forgiving; they just stay juicy no matter what I accidentally do!
How to Prepare the Best BBQ Chicken Using Your Oven
Alright, let’s get down to business. This is where the magic happens, and it’s honestly so straightforward you’ll wonder why you didn’t try this oven baked bbq chicken method sooner. The key is prepping the chicken correctly so the skin crisps up nicely before we smother it in sauce.
First things first: Preheat that oven to 400 degrees Fahrenheit. I always line my sheet pan with foil—don’t skip that step unless you enjoy scrubbing caramelized sugar off metal! Next, grab your paper towels and pat those thighs aggressively dry. I mean it; pat, pat, pat! Any moisture left on the skin will steam instead of crisp, and we want that little bit of crunch!
Seasoning and Initial Bake for Tender BBQ Chicken
Once the chicken is dry, we mix up our simple seasoning blend: just oil, salt, pepper, garlic powder, and paprika. I rub that mixture all over every nook and cranny of the chicken pieces. Place them skin-side up on your foil-lined tray and slide them into that preheated oven for a solid 25 minutes. This initial bake sets up the texture and gets the meat nice and tender before the sauce goes on.
Saucing and Finishing the BBQ Chicken for Maximum Flavor
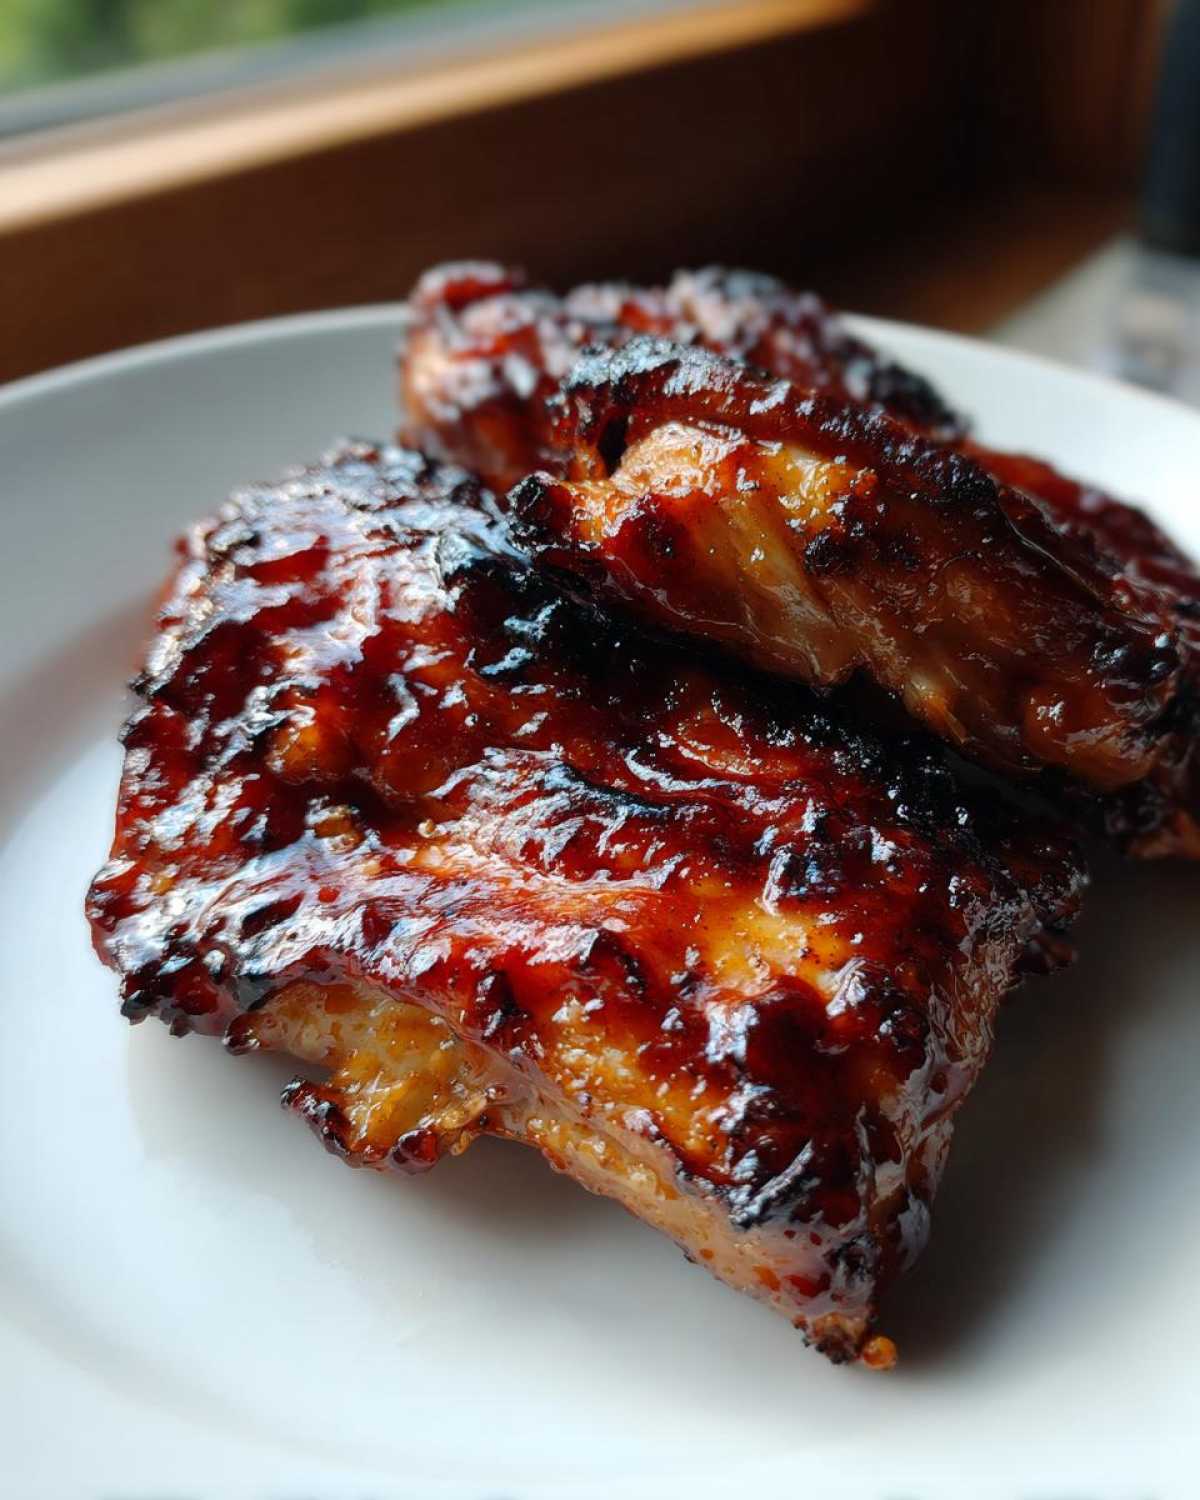
When that timer goes off, pull them out carefully! Now you take about half of your glorious BBQ sauce and brush it generously over the top of the chicken. Back in it goes for another 10 to 15 minutes. You *must* check the temperature here; we’re aiming for 165 degrees Fahrenheit (74 degrees Celsius) internally for the safest, juiciest result. Pull the pan out the second they hit temp. Don’t sauce them again yet! Let them rest for five minutes on the counter. RIGHT before serving, brush the remaining sauce on. That final glaze gives you that fresh, sticky coating that makes this the best bbq chicken!
Tips for Perfect Crispy Skin BBQ Chicken
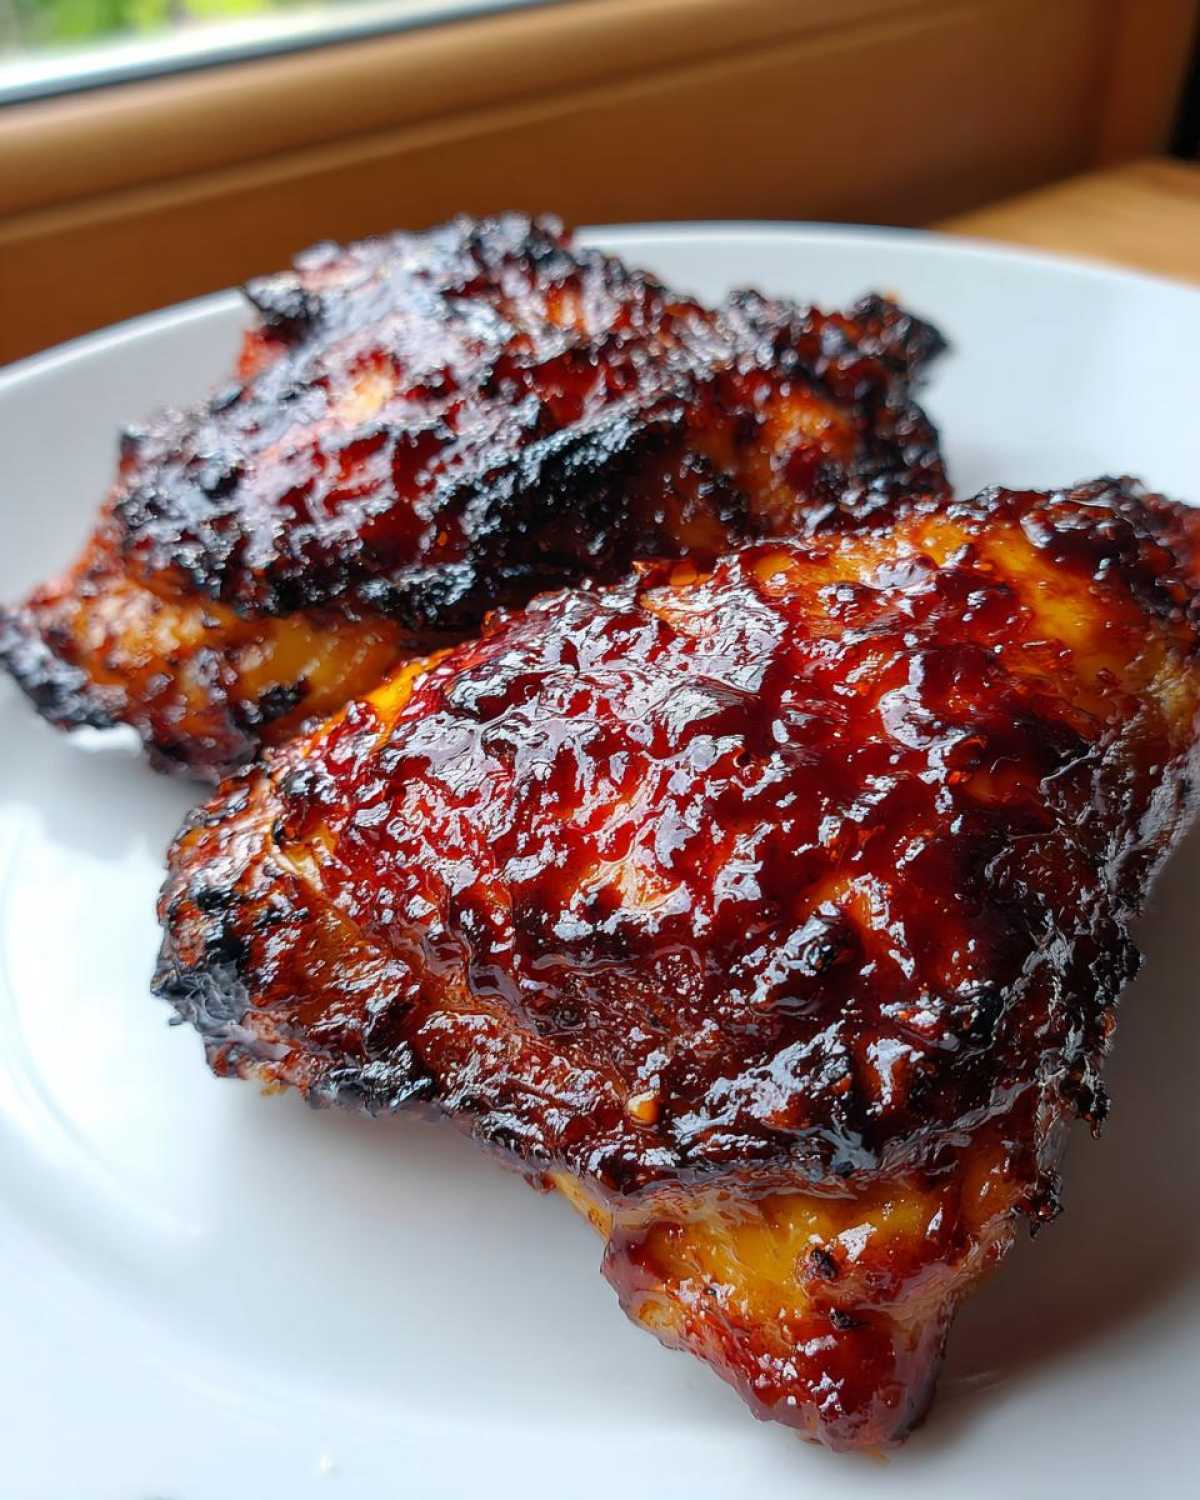
Listen, sauced chicken is amazing, but that little bit of crispy texture against the soft meat? That’s pure heaven. When I first started making this, my skin always came out a little soft, which just isn’t acceptable for a proper BBQ chicken thighs recipe! The secret isn’t more heat; it’s about airflow.
If you have a thin wire rack that fits inside your baking sheet, use it! Placing the chicken on the rack lets the air circulate all around the skin, including underneath, while it bakes. This allows the fat to render properly and makes the skin brown instead of steam in its own juices. Remember, you put the rack right on top of that foil-lined sheet—that way, cleanup is still a breeze!
Also, don’t forget that critical first 25-minute bake *before* the sauce hits. That time is essential for rendering out just enough fat so the skin has a chance to dry out and crisp up before we lock in that sticky glaze later.
Making Pulled BBQ Chicken from This Recipe
Now, if you’re looking for softer meat—maybe you want to load up some soft rolls for amazing pulled BBQ chicken sandwiches instead of serving them whole—you can totally adapt this bake! It’s a very simple switch.
After you’ve done that first 25-minute bake and applied half the sauce the first time, just turn your oven temperature down to 375 degrees Fahrenheit. Then, let those thighs hang out in the oven for an extra 15 minutes. That low and slower heat breaks down the connective tissues perfectly.
When they come out, the meat should easily shred with two forks. Toss all that pulled chicken right back into the pan with the remaining sauce and stir it well to coat everything beautifully. It’s the same great flavor but in a delightfully shredded texture!
Serving Suggestions for Your BBQ Chicken Dinner
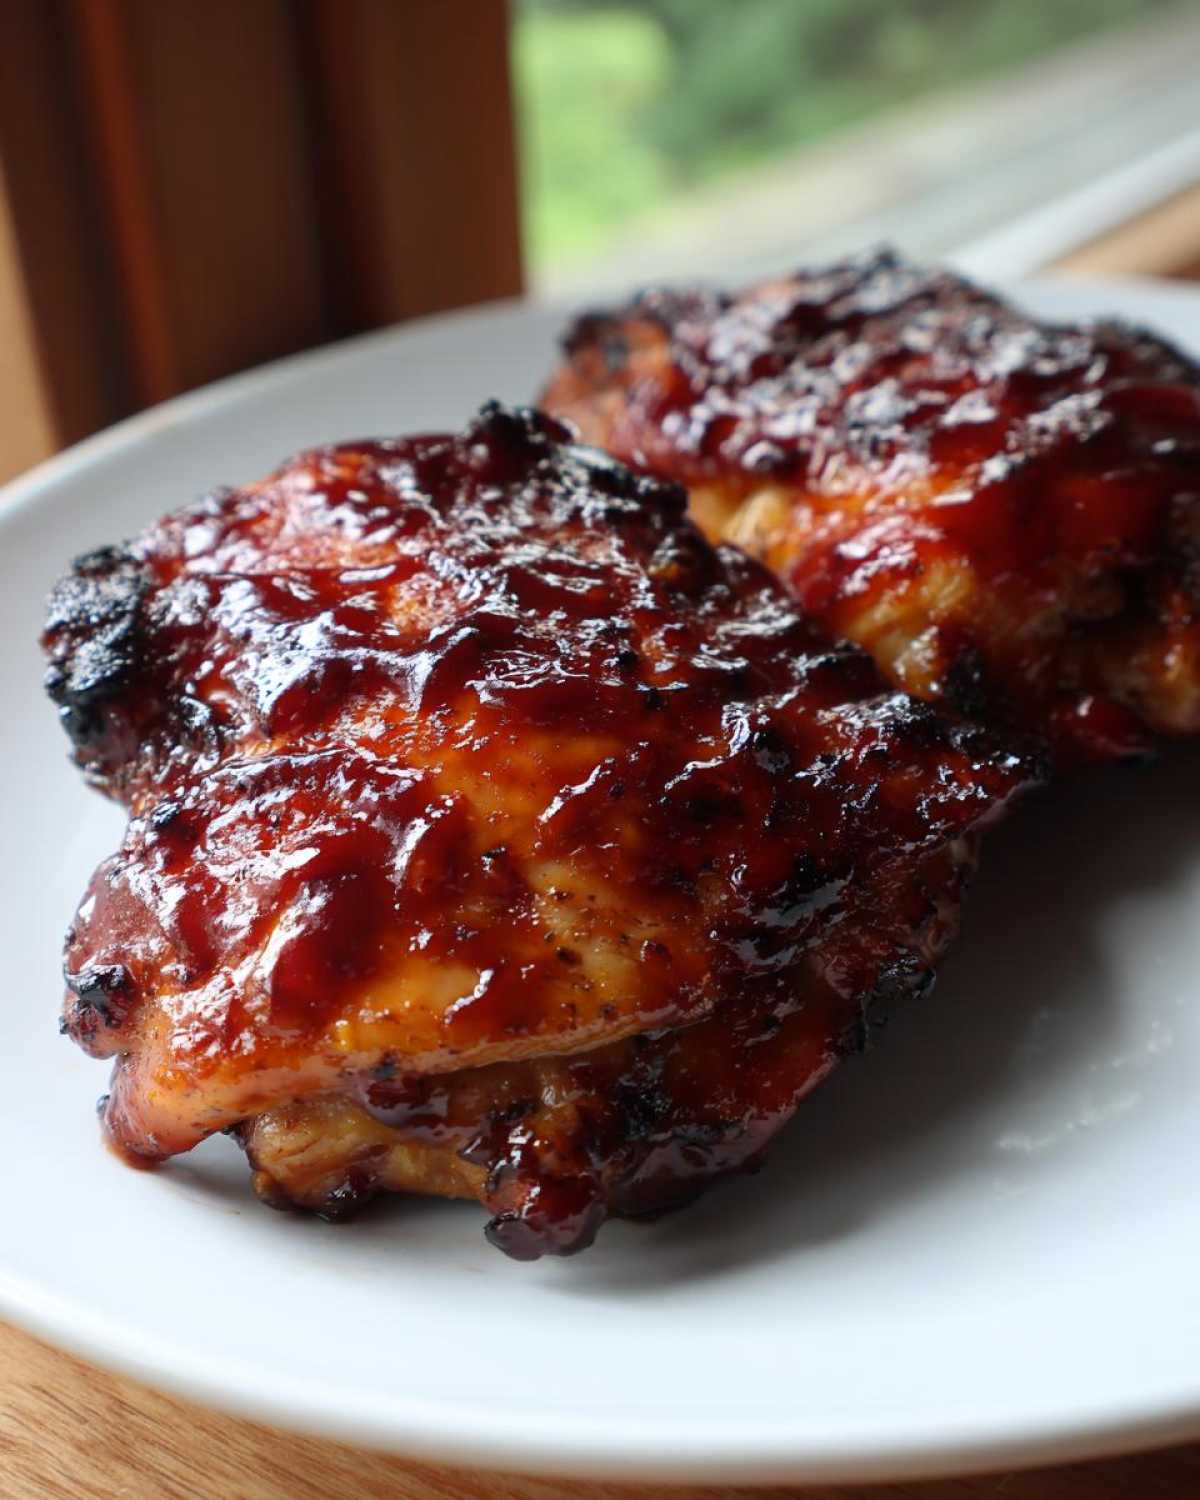
Okay, you’ve got this spectacular, juicy bbq chicken coming out of the oven, but what are you putting next to it? Nobody wants plain chicken, right? Since this recipe is so fast, we need sides that can keep up! Keep it classic for that easy family-friendly vibe, or throw a couple of things in the air fryer while the chicken rests.
My absolute go-to for a weeknight dinner is just a big bowl of fresh coleslaw—the crunch and tang cut right through the sticky sweetness of the sauce perfectly. If the weather is nice or you want something a little heartier, you can’t beat corn on the cob. Just boil it quickly while the chicken is on its second bake. It’s simple summer flavor!
If you want something a bit more substantial for meal prep or just need more carbs, you *have* to try amazing baked potatoes or even baked sweet potatoes. I have a great method for getting those sweet potatoes super fluffy in the oven, and they feel fancy without adding any real stress to your prep time at all. Honestly, you can’t go wrong adding something green and crunchy to balance out all that delicious barbecue flavor!
Storing and Reheating Leftover BBQ Chicken
It’s rare that we ever have leftovers of this bbq chicken, but when we do, knowing how to save it keeps it tasting almost as good as fresh! Store any leftover chicken thighs immediately in a truly airtight container. If you leave it out on the counter for longer than two hours, please, just toss it—food safety first, always!
When you’re ready for round two, skip the microwave if you want to keep that skin from getting chewy. I prefer popping the cold thigh onto a small baking sheet and warming it up in a toaster oven or regular oven at about 325 degrees Fahrenheit until it’s heated through. If it looks a little dry, just brush on a tiny splash of extra store-bought sauce before it goes in. That little bit of extra moisture keeps it tasting perfect for your lunch bowl the next day!
Frequently Asked Questions About This Easy BBQ Chicken Recipe
I get so many messages asking about tweaking this recipe, which just proves how much everyone loves a good, simple barbecue sauce chicken! It’s truly an adaptable concept. Here are a few things I hear most often when people are planning their quick chicken dinner.
Can I put the BBQ sauce on before the first bake?
Oh, please don’t! That’s the fastest way to end up with burnt, sticky sugar all over your pan. The first 25 minutes at 400 degrees is necessary to dry out the skin and start rendering the fat. If you put the sauce on then, it will char before the chicken is even close to done. Save the heavy saucing for the second half, just like I describe in the main instructions!
How do I make this spicy instead of sweet and tangy?
That’s so easy! If you like a little kick in your Tangy Barbecue Flavor, you’ve got a few options. You can buy a spicy BBQ sauce, of course, but I love mixing in some cayenne powder or a little crushed red pepper flake right into the initial dry rub. If you want a smoky heat, a teaspoon of chipotle powder in that first seasoning step works wonders. It adds depth without totally overwhelming the chicken.
Is this recipe good for meal prep?
Absolutely, this is my go-to for meal prep chicken! The thighs hold up so well in the container. Remember that note about shredding them? If you plan ahead for multiple meals, cook them until they are just barely done (don’t overcook them while saucing), shred them, toss them with half the sauce, and refrigerate. When you reheat it later, you can toss it with a bit more sauce or some vinegar to wake up the flavor again. You can check out some great tips on general how to make BBQ chicken for meal prep on my other post, too!
What if I only have boneless chicken breasts?
If you must use boneless breasts, proceed with caution because they are very easy to dry out! Definitely cut your main bake time down by about 5 to 7 minutes before you apply that first layer of sauce. And please, make sure that internal temperature hits exactly 165°F and pull them immediately. They won’t be as forgiving as the thighs, but you can still get great results!
Nutritional Snapshot for Your BBQ Chicken Meal Prep
If you’re counting things for your weekly plan, seeing the numbers laid out is always helpful! Remember that since we are using the bone-in thighs and a good amount of sauce, these are estimates. I use an online calculator, but the values can shift based on how thick your sauce is or exactly how much fat renders off the skin.
On average, one of these delicious pieces serves up about 35 grams of protein, which is fantastic! You’ll find about 22 grams of fat, with 6 grams saturated. Because BBQ sauce has sugar, expect about 30 grams of carbohydrates per serving. It’s a hearty, satisfying meal perfect for keeping you full when you’re planning out your meal prep chicken!
PrintEasy Juicy Oven-Baked BBQ Chicken Thighs
This recipe provides simple instructions for making tender, flavorful BBQ chicken thighs using your oven. It is suitable for quick weeknight meals and yields great results for sandwiches or bowls.
- Prep Time: 10 min
- Cook Time: 40 min
- Total Time: 50 min
- Yield: 4 servings
- Category: Dinner
- Method: Baking
- Cuisine: American
- Diet: Low Fat
Ingredients
- 8 bone-in, skin-on chicken thighs
- 1 tablespoon olive oil
- 1 teaspoon salt
- 1/2 teaspoon black pepper
- 1 teaspoon garlic powder
- 1/2 teaspoon paprika
- 1 1/2 cups your favorite BBQ sauce (sweet and tangy recommended)
Instructions
- Preheat your oven to 400 degrees Fahrenheit (200 degrees Celsius). Line a baking sheet with aluminum foil for easier cleanup.
- Pat the chicken thighs dry using paper towels. This helps the skin crisp.
- In a small bowl, mix the olive oil, salt, pepper, garlic powder, and paprika. Rub this mixture evenly over all sides of the chicken thighs.
- Place the seasoned chicken thighs skin-side up on the prepared baking sheet.
- Bake for 25 minutes.
- Remove the pan from the oven. Brush the tops of the chicken thighs generously with about half of the BBQ sauce.
- Return the chicken to the oven and bake for another 10 to 15 minutes, or until the internal temperature reaches 165 degrees Fahrenheit (74 degrees Celsius).
- Brush the remaining BBQ sauce over the chicken immediately after removing it from the oven. Let the chicken rest for 5 minutes before serving.
Notes
- For crispier skin, place a wire rack on top of the foil-lined baking sheet before placing the chicken on it.
- You can substitute chicken breasts, but reduce the final baking time by about 5 to 7 minutes.
- If you prefer pulled chicken, cook the thighs for an extra 15 minutes at 375 degrees Fahrenheit after the initial sauce application, then shred the meat and toss it with the remaining sauce.
Nutrition
- Serving Size: 1 thigh
- Calories: 450
- Sugar: 25
- Sodium: 650
- Fat: 22
- Saturated Fat: 6
- Unsaturated Fat: 16
- Trans Fat: 0
- Carbohydrates: 30
- Fiber: 1
- Protein: 35
- Cholesterol: 120