

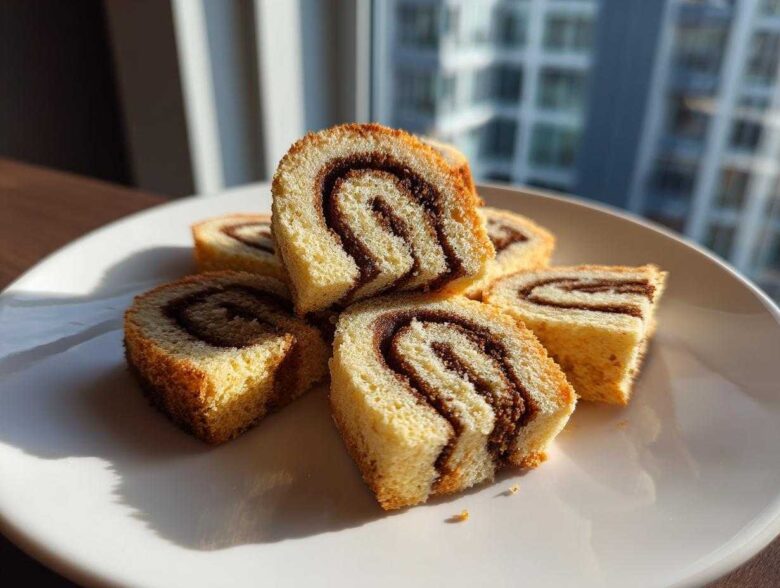
Oh my gosh, are you ready for the prettiest cookies that require the *least* amount of fuss? I’m talking about **pinwheel cookies**! Honestly, these slice-and-bake swirls are pure magic on a platter. Every year when the air gets crisp, I pull out the recipe card that belonged to my Aunt Carol. She used to bake these for every school bake sale because they looked so fancy, but they are secretly just simple sugar cookie dough dyed vanilla and chocolate. Trust me when I say this is the absolute best, easiest method for getting those crisp, perfect spirals every single time. You’ll be amazed at how professional these buttery little guys look!
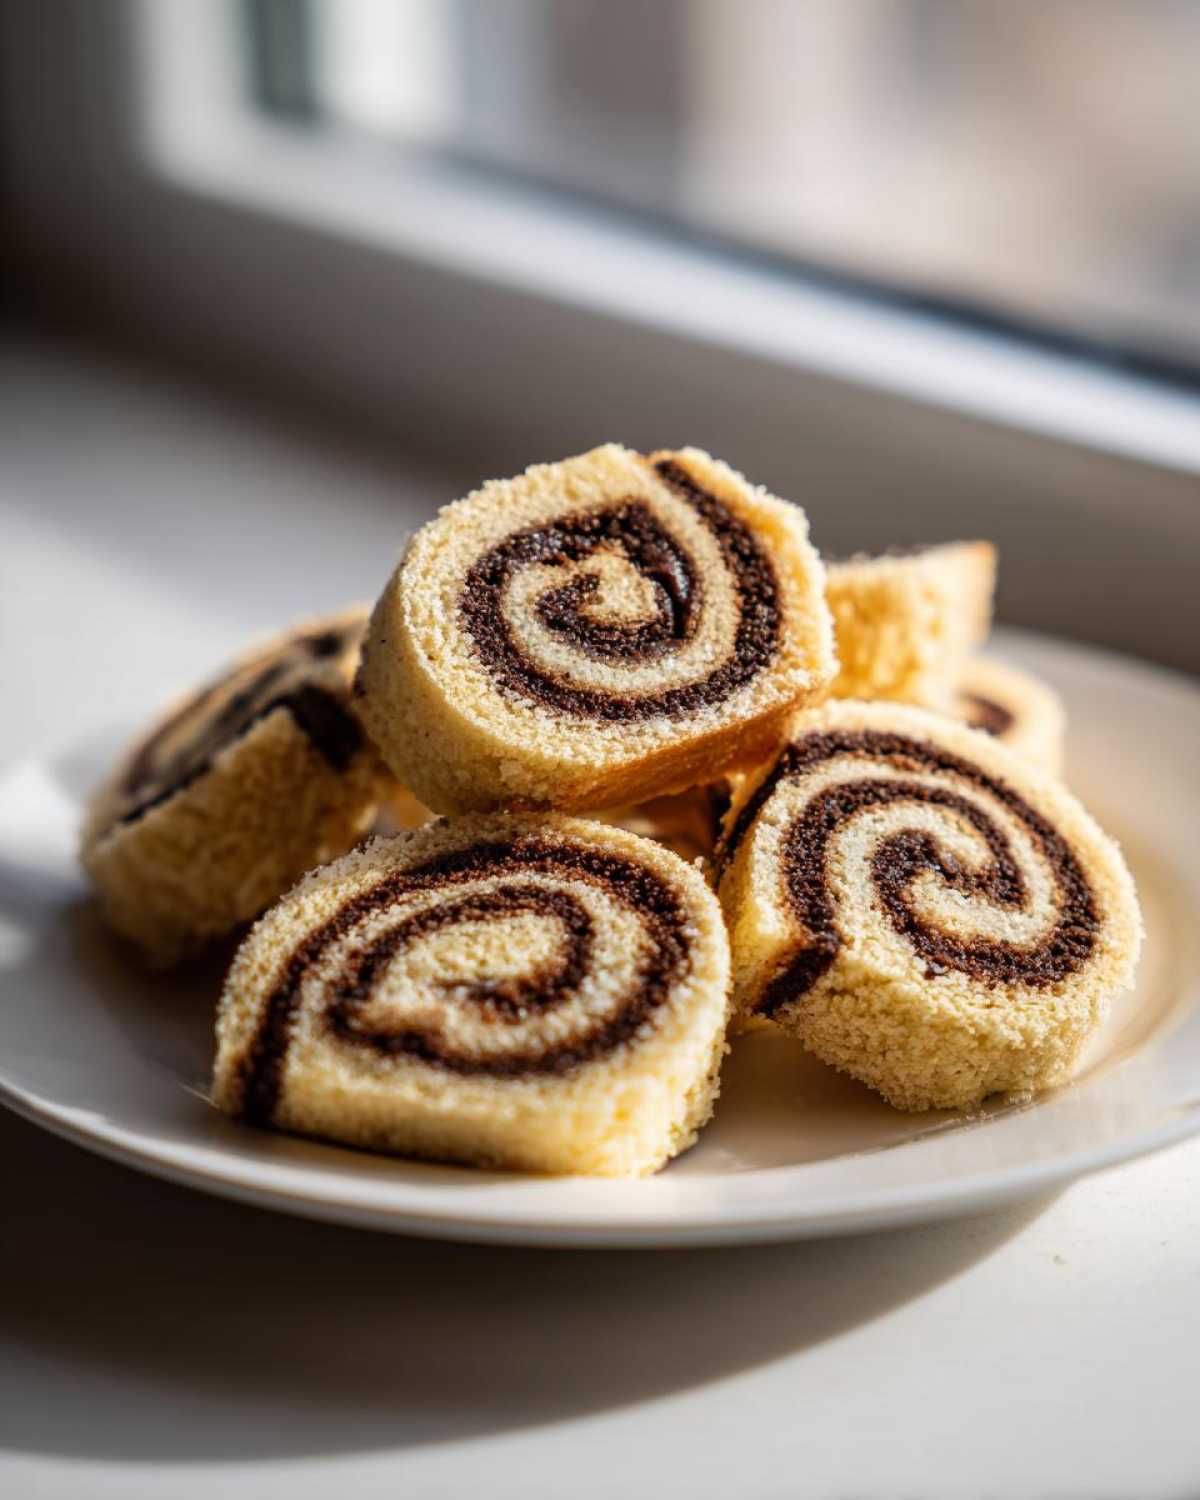
Why You Will Love These Classic Pinwheel Cookies
These aren’t just cookies; they are *smart* cookies. They look like they took hours of careful piping and coloring, but really, the magic is all in the handy dough log! Here’s why these buttery spiral cookies should be on your baking sheet this season:
- They are pure “slice and bake magic”! Once the dough is chilled, you just whip out the knife and bake a fresh batch whenever you need them. Talk about instant gratification!
- The swirl is stunning. Whether you stick to chocolate and vanilla or try those festive red and green versions on a holiday platter, the pattern is always mesmerizing. Everyone asks how I got such distinct, pretty layers.
- They have that perfect buttery crunch. Because the dough is so rich and chilled properly, they bake up firm on the edges but stay wonderfully tender right in the center. They just melt when you eat them.
- These are fantastic for gift giving and cookie exchanges. You can mix up the dough log weeks ahead of time and freeze it. That means low stress right before a big party! I always keep a log tucked away in the freezer for unexpected guests.
Seriously, if you’re looking for a fantastic make ahead holiday dessert that tastes expensive but costs minutes, this is it.
Ingredients for Perfect Pinwheel Cookies
When we talk about these **pinwheel cookie recipe** ingredients, simplicity is key! Aunt Carol insisted on using proper, room-temperature components to get that gorgeous texture. You really need to use unsalted butter, softened—none of that hard stuff straight from the fridge! It makes all the difference when you start creaming that sugar.
- 1 cup unsalted butter, softened (I mean really soft, but not melted!)
- 1 cup granulated sugar
- 1 large egg (make sure it’s room temperature too)
- 1 teaspoon vanilla extract (use the good stuff here!)
- 2 3/4 cups all-purpose flour
- 1 teaspoon baking powder
- 1/2 teaspoon salt
- 2 tablespoons unsweetened cocoa powder (Dutch process is nice if you have it)
- 1 teaspoon cold water (This helps the cocoa dissolve perfectly!)
That’s it! No heavy creams or strange extracts. Just pure, buttery goodness ready to be swirled into those **buttery spiral cookies**.
Mastering the Slice and Bake Pinwheel Cookie Dough Log
Okay, this is where the actual cookie shaping begins, and it’s so much fun! We start just like any good sugar cookie, by beating that soft butter and sugar until it’s light and fluffy. Don’t rush this part; you want air in there for the right texture later on. Then we mix in the egg and that gorgeous vanilla. Once that wet mixture is creamy, we slowly add in your flour blend. Mix it until it *just* comes together—seriously, stop the second you don’t see any more dry streaks! Overmixing this basic sugar cookie dough is the number one way to end up with tough cookies, and we definitely want soft, melt-in-your-mouth slice and bake cookies, not hockey pucks!
Creating the Vanilla and Chocolate Pinwheel Cookies Dough
Once everything is minimally mixed, you need to divide that perfect dough right down the middle. One half stays vanilla—that’s your base flavor. For the other half, we stir in the cocoa powder. Now, here’s something I always get asked about: see that 1 teaspoon of cold water in the ingredient list? You need that little bit of water because cocoa powder is very dry; adding it helps the chocolate dough stay pliable and mix evenly without having to add too much extra flour, which would throw off the whole recipe!
After dividing, you’ll use a rolling pin to flatten each half into a neat rectangle. They should be about half an inch thick. Make sure your edges are pretty straight! This is vital because when we stack and roll them, straight edges equal beautiful, crisp spirals later on for your perfectly patterned cookie dough log recipes.
How to Roll and Chill Your Pinwheel Cookies Dough Log
Now for the fun part: transforming those two separate dough rectangles into the signature swirl! Lay your vanilla dough flat on your clean surface. If you have a silicone mat, definitely use it here—it makes rolling the log so much easier later on, and clean-up is a breeze! You want to place the chocolate rectangle directly on top of the vanilla piece. Line up those edges as best you can before you gently press them together. We’re essentially making a multi-layered sandwich of deliciousness here.
Starting right at one of the long edges, you need to roll this layered dough up as tightly as humanly possible, creating a nice, compact cylinder, or log. Think of it like rolling up a carpet! Give the log a gentle squeeze as you go along to make sure you don’t leave any big air pockets inside—those gaps mean your finished slice and bake cookies won’t have a clean swirl. Once you have your perfect log, wrap it tight, tight, tight in plastic wrap. It really needs to chill out for a while. At least three hours in the fridge is the minimum time Aunt Carol allowed, but honestly, overnight is even better. That chilling process is what makes these **easy roll cookies** possible!
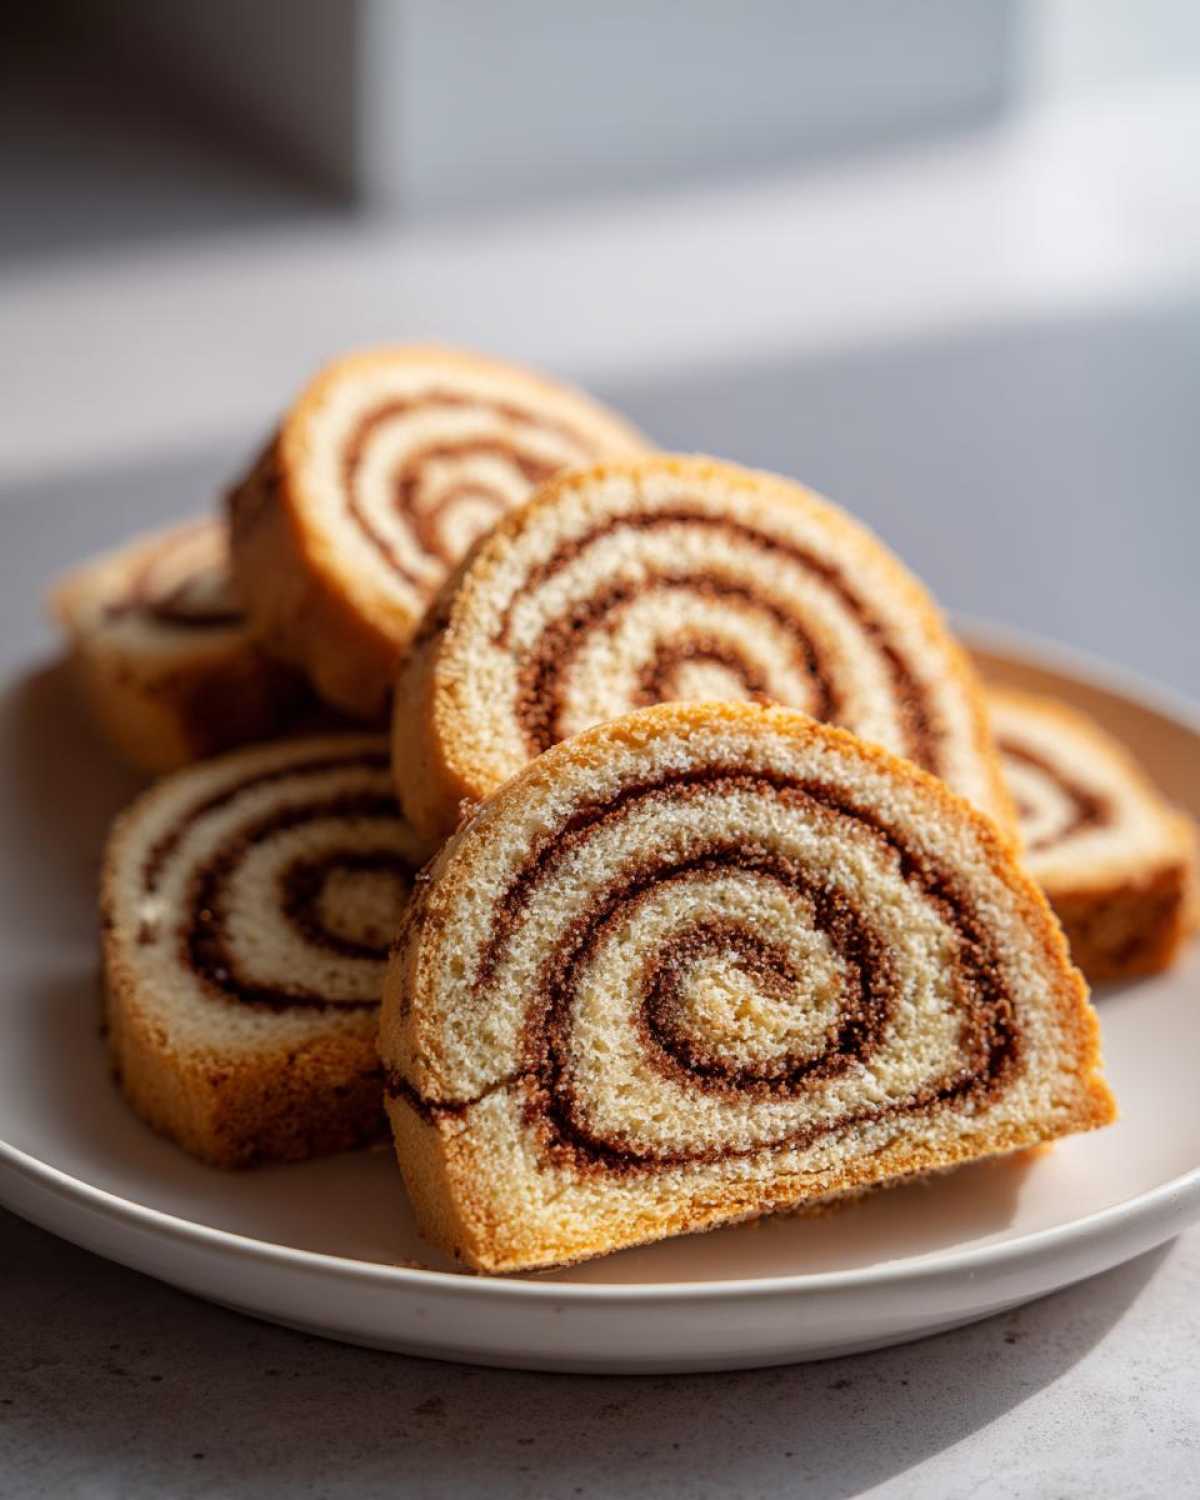
Tips for Achieving the Best Swirl in Your Pinwheel Cookies
That chilling time is doing serious work. When the dough is rock hard, you can slice it super thin—which is key! If the dough is too soft when you try to cut it, the layers will squish together, and you’ll end up with more of a mottled blob than a beautiful spiral design. The cold temperature keeps all those butter molecules rigid, holding the shape you worked so hard to create during the rolling process.
If you’re in a rush and have guests coming in an hour, you can absolutely move that wrapped log into the freezer for about 45 minutes instead of the fridge. Just watch it carefully so it doesn’t freeze solid—we still need to slice it! The general rule here is firm enough to slice without sticking to the knife, but not so frozen that you break your beautiful creation.
Baking Instructions for Buttery Spiral Cookies
Alright, the dough is chilled and rock solid—time for the best part! Go ahead and crank your oven up to 375 degrees Fahrenheit. While it heats up, grab your trusty baking sheets. I know Aunt Carol used parchment paper only on half of hers, but honestly, I line every single one now. It’s just safer, especially with these buttery bases that love to stick if you look at them wrong!
Now for the slicing! Remember how important that firm dough was? Take your beautiful log out and use a sharp knife to cut nice, even rounds, about 1/4 of an inch thick. If you try to go thinner, they might melt into each other while baking! Place those slices onto your prepared sheets, making sure you leave about two inches between each cookie. They spread just a little, but not too much, thanks to that chilling time.
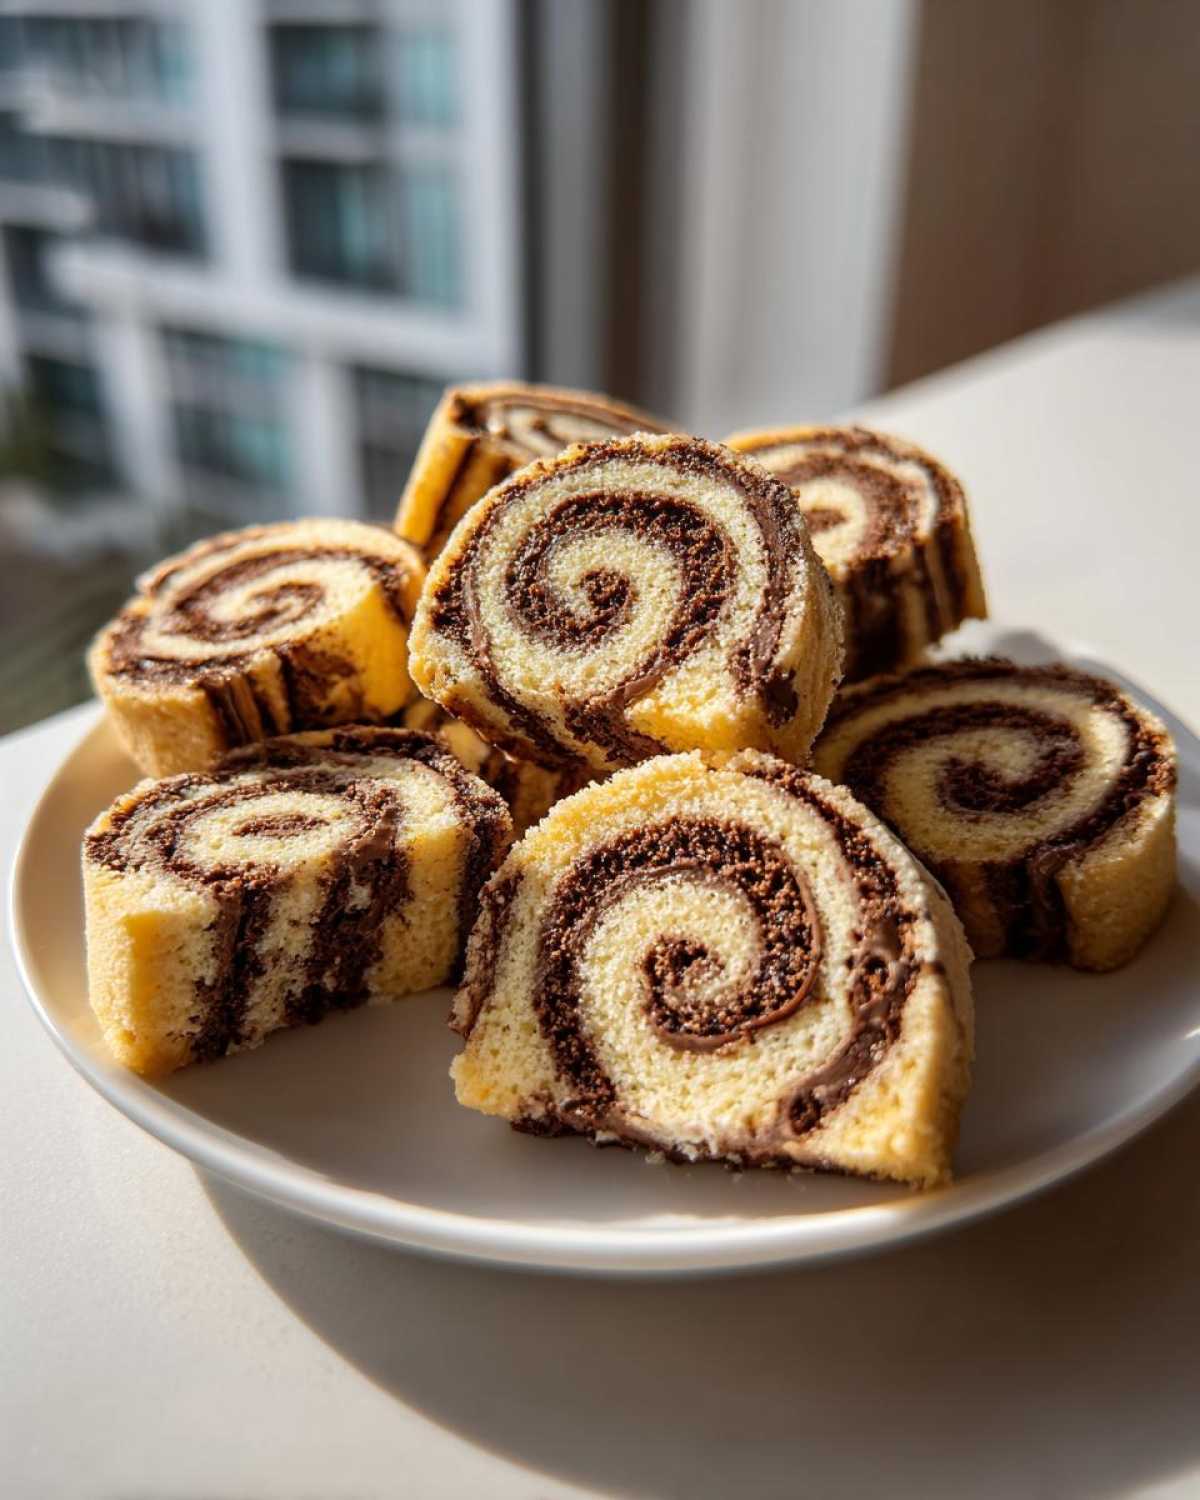
Pop them into the oven for about 8 to 10 minutes. This is the critical window! You want the edges to look set, maybe just barely golden brown. Please, please, please do not overbake these buttery spiral cookies! Overbaking turns them dry, and we want that chewy, melt-in-your-mouth texture. Let them sit on the hot pan for about five minutes to firm up before gently moving them over to a wire rack to cool completely. That initial rest helps them keep their shape!
Ingredient Notes and Festive Variations for Pinwheel Cookies
I love talking about the little tweaks that take these from pretty good to absolutely perfect! You might have noticed in the instructions where I mentioned cold water mixed with the cocoa. That’s super important, not just for flavor, but because cocoa powder is like a sponge. Adding that small amount of cold water ensures it incorporates smoothly into the fat of the dough without sucking up all the moisture, keeping your chocolate dough just as tender as the vanilla half. Don’t skip it!
But the real fun comes when you want to make these cookies look extra special for a holiday cookie exchange recipe! The classic vanilla and chocolate is wonderful, but if you want to go full-on festive, here is Aunt Carol’s trick for making those vibrant, colorful swirl cookies.
Here’s how you layer up the color when you divide that vanilla dough:
- Take your vanilla dough portion and divide it again into two halves.
- Use just a tiny drop—seriously, one drop!—of red food coloring in one half and mix until it’s a solid pinkish-red.
- Do the same with a drop of green coloring in the other half.
- Now, instead of just vanilla and chocolate, you’ll layer three colors before rolling: the red dough, then the chocolate dough, and finally the plain vanilla dough (or whatever combo you like!). Roll the three layers together tightly.
When you slice these tri-color beauties, you get this amazing, unexpected explosion of festive color in every single round cookie! It makes them look so impressive, but again, it was just a few drops of food coloring and careful rolling. I think that’s what Aunt Carol loved most—taking simple ingredients and making them look like they came from a fancy bakery case.
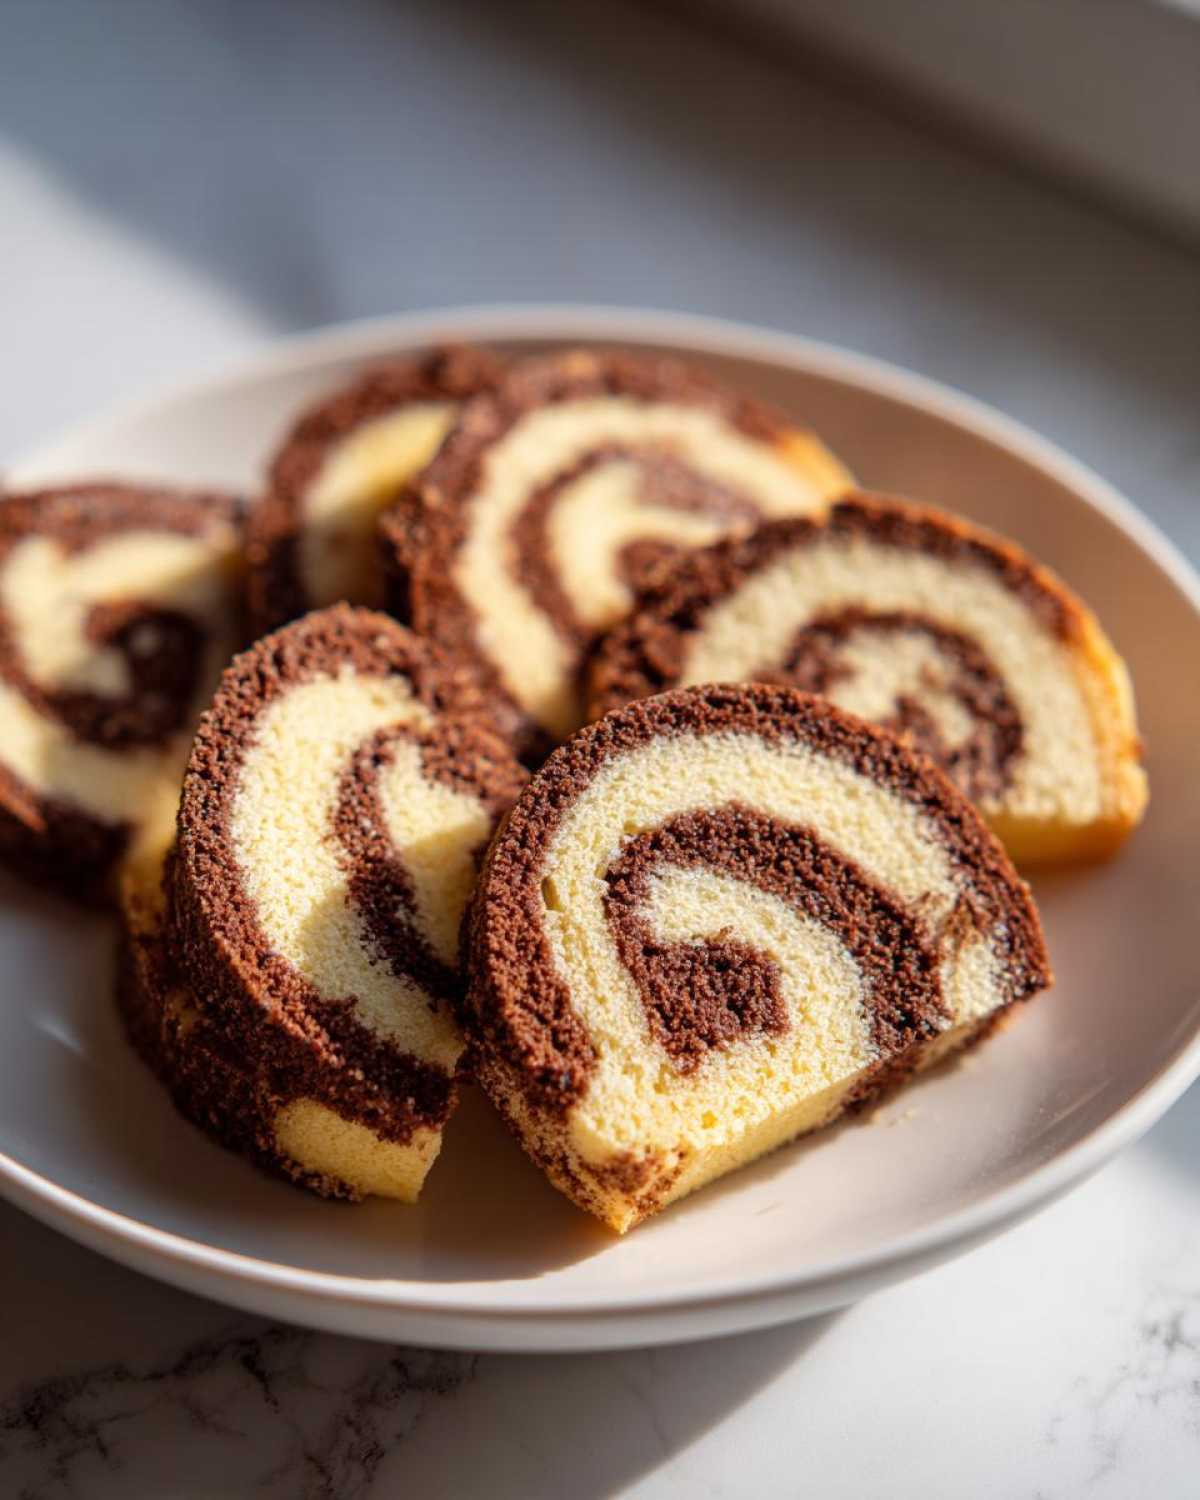
Storage and Make Ahead Holiday Desserts Using Pinwheel Cookies
One of the main reasons I rely on these **pinwheel cookies** every single year, especially when juggling holiday baking schedules, is how unbelievably easy they are to prep ahead of time. You really aren’t just making cookies; you’re making cookie insurance!
Let’s talk about the baked cookies first. If you manage to have any leftovers once they’ve cooled completely, they store beautifully. Just pop them into an airtight container—I use those classic cookie tins—and keep them in a cool, dry pantry. They should stay fresh and perfectly crisp for a good week. If you want to keep them softer, you can add half a slice of bread to the tin; it releases just enough extra moisture to keep the tenderness in the center of those easy roll cookies for nearly two weeks!
But the real champion of this recipe is the dough log itself. This is where the **make-ahead holiday dessert** magic happens. Remember how tightly you wrapped that vanilla and chocolate log in plastic wrap? You can transfer that wrapped log straight into the freezer. Yes, you read that right! I often make my dough logs right after Halloween, wrap them super securely, and tuck them away. They are perfectly good this way for up to three months. When you suddenly realize you need 40 cookies for a party tomorrow, you just pull the log out.
If you are baking them the next day, just move the frozen log into the refrigerator for a few hours to soften enough for slicing. If you need them baked the same day, you can usually slice them straight from the freezer—just give yourself a few extra minutes for cutting because the knife will drag a little more. This freezer trick is a lifesaver every single time I have a busy December!
Frequently Asked Questions About Pinwheel Cookies
When baking becomes an art like this, of course, questions pop up! I’ve been making these **pinwheel cookies** so long that I pretty much anticipate every possible baking hiccup. Addressing the things that go wrong is how we build trust and make sure every batch you pull out of the oven looks just as good as mine!
Here are the top things folks usually ask about their holiday cookie exchange recipes:
Can I make these Chocolate Vanilla Swirl Cookies without chilling the dough?
Oh, please don’t even try it! Chilling is absolutely essential when you’re making **swirl icebox cookies**. If you try to slice that warm, soft dough, the vanilla and chocolate layers will squish together immediately. You won’t get a beautiful spiral; you’ll get a messy, flat smudge. Plus, warm dough spreads way more in the oven before it sets. Chilling firms up all that butter, ensuring you get those crisp, perfectly patterned slices when you cut them, and they hold their shape while baking!
What is the best way to store leftover pinwheel cookie dough?
I love that you’re thinking ahead! The best place for your leftover dough log is the freezer. Once you’ve wrapped the whole thing super tightly in plastic wrap—and maybe even put it in a resealable freezer bag for extra protection against freezer burn—it’s good to go for up to three months. I often pull a log out on a random Tuesday when I get a craving! It’s the ultimate in **quick holiday baking ideas** because you always have the dough ready to go. Just let it thaw in the fridge overnight, and you’re ready to slice and bake the next day.
Why did my pinwheel cookies spread out flat during baking?
That’s usually a sign that the butter in your mixture was too warm when you started, or you didn’t chill the log long enough—or both! If the butter melts too fast in the oven, the whole structure collapses, and those lovely swirls spread out until they look like thin discs. Make sure your dough is genuinely firm when it hits the sheet pan, and remember to preheat your oven fully! A slightly cooler oven can also cause slow spreading, so check that temperature setting!
Can I use almond extract instead of vanilla for a different flavor?
You absolutely can swap out that vanilla extract! Almond extract is beautiful with this buttery base, giving the cookies a lovely, slightly vintage feel, perhaps like those old-fashioned vintage pinwheel cookies. You might want to use a bit less than the vanilla called for—maybe 3/4 teaspoon—just because almond flavor is quite strong. If you want to try lemon, a teaspoon of lemon zest mixed into the vanilla dough brings a wonderful brightness, too!
Sharing Your Festive Cookie Designs
Whew! I’m so excited for you to try making these! Honestly, the best part of baking anything, especially something as pretty as these **pinwheel cookies**, is seeing how they turn out in *your* kitchen. Did you stick to the classic vanilla and chocolate swirls, or did you get adventurous and try those rainbow versions?
I sincerely hope your baking session was full of fun and that these turned out to be your new go-to recipe for quick-and-beautiful holiday treats. If you loved this version, please, please leave a star rating right here on the recipe card. It helps me know what recipes you want to see more of!
And if you took a picture of your amazing swirl pattern—whether it’s for a cookie exchange or just a cozy afternoon snack—please tag me over on social media! I absolutely live to see those perfect little circles. Head over to the blog anytime to see more simple tricks and family-favorite recipes. Happy baking, friend!
PrintClassic Holiday Pinwheel Cookies (Slice-and-Bake Swirls)

Make these easy slice-and-bake pinwheel cookies featuring a classic vanilla and chocolate swirl design perfect for holiday platters.
- Prep Time: 30 min
- Cook Time: 10 min
- Total Time: 3 hours 40 min
- Yield: 3 dozen cookies
- Category: Dessert
- Method: Baking
- Cuisine: American
- Diet: Vegetarian
Ingredients
- 1 cup unsalted butter, softened
- 1 cup granulated sugar
- 1 large egg
- 1 teaspoon vanilla extract
- 2 3/4 cups all-purpose flour
- 1 teaspoon baking powder
- 1/2 teaspoon salt
- 2 tablespoons unsweetened cocoa powder
- 1 teaspoon cold water
Instructions
- Beat the softened butter and sugar together in a large bowl until light and fluffy. Beat in the egg and vanilla extract.
- In a separate bowl, whisk together the flour, baking powder, and salt. Gradually add the dry ingredients to the wet ingredients, mixing until just combined.
- Divide the dough in half. Leave one half plain. To the second half, mix in the cocoa powder and cold water until fully incorporated, creating the chocolate dough.
- Shape each dough half into a rectangle approximately 1/2 inch thick. Place the vanilla dough rectangle on top of the chocolate dough rectangle, aligning the edges.
- Starting from one long edge, tightly roll the dough layers together into a log. Wrap the log tightly in plastic wrap.
- Chill the dough log in the refrigerator for at least 3 hours, or until firm enough to slice easily.
- Preheat your oven to 375 degrees Fahrenheit. Line baking sheets with parchment paper.
- Remove the dough from the refrigerator and slice the log into rounds about 1/4 inch thick. Place the slices onto the prepared baking sheets, leaving about 2 inches between them.
- Bake for 8 to 10 minutes, or until the edges are lightly set. Do not overbake.
- Let the cookies cool on the baking sheet for 5 minutes before transferring them to a wire rack to cool completely.
Notes
- For festive colors, divide the vanilla dough in half before adding cocoa to the other half. Add 1-2 drops of red food coloring to one half and green to the other, then layer the three colors (red, plain, chocolate) before rolling for a tri-color swirl.
- If the dough becomes too soft while slicing, return the log to the freezer for 15 minutes.
- You can store the wrapped dough logs in the freezer for up to 3 months before baking.
Nutrition
- Serving Size: 1 cookie
- Calories: 110
- Sugar: 8
- Sodium: 65
- Fat: 5
- Saturated Fat: 3
- Unsaturated Fat: 2
- Trans Fat: 0
- Carbohydrates: 15
- Fiber: 0
- Protein: 1
- Cholesterol: 25