

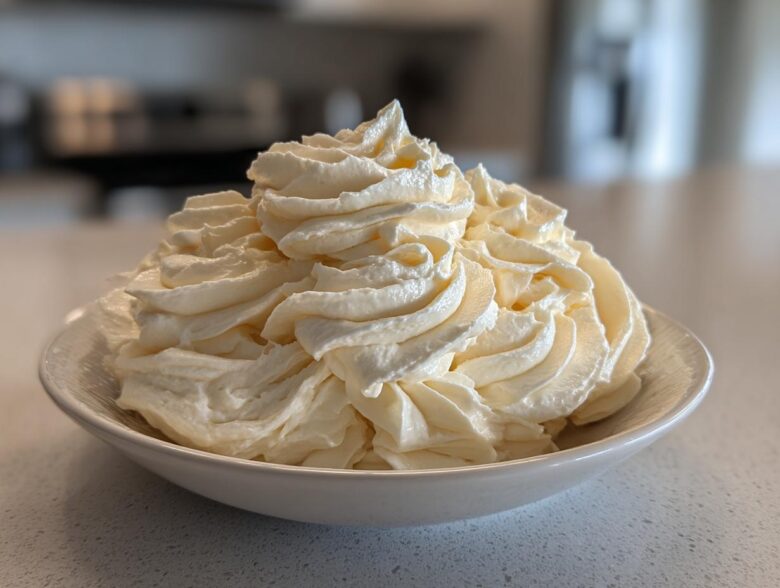
You can have the most beautiful cake or the fluffiest cupcake top in the world, but if the frosting fails, honestly, the memory fades fast! I learned early on in my chaotic kitchen experiments—far from American grocery aisles, believe it or not—that the key to true baking joy is a rock-solid foundation. That’s why I’m giving you our absolute, tried-and-true guide to the definitive vanilla buttercream frosting. This isn’t just any recipe; this is the one that gets smoother every time I make it, thanks to careful practice and always starting with quality butter. Trust me, you’re going to want this classic saved!
Why This Classic American Vanilla Buttercream Frosting is Your New Go-To
Okay, so if you take one thing away from this whole tutorial on the best buttercream for cakes, let it be this: this recipe works every single time. I’ve tested so many versions, but this classic American buttercream hits every mark you need for a happy baker. It’s quick, it’s impossibly creamy, and it holds its shape like a dream. Throw out those store-bought tubs; this easy homemade frosting is superior!
- Speed King: We’re talking less than 10 minutes of actual prep time. Perfect for those last-minute sugar cravings!
- Texture Heaven: This isn’t that grainy stuff that melts if you look at it wrong. It’s light, smooth, and genuinely fluffy.
- Piping Power: It’s stable enough that even my shaky hands can make a decent swirl on a cupcake.
Quick Prep: Easy Homemade Frosting in Minutes
Seriously, this is my favorite part of making this vanilla buttercream frosting. Life is too short to wait an hour for a topping! Because we aren’t cooking anything, it’s all about the mixing, and frankly, the mixer does most of the heavy lifting. You can whip this up faster than you can decide which sprinkles to use. It’s the best simple desserts topping for when you need something amazing right now.
Achieving Perfect Buttercream Frosting Piping Consistency
If you want those sharp edges on your cupcakes—the kind where the ridges look almost sculpted—you need stability. That’s why the exact ratios of butter to sugar are so important here. This is the ultimate vanilla frosting for cupcakes because its structure is sound. We’ll spend extra time whipping at the end to get that gorgeous, stiff-but-silky structure that holds up for hours.
Gathering Ingredients for Your Vanilla Buttercream Frosting
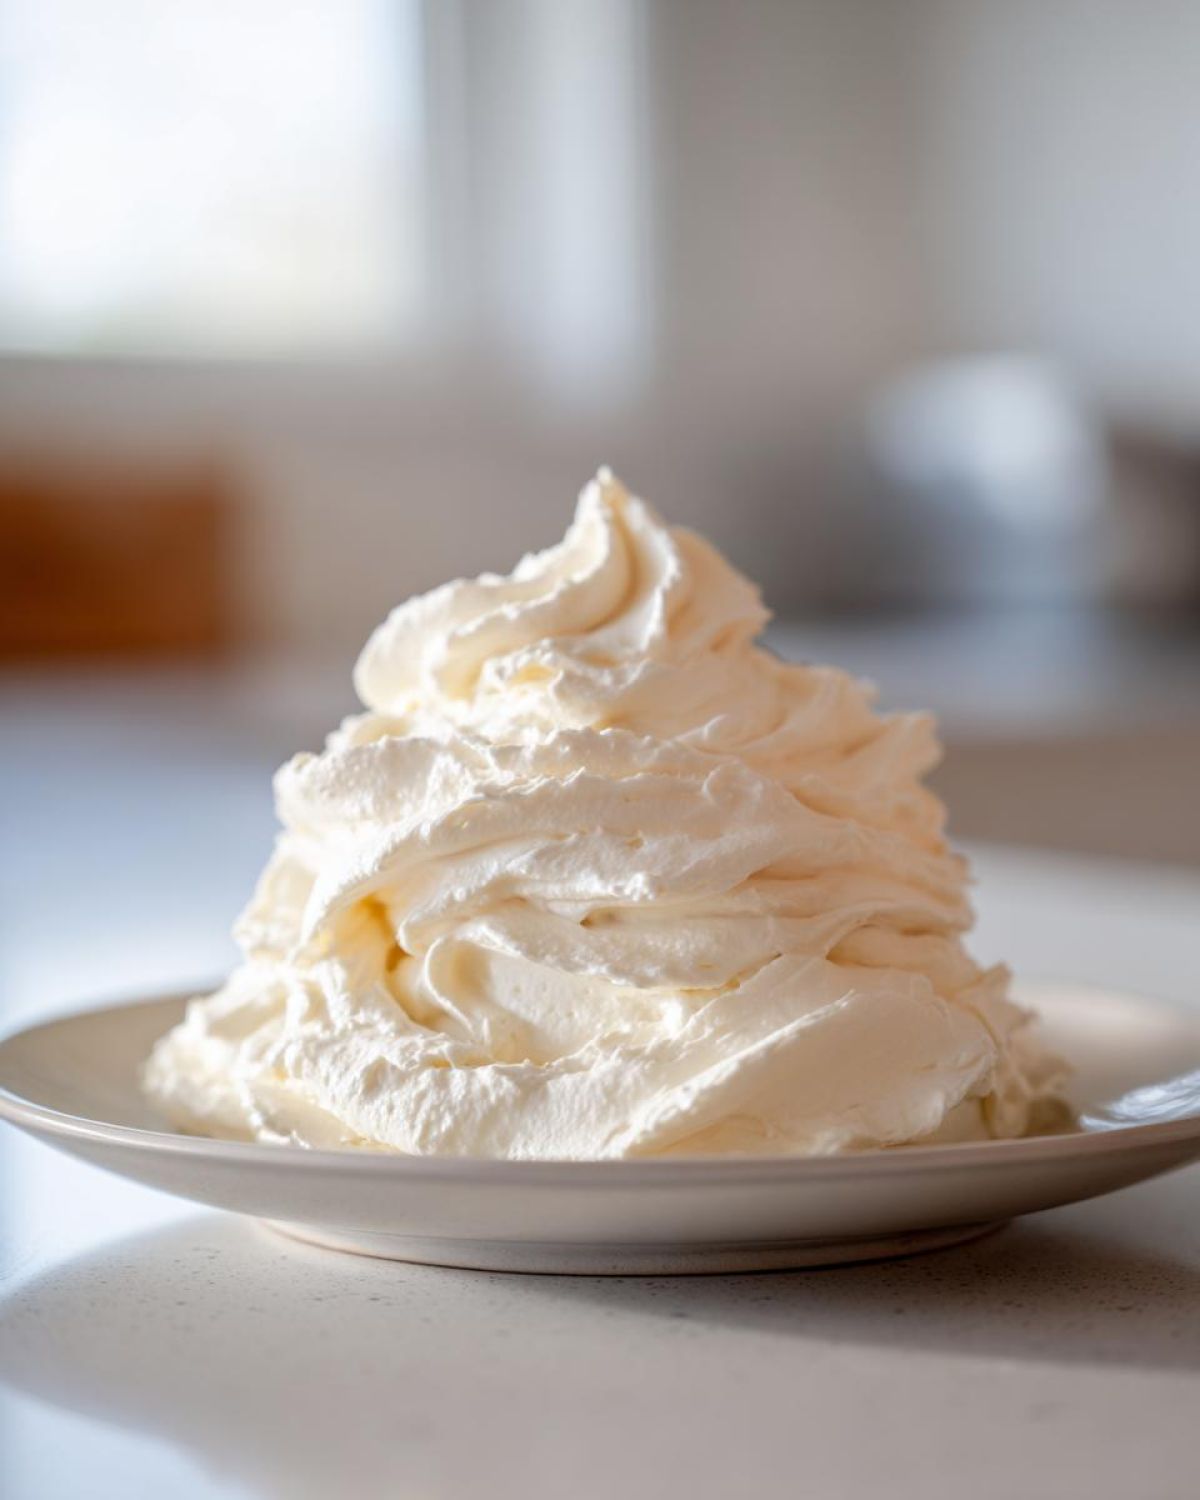
Alright, let’s talk ingredients! When you’re making something as pure and simple as this classic American buttercream, the quality of what goes in really matters. You can’t hide tired ingredients in a frosting that’s only five components! I always lay everything out on the counter before I even plug in the mixer. We need one cup (that’s two sticks!) of unsalted butter, four cups of sifted powdered sugar—yes, sifted, don’t skip that—a whole tablespoon of real, pure vanilla extract, a quarter teaspoon of good salt, and about three to four tablespoons of heavy cream or whole milk. It sounds straightforward, but technique starts right here at the ingredient gathering stage. If you’re looking for other ways to use up that butter, check out my post on cinnamon butter!
Remember, this is going to be the creamy vanilla frosting recipe that tops your whole dessert, so treat those components right. This is no time for imitation vanilla; we want that deep, wonderful flavor that only the real stuff provides. And that butter? It’s critical!
Ingredient Notes and Substitutions for Creamy Vanilla Frosting Recipe
I can’t stress this enough: the butter must be room temperature. When I say room temperature, I mean it should yield just a tiny bit when you press it gently with your finger. If it’s greasy or shiny, it’s too warm, and your vanilla buttercream frosting will turn runny and sad. Don’t try to rush this by microwaving the butter; you’ll cook the structure right out of it!
Next up, the sugar. Trying to beat powdered sugar that hasn’t been sifted is like trying to argue with a toddler—futile and frustrating. Sifting prevents those little pebbles that ruin a perfectly smooth buttercream finish. If you don’t have heavy cream, whole milk is fine, but if you want an extra-rich texture, sometimes I even substitute a bit of half-and-half. It just gives the final product a bit more body, which is fantastic for spreading on a layer cake.
Also, the salt sounds small, but it’s what keeps this sweet topping from tasting flat. It cuts through all that sugar beautifully!
The Fluffy Vanilla Icing Tutorial: How to Make Smooth Buttercream
Okay, this is where the magic happens! You’ve got your ingredients ready, your butter is perfectly yielding, and your powdered sugar is sifted. Now we follow these steps to ensure your vanilla buttercream frosting isn’t clumpy or heavy, but light and wonderful. We’re going to use the paddle attachment on a stand mixer—if you’re using a hand mixer, just be prepared to hold on tight when it gets fluffy!
First, 2 full minutes of beating that room-temperature butter until it looks like pale, silky cream. Don’t rush this initial step! Then, we add all that fluffy sugar slowly, one cup at a time, keeping the speed low so you don’t end up wearing it! Once that’s incorporated, we hit it with the vanilla and salt, and then comes the crucial part: turning the speed up to medium-high. We beat it for a solid 3 minutes here to start building that classic fluffiness.
Step-by-Step: Whipping Vanilla Frosting to Perfection
Once the sugar is in and beaten for those initial 3 minutes, it’s time to introduce the liquid. Add just 3 tablespoons of heavy cream or milk to start. Now, this is important: you need to keep beating this creamy vanilla frosting recipe on medium-high for another 3 to 5 minutes. Yes, I said 5! This extended whipping time is what incorporates air and transforms the dense “butter and sugar frosting” into the light, dreamy whipped vanilla frosting you’re hoping for. Scrape down the sides aggressively after the first minute of this long whip, making sure that thick mixture stuck to the edges gets folded back into the action. This is when you can really tell if you’re on your way to the best buttercream for cakes.
Adjusting Consistency for Your Homemade Vanilla Cake Frosting
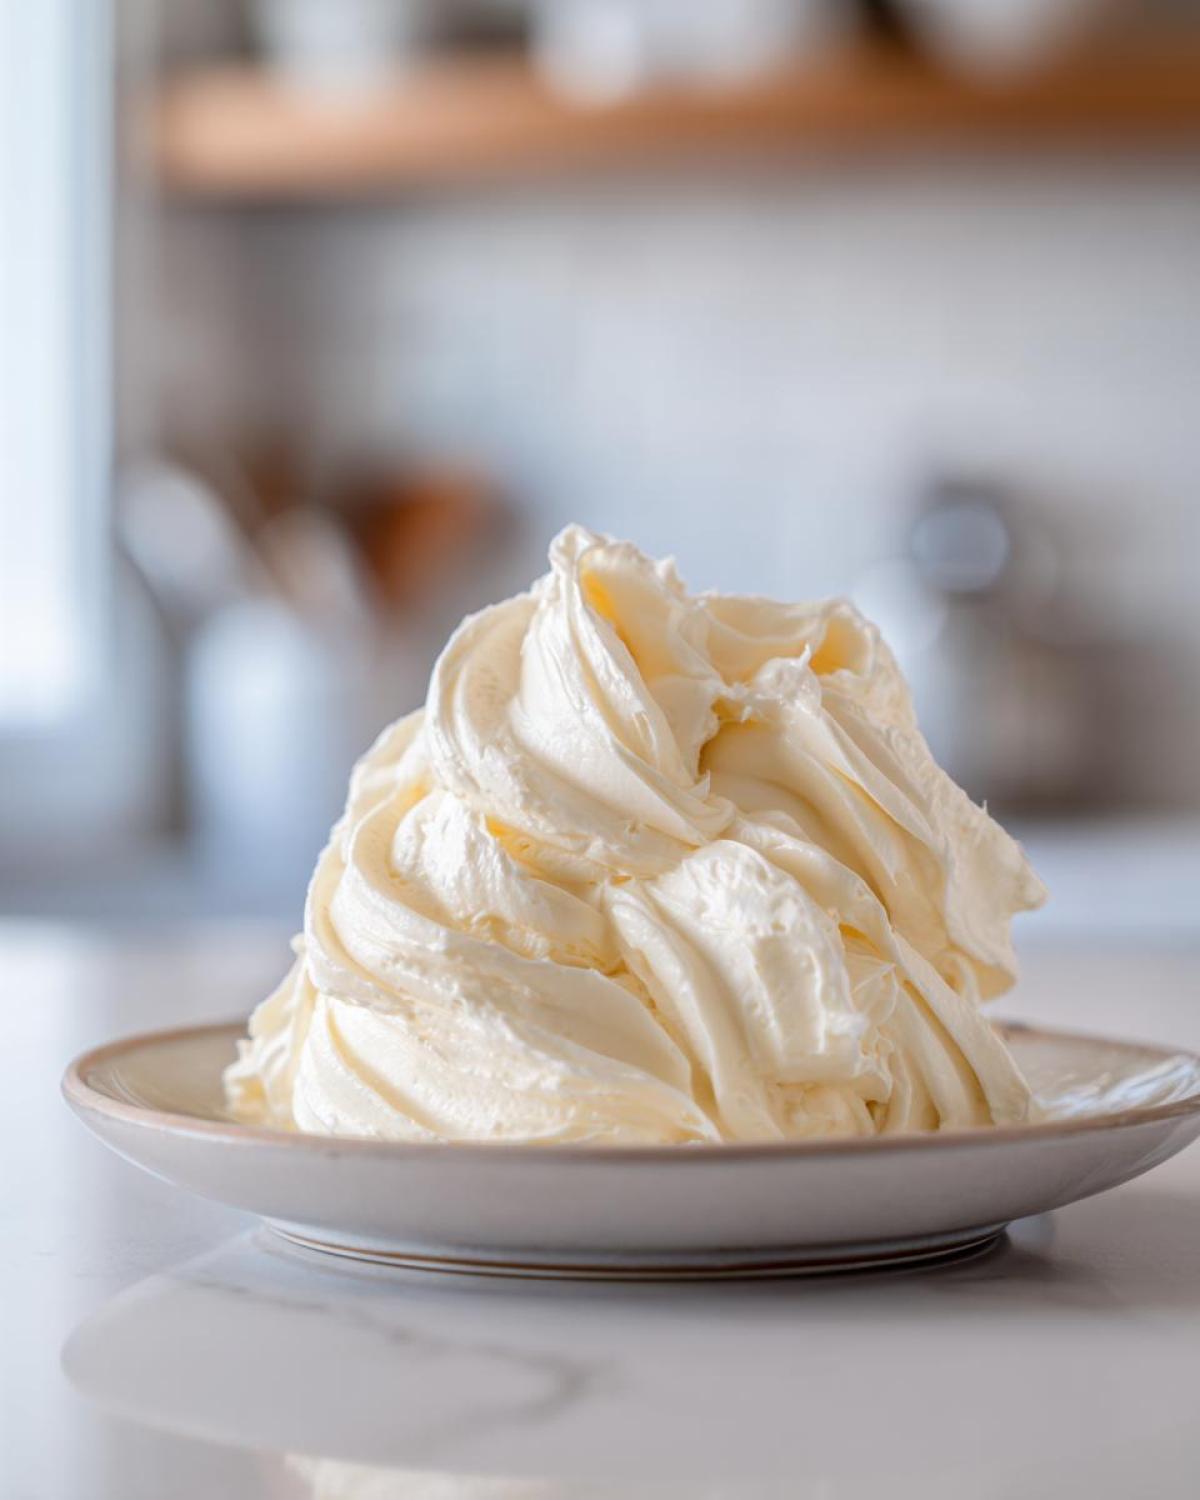
After that long whip, take a peek. Does it spread easily? Does it look light? If you still feel like you need a little more slide for your cookie decorating or spreading over a thick layer of cake, add that last remaining tablespoon of cream, teaspoon by teaspoon, and beat again until it blends in. This final adjustment is what guarantees perfect buttercream frosting piping consistency.
But what if you messed up and added too much cream? Don’t panic! We learn from our kitchen moments, right? If it’s too thin—too runny to hold its shape—just add about a quarter cup more sifted powdered sugar and beat it on medium speed until it incorporates. It won’t be quite as airy, but it will firm right back up into usable homemade vanilla cake frosting. See? Easy fix!
Tips for Success with Your Buttercream from Scratch
Now that you know the step-by-step process for making this beautiful vanilla buttercream frosting, I want to give you my best little ‘secrets’—the things I learned after weeks of testing recipes for the absolute best buttercream for cakes. These aren’t in the main instructions, but they are what separate a good frosting from a truly incredible one!
First, let’s talk about your mixer. If you are using a stand mixer, use that rubber spatula often. I mean it! Scrape down the bowl after every addition of sugar and again halfway through that final high-speed whip. Those bits of fat and sugar that cling to the sides just won’t emulsify properly otherwise, and that’s where grainy texture sneaks into your otherwise perfect creamy vanilla frosting recipe.
My next big pointer is temperature control in your baking space. If you are making this classic American buttercream on a blazing hot summer day, your kitchen environment will fight you! Butter melts faster than you can sift. If your room temp is above 75°F, I highly recommend chilling your heavy cream or even chilling the finished frosting for about 15 minutes before you start any heavy piping work. Cool frosting pipes sharper designs!
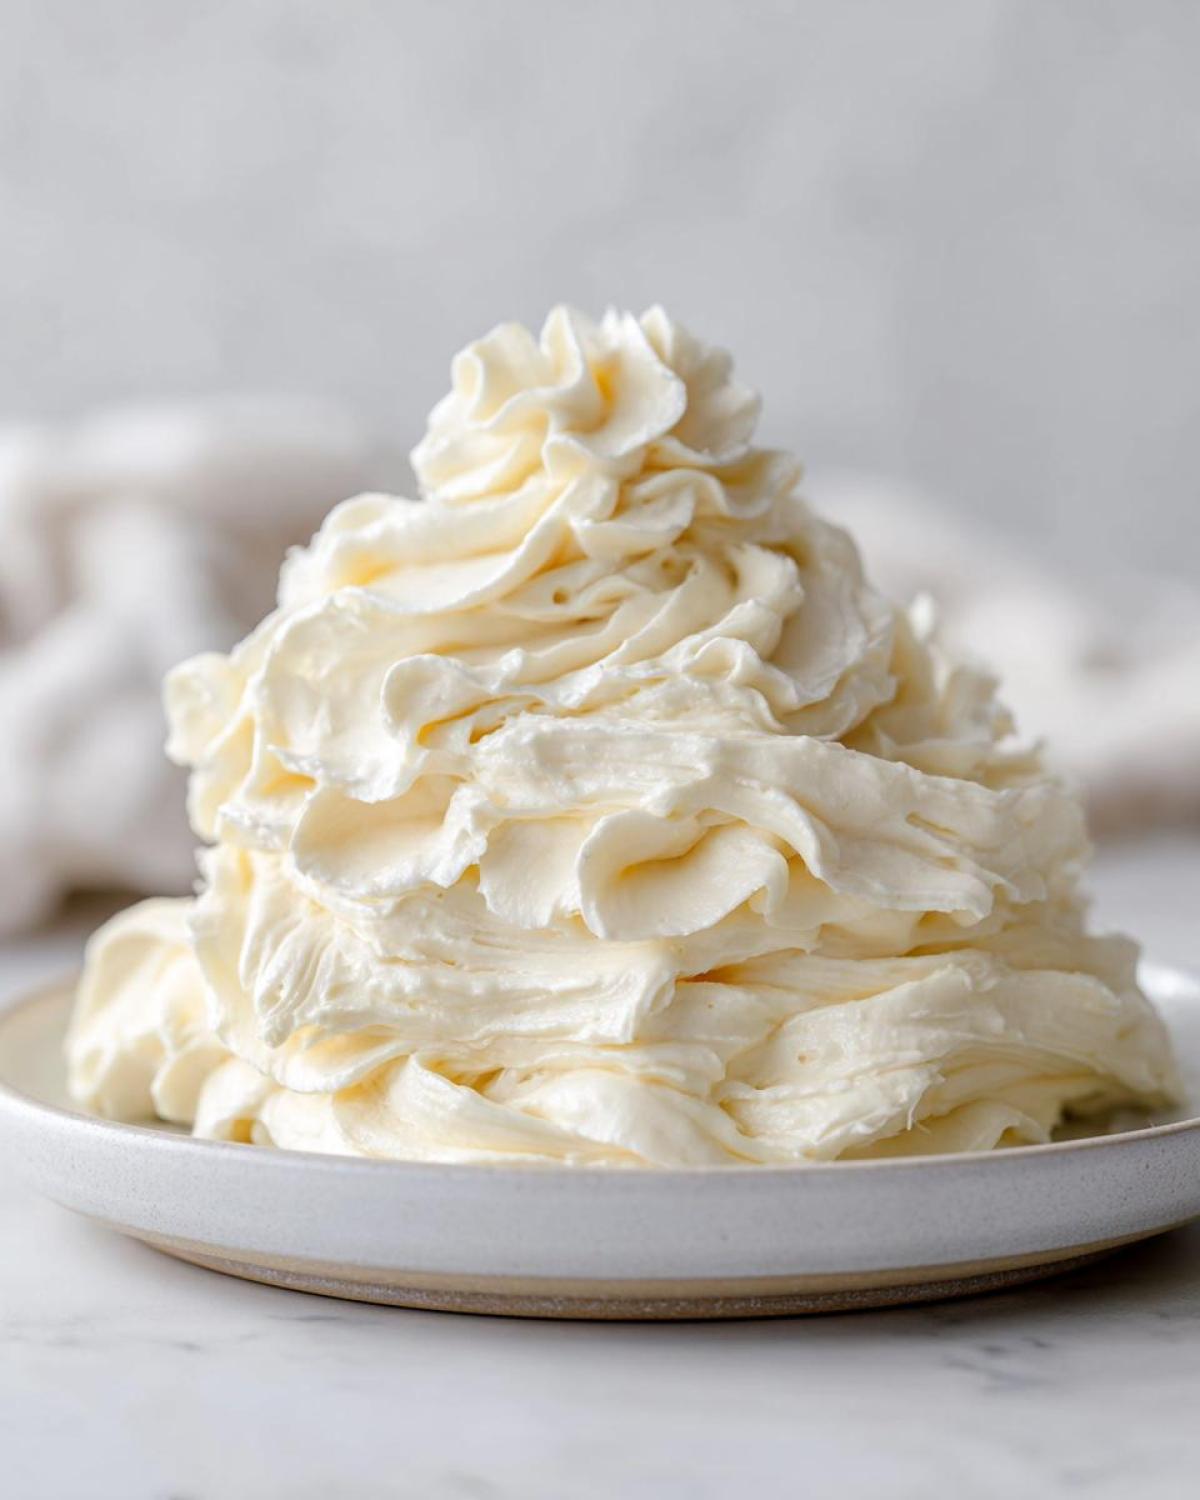
Another trick for that flawless, smooth buttercream look? If you are adding food coloring to make custom shades for your quick dessert decorations, add the color right after you add the vanilla and salt (Step 3 in the instructions). If you wait until the very end, you risk over-beating the mixture trying to get the color uniformly mixed in. Adding it earlier lets the final, long whip smooth everything out.
Finally, if you are using this for cookies, remember that American style frosting is soft compared to a hard royal icing. If you want firmer results, like in my scone glaze recipe, sometimes I swap out one tablespoon of the heavy cream for liquid meringue powder—don’t ask me why, but it gives this buttercream frosting piping consistency an almost unbelievable stability without making it taste meringue-y. Give that a try sometime when you need super tall swirls!
Storage and Making Ahead with Vanilla Buttercream Frosting
Life is busy, I totally get it! Sometimes you can’t just stop everything to frost a cake the moment the frosting is ready. The beautiful thing about this vanilla buttercream frosting is that it’s actually fantastic for making ahead. If you’re planning for a big weekend event, you can totally prep this creamy vanilla frosting recipe up to three days ahead of time. Just follow the recipe steps right through to the end.
For storage, I prefer covering the bowl tightly with plastic wrap directly touching the surface of the frosting—this stops a hard skin from forming. If I’m not planning on using it for a day or two, I’ll seal it up well and keep it in the fridge. It holds up perfectly fine in there!
Now, here’s the important part about reviving refrigerated frosting. You absolutely cannot use it straight from the fridge! If you try to pipe with cold butter and sugar frosting, it will be stiff, it will tear your cake, and you’ll end up frustrated. Take it out about an hour or two before you plan to frost. You want it to soften slightly—back to that perfect, slightly yielding room temperature. Once it’s warm enough to scoop easily, put it back on the electric mixer (still using the paddle, please!) and beat it on medium-high for about 3 to 5 minutes. This quick re-whip is what brings all that beautiful, trapped air back, making it light and perfectly spreadable again. It refreshes the whole texture!
If you end up making a huge batch for something like my awesome no-bake Oreo balls and you have leftover classic American buttercream, you can even freeze it! Store it in a freezer-safe container for up to a month. Thaw it slowly overnight in the fridge, then follow the same short re-whip process mentioned above. Homemade frosting is just so much better than anything you can buy, and knowing you can prep it ahead makes life so much easier!
Serving Suggestions for This Simple Desserts Topping
Now that you’ve mastered the mixing and whipping, the best part is deciding what masterpiece this glorious vanilla buttercream frosting is going to adorn! Honestly, once you have this creamy vanilla frosting recipe down, you’ll be looking for excuses to bake just so you can use it. It’s the definition of versatile—it’s sturdy enough for structure, but soft enough to melt in your mouth.
Of course, it’s the ultimate vanilla frosting for cupcakes. Whether you’re piping simple stars or trying out a complex rosette design, the texture holds up beautifully for quick dessert decorations. Just ensure your cupcakes are completely cool before you start, or you’ll end up with a sliding mess!
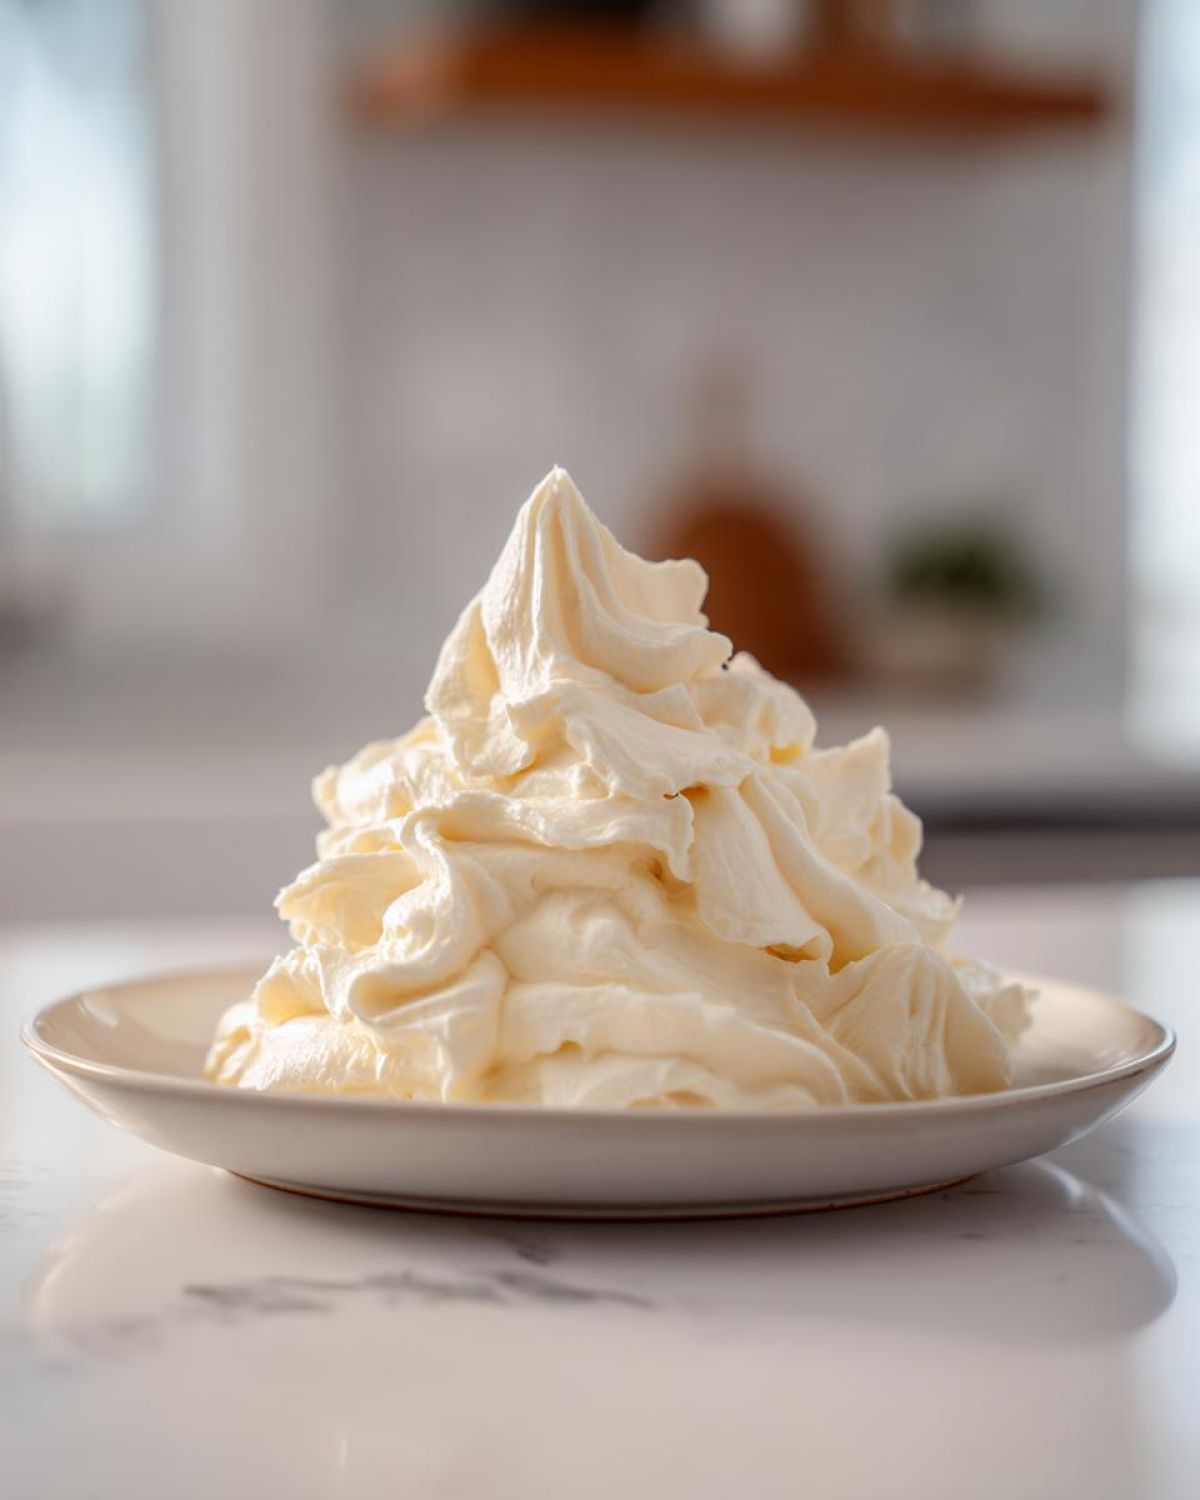
But don’t stop at cupcakes! This is arguably the best buttercream for cakes because its rich flavor complements nearly everything. It’s heavenly piled high on a simple white cake—I just made a gorgeous white cake last week that called for this exact topping. It’s also wonderful sandwiched between two chewy sugar cookies, or even spread thick on some brownies if you’re feeling naughty.
I even use a slightly stiffer version of this frosting when I make small tart shells, like in my mini pecan pie bites—it acts as a wonderful, sweet anchor for a tiny filling. Seriously, once you master this buttercream from scratch, it becomes your secret weapon for everything sweet on your baking list. It’s amazing how such a short list of ingredients can create such a dependable, flawless topping!
Frequently Asked Questions About Classic American Buttercream
It’s funny how often people run into the same snags when making vanilla buttercream frosting for the first time! That’s usually because the difference between good and great often comes down to one tiny detail, like the temperature of your butter or how long you whip it. Since everyone seems to be asking similar things about achieving that perfect texture, I figured I’d tackle the most common roadblocks right here for everyone trying the classic American buttercream.
Can I use salted butter in this vanilla buttercream frosting?
Oh, I really, really advise against it, especially if you’re following my advice to add exactly 1/4 teaspoon of salt. My goal here is to create the most perfectly balanced creamy vanilla frosting recipe possible, and that balance depends on starting with unsalted butter. Salted butter varies wildly from brand to brand—one stick might have a tiny pinch of salt, another might have a noticeable, sharp saltiness. If you use salted butter, you risk throwing off the flavor balance entirely. If you have absolutely nothing else, use the salted version, but omit the extra salt listed in the ingredients list and taste it before you add any more. For that truly superior homemade vanilla cake frosting experience, stick to unsalted!
Why is my vanilla buttercream frosting turning out grainy?
Graininess is the enemy of smooth buttercream, and it almost always comes down to one of two things, even with this easy homemade frosting! The number one culprit is usually not scraping down the bowl enough while mixing the powdered sugar in initially. If the sugar clumps at the bottom and doesn’t get incorporated quickly with the butter, it creates little pockets of undissolved sugar that stay gritty. Make sure you stop and scrape the sides and the bottom after every cup of sugar goes in!
The second reason? Your butter was too cold or too warm when starting. If it’s too cold, the sugar won’t dissolve properly into the fat, creating that unpleasant gritty mouthfeel. If it’s too warm (oily), the mixture separates, and you get a greasy texture instead of that lovely, fluffy icing.
How do I make this a fluffy vanilla icing tutorial for a large batch?
Scaling up is easy, but you need to respect the mixer! If you are doubling or tripling this recipe for a huge birthday cake or a big party, you absolutely need a powerful stand mixer. Trying to make four cups of butter cream in a tiny hand mixer will likely burn out the motor, and you won’t get the required aeration for that truly fluffy vanilla icing tutorial result we are aiming for.
When scaling, still add the powdered sugar slowly, just as you would with a single batch. But, really pay attention to that final whipping time—you might need to whip for 5 or even 6 minutes total at high speed instead of just 3 to 5 minutes to ensure all that extra volume gets properly energized. More volume needs more air time to stabilize that gorgeous buttercream frosting piping consistency!
Can I color this simple desserts topping for decorations?
Yes, absolutely! This classic American buttercream takes color beautifully. My one piece of advice here is to use gel food coloring, not the liquid drops you find in little plastic bottles. Liquid coloring adds extra moisture to your frosting, and too much moisture can ruin the texture, making your vanilla frosting for cupcakes weep or destabilize. Gel colors are concentrated, so you only need a toothpick dip to get vibrant shades. Remember what I said earlier? Add your color right after the vanilla/salt goes in, so the very last, long whipping stage diffuses the color evenly throughout your whole batch of buttercream from scratch.
If you want to see some of the other ways we’ve used intense color in our baking, check out some of my favorite recipes using cocoa powder coloring supplies over here: chocolate milk recipe!
Estimated Nutrition for Classic Vanilla Buttercream Frosting
I know sometimes when you are whipping up a batch of this truly amazing vanilla buttercream frosting, you’re not thinking about nutrition facts, but for those of you who are tracking or just curious about what’s in this wonderful topping, I wanted to lay out the basics. Remember, every recipe is slightly different based on your exact brand of butter or sugar, so please consider these numbers an estimate based on the ingredients list we used.
This information is calculated assuming a serving size of 1/4 cup of the final classic American buttercream. Keep in mind that since this is mostly butter and sugar frosting, the numbers lean heavily toward the sweet side, but wow, is it worth it for making those cupcakes look incredible!
Here is the breakdown:
- Serving Size: 1/4 cup
- Calories: 320
- Sugar: 42g
- Sodium: 55mg
- Total Fat: 17g
- Saturated Fat: 10g
- Unsaturated Fat: 7g
- Trans Fat: 0g
- Carbohydrates: 43g
- Fiber: 0g
- Protein: 0g
- Cholesterol: 45mg
As you can see for this creamy vanilla frosting recipe, most of the weight comes from carbohydrates (sugar) and fat. It’s truly a treat, not an everyday topping! But if you’re looking for that perfect, stable vanilla frosting for cupcakes on a special occasion, this nutrition label just confirms that you are getting a rich, indulgent finish. No need for guilt when the dessert looks this good, right?
Share Your Perfect Vanilla Buttercream Frosting Creations
Well, friends, that’s it! We’ve covered everything from making sure your butter is perfectly soft to achieving that unbelievably smooth, stable vanilla buttercream frosting that pipes like a dream. I truly hope this guide helps you conquer the world of buttercream from scratch and gives you the confidence to whip up this topping anytime the mood strikes!
Now, it’s your turn! I want to see what wonderful things you’ve topped with this recipe. Whether it’s a towering layer cake or just a simple dollop on a leftover cookie, snap a picture if you can! If you loved how easy and flawless this classic American buttercream was, please come back and leave this recipe a five-star rating right below. Those ratings really help other home bakers discover the best way to make a simple desserts topping.
And hey, if you ran into any hiccups—maybe your frosting got a little soft, or you tried a crazy color—don’t be shy! We learn best from our mistakes (and fixing them!). Drop your questions in the comments section below, or feel free to reach out to Alex and me directly through the contact page. We absolutely love hearing from you and helping troubleshoot your baking adventures.
If you tried this and are already pinning it for later, you can save this specific guide to the slsrecipes link, but I hope you stick around here at AfriPaket for more stories and recipes! Thank you so much for spending this time with me in the kitchen. Happy decorating!
PrintThe Best Classic American Vanilla Buttercream Frosting
Make this creamy, smooth, and fluffy vanilla buttercream frosting. It is the best buttercream for cakes and holds perfect piping consistency for cupcakes.
- Prep Time: 10 min
- Cook Time: 0 min
- Total Time: 10 min
- Yield: About 3 cups
- Category: Dessert Topping
- Method: Mixing
- Cuisine: American
- Diet: Vegetarian
Ingredients
- 1 cup (2 sticks) unsalted butter, softened to room temperature
- 4 cups powdered sugar, sifted
- 1 tablespoon pure vanilla extract
- 3 to 4 tablespoons heavy cream or whole milk
- 1/4 teaspoon salt
Instructions
- Place the softened butter into the bowl of a stand mixer fitted with the paddle attachment. Beat the butter on medium speed until it is completely smooth and creamy, about 2 minutes. Scrape down the sides of the bowl.
- Gradually add the sifted powdered sugar, one cup at a time, mixing on low speed until just combined after each addition. Scrape down the sides frequently.
- Add the vanilla extract and salt. Increase the mixer speed to medium-high and beat for 3 minutes until the mixture is lightened in color and fluffy.
- Add 3 tablespoons of heavy cream or milk. Beat on medium-high speed for another 3 to 5 minutes until the vanilla buttercream frosting is very light and fluffy. This extended whipping time is key for a smooth texture.
- Check the consistency. If the frosting seems too stiff for spreading or piping, add the remaining 1 tablespoon of cream, one teaspoon at a time, until you reach your desired consistency for your homemade vanilla cake frosting.
- Use immediately to frost cakes or cupcakes, or store covered at room temperature for up to 2 days.
Notes
- Room temperature butter is essential for smooth buttercream. It should yield slightly when pressed but not be melted or greasy.
- Sifting the powdered sugar prevents lumps, which helps you achieve a smooth buttercream finish.
- If your frosting seems too thin after adding the liquid, add a quarter cup more powdered sugar and beat again.
- For a stronger vanilla flavor, use vanilla bean paste instead of extract.
Nutrition
- Serving Size: 1/4 cup
- Calories: 320
- Sugar: 42
- Sodium: 55
- Fat: 17
- Saturated Fat: 10
- Unsaturated Fat: 7
- Trans Fat: 0
- Carbohydrates: 43
- Fiber: 0
- Protein: 0
- Cholesterol: 45