

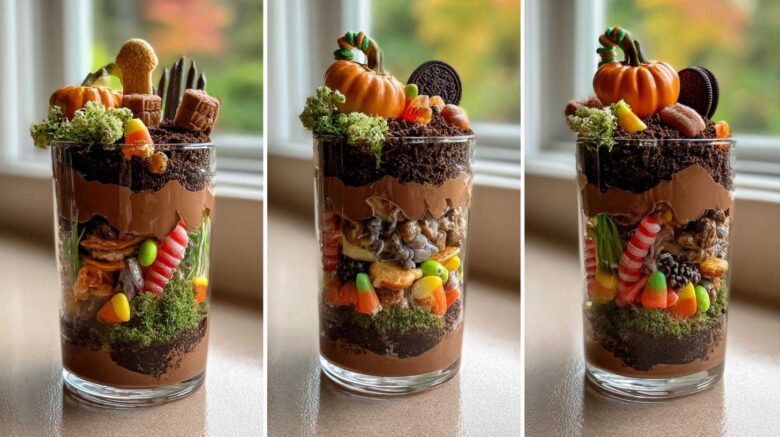
As the leaves turn crisp and the air gets a little spooky, my mind always drifts to Halloween treats. This year, I’m so excited to share my Spooky Halloween Graveyard Dirt Cups with you! They’re a total blast from the past for me, reminding me of how food can create such magical moments, no matter where you are. Even when Alex and I were living in East Africa, far from trick-or-treaters, we found ways to bring a little bit of that Halloween spirit into our kitchens. Food was always our compass, guiding us through new cultures and creating connections.
These little graveyard cups are more than just a dessert; they’re a tiny edible story waiting to be told. They capture that playful, slightly eerie vibe of Halloween perfectly.
Why You’ll Love These Spooky Halloween Graveyard Dirt Cups
Seriously, who wouldn’t adore these? They’re a total win-win for so many reasons:
- Super Simple to Make: Even if your kitchen skills are more “beginner” than “baker,” you can whip these up. No oven needed!
- Kid-Approved Fun: Little hands can help crush the cookies and decorate. It’s a fantastic activity for a Halloween party or a fun afternoon.
- Perfectly Spooky: The “dirt” and graveyard theme are just too cute for Halloween. They’re guaranteed to get some giggles.
- Party Perfection: Individual cups mean easy serving and no messy cake cutting. They look so impressive lined up on a dessert table.
- Customizable Creepiness: Want more bones? More worms? Go for it! These allow for endless spooky creativity.
Honestly, making Spooky Halloween Graveyard Dirt Cups is half the fun. The other half is watching everyone’s faces light up when they dig in!
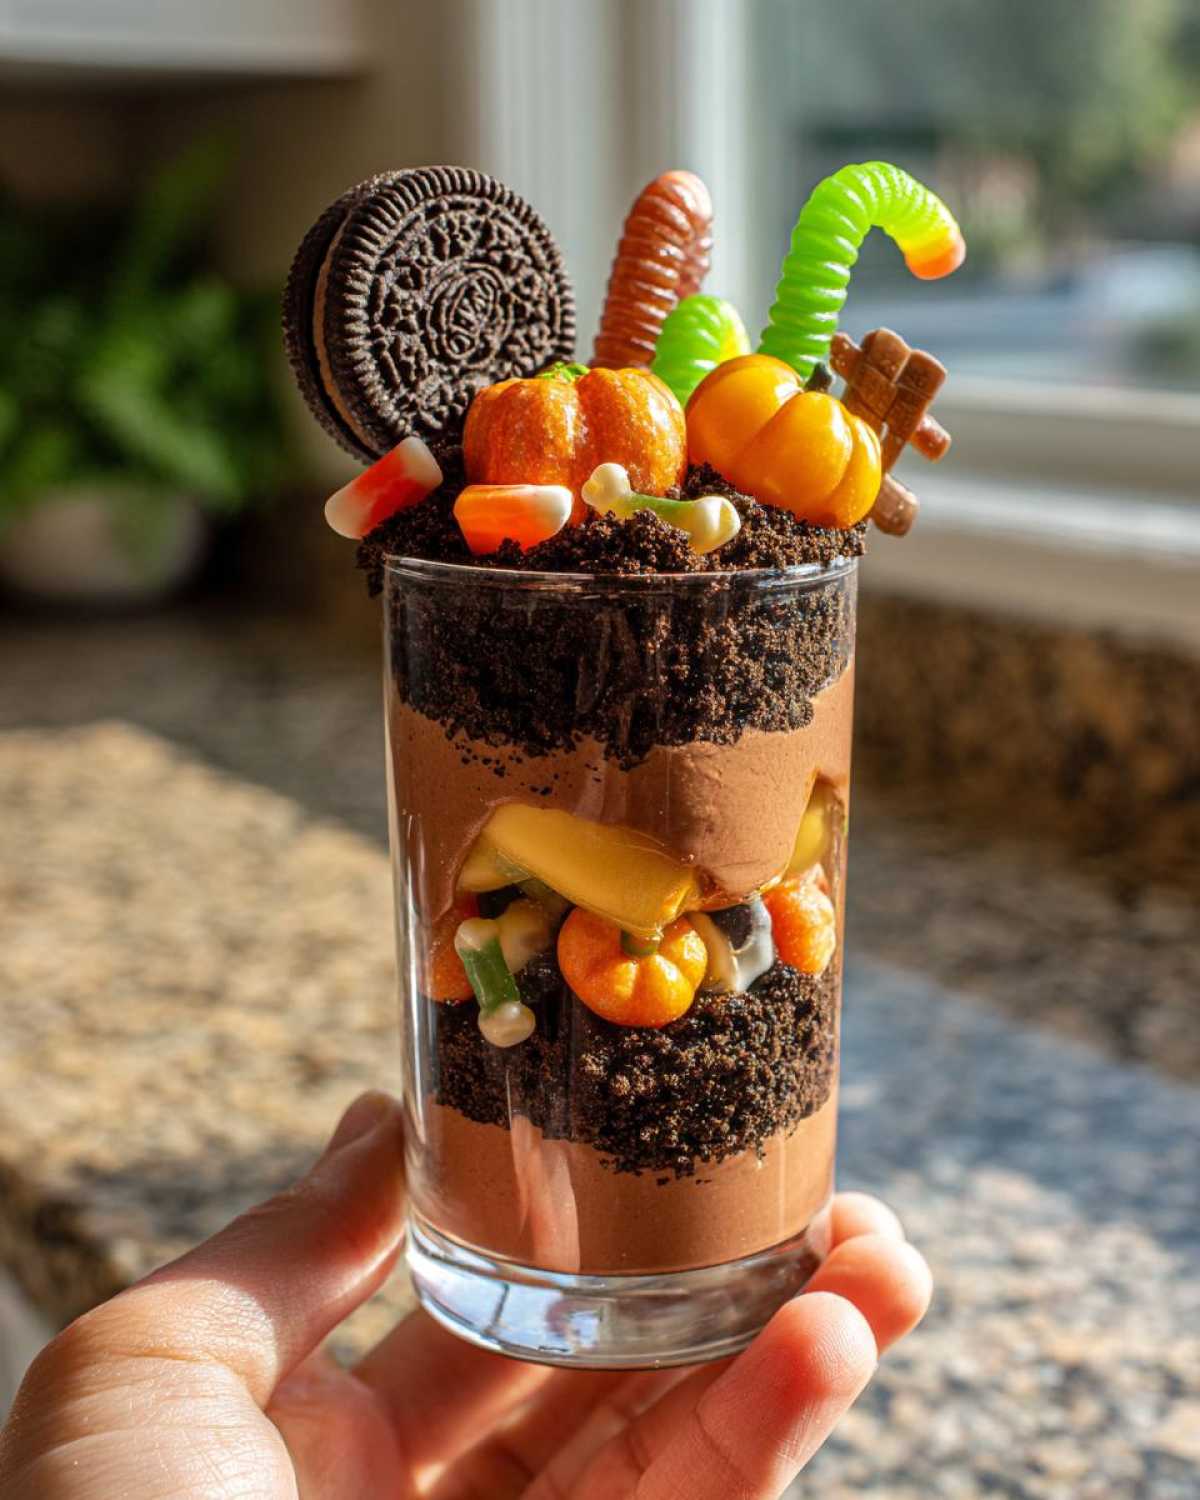
A Taste of Adventure with Our Spooky Halloween Graveyard Dirt Cups
You know, our travels taught us that food is a universal language. Even when we were miles away from home, a shared meal or a simple dessert could bridge any gap. I remember one Halloween in Tanzania; we didn’t have access to all the usual spooky decorations. So, I got creative with local fruits and some dark chocolate, trying to capture that same eerie feeling. It wasn’t the same as these Spooky Halloween Graveyard Dirt Cups, but it was our version. It showed me that the spirit of a celebration, like Halloween, can be found and shared through food, no matter your surroundings. It’s about connection and creating memories, one delicious bite at a time.
Gather Your Ghastly Ingredients for Spooky Halloween Graveyard Dirt Cups
Alright, let’s get down to business! To bring these creepy-crawly Spooky Halloween Graveyard Dirt Cups to life, you’ll need a few key players. Don’t worry, they’re all easy to find at your local grocery store. I always love seeing all the colorful candies come out around Halloween. It makes me think of the vibrant markets we explored on our adventures!
Gathering these bits and bobs is part of the fun. It’s like assembling a spell for a delicious potion!
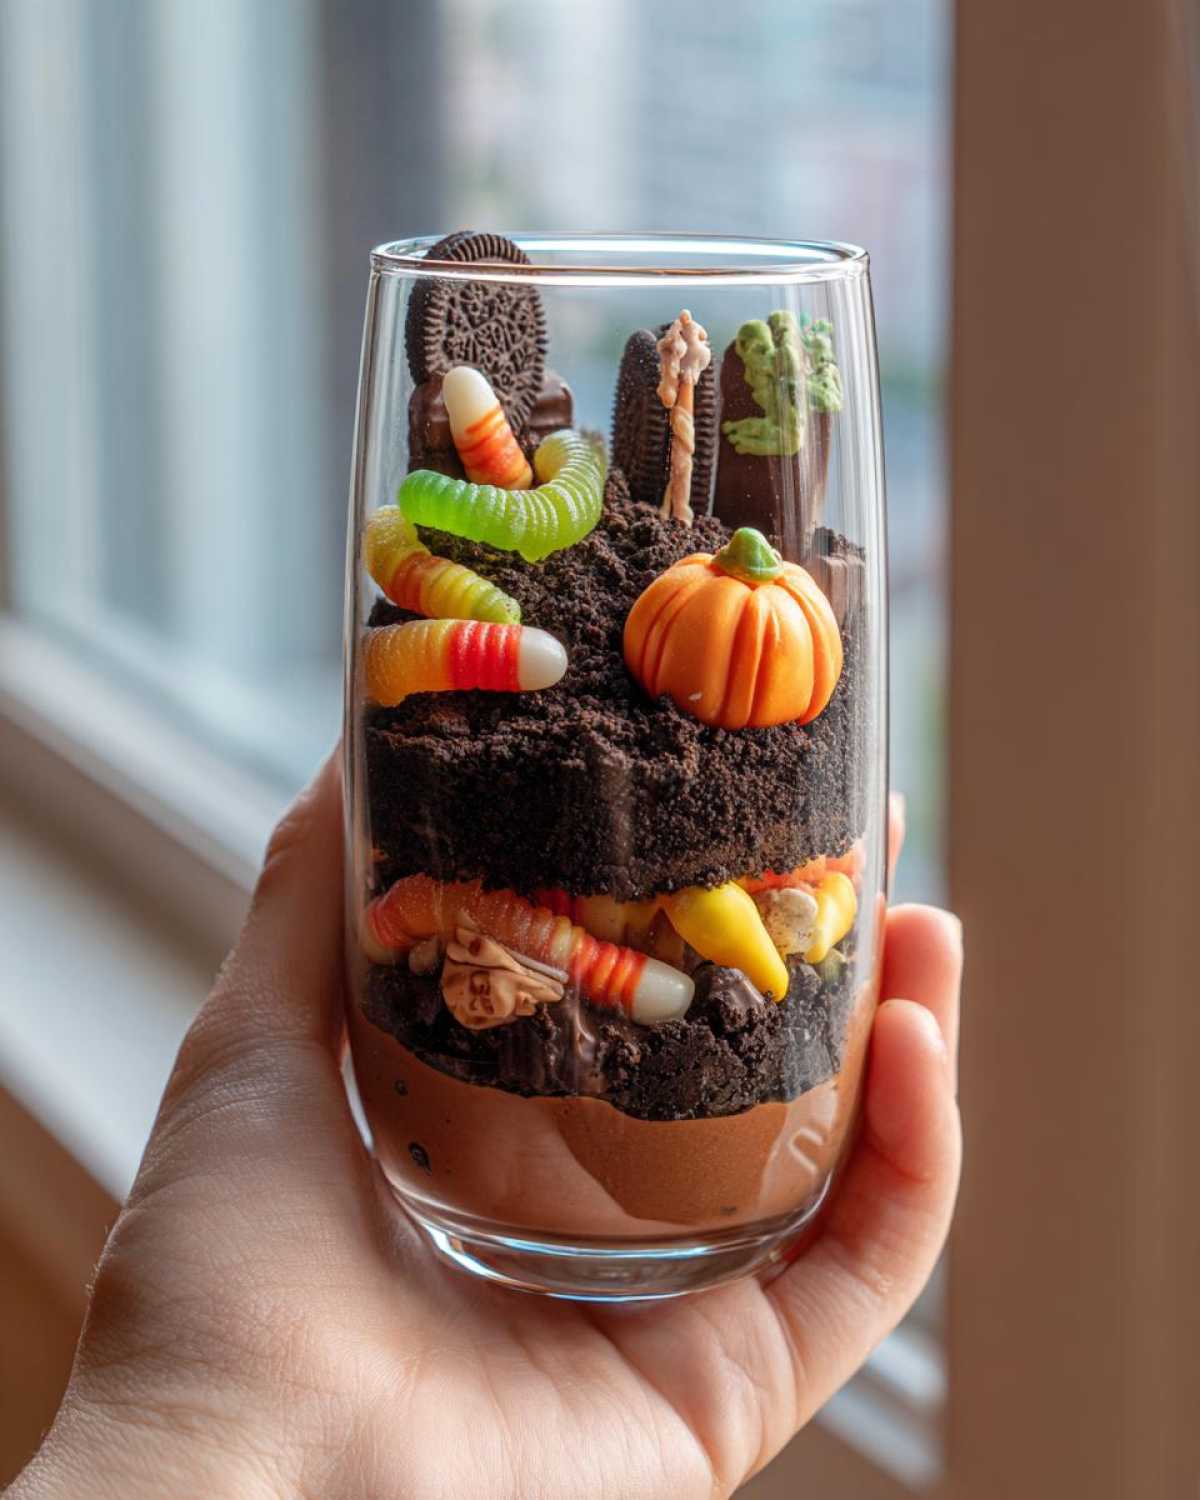
Essential Ingredients for Your Graveyard
- 1 package (3.9 ounces) chocolate instant pudding mix
- 2 cups milk
- 1 cup heavy cream
- 1 teaspoon vanilla extract
- 14-16 chocolate sandwich cookies (like Oreos), crushed
- 1/4 cup gummy worms
- Candy pumpkins
- Candy bones
- Chocolate frosting
Ingredient Notes for Spooky Halloween Graveyard Dirt Cups
For the “dirt” layer, I find that chocolate sandwich cookies, like Oreos, give the best flavor and texture. Just give them a good crush! You can use a food processor for a finer crumb, or pop them in a zip-top bag and go to town with a rolling pin – that’s always a fun one for the kids to help with. If you can’t find candy pumpkins or bones, feel free to use other Halloween candies. Little candy spiders or even some chocolate rocks work wonderfully for your Spooky Halloween Graveyard Dirt Cups graveyard scene. The goal is to have fun and get creative!
Crafting Your Spooky Halloween Graveyard Dirt Cups: Step-by-Step
Now for the fun part: bringing our graveyard to life! Making these Spooky Halloween Graveyard Dirt Cups is a straightforward process. I’ve broken it down into simple steps so you can easily follow along. Remember, the magic is in the details, and a little bit of patience goes a long way. It’s like building a tiny edible world, and the process itself is so satisfying.
Step 1: Prepare the Pudding Base
First, let’s get our pudding ready. Grab your chocolate instant pudding mix and the 2 cups of milk. Whisk them together in a bowl. Make sure you whisk until it’s nice and smooth. No lumps allowed!
Step 2: Whip the Cream and Combine
In a separate, clean bowl, whip your heavy cream. Add the vanilla extract now, too. Keep whipping until you get stiff peaks. This means when you lift the whisk, the cream holds its shape. Now, gently fold this fluffy whipped cream into your chocolate pudding. Be tender; we want to keep that airiness!
Step 3: Frosting and Filling the Cups
Grab your clear cups or jars. Spread a thin layer of chocolate frosting on the inside. This helps the “dirt” stick later. Then, spoon the pudding mixture into your cups. Fill them about two-thirds of the way full. Don’t overfill them just yet!
Step 4: Creating the Dirt Layer
Time for the dirt! Take your crushed chocolate sandwich cookies. Sprinkle a generous layer over the pudding in each cup. Really pack it on; we want it to look like rich, dark soil.
Step 5: Decorating Your Graveyard Scene
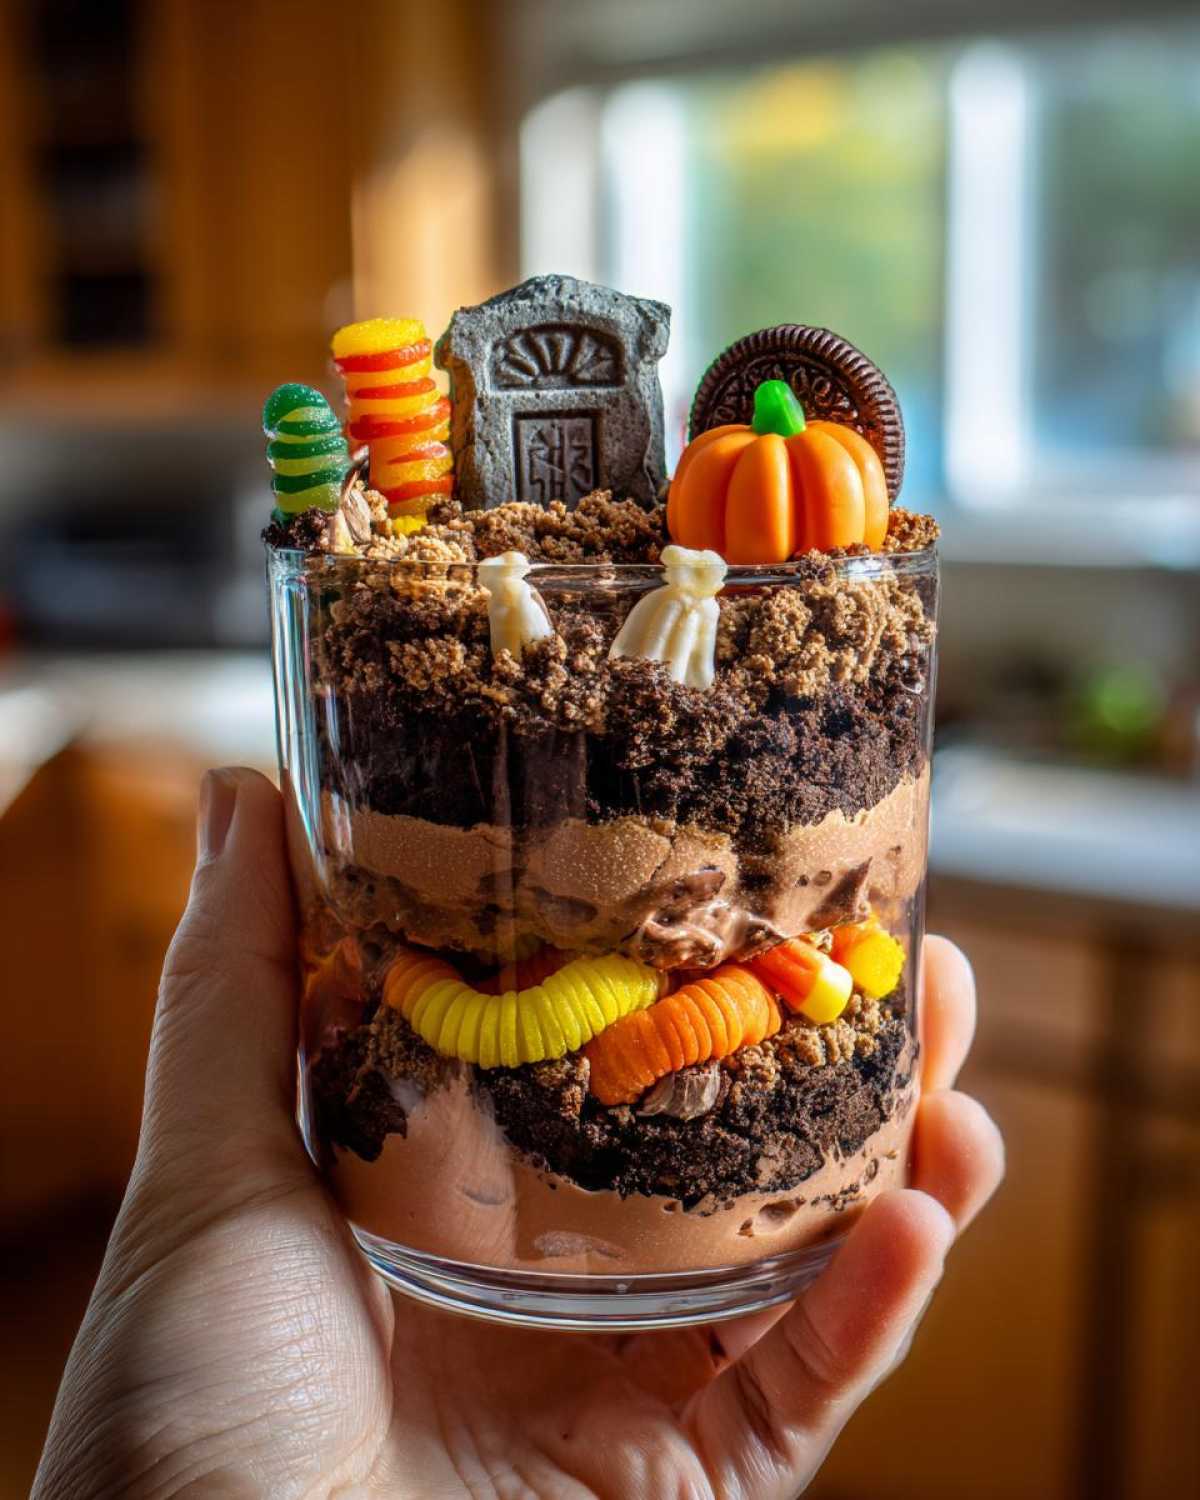
This is where the spooky fun really happens! Stick your gummy worms into the “dirt.” Add candy pumpkins and candy bones sticking out. Make it look like a real, albeit tiny, graveyard. Get creative with how you place your spooky decorations!
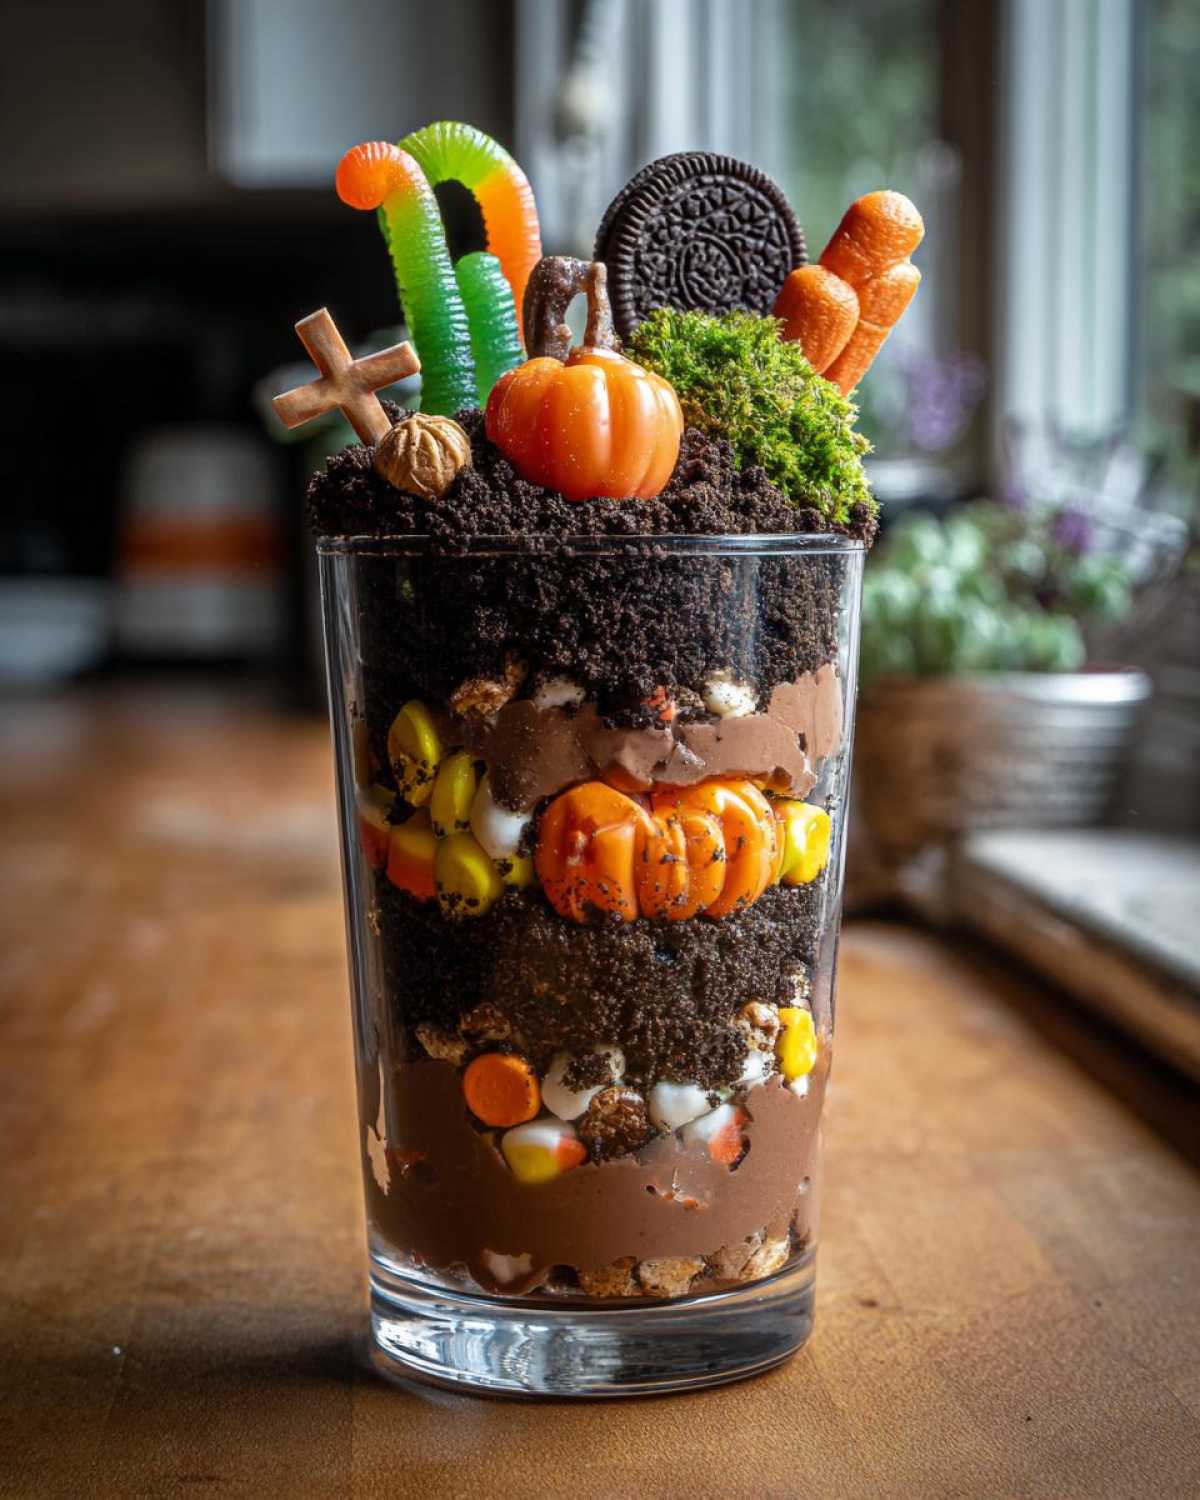
Step 6: Chill and Serve
Pop your finished Spooky Halloween Graveyard Dirt Cups into the refrigerator. They need to chill for at least 30 minutes. This lets the pudding set up perfectly. Then, they’re ready to wow your guests!
Tips for Spooky Halloween Graveyard Dirt Cups Success
Want your Spooky Halloween Graveyard Dirt Cups to be extra special? I’ve picked up a few tricks over the years. For the perfect cookie “dirt,” try pulsing the cookies in a food processor until they resemble coarse sand. If you don’t have one, a zip-top bag and a rolling pin work wonders, and it’s a great way to let the kids help! If your pudding seems a bit too soft, don’t fret. Letting it chill a little longer can help firm it up before adding the whipped cream. For an even spookier look, consider adding a few drops of green food coloring to the pudding mix before folding in the cream; it gives a wonderfully eerie, swamp-like hue. And don’t be afraid to get wild with the decorations! Tiny candy spiders or even a sprinkle of edible glitter can add that extra touch of Halloween magic to your graveyard.
Serving and Storing Your Spooky Halloween Graveyard Dirt Cups
These Spooky Halloween Graveyard Dirt Cups are best served chilled, straight from the fridge. For an extra festive touch, you can add a dollop of whipped cream on top right before serving, or even a sprig of mint to look like spooky grass. They’re already in their perfect individual serving size, so presentation is a breeze! Just line them up on a platter or a spooky-themed tablecloth.
Got leftovers? Lucky you! Simply cover the cups tightly with plastic wrap or transfer them to an airtight container. They’ll stay fresh in the refrigerator for up to two days. Since they’re no-bake, there’s no need for reheating – just grab one and enjoy your delicious graveyard creation!
Frequently Asked Questions about Spooky Halloween Graveyard Dirt Cups
Got questions about our Spooky Halloween Graveyard Dirt Cups? I’m happy to help! We get asked a lot about making these ahead of time.
Can I make these Spooky Halloween Graveyard Dirt Cups the day before?
Absolutely! These are perfect for making ahead. I usually assemble them the day before a party. Just keep them covered in the fridge. The cookie “dirt” might soften a bit, but they still taste amazing. It’s a real lifesaver when you’re busy!
What if I can’t find gummy worms or candy bones?
No worries at all! You can get super creative with your graveyard decorations. Chocolate candy spiders, candy pumpkins, or even little chocolate rocks work wonderfully. You could even use a small Halloween-themed cookie cutter to make shapes from fondant.
Are these Spooky Halloween Graveyard Dirt Cups good for very young kids?
Yes, they are! The pudding and cookie texture is usually a hit. Just be mindful of the candy decorations if you have little ones who might try to eat them whole. You can always simplify the decorations for tiny tots, perhaps just using crushed cookies and a gummy worm or two.
Can I use a different flavor of pudding?
You sure can! While chocolate is classic for the “dirt” effect, vanilla or even cheesecake flavored pudding would be delicious. You might want to add a bit more crushed cookie or a drizzle of chocolate syrup if you use a lighter pudding flavor to keep that graveyard look.
Nutritional Estimate for Spooky Halloween Graveyard Dirt Cups
Please remember that the nutritional information provided for these Spooky Halloween Graveyard Dirt Cups is just an estimate. It can vary quite a bit depending on the specific brands of ingredients you use and the exact serving sizes. It’s always a good idea to check the packaging of your chosen ingredients for the most accurate details.
PrintScary Yum: Spooky Halloween Graveyard Dirt Cups

Create a spooky and fun Halloween treat: Spooky Halloween Graveyard Dirt Cups! These are easy to make and perfect for parties.
- Prep Time: 20 minutes
- Cook Time: 0 minutes
- Total Time: 20 minutes plus chilling time
- Yield: 6-8 servings
- Category: Dessert
- Method: No-Bake
- Cuisine: American
- Diet: Vegetarian
Ingredients
- 1 package (3.9 ounces) chocolate instant pudding mix
- 2 cups milk
- 1 cup heavy cream
- 1 teaspoon vanilla extract
- 14-16 chocolate sandwich cookies (like Oreos), crushed
- 1/4 cup gummy worms
- Candy pumpkins
- Candy bones
- Chocolate frosting
Instructions
- Prepare the chocolate pudding according to package directions, using 2 cups of milk.
- In a separate bowl, whip the heavy cream and vanilla extract until stiff peaks form.
- Gently fold the whipped cream into the prepared pudding until well combined.
- Spread a thin layer of chocolate frosting on the inside of clear cups or jars.
- Spoon the pudding mixture into the cups, filling them about two-thirds full.
- Top the pudding with a generous layer of crushed chocolate sandwich cookies to resemble dirt.
- Decorate each cup with gummy worms, candy pumpkins, and candy bones to create a graveyard scene.
- Chill for at least 30 minutes before serving.
Notes
- For an extra spooky effect, you can add a few drops of green food coloring to the pudding mixture.
- Use different Halloween-themed candies to customize your graveyard.
- These can be made a day in advance and stored in the refrigerator.
Nutrition
- Serving Size: 1 cup
- Calories: Approximately 350-400
- Sugar: Approximately 30-40g
- Sodium: Approximately 250-300mg
- Fat: Approximately 15-20g
- Saturated Fat: Approximately 8-10g
- Unsaturated Fat: Approximately 7-10g
- Trans Fat: 0g
- Carbohydrates: Approximately 40-50g
- Fiber: Approximately 2-3g
- Protein: Approximately 3-5g
- Cholesterol: Approximately 30-40mg