

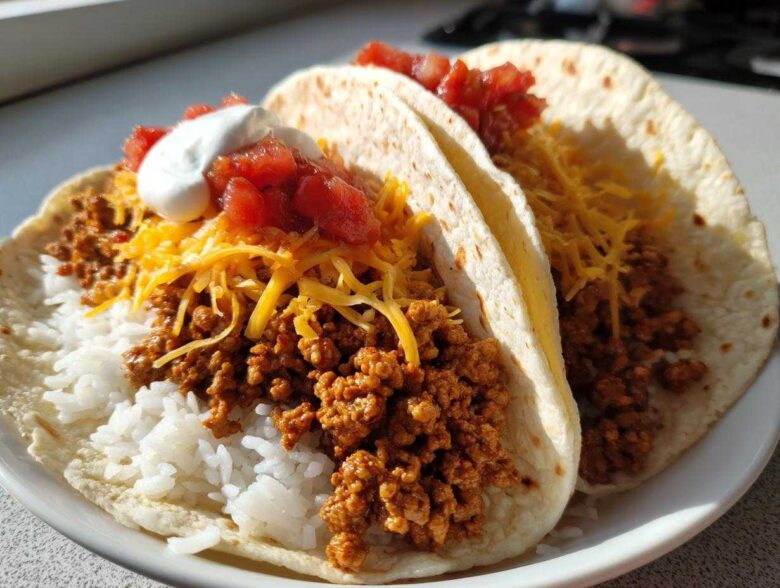
You know how frustrating it is when taco night rolls around and your ground turkey is just… mushy? Soggy, steaming meat just doesn’t hit the spot! Well, I finally cracked the code, and trust me, this method changed everything. Forget the skillet mess; we are going straight to the air fryer for the ultimate texture boost. This recipe delivers unbelievably delicious, perfectly seasoned Air Fryer Crispy Turkey Taco Bowls thanks to a genius two-step cooking process. I spent weeks messing with times and temps to stop that dreaded sogginess, and now my family actually cheers when I say we’re having turkey tacos. It’s fast, ridiculously tasty, and the crispiness is just unmatched. You are going to love this!
Why This Air Fryer Crispy Turkey Taco Bowls Recipe Works
Honestly, the air fryer is the secret weapon here. That high, circulating heat does what a regular pan just can’t—it actively dries out the meat while cooking it through. This means no steam build-up! You wind up with a fantastic Crunchy turkey taco filling every single time.

It makes for such a Quick air fryer dinner because there’s almost no stove cleanup. Here’s the magic:
- Rapid heat cooks lean turkey fast.
- Constant air circulation dehydrates the meat fibers for crunch.
- We drain the fat *before* seasoning, which locks in flavor, not grease.
Ingredients for Your Air Fryer Crispy Turkey Taco Bowls
Okay, the ingredient list is simple, which is perfect for a weeknight! We need about one pound of ground turkey—and try to grab the 93% lean or higher if you can. Trust me, less fat means more crispiness when we cook it in the air fryer. You’ll also need one tablespoon of olive oil, the seasoning packet (one small 1 oz package), and half a cup of water for mixing later.
For the actual lean ground turkey recipes base, grab two cups of cooked rice or maybe some shredded lettuce if you’re going low-carb! Then load up on the good stuff: cheese, salsa, and sour cream. Don’t forget your favorite extras like onions or avocado!
Mastering the Air Fryer Crispy Turkey Taco Bowls Technique
- First things first, get that ground turkey right into the air fryer basket. I mean it—directly on the metal, no parchment paper or liners allowed here! Add your tablespoon of olive oil, too. We need direct heat hitting every piece.
- Set your air fryer to 380°F (195°C) and let it run for 8 minutes. About halfway through, stop the machine and use a spatula to break up the meat really well. When that time is up, carefully pull the basket out and drain off any liquid fat. Seriously, draining the fat here is key to learning How to crisp meat in air fryer; if you skip this, you just steam the meat later!
Initial Browning and Draining for Air Fryer Crispy Turkey Taco Bowls
This first 8-minute blast is purely about rendering and browning. Because the turkey naturally releases moisture, cooking it uncovered lets that moisture burn off or drain away quickly. If you add the water and seasoning when the meat is still sitting in its own grease, you’ll end up with soupy taco meat. Don’t do it! Draining it now is our insurance policy against sogginess.
Seasoning and Final Crisp for Air Fryer Crispy Turkey Taco Bowls
Now that we have a relatively dry base, return the basket to the air fryer. Sprinkle on your whole taco seasoning packet and pour in the half-cup of water. Pop it back in at 380°F for another 5 to 7 minutes. Watch it closely! You want that water to completely evaporate. Once the liquid vanishes and you see the meat edges starting to firm up and get that deep color, you’ve made your Crunchy turkey taco filling. My pro tip is to try and keep the meat in a single, thin layer during these last few minutes for the absolute best texture.
Assembling Perfect Air Fryer Crispy Turkey Taco Bowls
The meat is done, now for the fun part—making it a meal! For those aiming for Healthy turkey taco bowls, skip the rice and use crisp shredded lettuce or cauliflower rice as your base layer. If you’re going for comfort, use your favorite cooked rice!

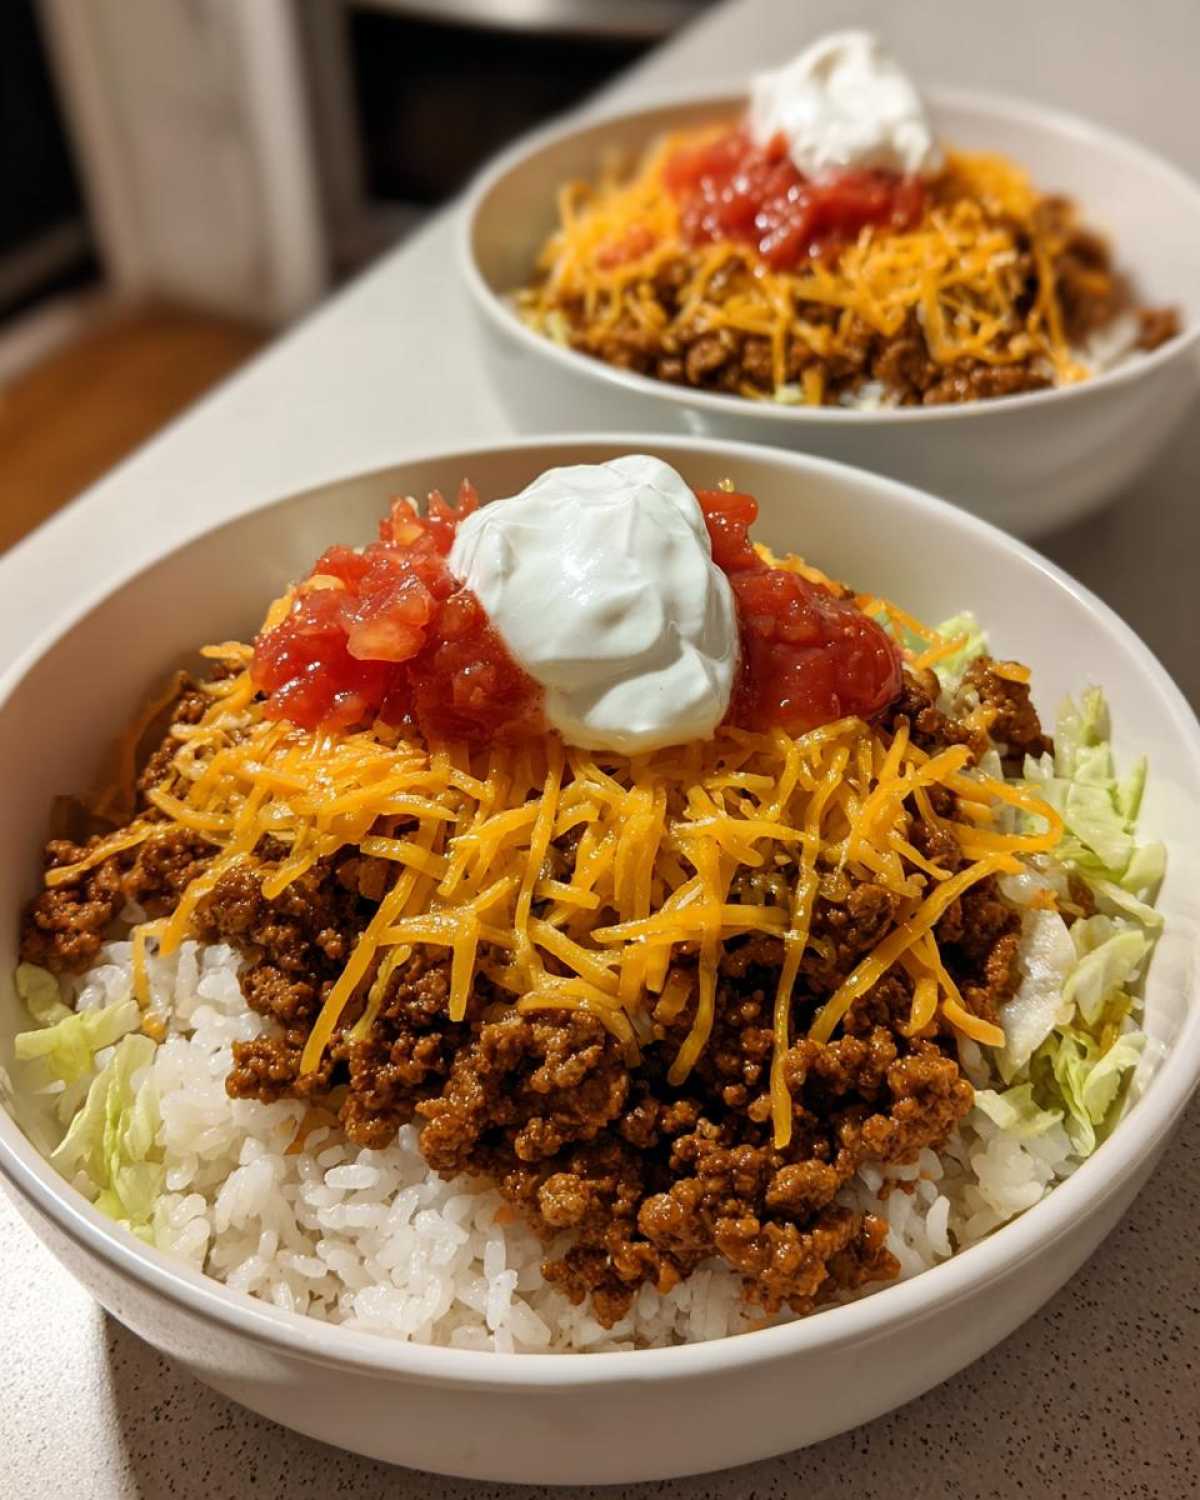
Next, pile on that perfectly seasoned, crispy turkey. I try to keep the cheese and salsa to about a half a cup each for balance, so you taste the taco meat crunch more than just cheese. Don’t forget a dollop of sour cream—it cuts through the spice beautifully. This assembly makes a hearty dinner that’s ready in minutes!
Tips for the Best Air Fryer Seasoned Turkey Texture
Listen, these tips are make-or-break if you want that irresistible crunch from your Air Fryer seasoned turkey. First and most important: resist using the 85% lean turkey. It just leaves too much liquid behind, and we talked about how that makes things soggy! Stick to 93% or even 99% lean for the best results; you can always add back healthy fat using olive oil instead of packing it in the meat itself.
When it comes to seasoning, taste your mixture before that final crisping stage. Sometimes that low-sodium packet just doesn’t pack enough punch, especially once the liquid evaporates. Don’t be afraid to add a tiny pinch of extra cumin or chili powder if your family likes bold flavor!
Finally, make sure you aren’t overcrowding the basket during that second cooking phase. If you’re doubling the recipe, you absolutely need to run two separate batches. Air needs to flow all the way around the meat so every edge gets exposed to that drying heat. It’s the only way to ensure a truly crunchy filling!
Variations for Your Southwest Air Fryer Bowls
You don’t have to stick to turkey every time you want that crispy filling! The beauty of this air frying method is that it truly works for lots of proteins. If you’re having chicken night instead, just swap the pound of turkey for ground chicken. You might need to drain a tiny bit less fat, but the technique stays exactly the same—brown first, drain, then season and crisp.
If you want to amp up the heat and flavor in your Southwest air fryer bowls, try tossing in about a teaspoon of chipotle powder along with your taco seasoning during that second cook cycle. Wow, does that smoke flavor pop! Or maybe you want to go vegetarian? Tofu crumbles work surprisingly well using this exact method; they get deliciously textured instead of soft.
See? Once you master the two-step crisping process, your options for quick, crunchy dinners become endless. It really is that flexible!
Make Ahead and Storage for Air Fryer Crispy Turkey Taco Bowls Meat
I love getting ahead when I can, and thankfully, the meat part of this recipe is perfect for that! This is a great skill for anyone who wants to master make ahead taco meat preparation. You cook the meat exactly as described—brown, drain, season, and crisp it up—then let it cool completely.
Here is the tricky part: keep the crispy meat stored airtight in the fridge, but keep all your fresh components—like the lettuce, salsa, and sour cream—completely separate. If you try to store the cooked meat mixed with the water/seasoning liquid *before* the last crisp, it will definitely turn soggy overnight.
The best part? Reheating is super fast! Forget the microwave, which just steams everything. If you need to bring back that crunch, toss the cold meat straight back into the air fryer basket for just 3 minutes at 350°F. That burst of dry heat revitalizes the texture instantly. It’s ready to build your bowl!
Frequently Asked Questions About Air Fryer Crispy Turkey Taco Bowls
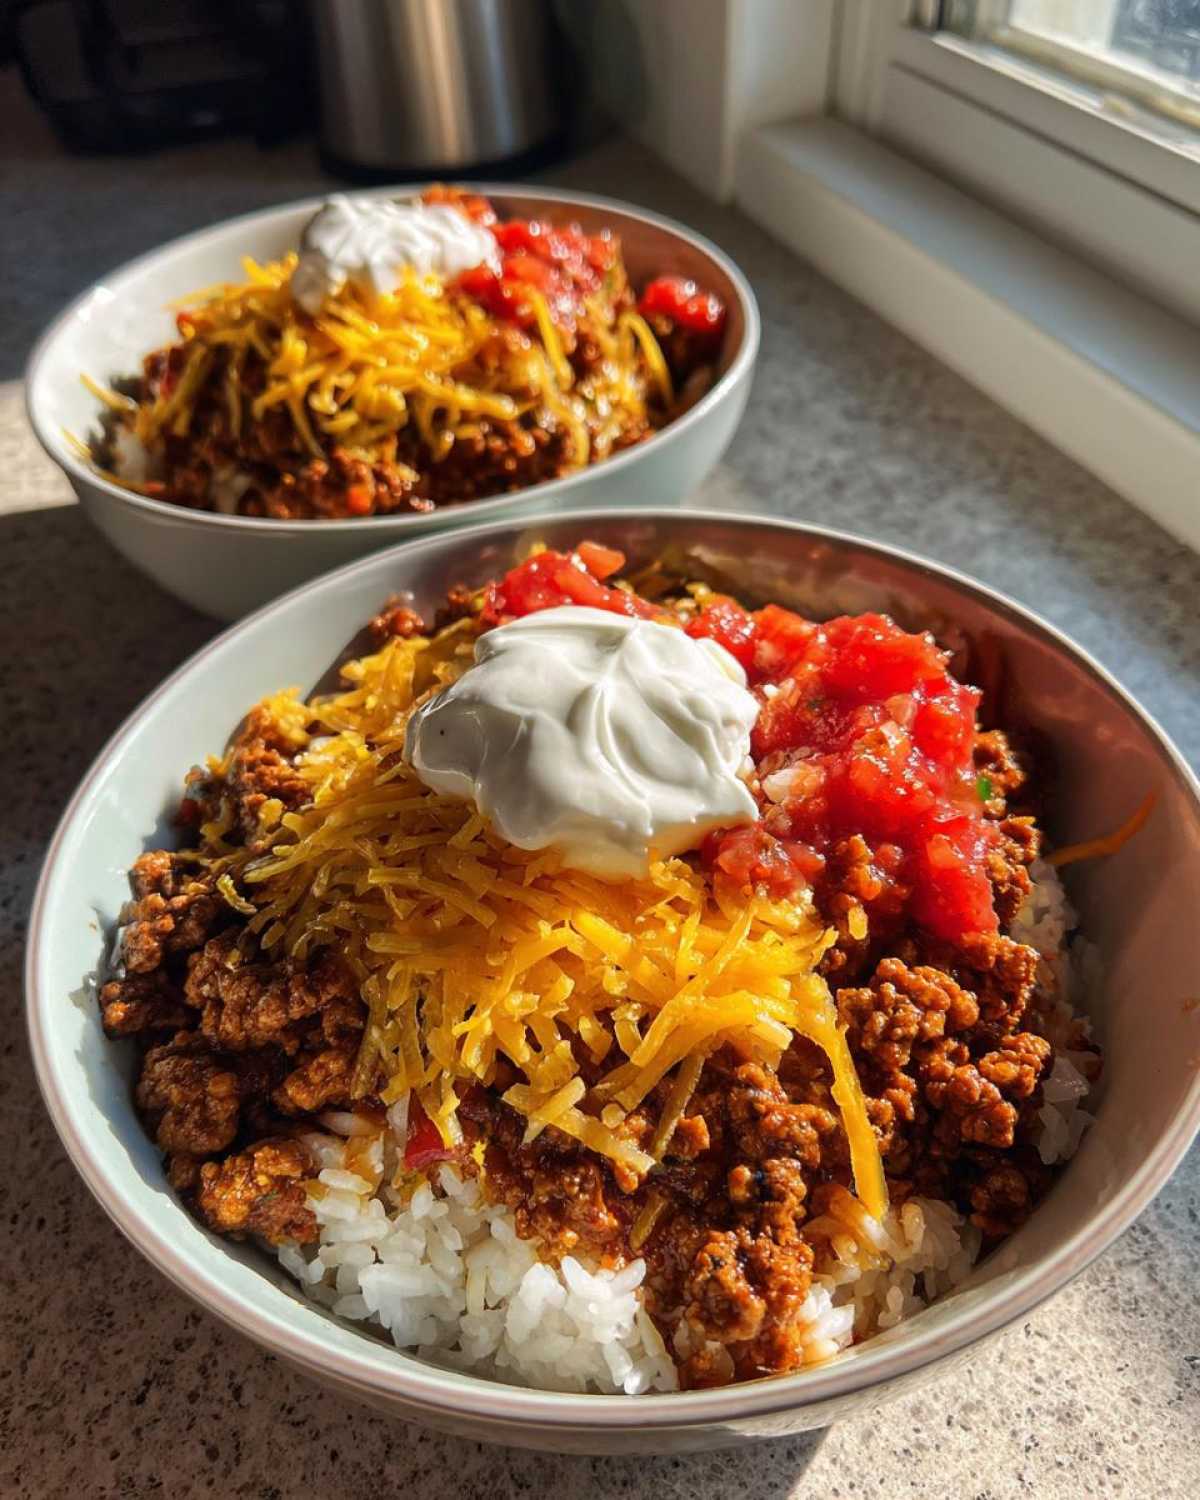
It’s natural to have questions when you try a new cooking method, especially when you’re chasing that perfect crunch! I always get asked about temperature and texture control since we aren’t using a traditional pan. Here are the things that come up most often about making these amazing bowls!
Can I use frozen ground turkey for these Air Fryer Crispy Turkey Taco Bowls?
Oh, I really wouldn’t recommend it if you are serious about getting that crispy texture. If you try to cook frozen meat in the air fryer, it tends to steam itself before it ever gets hot enough to brown. You’ll just end up with crumbly, somewhat pale meat. Do yourself a favor—thaw the turkey completely overnight in the fridge before you start the browning process. It makes all the difference!
What temperature is best for making crispy taco meat recipe in the air fryer?
We stick to 380°F (195°C) for both cycles, and here’s why: that temperature is high enough to evaporate the water and fat quickly, which is what creates crispness, but it’s not so scorching hot that your delicious taco seasoning burns before the meat has a chance to cook through. It’s the absolute sweet spot for that crispy taco meat recipe feel.
Is this considered one of the best air fryer taco recipes for weeknights?
Absolutely, yes! That’s why I developed it—no one wants a complicated recipe on a busy Tuesday night. Since the prep is just five minutes and the actual air frying time is only about 15 minutes total, this is definitely one of the best Fast weeknight air fryer dinner idea options available. You can have flavorful, textured tacos on the table faster than ordering takeout!
Nutritional Estimates for Your Healthy Turkey Taco Bowls
Okay, since we made swaps like using lean turkey, you might be curious about the numbers! Based on the standard ingredients listed (using rice and average toppings), one complete bowl comes in right around 550 calories. That’s pretty impressive for a flavorful dinner, right?
You’re looking at about 40 grams of pure protein too, which keeps you feeling full for ages. It’s got around 45 grams of carbs and 25 grams of fat coming mostly from the cheese and sour cream, helping keep this a genuinely Healthy Turkey Taco Bowls option.
Just remember, these are just my estimates! If you swap rice for cauliflower or use Greek yogurt instead of sour cream, those numbers will shift a little. But overall, it’s a solid, nutrient-packed meal for a weeknight!
PrintAir Fryer Crispy Ground Turkey Taco Bowls

Prepare ground turkey taco meat with a crispy texture in the air fryer, then assemble it into customizable taco bowls.
- Prep Time: 5 min
- Cook Time: 15 min
- Total Time: 20 min
- Yield: 2 servings
- Category: Dinner
- Method: Air Frying
- Cuisine: Mexican-Inspired
- Diet: Low Fat
Ingredients
- 1 lb ground turkey (93% lean or higher)
- 1 tablespoon olive oil
- 1 packet (about 1 oz) low-sodium taco seasoning mix
- 1/2 cup water
- 2 cups cooked rice or shredded lettuce (for base)
- 1/2 cup shredded cheddar or Monterey Jack cheese
- 1/2 cup salsa
- 1/4 cup sour cream or plain Greek yogurt
- Optional toppings: chopped onion, sliced avocado, black beans
Instructions
- Place the ground turkey and olive oil directly into the air fryer basket. Do not use a liner or pan that covers the bottom.
- Air fry at 380°F (195°C) for 8 minutes, breaking up the meat halfway through.
- Drain any excess fat from the basket.
- Return the meat to the air fryer. Sprinkle the taco seasoning over the meat and add the water.
- Air fry again at 380°F (195°C) for another 5 to 7 minutes, stirring once, until the liquid evaporates and the meat begins to dry out and crisp slightly. This drying step creates the texture.
- Remove the crispy meat mixture from the air fryer.
- To assemble the bowls, divide the rice or lettuce between two bowls.
- Top the base evenly with the crispy turkey taco meat.
- Add cheese, salsa, and sour cream. Add any other desired toppings. Serve immediately.
Notes
- For maximum crispiness, ensure the meat is spread in a relatively thin layer in the basket during the final cooking stage.
- You can prepare the rice or lettuce base ahead of time.
- If you prefer a spicier flavor, add 1/4 teaspoon of cayenne pepper with the taco seasoning.
Nutrition
- Serving Size: 1 bowl
- Calories: 550
- Sugar: 6
- Sodium: 750
- Fat: 25
- Saturated Fat: 10
- Unsaturated Fat: 15
- Trans Fat: 0
- Carbohydrates: 45
- Fiber: 5
- Protein: 40
- Cholesterol: 110