

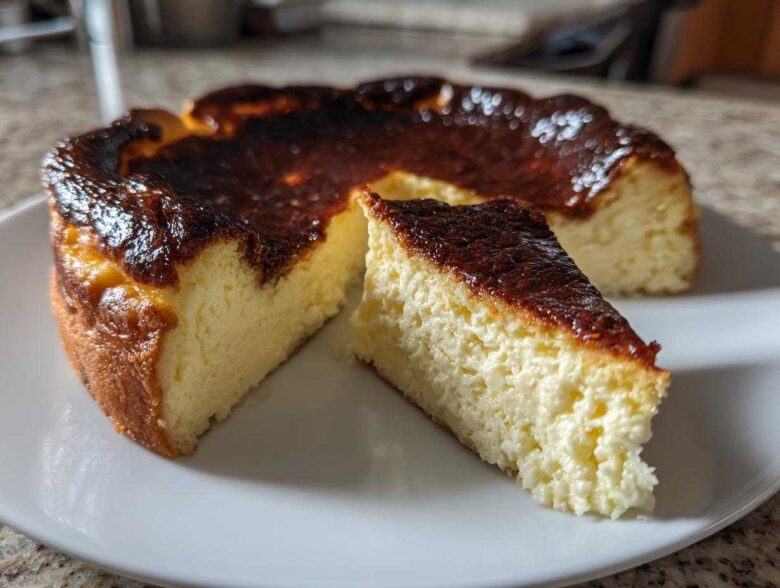
Okay, listen up, because I have a confession: I used to be totally scared of burnt things in the kitchen. Like, seriously intimidated. But then I tried the real deal from Spain, and wow, the deep, almost bitter edge of that caramelized top against that ridiculously creamy interior? Game changer! Forget those fussy, delicate desserts that need a water bath. We are making the Basque Cheesecake—the ultimate rustic stunner. It’s crustless, it’s gloriously messy, and you absolutely do not need a water bath, which makes it my go-to for impressing people last minute. Trust me when I say that once you master this simple technique, you’ll be ditching every other cheesecake recipe you own. It’s ridiculously easy! For more amazing ideas on hearty food, check out my secrets for the best chili when you have a moment.
Why This is the Best Basque Cheesecake Recipe (No Fuss Cheesecake)
I’m telling you, this recipe is revolutionary because it throws out all the usual cheesecake rules. You know those gorgeous, pale New York-style cheesecakes that crack if you even look at them wrong? Forget that drama! This is an Easy Crustless Cheesecake that truly lives up to the hype. The magic is that we skip the fiddly water bath—seriously, toss that idea out of your head. We are using high heat and letting it do all the hard work for us.
This method means you get an incredibly Creamy Cheesecake Dessert interior that feels like decadent, airy mousse, alongside that gorgeous, rustic exterior, all without spending half the day on preparation. It’s the perfect No Water Bath Cheesecake for when you need something truly show-stopping but don’t want the fuss. It’s comfort food wearing a fancy Spanish dress!
Achieving the Signature Caramelized Top Dessert
That dark top isn’t a mistake; it’s the whole point! We crank the oven way up to get that deep caramelization. This high heat totally transforms the sugar on the surface, giving you this wonderfully complex flavor—a tiny bit bitter, perfectly sweet, and totally addictive. Don’t panic when it looks dark; that intense color is exactly what makes this Basque Cheesecake flavor pop. It gives the whole thing a gourmet edge without any extra effort on your part.
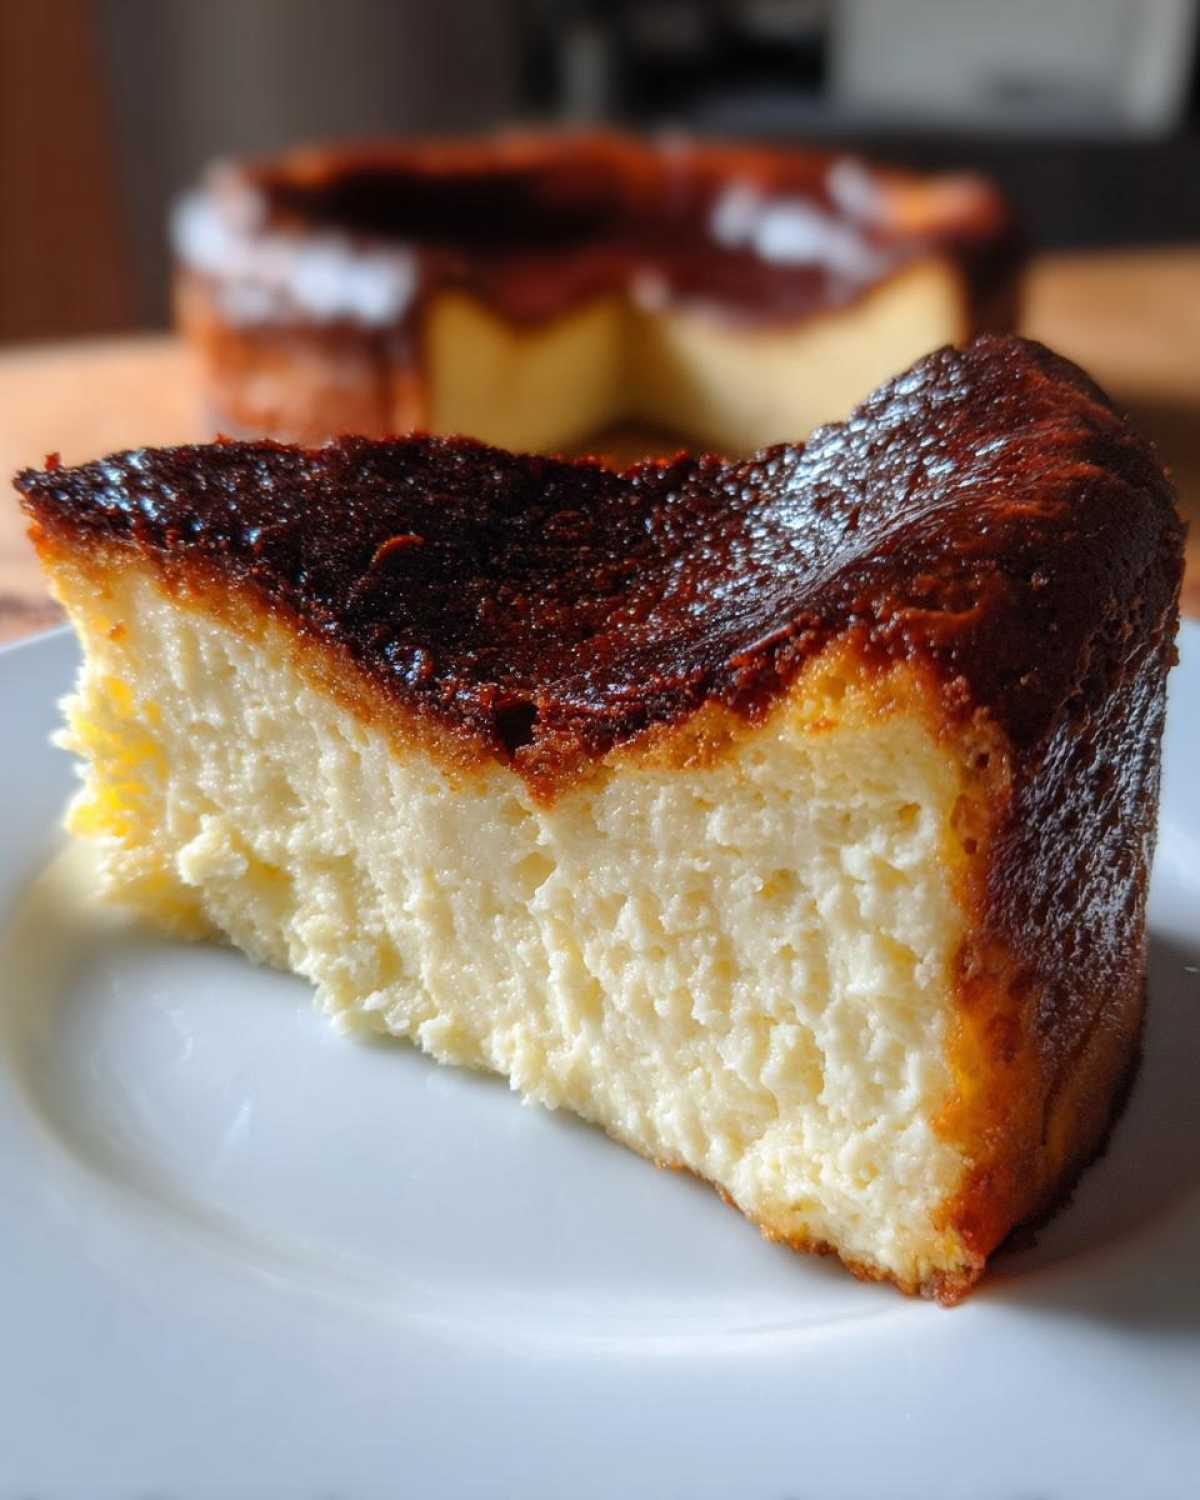
The Secret to a Creamy Cheesecake Dessert Interior
The texture is everything, right? We are aiming for something that melts the second it hits your tongue—super custardy, almost like a rich set pudding. That happens because we are using a ton of cream cheese and heavy cream, and crucially, we barely mix the batter once those eggs go in. Overmixing is the enemy of creaminess! Because we aren’t using a crust to provide structure, the ingredient ratio has to be just right to achieve that gorgeous wobble in the center. It really is a simple adjustment that yields unbelievable results for your Basque Cheesecake.
If you want to see my tricks for making incredibly high-quality chili, you should check out my favorite chili recipe next!
Simple Ingredients for Your Basque Cheesecake
Honestly, part of what makes this Basque Cheesecake such a dream is that you probably have almost everything already! We aren’t messing around with fussy crackers or milk powder here. It’s all about letting really good, basic stuff shine through—that’s the beauty of a truly Simple Ingredients Cheesecake. We need ninety percent cream cheese, which is the star, of course. Just make sure everything is at room temperature before you start mixing, okay? That’s non-negotiable for smoothness!
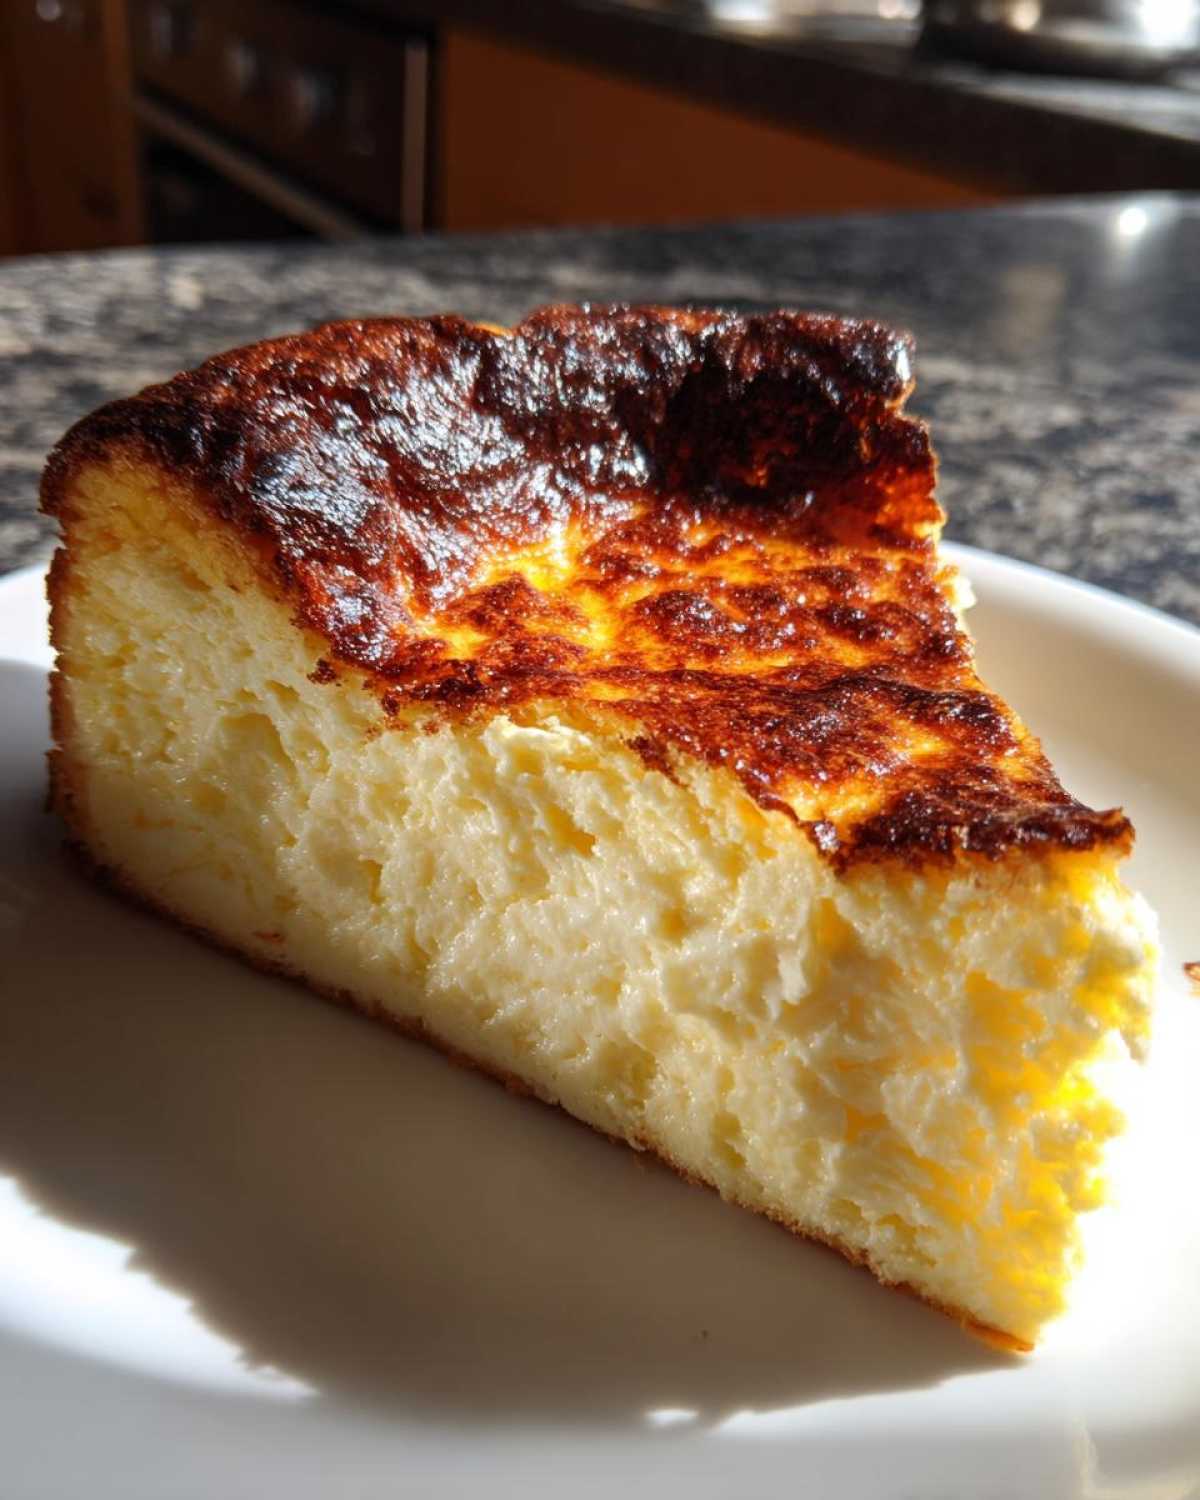
As you look over the list, notice there’s no graham cracker crust to worry about—this is pure, unadulterated, rustic cheesecake heaven. If you’re also looking for incredibly easy things to bake for lunches, take a look at my recipe for pizza muffins—they’re perfect for kids!
- 900g cream cheese, softened (Get the full-fat blocks, please!)
- 1 1/4 cups granulated sugar
- 6 large eggs (Make sure they are room temperature too!)
- 2 cups heavy cream
- 1 teaspoon vanilla extract
- 1/4 teaspoon salt
- 1/4 cup all-purpose flour (Yes, just a tiny bit to stabilize it.)
Step-by-Step Instructions for the Burnt Basque Cheesecake Recipe
Okay, now for the fun part—putting it all together! Honestly, this is so straightforward, it almost feels like cheating. We want to move quickly once we start mixing so everything stays cohesive. Remember, the name of the game here is high heat and minimal fuss. If you follow these steps closely, you’ll get that signature, wobbly center everyone talks about. I folded in a few extra thoughts here about general baking cheesecake tips to ensure you nail that luxurious texture we’re after.
Preparing the Pan and Oven for the Basque Cheesecake
First things first: your oven needs to be ready! Get it preheated to a blazing 400 degrees Fahrenheit (that’s 200 Celsius). Next, grab your 9-inch springform pan. This is critical: line it with *two layers* of parchment paper. Don’t trim it! You want those edges sticking way up over the rim of the pan—think messy, rustic, high walls. This overhang is what protects the sides from burning too fast while the inside cooks, and it gives you those wonderfully uneven, crinkly edges on your finished Basque Cheesecake.
Mixing the Decadent Custardy Cake Batter
Start by beating that softened cream cheese until it’s silky smooth. Then, add your sugar and mix just until it vanishes. Seriously, don’t whip it into oblivion here! The real work begins when you introduce the eggs. Drop them in one by one, mixing briefly between each addition. We are keeping the air incorporation low to ensure we get that desired custardy texture later. Once the eggs are happy, stir in the heavy cream, vanilla, and salt until it’s all uniform. Finally, gently sift in that tiny bit of flour and *fold* it in, just until there are no white pockets showing. If you mix too much flour in, you risk developing gluten, and we definitely don’t want a tough basque cheesecake!
Baking and Cooling the Caramelized Top Dessert
Pour that beautiful, thin batter into your prepared, high-sided pan. Now, bake it for about 50 to 60 minutes. You absolutely need to look for two things: the outside should be deeply browned—we are talking almost black, that signature burnt look for your Caramelized Top Dessert. Secondly, the center must still have a significant wobble, like Jell-O. It should look underdone! Pull it out gently and let it cool right there on the counter for a few hours. It will drastically sink as it loses heat, which is totally normal, don’t freak out! The final, non-negotiable step is chilling it for at least six hours before even thinking about slicing into that rich vanilla layer.
Expert Baking Cheesecake Tips for Perfect Basque Cheesecake
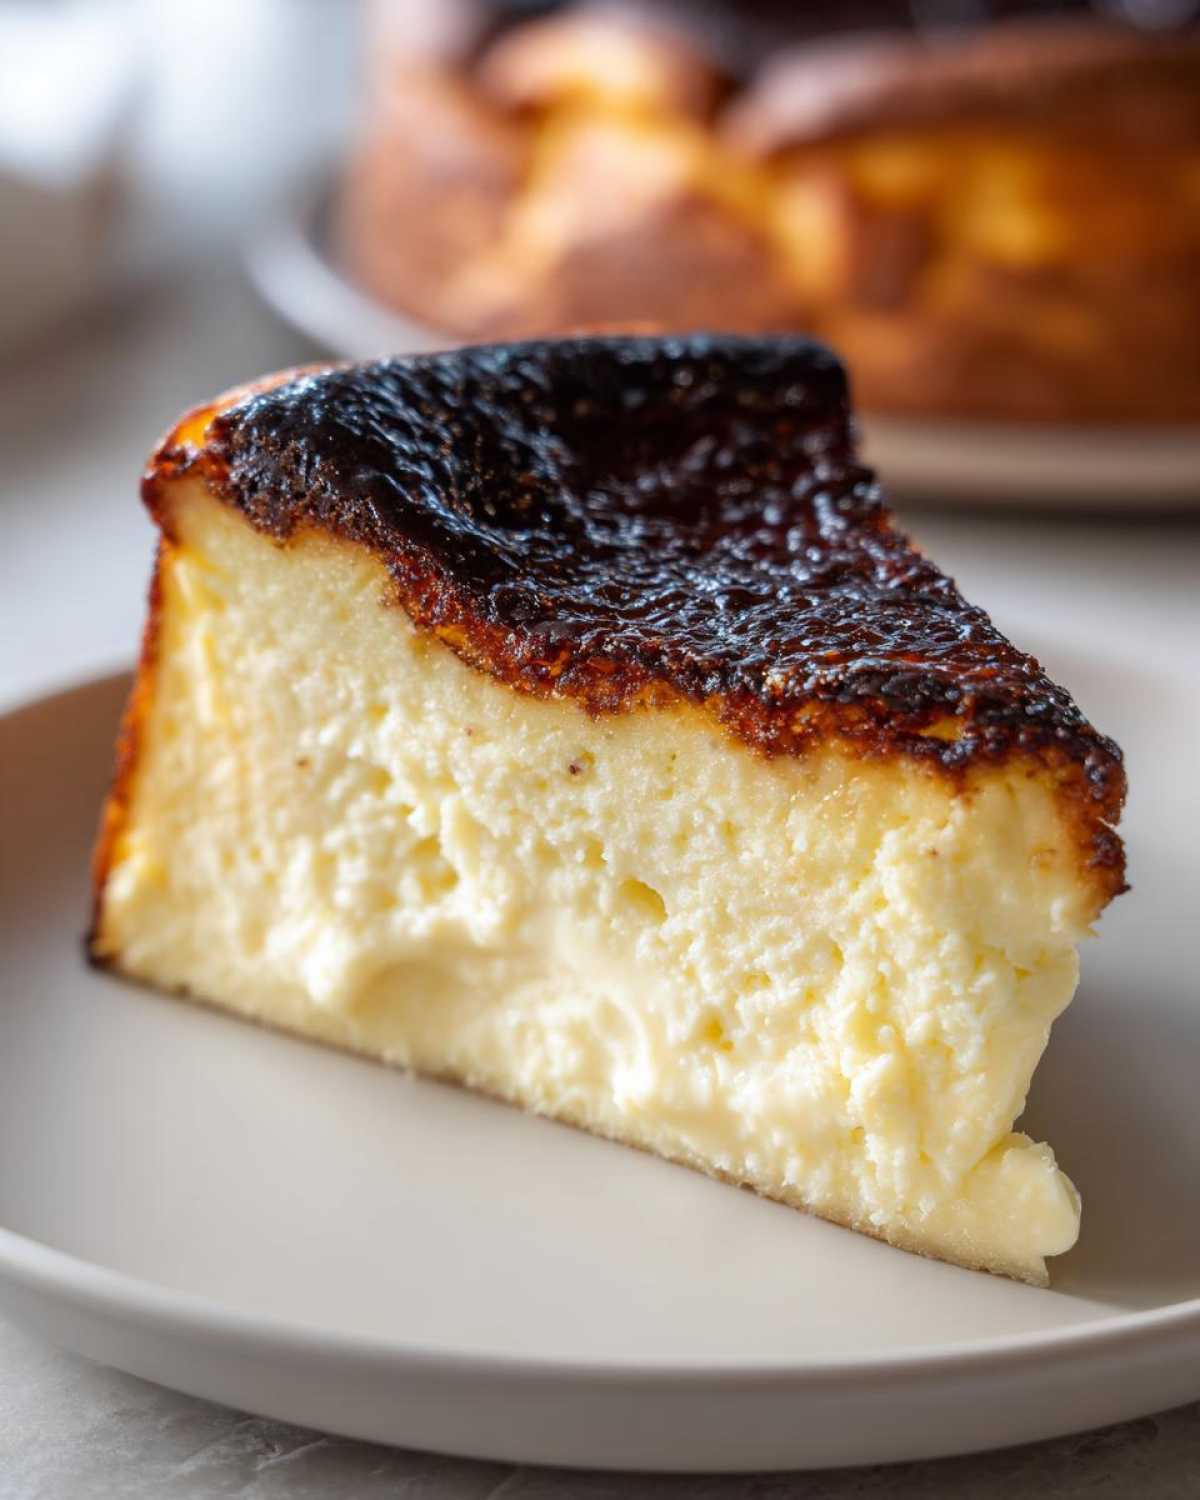
Honestly, this is where you stop just following instructions and start *baking* the perfect dessert. Since this Basque Cheesecake is so forgiving—remember, no water bath means less opportunity to fuss!—we really only need to focus on getting that texture spot-on. These few extra Baking Cheesecake Tips are what make the difference between a great cheesecake and the one people dream about later.
Don’t cheat the cooling process! I know you’ll be tempted to cut into that jiggly beauty the second it leaves the oven, but resist! If you slice it hot, it turns into soup. Letting it cool completely on the counter allows that interior structure to set up gently. Then, chilling it lets that unbelievable creaminess develop fully. Seriously, that required six-hour chill time isn’t just a suggestion; it’s mandatory for the proper texture. If you ever need baking inspiration after this, check out my favorite baking tips!
Also, if your top looks maybe a tiny bit unevenly burnt, do not worry one bit! That’s the rustic charm we are leaning into. If it seems like it cooked too fast, you can always pull it out a few minutes early—that wobble is your best friend. It should look slightly unset in the very center when you pull it out, but never liquidy.
Variations: Loaf Pan Basque Cheesecake Instructions
I totally get it—sometimes you don’t have a springform pan, or maybe you just want cute, individual portions! So many of you have asked if you can make a Loaf Pan Basque Cheesecake, and the answer is a giant YES! Using a standard 8.5 by 4.5 inch loaf pan is a fantastic way to serve this basque cheesecake when you are cooking for fewer people, and it looks so sleek and modern when you pull it out. It maintains that spectacular crustless, creamy vibe we love.
The main switch when using a loaf pan is how you handle the parchment paper. You still need two layers, but make sure one goes lengthwise and the other goes widthwise so you have big handles sticking up over the sides. This lets you lift the whole thing out later, which is essential since you can’t release the sides like a springform!
Here’s the important part: because the loaf pan is deeper and narrower than the 9-inch round pan, the cooking time needs adjusting. Keep the oven temperature exactly the same—don’t touch that 400°F! But, referencing my notes, you need to reduce the baking time by about 10 to 15 minutes. Start checking it around the 40-minute mark. You are still looking for that major wobble in the center so you know the inside is perfectly custardy when it cools down. It’s all about adapting our favorite rustic style dessert for whatever dish you have handy. For wonderfully light desserts, you absolutely have to try my secret to fluffy blueberry muffins next!
Storage & Reheating Instructions for Your Basque Cheesecake
Okay, you’ve made it this far—you baked the perfect, wobbly, gloriously burnt Basque Cheesecake! Now we need to know how to treat this beauty so it stays amazing. First things first: patience! Resist the urge to serve it right away. I know it looks ready, but if you cut into it hot, you’re just going to get warm, sweet soup, and we want that incredible, dense-but-light mousse texture. That means it needs to chill out in the fridge for a minimum of six hours, but honestly, overnight is where the real magic happens for this Make Ahead Dessert Idea.
When you finally get ready to serve it, take it out of the fridge about thirty minutes before you plan on slicing. Letting it sit on the counter at room temperature for just a little bit softens that chilled density, making it so much easier to cut and bringing back that incredible luxurious mouthfeel. Don’t worry about slicing it perfectly; the charm of this dessert is that it’s supposed to look rustic!
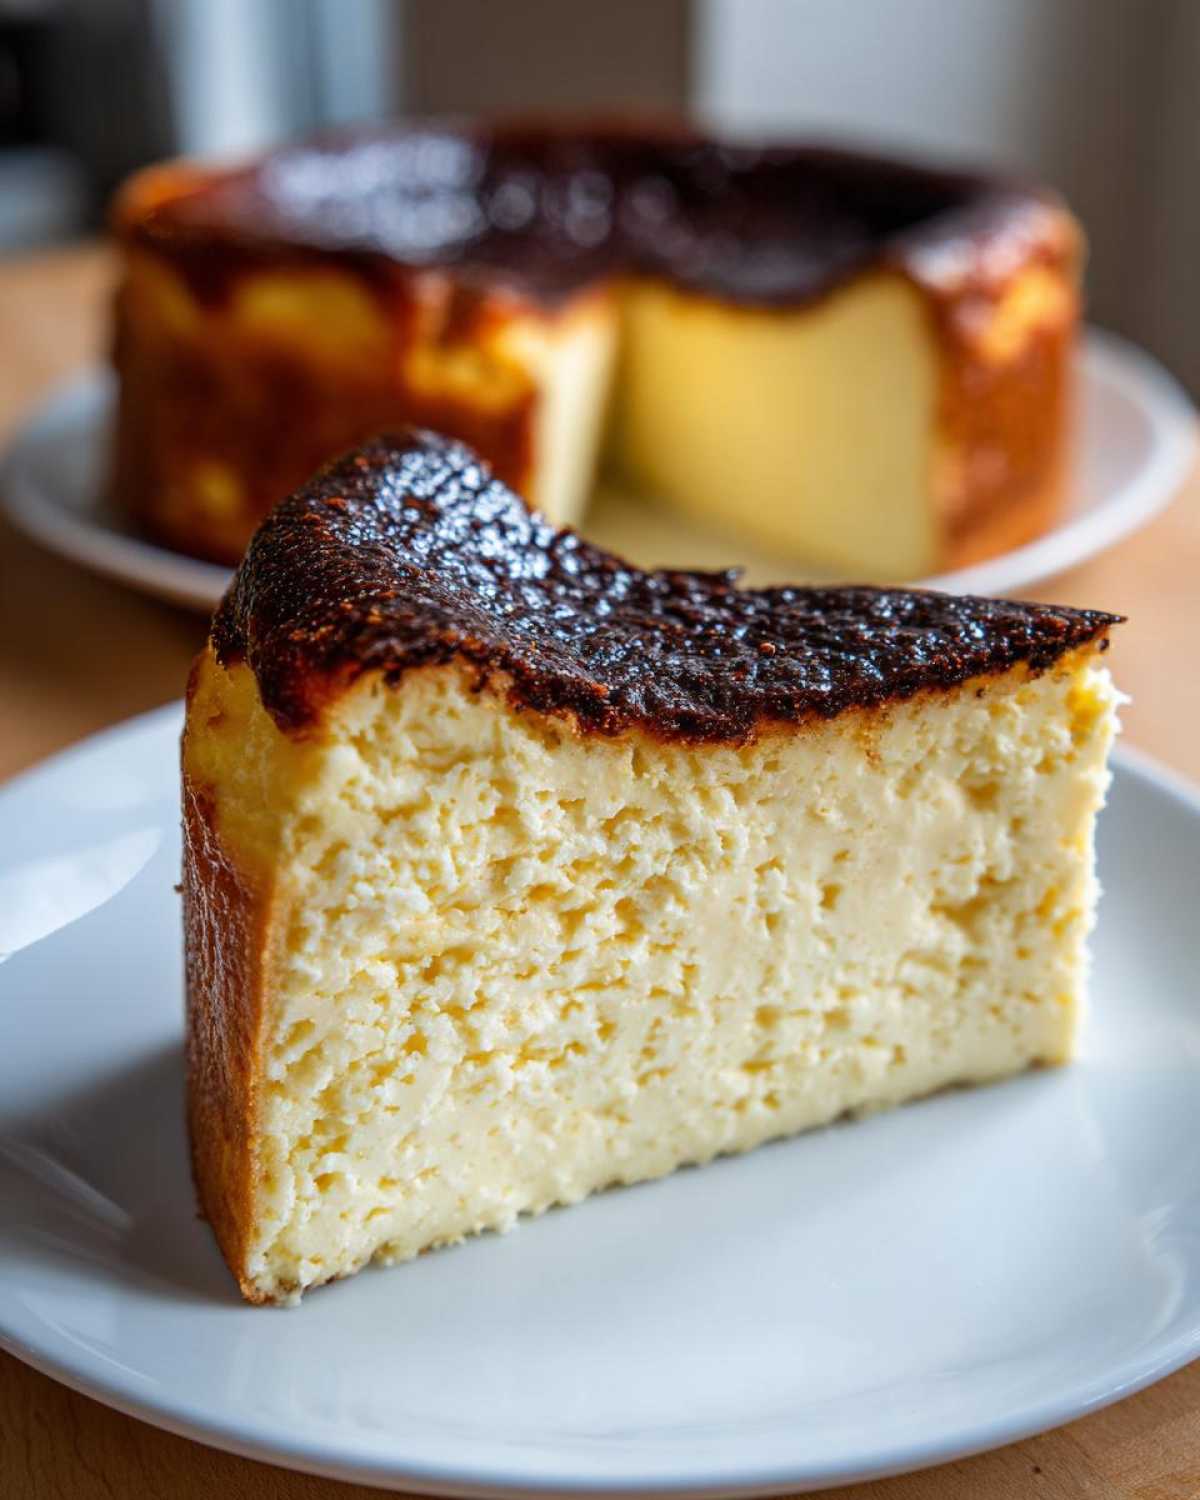
Storing leftovers is super simple, which is another reason I love this recipe so much! Just cover that pan—or transfer the slices to an airtight container if you’ve already cut it—and pop it back in the fridge. Because we use so much cream cheese, it actually lasts really well for several days. If you have any extra, I’ve got tons of posts on easy make ahead dessert ideas that might keep you busy until your next baking session!
Frequently Asked Questions About This Creamy Cheesecake Dessert
I know you guys have questions because this isn’t your usual heavy, dense cheesecake! That wonderful wobbly center and that dark, rustic top can look a bit scary if you aren’t expecting it. Trust me, I’ve been there, staring at the oven thinking, “Oops, I ruined it!” But this Creamy Cheesecake Dessert is all about embracing the unexpected. Here are the things I get asked most often about achieving the best results here!
Can I use a different type of sugar in the Basque Cheesecake?
You absolutely can, but I really recommend sticking to granulated sugar for the best result. While brown sugar adds amazing molasses flavor to, say, a carrot cake, in this Basque Cheesecake, the plain white sugar helps the top caramelize cleanly and quickly without burning the actual sugar structure itself, which is key to getting that perfect dark crust on top. Using anything else might change how fast it browns, and we need that precise timing!
Why did my Basque Cheesecake sink in the middle?
If yours sank, congratulations! That means you nailed the bake! Unlike those traditional cheesecakes where we try desperately to prevent sinking to keep them perfectly flat, the basque cheesecake *should* dramatically sink once it cools down. It goes from being incredibly puffy and wobbly hot out of the oven to having that wonderfully dense, almost molten center after chilling. If it set up proud and flat when cooled, you probably overbaked it slightly!
What is the difference between this and a San Sebastian Cheesecake Guide?
That’s a great question! Honestly, they are usually the same thing! The recipe originated in the city of San Sebastián in Spain, so the terms are often used interchangeably globally. Following the accepted San Sebastian Cheesecake Guide means using high heat, plenty of cream cheese, and absolutely no crust. So when you’re looking up tips, you can use either term, and you’ll generally find the same beautiful, simple, crustless recipe.
If you want to try using some of that knowledge in another dish, I have a fantastic recipe for creamy homemade Alfredo sauce that relies on similar high-quality dairy elements!
Estimated Nutritional Data for this Rich Vanilla Cheesecake
Now, I know when you’re whipping up something this decadent, you probably aren’t agonizing over the labels, right? I mean, it’s a Basque Cheesecake—it’s meant to be indulged in! But for those of you who like to keep track, I’ve whipped up the numbers based on the volume of ingredients we used in the main instructions. Remember, this is just a ballpark estimate, especially since dairy fat contents can always vary a little. But it gives you a general idea of what you’re digging into with this unbelievably Rich Vanilla Cheesecake!
Whether you’re thinking about texture or just the sheer deliciousness, know that this Decadent Custardy Cake is worth every single bite. If you’re having trouble deciding what to make next, you might want to try my ultra-smooth old-fashioned stovetop rice pudding!
- Serving Size: 1 slice
- Calories: 450
- Sugar: 35g
- Fat: 35g
- Protein: 7g
- Carbohydrates: 30g
Just a quick note here: because we aren’t adding heavy sweeteners or a crust, the fat content does look high—but that’s where that creamy texture comes from! These are estimates only, of course.
Share Your Impressive Home Baked Desserts Experience
So, that’s it! You’ve successfully made the best Basque Cheesecake ever. Now, I really, *really* want to know what you thought! Did the top get dark enough? Did the center wobble just right? Please drop your rating (out of 5 stars!) and a comment below and tell me how your Impressive Home Baked Desserts turned out. Especially let me know if you tried the loaf pan version; I love hearing how you adapt things!
If you loved how easy and rustic this was, you should really check out my recipe for moist and fluffy vanilla cupcakes next time you need a simple, crowd-pleasing bake!
PrintEasy Burnt Basque Cheesecake
A simple recipe for a crustless Basque cheesecake featuring a creamy, custardy interior and a deeply caramelized top.
- Prep Time: 15 min
- Cook Time: 60 min
- Total Time: 6 hr 15 min
- Yield: 10 servings
- Category: Dessert
- Method: Baking
- Cuisine: Spanish
- Diet: Vegetarian
Ingredients
- 900g cream cheese, softened
- 1 1/4 cups granulated sugar
- 6 large eggs
- 2 cups heavy cream
- 1 teaspoon vanilla extract
- 1/4 teaspoon salt
- 1/4 cup all-purpose flour
Instructions
- Preheat your oven to 400 degrees Fahrenheit (200 degrees Celsius).
- Line a 9-inch springform pan with two layers of parchment paper, allowing the paper to overhang the sides significantly. Do not trim the paper.
- In a large bowl, beat the softened cream cheese until smooth.
- Add the sugar and mix until just combined. Do not overmix.
- Beat in the eggs one at a time, mixing briefly after each addition.
- Stir in the heavy cream, vanilla extract, and salt until the batter is uniform.
- Sift the flour over the batter and gently fold it in until no streaks of flour remain.
- Pour the batter into the prepared pan.
- Bake for 50 to 60 minutes. The top should be very dark brown, almost black, and the center should still wobble significantly.
- Remove the cheesecake from the oven and let it cool completely on a wire rack at room temperature. The center will sink as it cools.
- Chill the cheesecake in the refrigerator for at least 6 hours, preferably overnight, before serving.
Notes
- For a loaf pan variation, use an 8.5 x 4.5 inch loaf pan lined with parchment paper and reduce the baking time by about 10 to 15 minutes.
- The high heat creates the signature burnt exterior; do not worry if the top looks very dark.
- Allow the cheesecake to come to room temperature for about 30 minutes before slicing for the best texture.
Nutrition
- Serving Size: 1 slice
- Calories: 450
- Sugar: 35
- Sodium: 250
- Fat: 35
- Saturated Fat: 22
- Unsaturated Fat: 13
- Trans Fat: 0.5
- Carbohydrates: 30
- Fiber: 0
- Protein: 7
- Cholesterol: 180