

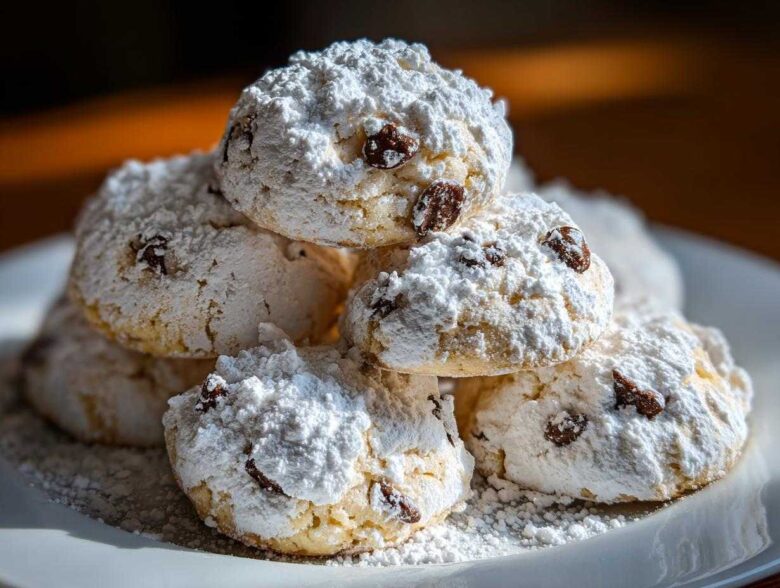
Oh my goodness, who doesn’t love the flavor of a perfect, creamy cannoli? But let’s be real, who has the time (or the patience!) to deep fry shells and then try to pipe that gorgeous filling without making a huge mess? I certainly don’t on a Tuesday afternoon! That’s why I perfected these incredible cannoli cookies. They give you all that authentic Sicilian sweetness—the hints of citrus, the creamy ricotta tang, the chocolate speckles—all wrapped up in the easiest, softest cookie you will ever make. Truly, the magic here is nailing the ricotta; it has to be perfectly drained, or you end up with a puddle, not a cake-like bite. Trust me, once you master that step, these are going straight into your family’s rotation. Forget the fancy pastry bag; grab your mixer and let’s get started on these amazing homemade shells and filling flavors!
Why These Are the Best Soft Ricotta Cannoli Cookies
If you want that authentic taste without the fuss of frying, these are for you. These **cannoli cookies** nail the experience. We ditch the hard shells, but keep all the good stuff inside, making them perfect for any gathering. Seriously, they are amazing!
- They are beautifully soft and cake-like, which is exactly what you want in this version. Check out my best cookie recipes list for proof!
- The ricotta melts right into the dough, giving you that creamy flavor in every single bite.
- You are skipping deep-frying completely, and that already makes these a winner in my book.
Flavor Profile and Texture
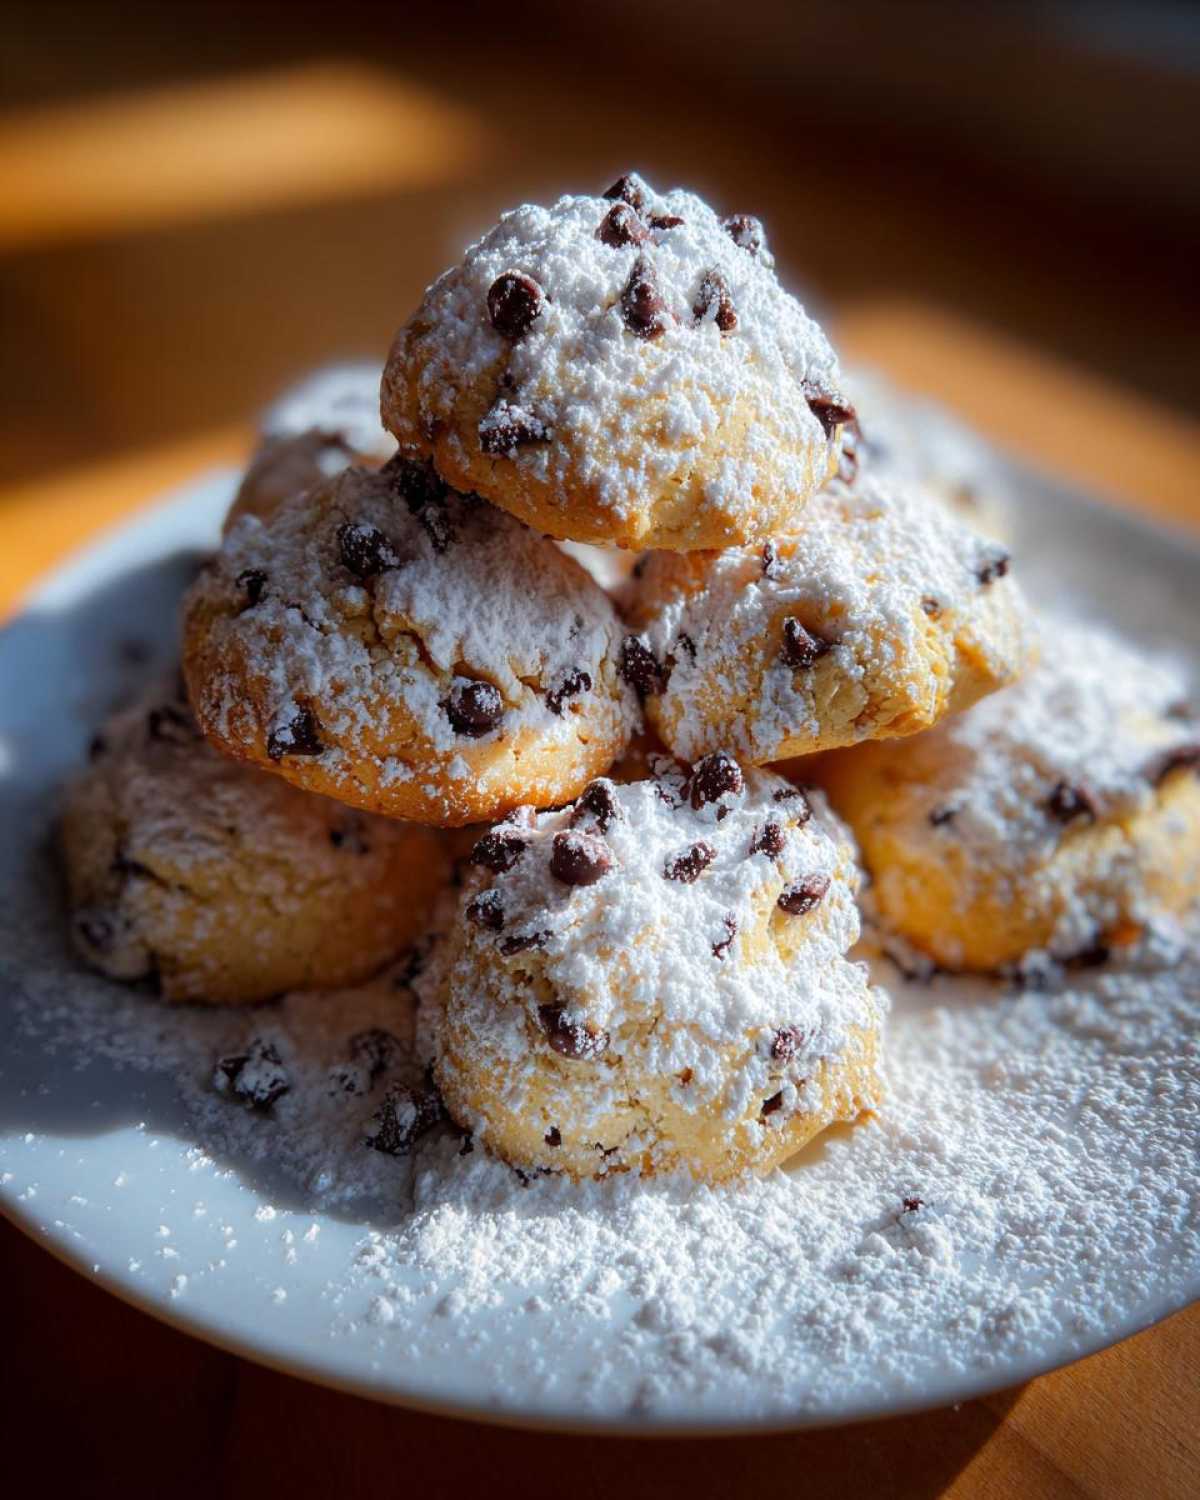
Forget crisp shells! Here, the ricotta cheese turns the cookie itself into this wonderfully soft, tender base. It’s sweet, but the dairy keeps it from being cloying.
The mini chocolate chips are essential; they give you that little burst of richness when you bite in. It’s like eating the filling, but in cookie form. So dreamy!
Ease of Preparation for Perfect Cannoli Cookies
We are talking a drop cookie here, folks. No rolling, no chilling for hours, and absolutely no tricky piping involved. This makes them one of the easiest Italian cookies to whip up when you need a last-minute dessert.
If you can cream butter and sugar, you can make fifty of these before your coffee gets cold. It’s that simple!
Gathering Ingredients for Your Cannoli Cookies
Okay, gathering your supplies is half the battle, but honestly, this list is pretty straightforward. You’ve got your standard cookie base ingredients like butter, sugar, flour, and egg. But the real stars here are the dairy and the mix-ins. You absolutely must use whole milk ricotta cheese, and here is the kicker: it needs to be well drained! I cannot stress this enough—otherwise, your beautiful dough will turn into soup!
For the flavor enhancers, grab your vanilla extract and those mini semi-sweet chocolate chips. Mini chips work better because they distribute more evenly without sinking to the bottom. You’ll also need baking powder and salt to give these treats just a bit of rise, making them perfectly cake-like. Remember, for the best results when baking with ricotta, preparation matters!
Oh, and don’t forget the grand finale: powdered sugar for dusting, and maybe some pistachios if you want that authentic finishing touch.
- 1 cup (2 sticks) unsalted butter, softened
- 1 cup granulated sugar
- 1 large egg
- 1 teaspoon vanilla extract
- 1 cup whole milk ricotta cheese, well drained!
- 3 cups all-purpose flour
- 1 teaspoon baking powder
- 1/2 teaspoon salt
- 1/2 cup mini semi-sweet chocolate chips
- 1/4 cup powdered sugar, for dusting
- 1/4 cup finely chopped pistachios, optional for topping
Expert Tips for Preparing Fluffy Cannoli Cookies
This is where we move from just following steps to actually mastering the recipe. If you skip these technical bits, you risk losing that lovely, soft, cake-like texture we’re chasing. We want these to be sturdy enough to handle a dusting of sugar but tender on the inside, just like the best ricotta cookies.
The Secret to Draining Ricotta for Cannoli Cookies
If you take one thing away from this entire post, please let it be this: drain your ricotta! Ricotta is basically just wet cheese, and if you dump it right out of the container into your dough, it adds too much liquid. That extra moisture means your cookies will spread out way too much in the oven, losing that beautiful height we want.
I usually put mine in a fine-mesh sieve lined with a couple of layers of cheesecloth overnight in the fridge. If you’re in a hurry, you can press it gently with a spatula against the sieve, but honestly, letting it sit for a few hours works wonders. You need to see that water drip away!
Achieving the Right Dough Consistency
Once you start adding the flour mixture, you need to slow down. You’re aiming for a *soft* dough, not a tough, overly developed one. The goal here is to just bring the flour in until you don’t see dry streaks anymore. Stop mixing right then!
Overmixing develops gluten, and gluten makes things chewy, which is great for yeast breads but terrible for these tender **cannoli cookies**. You want them tender and melt-in-your-mouth, so respect the dough and stop that mixer as soon as it comes together!
Step-by-Step Instructions for Perfect Cannoli Cookies
Now for the fun part! This isn’t some complicated, multi-day production. We are making these **cannoli cookies** quick, so make sure your oven is ready to roll! First things first: preheat that oven to 350°F (175°C) and line those baking sheets aggressively with parchment paper. You do not want these sticking to the pan!
In your big bowl, start by creaming the softened butter and sugar until they look light and dreamy—like pale sunshine. Then, beat in that egg, the vanilla, and your *well-drained* ricotta. Just mix it until it’s combined, don’t go crazy whipping it here.
In a separate dish, whisk just the dry stuff together: flour, baking powder, and salt. Now, add the dry mix to the wet ingredients gradually, keeping your mixer on low. As soon as that dough looks uniform, stop! Fold in those mini chocolate chips gently by hand.
Scoop rounded tablespoons of the dough onto your prepared sheets, giving them about two inches of personal space to spread out. Pop them in for 12 to 15 minutes. They’re done when the edges look just slightly golden. Let them hang out on the hot pan for five minutes—this lets them firm up a bit—before moving your beautiful easy Italian desserts to a wire rack to cool totally. Then, and only then, dust them like they’re tiny powdered donuts!
Variations on Classic Cannoli Cookies
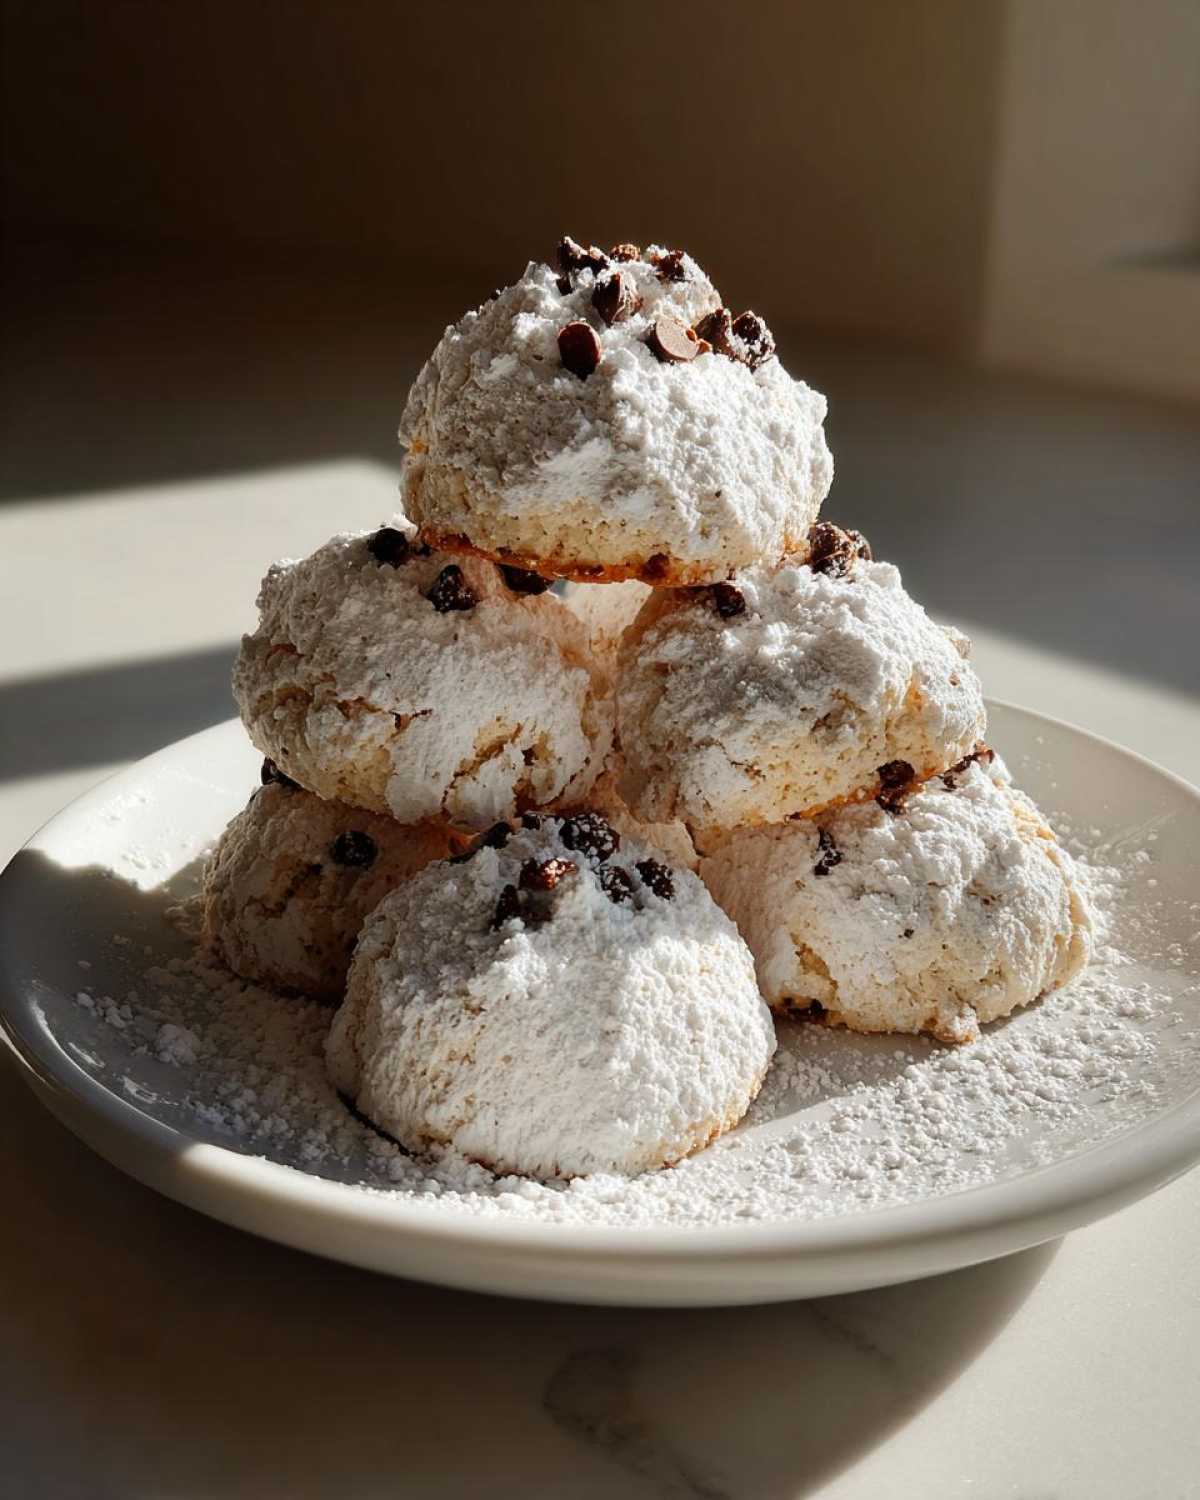
The basic recipe for these **cannoli cookies** is fantastic on its own, but if you want to really lean into that classic Sicilian bakery vibe, you can absolutely play around! It’s so fun to customize your favorite **holiday cookie recipes** just a little bit. I love trying one small tweak per batch just to see which one becomes the new family favorite!
These are naturally vegetarian and quite forgiving, so swapping in some brightness or crunch really elevates them. Don’t be afraid to experiment!
Adding Citrus Zest to Your Cannoli Cookies
If you want that zing that cuts through the sweetness of the ricotta, you have to add zest. I’m talking about scraping the bright orange or yellow peel (avoiding the bitter white pith!) right into the wet ingredients when you add the vanilla. A full teaspoon of orange zest works like magic.
It really wakes up the whole cookie. It makes them taste so fresh, almost like a more bright, summery version of the original. These become my go-to for shower parties because they feel so delicate and bright.
Pistachio Cookies: A Sicilian Inspired Baking Touch
You know how much I love bringing in that authentic Italian element? Well, if you’ve ever seen a real cannoli, it often has little flecks of green or red—those are pistachios, usually candied or just chopped!
You have two ways to go here to make these into beautiful **pistachio cookies**. First, toss half a cup of finely chopped, unsalted pistachios right in with your chocolate chips. If you want a presentation boost, save some extra chopped ones and sprinkle them over the powdered sugar right after you dust them. It looks gorgeous for any dessert buffet!
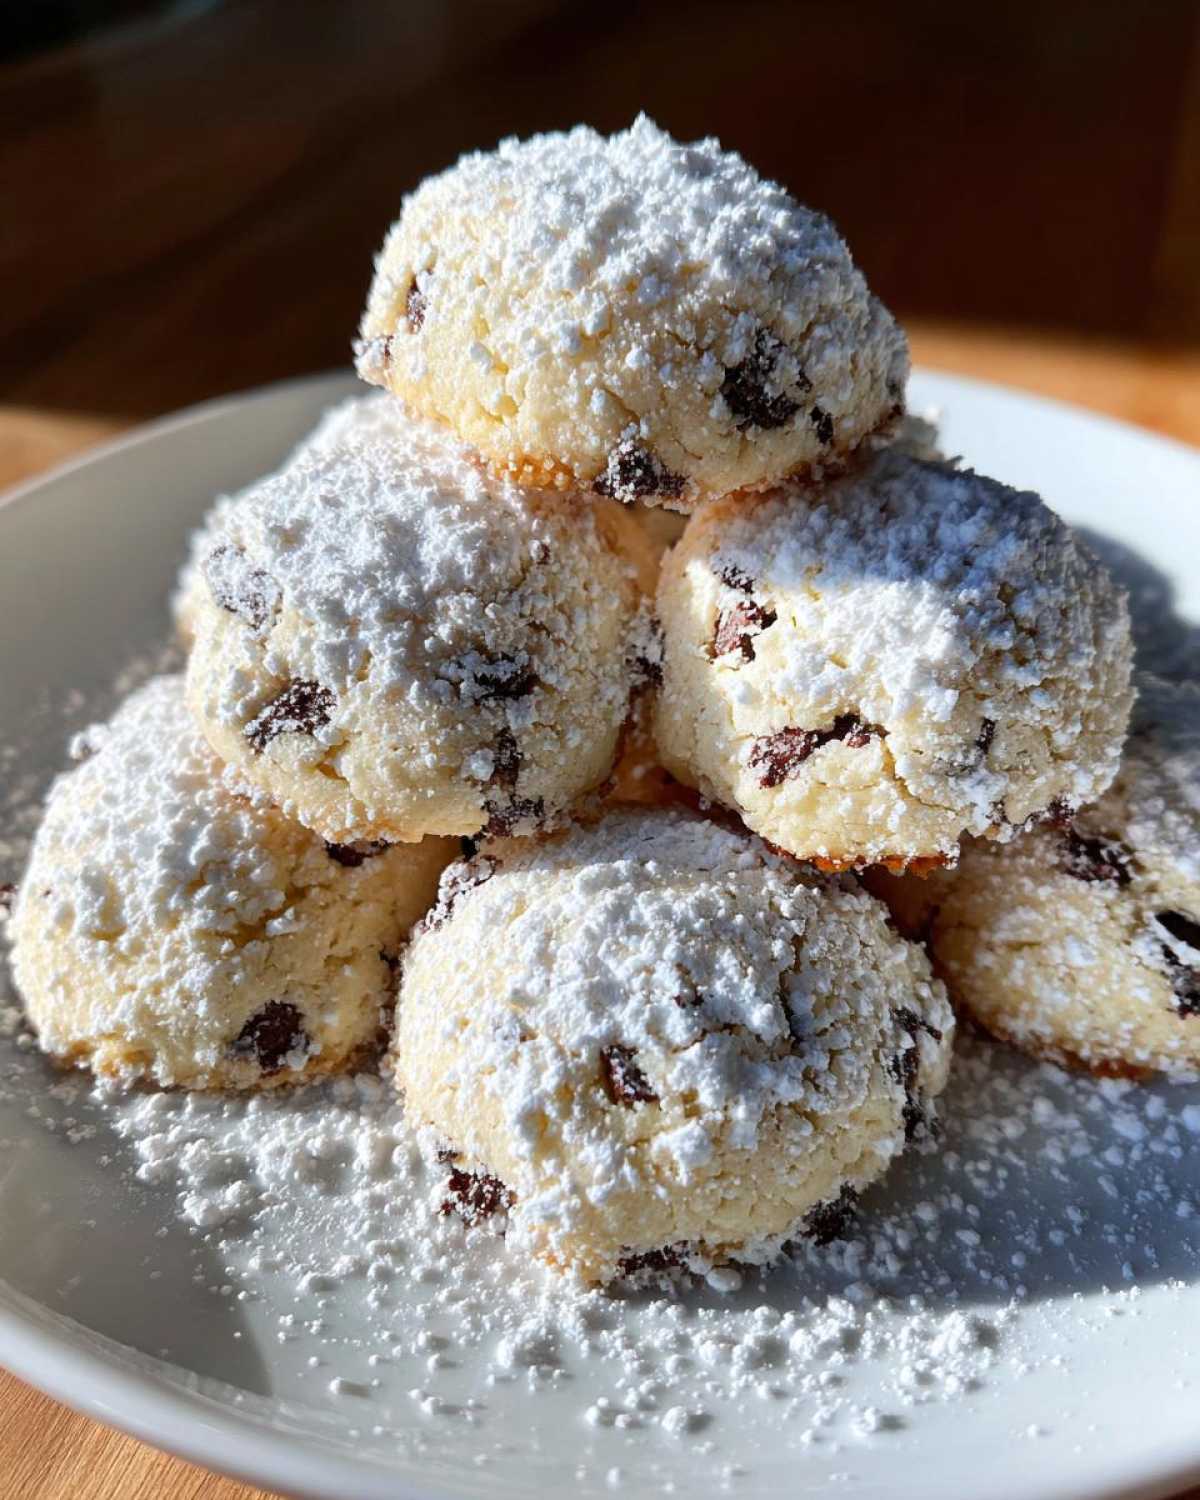
It connects these back to our Sicilian inspired baking roots perfectly.
Serving Suggestions for Your Cannoli Cookies
Honestly, these **cannoli cookies** don’t need an occasion, but majorly, they show up beautifully at holiday parties. They look so festive dusted with white sugar sitting next to something rich and dark. Forget about saving them just for a big family dinner; they are fantastic for school bake sales or when you just need a quick, cheerful treat.
If you are making a big spread of holiday cookie recipes, these are perfect because they bake fast and look so elegant. I love setting them out with a big bowl of fresh coffee or espresso. The way the sweet, creamy cookie pairs with a strong, slightly bitter coffee is just heavenly. They disappear fast, so maybe make an extra batch!
Make Ahead and Storage for Cannoli Cookies
One of the best things about these soft **cannoli cookies** is that they are fantastic for planning ahead! This is why they make such wonderful contributions to large parties; you can get them off your list early. When it comes to storing them, we need to think about keeping that delicate, cake-like texture intact.
For short-term storage, which is usually all I manage because they disappear so fast, an airtight container is your best friend. I keep mine layered with parchment paper—just a small square between layers prevents any sticking, especially if you dusted them generously with powdered sugar.
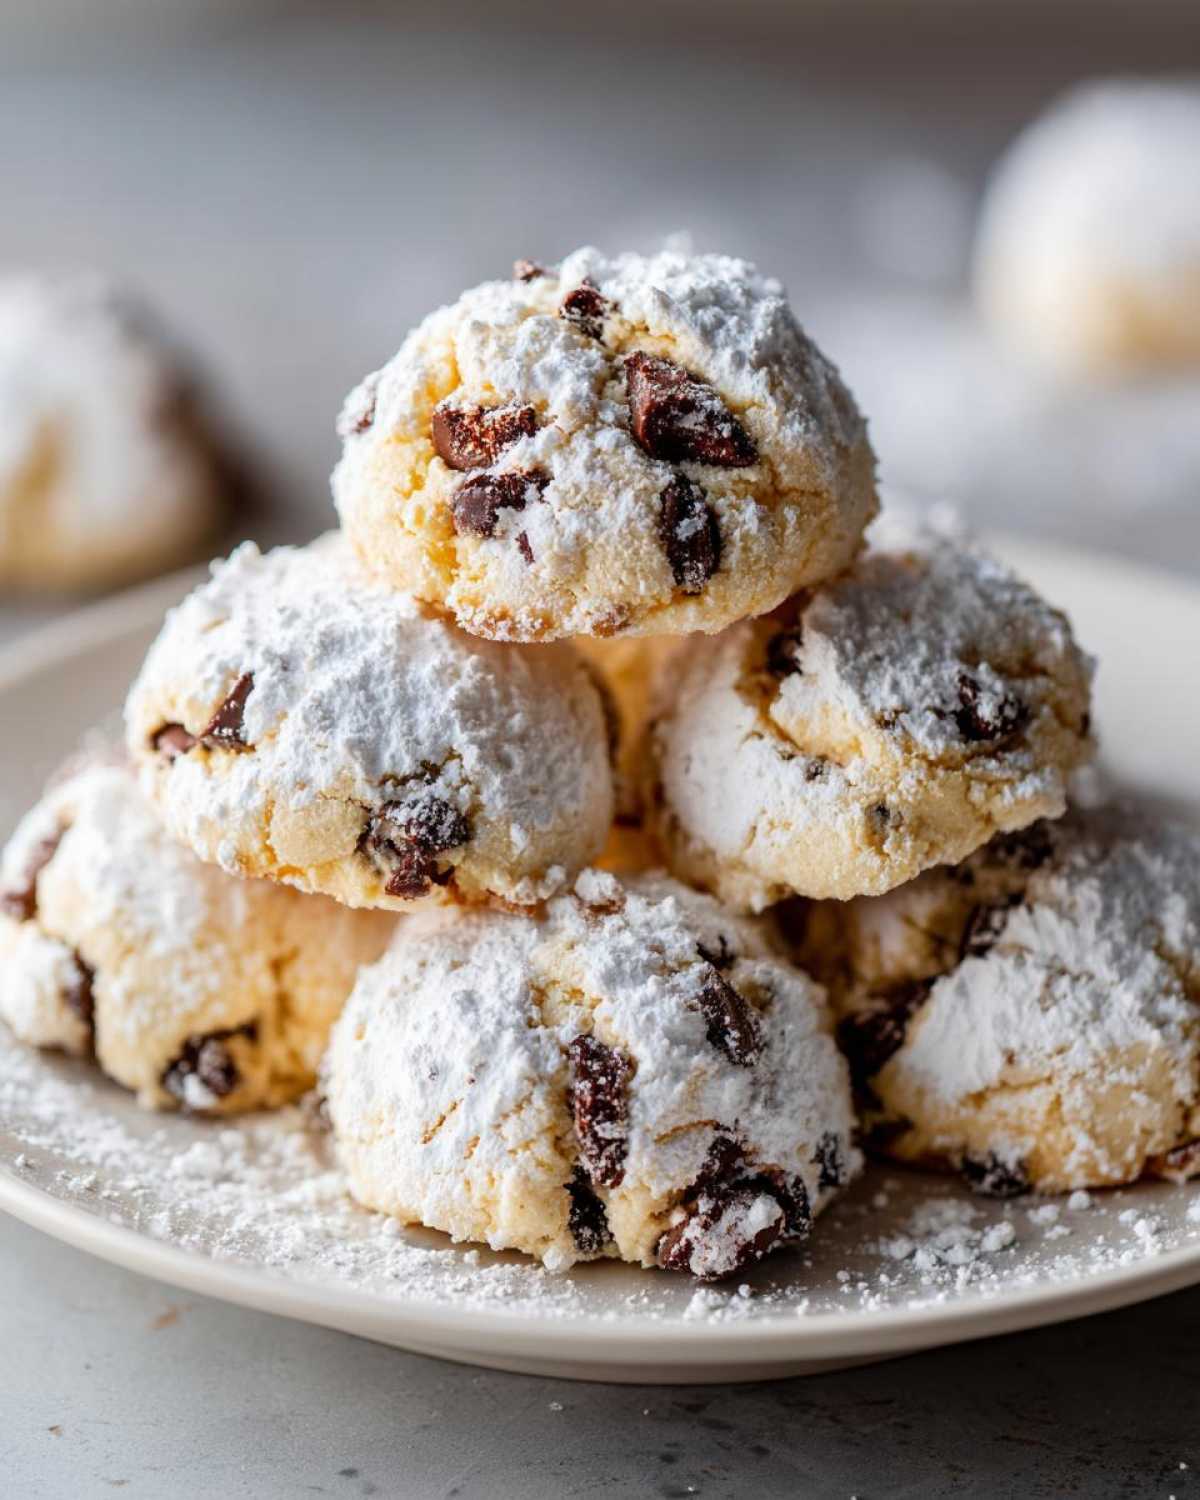
You can safely keep these cookies at room temperature for up to four days. Seriously, that’s how stable they are thanks to the ricotta and the lower moisture content compared to a filled pastry. I always tell people that **make ahead cookies** save your sanity during busy weeks!
Now, what about freezing? Yes, you absolutely can freeze them, which is great for bigger holiday baking. Once they are completely cool, place them on a cookie sheet and pop them in the freezer until they are hard. Then, transfer them into a heavy-duty freezer bag. They should last beautifully for about two months. When you want to serve them, just pull them out and let them thaw completely on the counter before dusting with sugar. Check out all my tips for keeping track of make ahead cookies!
Frequently Asked Questions About Ricotta Cookies
I get so many questions when people first try my recipe. It’s a little different than standard drop cookies because we are working with dairy, so these questions are totally valid! Knowing the answers ahead of time guarantees you get that chewy, soft texture instead of a flat disaster. Ask away!
Can I use part-skim ricotta in my cannoli cookies?
That is a great question, especially if you are trying to cut back on fat! I always push for whole milk ricotta because that higher fat content really adds to the richness and that lovely, creamy melt factor we love in our cannoli cookies. It makes a difference in the final texture.
That said, you *can* use part-skim, but be warned: part-skim ricotta is generally wetter. If you choose to go that route, you absolutely must drain it even longer than my standard recommendation—maybe even strain it overnight! If it’s too watery, your cookies might spread too much.
How do I keep these cannoli cookies soft?
The primary way to keep them soft is actually *before* you even store them, silly! Do not overbake them! They should look a tiny bit underdone in the very center when you pull them out because they continue cooking on the hot pan. If you wait until they look perfectly golden brown everywhere, they will be firm and dry once they cool.
Once they are totally cooled, the storage is key. Keep them in a truly airtight container—no cheating with just a slightly loose plastic wrap seal! I often put a small piece of wax paper between layers, too. This seals in that beautiful moisture. When stored correctly, they stay soft for days. It’s similar to keeping other goodies fresh, but because these aren’t technically assembled cream filled cookies, they hold up really well!
Are these better than traditional cream-filled cookies?
Oh, friend, that’s like asking if apples are better than oranges! These are strictly for when you want that *flavor profile* without the structural work. If you want a rich, sweet, slightly bright Italian-inspired bite that you can stack up on a plate, these are the absolute best.
If you are looking for a dessert that truly mimics a traditional pastry, you can check out some tips for making your own cream filled cookies if you want the piped version! But for an easy, satisfying, melt-in-your-mouth bite that captures the essence, my **ricotta cookies** are the winner!
Nutrition Snapshot for These Cannoli Cookies
Just so you know what you’re getting into when you whip up a big batch of these amazing **cannoli cookies**—here is the breakdown! Since we are using real butter and full-fat ricotta, they aren’t exactly calorie-free, but when you consider how satisfying they are, they are totally worth it.
Keep in mind these numbers are just estimates based on the standard ingredients I listed above. If you go heavy on the powdered sugar dusting or pile on extra chocolate chips, those numbers will shift a little!
- Serving Size: 1 cookie
- Calories: 180
- Sugar: 15g
- Sodium: 90mg
- Fat: 10g (6g Saturated Fat)
- Carbohydrates: 21g
- Protein: 3g
For such a comforting, rich-tasting treat, I think those numbers look pretty darn good!
PrintSoft Ricotta Cannoli Cookies

Make soft, cake-like cookies that capture the classic flavor of cannoli filling, featuring ricotta cheese, powdered sugar, and mini chocolate chips.
- Prep Time: 20 min
- Cook Time: 15 min
- Total Time: 35 min
- Yield: 30 cookies
- Category: Dessert
- Method: Baking
- Cuisine: Italian
- Diet: Vegetarian
Ingredients
- 1 cup (2 sticks) unsalted butter, softened
- 1 cup granulated sugar
- 1 large egg
- 1 teaspoon vanilla extract
- 1 cup whole milk ricotta cheese, well drained
- 3 cups all-purpose flour
- 1 teaspoon baking powder
- 1/2 teaspoon salt
- 1/2 cup mini semi-sweet chocolate chips
- 1/4 cup powdered sugar, for dusting
- 1/4 cup finely chopped pistachios, optional for topping
Instructions
- Preheat your oven to 350°F (175°C). Line baking sheets with parchment paper.
- In a large bowl, cream together the softened butter and granulated sugar until light and fluffy.
- Beat in the egg, vanilla extract, and drained ricotta cheese until just combined. Do not overmix.
- In a separate bowl, whisk together the flour, baking powder, and salt.
- Gradually add the dry ingredients to the wet ingredients, mixing on low speed until a soft dough forms. Fold in the mini chocolate chips.
- Drop rounded tablespoons of dough onto the prepared baking sheets, spacing them about 2 inches apart.
- Bake for 12 to 15 minutes, or until the edges are lightly golden and the centers are set.
- Let the cookies cool on the baking sheets for 5 minutes before transferring them to a wire rack to cool completely.
- Once cool, dust generously with powdered sugar. If desired, sprinkle with chopped pistachios.
Notes
- Drain the ricotta cheese thoroughly using a fine-mesh sieve lined with cheesecloth for at least 2 hours, or overnight, to prevent soggy cookies.
- For a citrus note, add 1 teaspoon of orange zest to the dough mixture.
- These cookies store well in an airtight container at room temperature for up to 4 days.
Nutrition
- Serving Size: 1 cookie
- Calories: 180
- Sugar: 15
- Sodium: 90
- Fat: 10
- Saturated Fat: 6
- Unsaturated Fat: 4
- Trans Fat: 0
- Carbohydrates: 21
- Fiber: 1
- Protein: 3
- Cholesterol: 35