

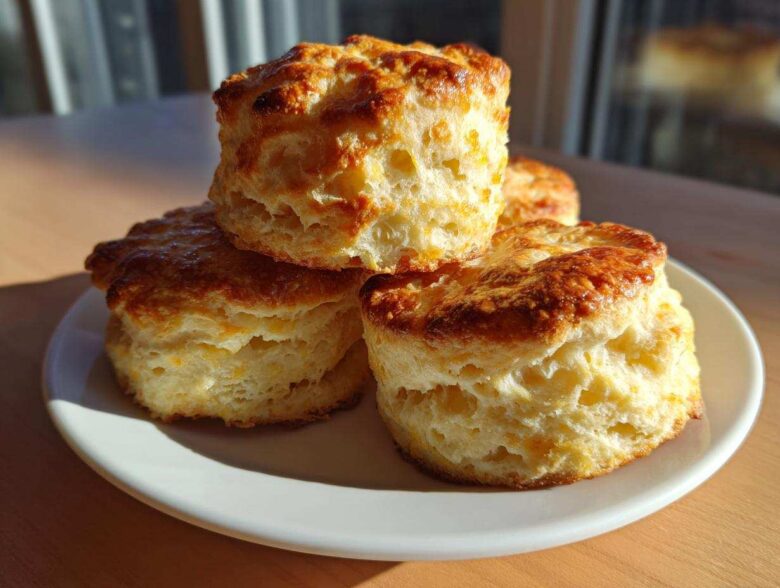
If you’ve ever felt that pang of defeat seeing a scone that looked dense instead of gloriously layered, trust me, I’ve been there! Baking is a science, and when it comes to yeasted bread, we know the rules. But for quick breads like scones? It’s all about managing temperature and moisture. After years of tinkering, I finally cracked the code for the most incredible baked item I know. We’re making The Ultimate Flaky Buttermilk Scones today. These aren’t those dry hockey pucks you sometimes find; these are tall, incredibly moist, and possess that buttery, flaky crumb we all dream about.
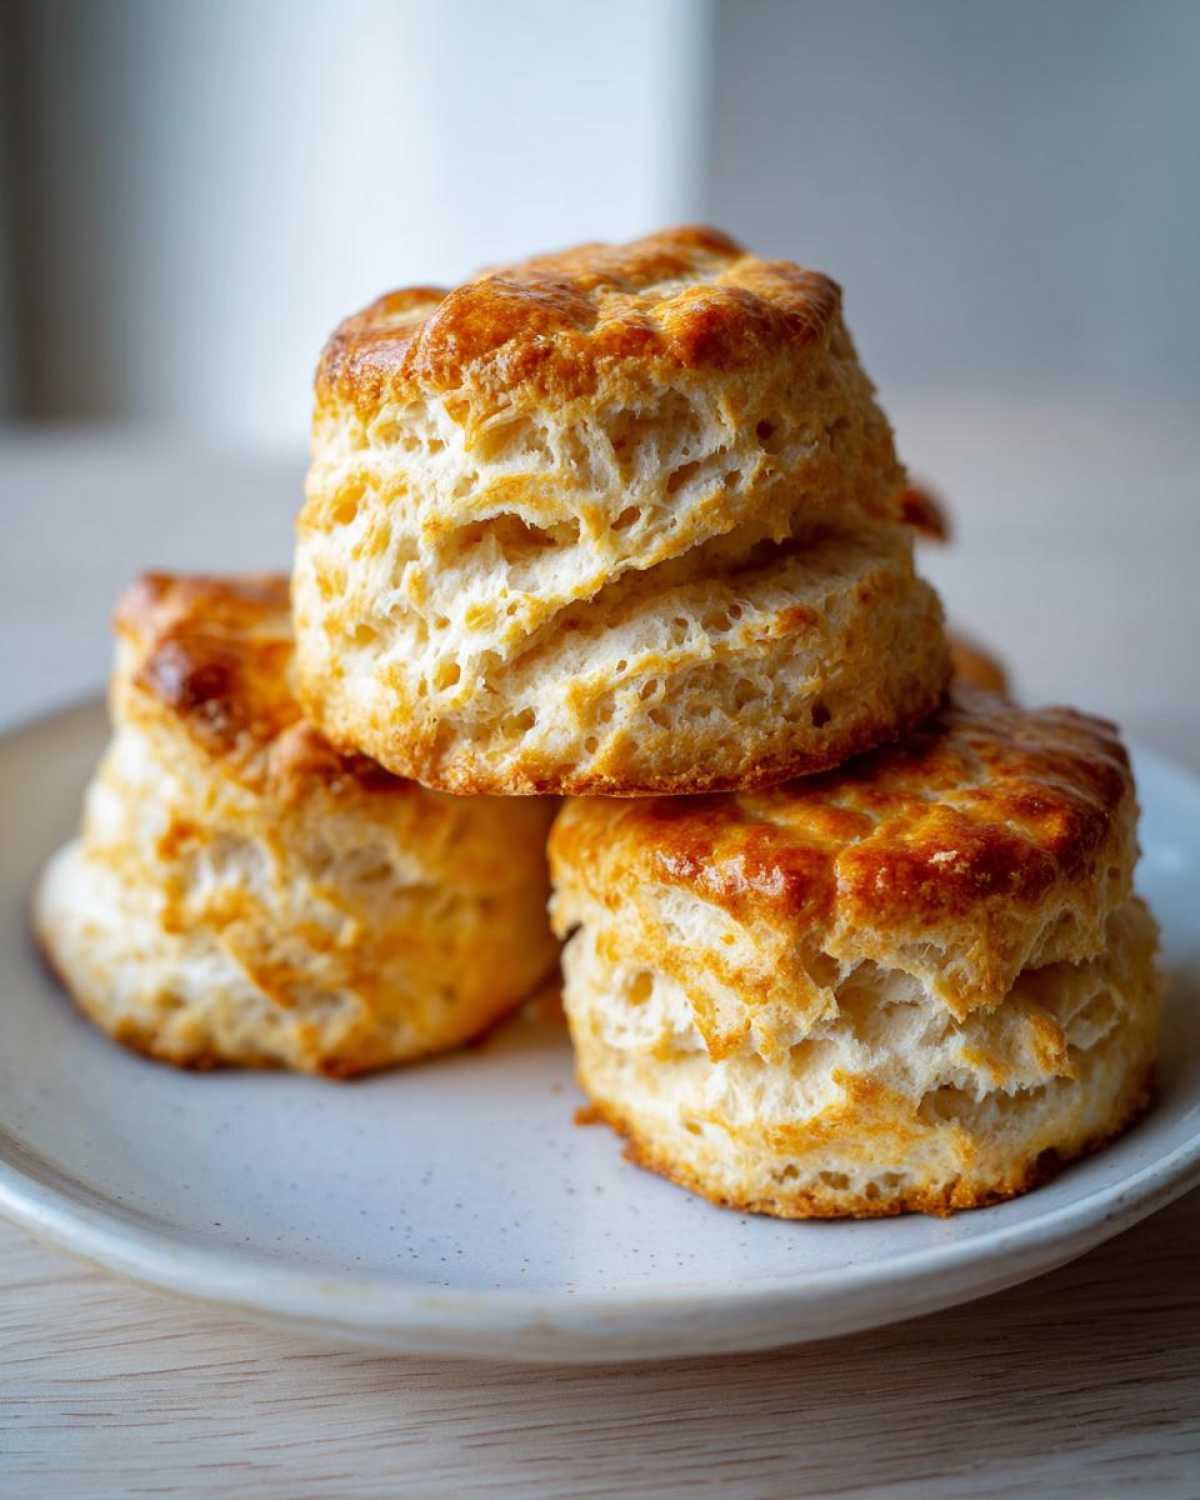
Why These Buttermilk Scones Are the Best Scones From Scratch
What sets these scones apart as truly the best scones from scratch? It comes down to intentional technique, not complicated ingredients. My goal here was simple: maximum height and guaranteed moisture. The buttermilk is my secret weapon for moisture, keeping them tender long after they cool. And that flakiness? That’s pure butter magic at work. If you want to see how I nail this same moisture retention in muffins, check out my thinking here: baking moisture secrets.
- Uses cold cubes of butter (not grated!) for distinct layers.
- Buttermilk adds a slight tang and keeps the texture light.
- The folding method builds structural height rapidly.
Forget guesswork; these tips are the foundational moist scone texture secrets that I learned the hard way!
Achieving Flaky Scones: The Science of Cold Ingredients
Listen to me: if your butter isn’t frigid, you are already losing the battle. Seriously, if you use room temperature butter, you’ll get bricks, not layers. The ice-cold butter cuts into jagged little pieces; when those pieces hit the 400-degree oven, they create steam pockets. That steam pushes the dough up and separates those flaky layers. It’s how we achieve those incredible moist scone texture secrets! So, keep your butter and your buttermilk straight out of the deep chill until the very last second.
Essential Ingredients for Perfect Buttermilk Scones
When we talk about making scones that truly shine, remember that simplicity demands quality ingredients. You only have a few players in this game, so you can’t afford to let any of them slack off! The backbone of this recipe relies on everything being perfectly cold, just like we discussed. For the full ingredient list, you’ll see it’s straightforward, but pay close attention to how I specify the butter and the sour star of the show, the buttermilk.
Here is what you’ll need lined up before you even think about preheating that oven. Knowing how I apply these same principles to other quick breads can help your general baking, too—for example, my focus on cold fats in my buttermilk cornbread works the same way!
- 2 cups all-purpose flour
- 1/4 cup granulated sugar (just enough for a touch of sweetness!)
- 1 tablespoon baking powder (don’t skimp, this gives the lift!)
- 1/2 teaspoon salt
- 1/2 cup (1 stick) cold unsalted butter, cut into small cubes
- 3/4 cup cold buttermilk
- 1 large egg, beaten (for that golden top)
- 1 tablespoon milk or cream (mixed with the egg)
- 1/2 cup fresh or frozen blueberries (if you’re making them fruity today!)
Ingredient Notes and Substitutions for Your Scones
Okay, let’s hit the specifics because nobody wants a baking disaster because of a vague instruction!
That butter needs to be rock hard; I mean fresh from the freezer and then cubed small. If you don’t have buttermilk on hand, don’t stress! You can whip up a substitute easily: just take 3/4 cup of whole milk and stir in one tablespoon of white vinegar or lemon juice. Let it sit on the counter for five minutes until it curdles slightly. These work like a charm for quick breakfast pastries, saving you a trip to the store!
How to Make Tall Scones: The Fluffy Scones Tutorial
Alright, this is where the magic happens! Getting the *instructions* right is the difference between a disappointing, squat pastry and a beautiful, sky-high treat worthy of a serious tea party. We’re taking this recipe from basic to show-stopping, focusing on minimal handling. Remember to preheat your oven to 400°F (200°C) and get that baking sheet lined with parchment paper right away so you’re ready to go.
The process moves fast after the butter is cut in. You whisk the dry stuff, you smash the butter in until it looks like coarse meal with some pea-sized chunks still visible—those chunks are your lift! After you add the cold buttermilk, you mix only until a shaggy dough just forms, then you stop! We don’t want to activate that gluten, or those scones will fight you by refusing to rise.
Mixing the Dough: Avoiding Overworking Your Scones
Seriously, put the wooden spoon down as soon as the mixture looks combined. When I say “shaggy,” I mean it should look messy! If you keep mixing until it looks smooth and beautiful, you’ve overworked it. That smooth dough means you’ve developed gluten, which turns your intended flaky scone into something closer to a tough dinner roll. We want gentle combining and nothing more. Stop when you still see streaks of flour, trust me.
The Folding Technique for Maximum Height in Scones
This is my best tip for guaranteeing you get those gorgeous, tall sides—it’s about building structure before baking. Once your dough is on the floured counter, gently pat it into a thick rectangle, about 3/4 inch high. Now, treat it like a letter: fold one edge about a third of the way over the middle, and then fold the other side over that. Pat it down again to that same 3/4-inch height. You do this fold once or twice. Every fold layers those cold butter pockets perfectly, which is the secret to how to make tall scones that bake up beautifully fluffy!
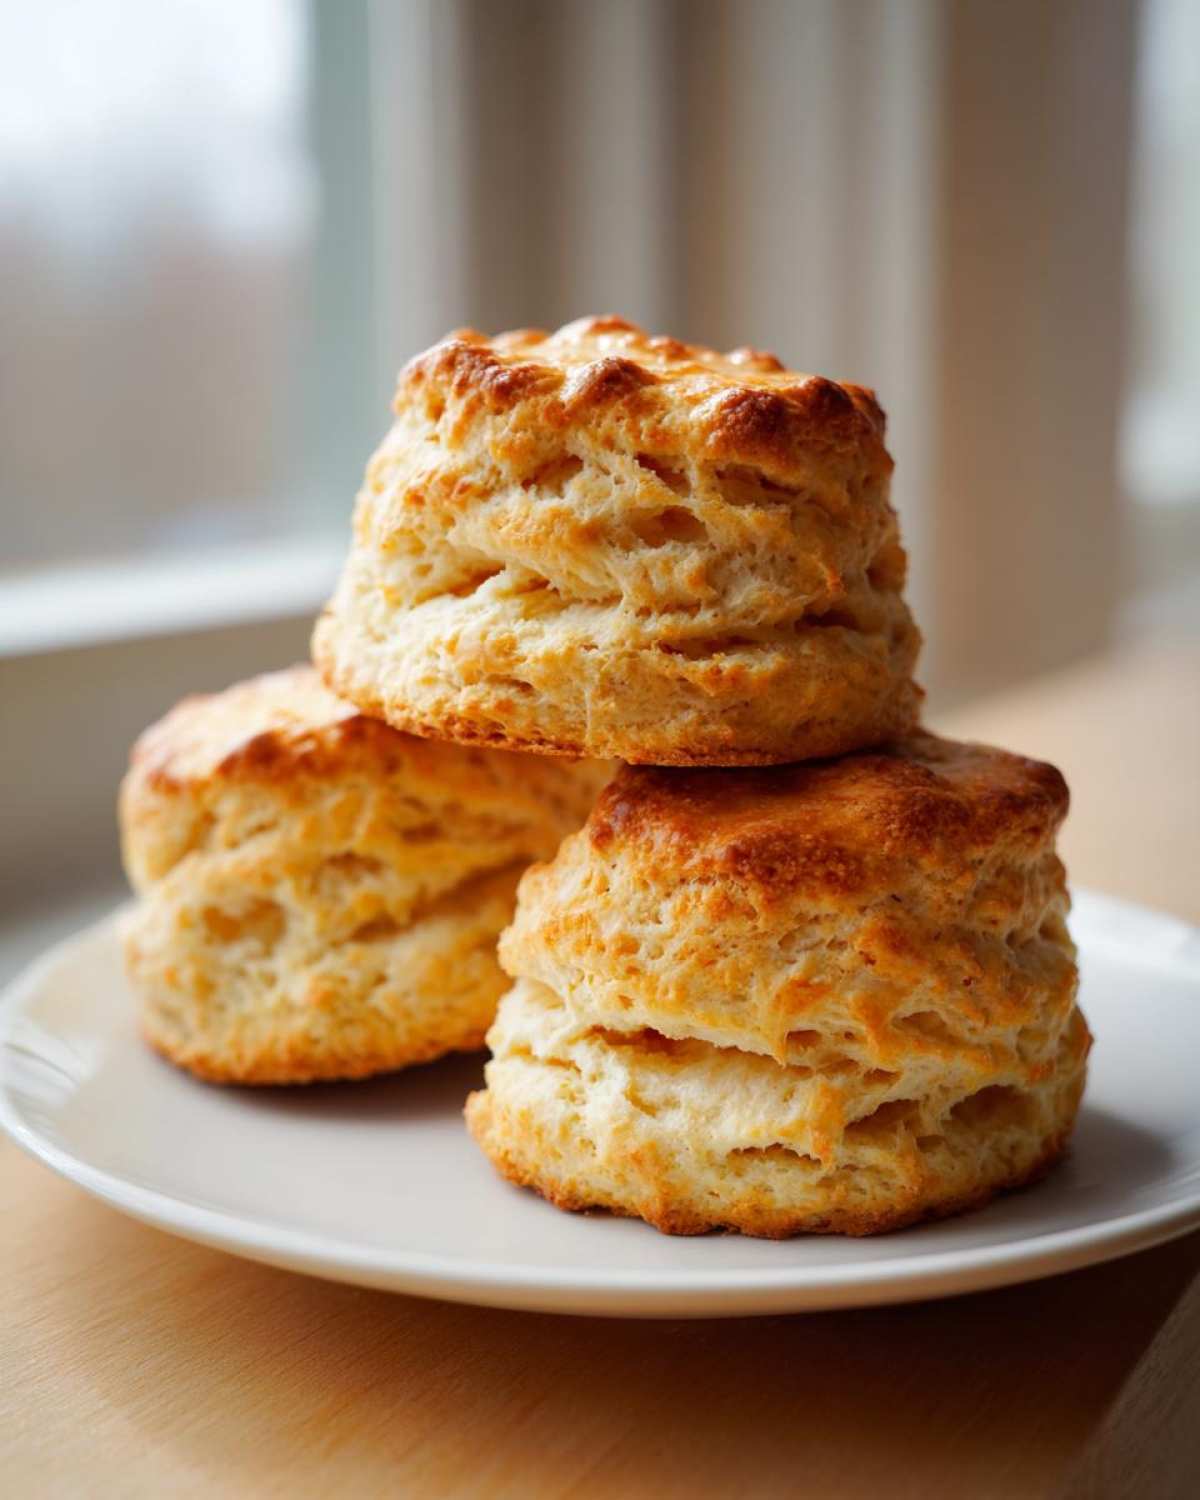
After you cut them—remember to press straight down and never twist the cutter!
—brush the tops with that egg wash for color and bake them for 14 to 18 minutes. They should be golden, and voilà, you’ve achieved the perfect fluffy scones tutorial result!
Fruit Scones Variations: Customizing Your Scones
The beauty of this base recipe is how easily it adapts to all sorts of delicious fruit scones variations. Since we already used blueberries in the main instructions—whether fresh or frozen—you know how to incorporate soft fruit perfectly: toss them gently with the dry ingredients before adding the buttermilk. This stops them from sinking straight to the bottom during baking!
If you’re looking to try something different next time, I absolutely adore making cranberry orange scones right out of this same dough. Just skip the blueberries, add about 1/2 cup of dried cranberries, and, most importantly, substitute the buttermilk with milk mixed with the zest and juice of one bright orange. It tastes like sunshine! If you love that bright citrus and cranberry combo, you have to try my bread recipe too—it has that same amazing flavor profile: the best cranberry orange loaf.
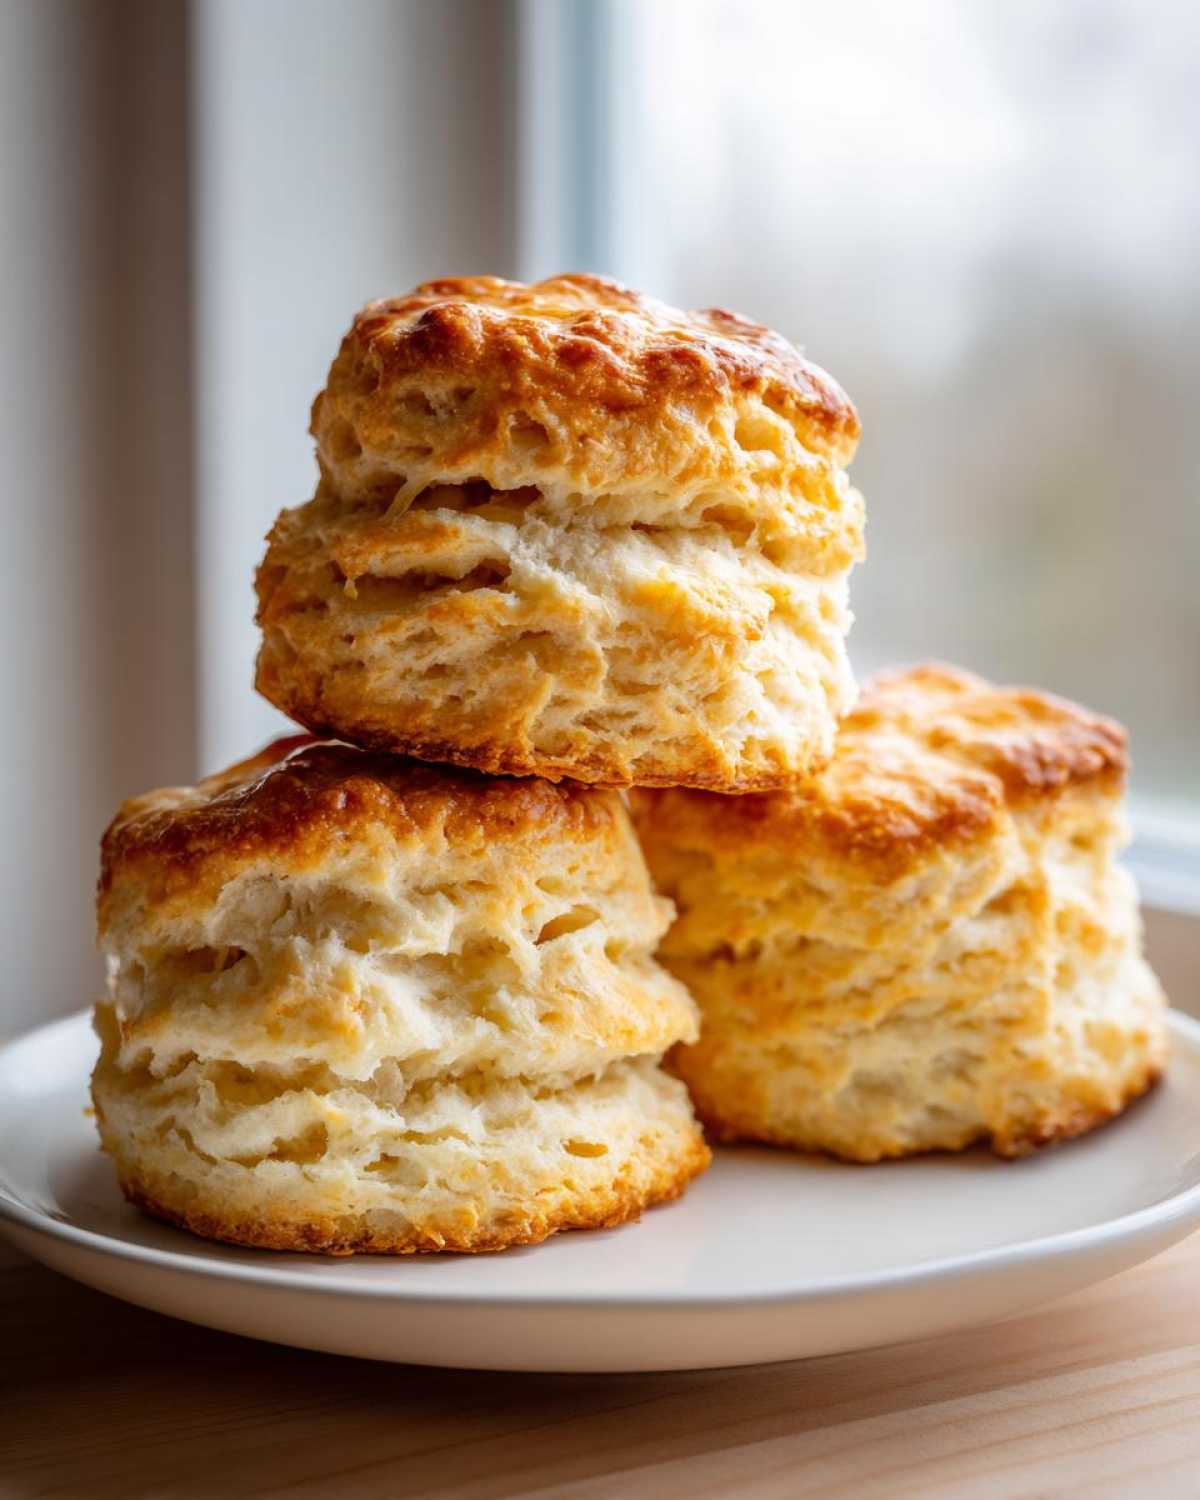
Experimenting with blueberry scones fresh fruit varieties is so much fun, and because the dough handles so well, you can even try a small batch of savory cheese scones by leaving out the sugar and folding in some sharp cheddar!
Serving Suggestions for Classic or Lemon Scones Recipe
Now that you have perfected these unbelievably flaky scones, the biggest challenge is deciding how to eat them! For the classic scone recipe—the plain ones without any fruit—you simply can’t beat tradition. We serve these warm with a generous dollop of clotted cream (if I can find it!) and strawberry jam. They are essential afternoon tea treats, no question.
If you decided to make a batch that leans towards a lemon scones recipe variation—maybe folding in some zest—you’ll want a different topping. A simple squeeze bottle drizzle made from powdered sugar and fresh lemon juice works wonders. That zesty sweet top pairs divinely with the buttery crumb. If you love that bright flavor, you should see how I use lemon in my brownies; it’s zesty pure heaven here: check out the lemon glaze technique!

Honestly, these are perfect for any time, whether it’s a fancy brunch baking idea or just a Tuesday morning treat with coffee.
Storage and Reheating Instructions for Leftover Scones
Even the best homemade scones rarely last long, but if you somehow manage to have leftovers—which is a win in my book!—you need to store them the right way to keep that flakiness.
Never just leave them on the counter uncovered; that’s a rookie mistake that steals all their moisture. Store them in an airtight container at room temperature. They’ll be tasty for about two days this way. If you need them to last longer than that, pop them in the freezer immediately!
To bring them back to life? The oven is your friend! Wrap the chilled or frozen scone in a little foil—this creates a tiny steam tent. Heat them at 350°F (175°C) for about 8 to 10 minutes. They come out perfectly warm, soft on the inside, and that buttery crust is restored. Instant deliciousness!
Frequently Asked Questions About Making Scones
I know you’ve got questions swirling around, especially if you’re trying to nail that perfect rise for the first time! Baking is all about troubleshooting, so let’s cover the common ones. Can you make these ahead of time? Yes! You can cut the dough, place them on the baking sheet, cover tightly with plastic wrap, and leave them in the fridge for up to 24 hours. Just brush with the egg wash and bake when you’re ready to serve them hot—perfect for easy brunch baking!
What about making the plain scones recipe? That’s easy; just omit the sugar and skip adding any fruit like blueberries. You’ll want to brush them with heavy cream instead of the egg wash for a more rustic look, closer to traditional English scones.
Can I use regular milk instead of buttermilk? You sure can, but you lose a little bit of that delicate tang and tenderness, which is why the buttermilk is always my recommendation. If you want more tips on how I manage ingredients in other recipes, check out my guide on speedy meals, even though scones aren’t speedy: quick dinner ideas that use simple prep.
Can I make savory cheese scones?
Oh, absolutely! Savory cheese scones are a delight. You just need to skip the 1/4 cup of sugar entirely and fold in about 3/4 cup of sharp cheddar, maybe some cracked black pepper, or fresh chives at the same time you’d add the blueberries. They bake up exactly the same way!
Estimated Nutritional Data for These Buttermilk Scones
Now, don’t get too bogged down staring at these numbers! Remember, homemade is always better than store-bought, and these estimates are just a general guide based on the recipe yielding eight glorious scones. We’re focusing on flavor and flake, first and foremost!
For one serving—that’s one scone—here is what you can generally expect based on my calculations:
- Calories: Around 280
- Fat: About 14 grams (hello, cold butter!)
- Carbohydrates: Roughly 33 grams
- Protein: About 6 grams
- Sugar: Just 7 grams
It’s worth noting the higher fat content is what gives you those incredible layers, so embrace the richness! Enjoy every bite!
Share Your Flaky Scones Experience
Okay, that’s it for the technical side of things! You now have my absolute best method for baking scones that are ridiculously flaky, delightfully moist, and stand up proud on your serving platter. But baking is a conversation, right? I desperately want to know how they turned out for you!
Did you manage to keep that butter cold enough? Did you go for the blueberry variety or try something totally new? Head down to the comments section and tell me everything. Rate the recipe—and be honest about how tall they got! I truly love seeing your successes.
If you’ve got a picture of your gorgeous, golden creations, please share it on social media and tag me! Knowing I inspired someone to pull off that perfect bake makes my entire day. You can always check out what other readers are baking up or share your feedback over on my main page here: check out the latest baking adventures. Happy baking, friends!
PrintThe Ultimate Flaky Buttermilk Scones

A straightforward recipe for making tall, flaky, and moist scones using buttermilk for superior texture. This recipe includes instructions for plain scones and variations like blueberry.
- Prep Time: 15 min
- Cook Time: 18 min
- Total Time: 33 min
- Yield: 8 scones
- Category: Breakfast
- Method: Baking
- Cuisine: American
- Diet: Vegetarian
Ingredients
- 2 cups all-purpose flour
- 1/4 cup granulated sugar
- 1 tablespoon baking powder
- 1/2 teaspoon salt
- 1/2 cup (1 stick) cold unsalted butter, cut into small cubes
- 3/4 cup cold buttermilk
- 1 large egg, beaten (for egg wash)
- 1 tablespoon milk or cream (for egg wash)
- 1/2 cup fresh or frozen blueberries (optional mix-in)
Instructions
- Preheat your oven to 400°F (200°C). Line a baking sheet with parchment paper.
- In a large bowl, whisk together the flour, sugar, baking powder, and salt.
- Add the cold butter cubes to the dry ingredients. Use a pastry blender or your fingertips to cut the butter into the flour until the mixture resembles coarse crumbs with some pea-sized pieces of butter remaining. This step is key for flakiness.
- If using blueberries, gently toss them into the flour mixture now.
- Make a well in the center of the dry ingredients and pour in the cold buttermilk. Mix quickly with a fork until just combined. Do not overmix; the dough will look shaggy.
- Turn the dough out onto a lightly floured surface. Gently pat the dough into a 3/4-inch thick rectangle or circle.
- For tall scones, fold the dough over itself (like a letter) one or two times, patting it back down to 3/4-inch thickness after each fold.
- Cut the dough into 8 wedges or use a 2-inch round cutter to cut straight down without twisting the cutter. Place the cut scones onto the prepared baking sheet, ensuring they touch slightly if you prefer softer sides.
- In a small bowl, whisk the egg and milk/cream together to create an egg wash. Brush the tops of the scones lightly with the wash.
- Bake for 14 to 18 minutes, or until the tops are golden brown and a toothpick inserted into the center comes out clean.
- Transfer the scones to a wire rack to cool slightly before serving.
Notes
- Keep all ingredients, especially the butter and buttermilk, very cold for the best rise and flakiness.
- Do not twist the biscuit cutter when cutting; press straight down to keep the layers intact.
- For a sweeter finish, drizzle with a simple glaze made from powdered sugar and a splash of milk after cooling.
- If using frozen fruit, do not thaw them before adding them to the dough.
Nutrition
- Serving Size: 1 scone
- Calories: 280
- Sugar: 7
- Sodium: 350
- Fat: 14
- Saturated Fat: 9
- Unsaturated Fat: 5
- Trans Fat: 0
- Carbohydrates: 33
- Fiber: 1
- Protein: 6
- Cholesterol: 65