


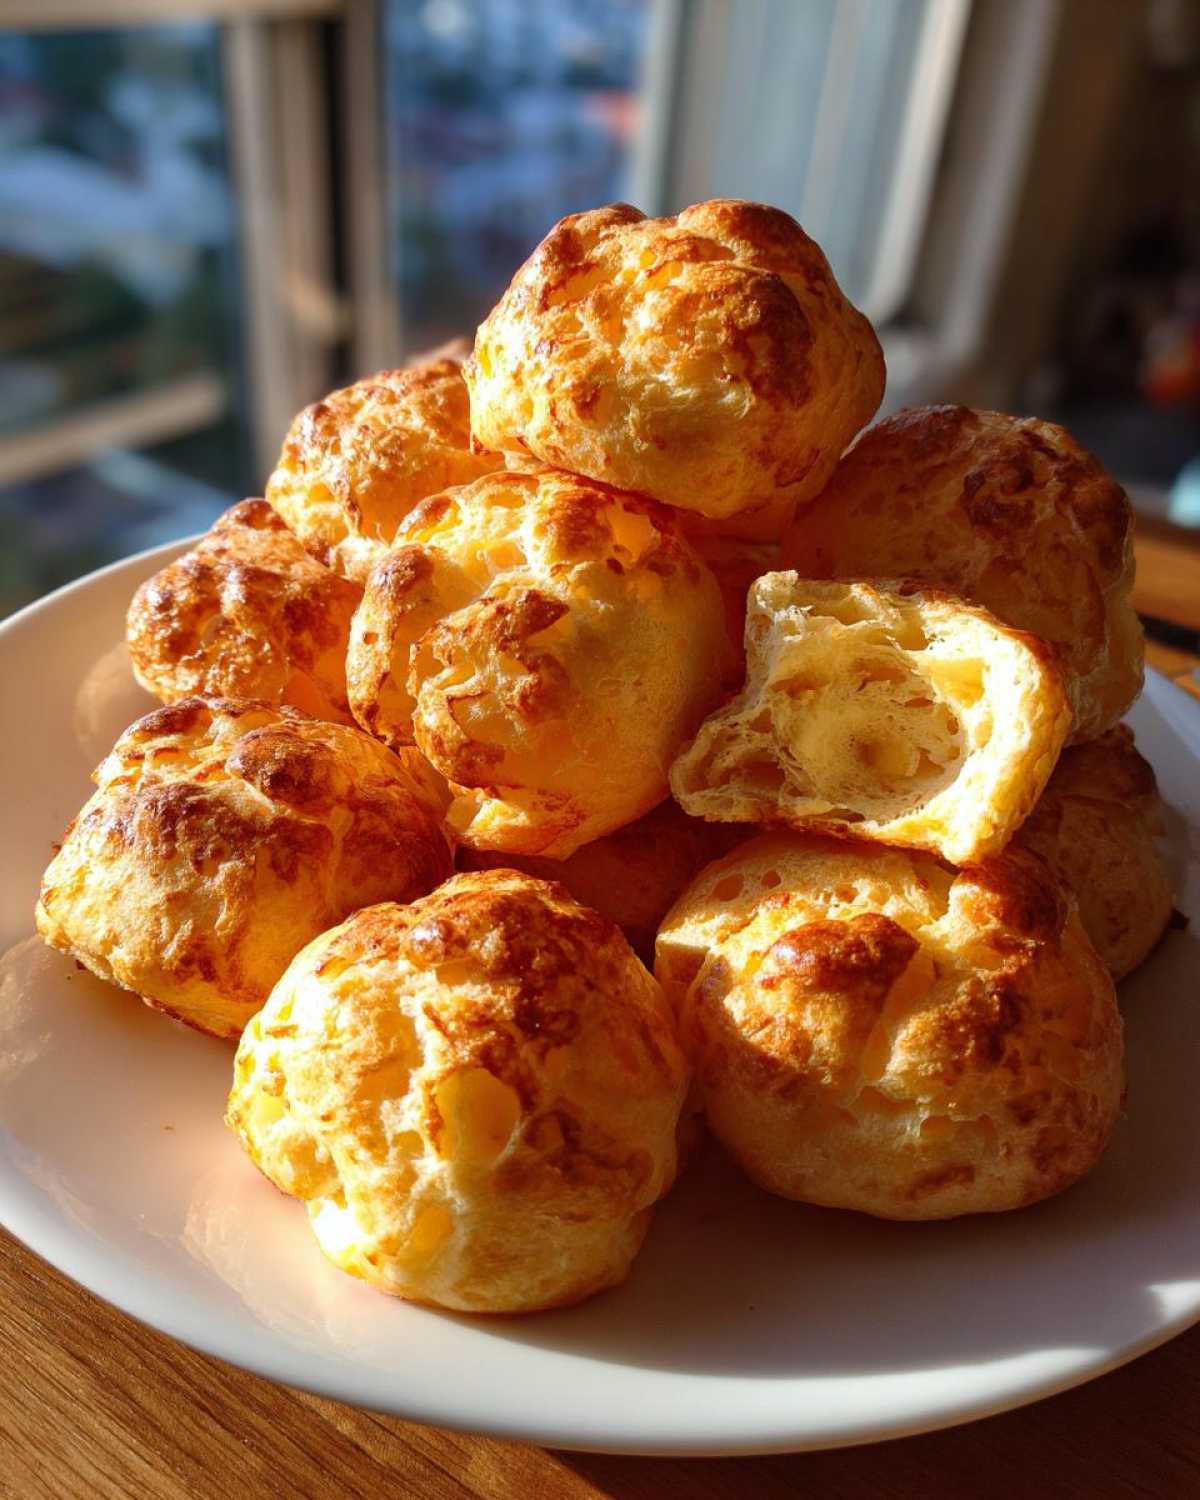
Oh my gosh, you have to stop what you are doing right now and make these! Nothing—and I mean *nothing*—compares to biting into a perfect piece of authentic **brazilian cheese bread**. You know that heaven combination? That slightly crackly, almost brittle shell that gives way instantly to the gooiest, stretchiest, cheesiest interior you can imagine? Well, trust me when I say I chased that texture for years, burning batches and ending up with flat, dense pucks. But I finally nailed it! This recipe delivers that authentic, melt-in-your-mouth chewiness every single time. Plus, the best part? Because we rely totally on tapioca flour, these little wonders are naturally gluten-free, which means everyone gets to enjoy these incredible spicy southern cheese straws substitutes!
Why This Authentic Brazilian Cheese Bread Recipe Works (The Texture Secret)
Okay, let’s skip the fluff and talk straight science, because that’s the key to amazing **brazilian cheese bread**. The absolute MVP here is the tapioca flour, or *polvilho*. It’s what gives you that insane, almost rubbery, satisfying chew. Wheat flour just can’t do that! And don’t skimp or try to swap it for something else—I tried, it was sad.
The other critical step is called ‘scalding.’ You have to boil the milk, oil, and salt first and then pour that hot liquid over the dry tapioca flour immediately. This gelatinizes the starch right away! It sets up the structure so when you add the eggs and cheese, you get that perfect, stretchy base.
Achieving Crispy on the Outside Chewy Inside
The texture comes down to two things we control,” I always tell people. First, the liquid-to-starch ratio has to be perfect; it shouldn’t be runny, or it won’t puff right. Second, we bake these little guys hot and fast! A good, hot oven (375°F is my magic number) hits that exterior hard, creating the crust first, while the inside steams into that signature elastic puff. That results in the perfect **brazilian cheese bread**!
Essential Ingredients for Perfect Brazilian Cheese Bread
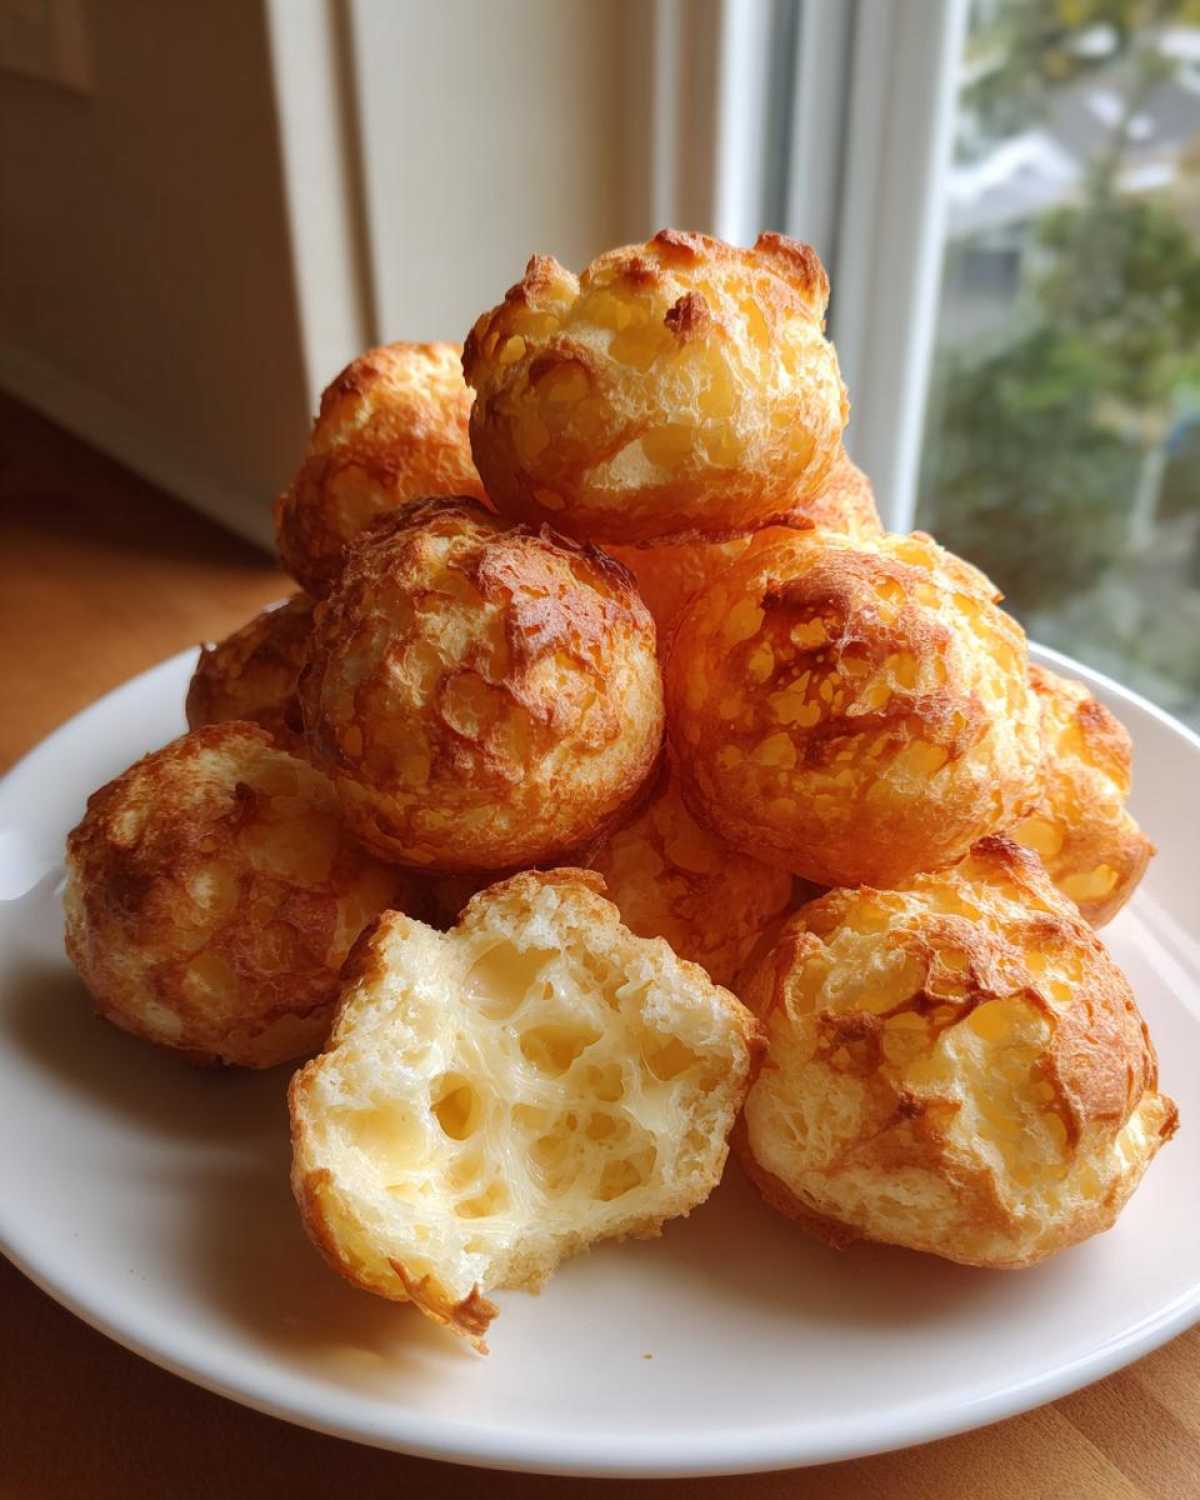
You can’t fake flavor in **brazilian cheese bread**, and thankfully, the ingredient list is short and sweet. Because we’re relying on starch instead of gluten, the few items we do use have to be top-notch. You absolutely must have two cups of tapioca flour—that’s non-negotiable for that authentic stretch. We use a blend of Parmesan and mozzarella because Parm gives you that sharp, salty kick, and the mozzarella brings the melt factor.
Here’s what you’ll need gathered up before you even start boiling your milk and oil:
- 1 cup whole milk
- 1/2 cup vegetable oil
- 1 teaspoon salt
- 2 cups tapioca flour (sour or sweet)
- 2 large eggs
- 1 cup shredded Parmesan cheese
- 1 cup shredded mozzarella cheese
Ingredient Notes and Substitutions for Your Brazilian Cheese Bread
A quick word on that flour: If you can find sour tapioca starch—that’s the *polvilho azedo*—it gives the puff a tiny, fantastic tang, which I prefer. If you grab the sweet starch (*doce*), your rolls will be milder, which is also great. Either way, make sure you’re using the starch, not regular flour!
Next, cheese choice! Don’t even think about using pre-shredded bagged cheese. It has anti-caking agents that stop it from melting smoothly. Grate your own Parm and Mozz fresh. And please, use room temperature eggs! Cold eggs dumped into the warm, scalded mixture can shock it and make the dough seize up weirdly. Keeping everything cooperative helps us get those amazing Mediterranean spinach and feta cheese crisps vibes, but cheesier!
Step-by-Step Instructions to Make Brazilian Cheese Bread
Alright, let’s get messy! This recipe moves fast once you get going, so have your big bowl ready. First things first: crank up that oven to 375°F (190°C) right now! We don’t want to wait later. Then, lightly grease a baking sheet—I usually prefer just a tiny spritz and a wipe with a paper towel, or you could use some parchment paper like you would for easy pizza muffins.
Next up is the scalding part. Grab a small saucepan and toss in your whole milk, oil, and salt. We need this mixture to come to a rolling boil over medium heat. As soon as it hits that boil, pour it *directly* over the two cups of tapioca flour waiting in your large mixing bowl. Immediately grab a wooden spoon—seriously, don’t wait! Stir like crazy until it all comes together into a thick, gooey paste. It’s going to look weird, but that’s the magic starting!
Now, you have to let that paste cool down just a little bit—about 10 minutes should do it. You don’t want to scramble those eggs! Once it’s just warm to the touch, drop in your eggs, one at a time, mixing well after each addition. The dough might look a little sticky and stringy at this point, and that’s totally normal for this **brazilian cheese bread** dough.
Finally, fold in both of your shredded cheeses until you can’t see any more white streaks of mozzarella hiding out. Now for the shaping! This dough is sticky, so here’s my secret: lightly coat your hands with a bit of neutral oil. Scoop out tablespoon-sized amounts—aim for about 1.5 inches across—and gently roll them into balls. Drop them onto your prepared baking sheet, leaving about an inch between them so they have room to grow!
Shaping and Baking Your Chewy Cheese Puffs
Once those little **chewy cheese puffs** are portioned out, pop them straight into that preheated oven. They bake for about 20 to 25 minutes. Keep an eye on them! You’re looking for them to puff up nicely—they should look like little inflated clouds! They are done when the exterior is firm and lightly golden brown. If they feel squishy when you gently press them, give them another minute or two. These are best served the second they come out of the oven while the inside is still super elastic!

Tips for Success with Homemade Brazilian Cheese Bread
I know this dough feels weird. It’s sticky, it’s almost slimy when you first mix it, and you’re going to panic that you messed up! Don’t worry; that’s just the tapioca flour doing its thing. If your dough seems way too wet—meaning it refuses to form a ball and just spreads out on your hands—don’t panic and add more flour! That ruins the texture.
Instead, cover your bowl and pop the whole thing into the fridge for about 15 minutes. Chilling solidifies that oil content just enough so you can handle the dough. Remember, if you add more flour instead of chilling, you’ll end up with something nearly crumbly, not that required stretchy chewiness only found in the best **brazilian cheese bread**!
Conversely, if your leftover dough ends up too dry later on when you go to bake the second batch, don’t try to knead water into it! That won’t integrate right. You could try adding a tiny splash of milk to the dry parts, but honestly, using the chilling trick above usually solves 99% of consistency problems.
When it comes to serving, these are mood killers if they cool down too much. They lose that immediate elasticity. Seriously, try to get them on the table steaming hot. If you made a big batch and they’ve cooled off, don’t just let them sit there! Just pop them back into a hot oven (around 350°F) for maybe five minutes. That quick blast of heat wakes up the crust and softens the center again. It’s almost like baking them fresh, just like the fluffiness you find in best blueberry muffin secret fluffy recipes!
Variations on Classic Brazilian Cheese Bread
The beauty of this **brazilian cheese bread** recipe is that once you master the base—the tapioca, the scald, the cheese—you can totally play around with it! It’s a fantastic base for creativity, especially when you need something impressive on the table fast, like for game days or when friends drop by unexpectedly. I treat this dough like a blank canvas for cheesy goodness.
If you want to ramp up the funk factor, try swapping out a quarter of that mozzarella for something a bit sharper. Gruyère melts beautifully and brings a nutty depth that pairs shockingly well with the savory cheesy flavor. Or, if you’re feeling something fresh, stir in a tablespoon or two of finely chopped fresh chives right along with the cheese—it adds this lovely little savory pop, turning them into great little cowboy cornbread casserole companions for a bowl of soup!
Now, I know a lot of people ask about making a ‘Copycat Texas de Brazil Cheese Bread.’ Honestly, the biggest secret they use is often a specific ratio of salty cheese to stretchy cheese, often leaning heavily on a robust Parmesan or maybe even adding some cotija or Oaxaca cheese for extra “pull.” When you’re going for that restaurant vibe, try bumping your Parmesan up to 1.5 cups and cutting the mozzarella down to half a cup. It makes the exterior a little more savory and crusty right away, which is exactly what you want for those restaurant-style rolls!
Serving Suggestions for Pão de Queijo Recipe
Honestly, I struggle to keep these around long enough to worry about pairings! They are so addictive warm out of the oven that they disappear before anyone can suggest what to eat them with. But when I manage to save a few—or when I make a truly massive batch for a gathering—I love seeing how versatile this **Pao de Queijo recipe** truly is.
First off, forget the idea that this is only a dessert or an afternoon snack. These are fantastic for **brazilian cheese bread for breakfast**! Forget toast—serve these little puffs alongside scrambled eggs or even smothered in a little bit of soft, creamy butter if you aren’t totally stuffed with cheese already. They are light enough that they don’t weigh you down for the morning.
When party time rolls around, these are my go-to **party appetizers cheese bread** option because they are already perfectly portioned, naturally gluten-free, and everyone fights over the last one. They look amazing piled high on a rustic wooden board with some fresh fruit or maybe some spicy pepper jelly for dipping. They handle being moved around really well.
But my absolute favorite way to enjoy them, especially on a chilly evening? Dipping them! Since they are wonderfully sturdy and cheesy, they hold up perfectly to soaking up flavor. They are amazing used like little crusty bread bowls for thick, robust soups. Think about dipping one into a hearty stew or maybe a big bowl of spicy homemade chili—you can get the full recipe for my favorite crockpot chili amazing 8 easy steps right here on the site!
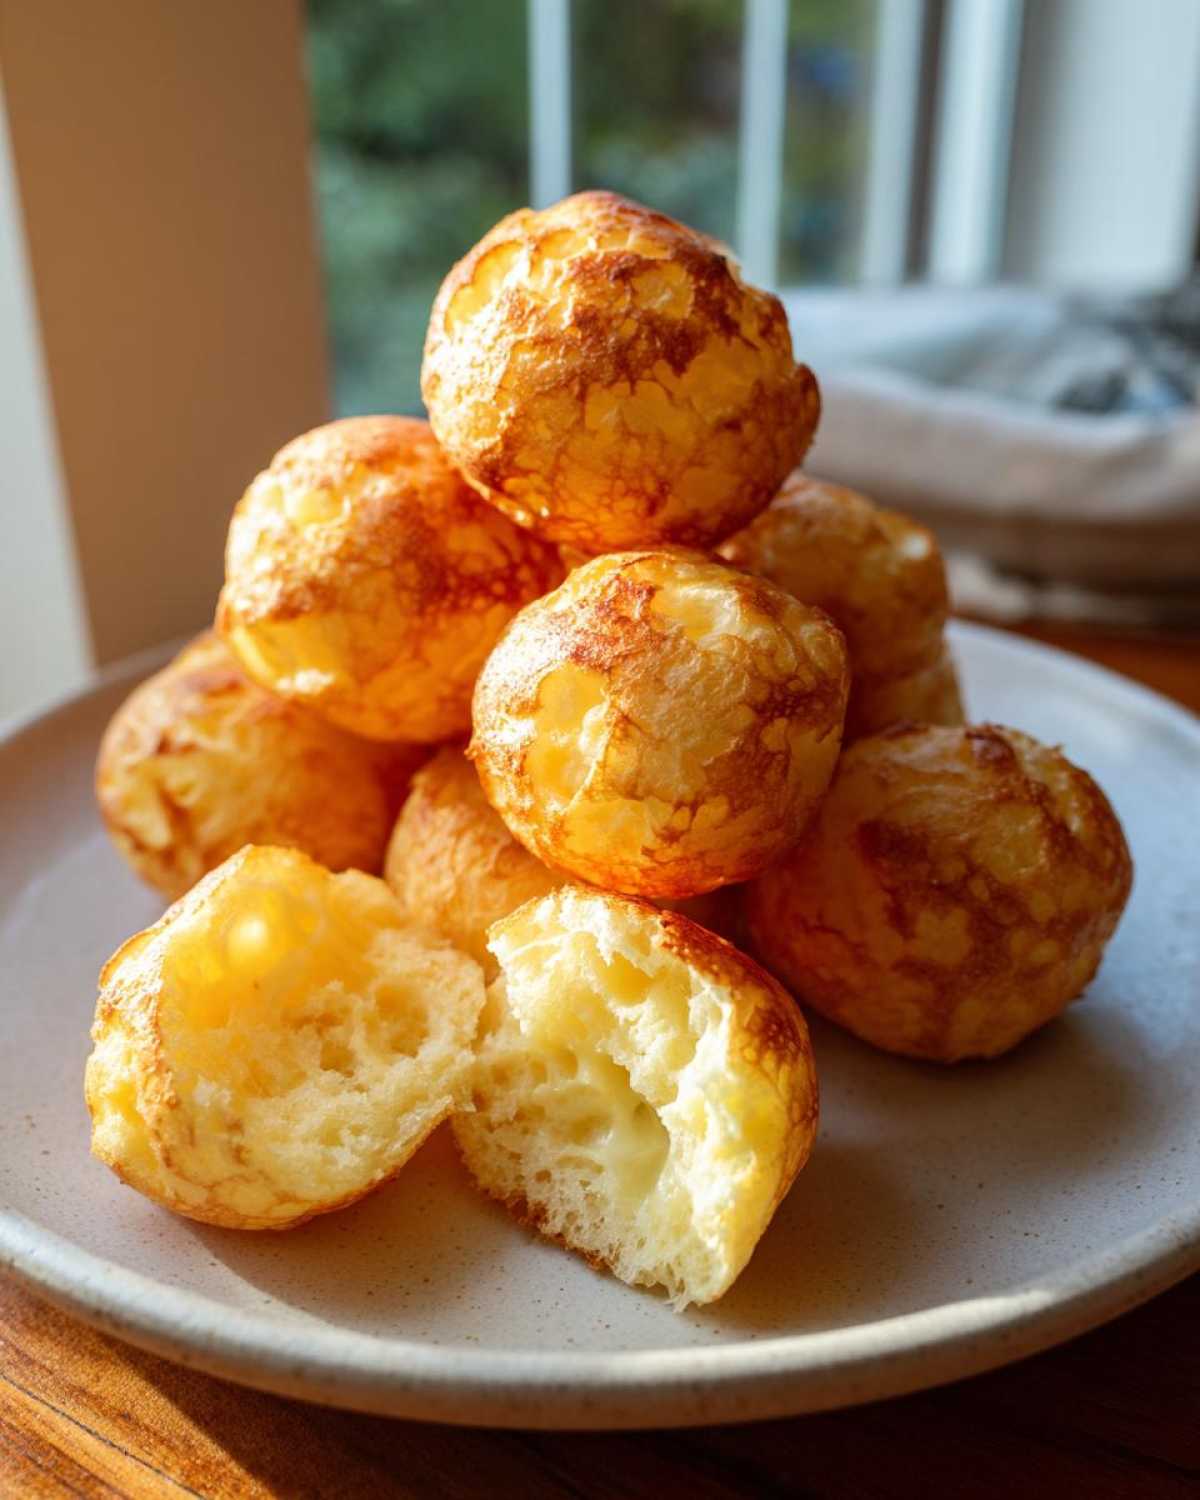
The chewiness inside just grabs onto the liquid, and since the outside is already crispy, you get that amazing textural contrast in every single bite. You seriously cannot go wrong serving these savory little babies!
Storage and Make-Ahead Tips for Brazilian Cheese Bread
One of the best features of this **Pao de Queijo recipe** is just how incredibly well it handles being made ahead of time. Unlike so many baked goods that turn stale or sad the next day, these little cheese puffs are built for convenience! I always make extra dough because having uncooked balls ready to go in the freezer is like having a secret weapon for last-minute guests.
To freeze the dough, simply roll your little balls according to the instructions—don’t flatten them first! Place them on a baking sheet lined with parchment paper (so they don’t stick to each other) and freeze them completely solid. Once they are rock hard, transfer the frozen balls into a heavy-duty freezer bag. They keep beautifully for up to three months this way. When you need them, don’t even bother thawing them!
When baking from frozen, I add about 5 to 10 minutes to the baking time, keeping the oven set at 375°F. They might look a little pale before they start cooking, but trust the process, and you’ll get that amazing puff and golden crust.
What about the baked rolls? If you happen to have leftovers—which, good for you if you do!—the enemy is humidity. Store them in an airtight container at room temperature for a day or two. But remember what I said earlier? They lose that *zing* when they cool down completely. So, reheating is essential. Don’t microwave them; that just guarantees a chewy, steamed texture.
Instead, if you’re looking to bring them back to life when you’re craving a fresh batch of **naturally gluten free breads** but don’t want to mix dough, spread the cooled rolls on a baking sheet and bake them at 350°F for about five to eight minutes. This dries out any moisture that settled in overnight and crisps up that beautiful exterior just perfectly. It’s almost as good as baking them fresh, maybe even better when paired with coffee in the morning, reminding me of a good soft whole wheat bread recipe!
Frequently Asked Questions About Brazilian Cheese Bread
I get so many questions about this **Pao de Queijo recipe** because everyone wants that perfect puff! Since these are one of my absolute favorite **naturally gluten free breads**, I’m happy to clear up the common sticking points right here. Ask away!
Can I use regular wheat flour instead of tapioca flour in this Pao de Queijo recipe?
Oh, honey, I really wish you could, but no, you really can’t! The entire structure of authentic **brazilian cheese bread** relies on the unique properties of tapioca starch. Wheat flour has gluten, which makes bread strong and chewy in a completely different way. Tapioca starch is what creates that amazing, hollow, stretchy interior when scalded with hot liquid. If you swap it for regular flour, you’ll end up with a regular, dense cheese roll—not the puffy, elastic magic we are aiming for!
How do I freeze the dough for quick cheese bites later?
This is the best part of making a big batch! Once you’ve mixed the dough and rolled your balls, before you bake them, just lay them out on a parchment-lined baking sheet with a little space between them, like you’re prepping them for baking. Put that whole tray into the freezer until the dough balls are completely solid—we’re talking rock hard. Once they are frozen, you can toss them into a Ziploc bag and keep them ready to go. You just bake them straight from the freezer!
It’s so great because when you suddenly need **quick cheese bites** for an unexpected guest, you just pull out what you need, add maybe 5 to 8 more minutes to the baking time, and boom—freshly baked snacks! You’ll want to check out these almond flour pancakes fluffy easy recipe ideas too if you’re looking for more naturally gluten-free options in your mornings!
Estimated Nutritional Data for This Gluten-Free Cheese Bread
Okay, so these **gluten-free cheese bread** puffs are seriously addictive, so maybe don’t look too closely at the numbers if you plan on eating the whole batch yourself! Since we are using whole milk and oil, there’s a decent amount of fat in there, but hey, that’s what makes them so satisfyingly rich and chewy!
I put together the estimate based on the ingredients we used in the recipe above. Remember, because we’re using fresh mozzarella and Parmesan cheese, the exact numbers can swing a bit depending on the brands you pick up at the store. If you switch out vegetable oil for butter, you’ll see variations too, especially in saturated fat!
Here is the breakdown based on one serving (about one roll):
- Calories: 120
- Fat: 7g
- Saturated Fat: 4g
- Trans Fat: 0g
- Cholesterol: 30mg
- Sodium: 150mg
- Carbohydrates: 12g
- Fiber: 0.2g
- Sugar: 0.5g
- Protein: 5g
These are fantastic because they pack a good punch of protein for a little snack, which is way better than those empty-calorie crackers! If you are trying to keep track, I find that keeping up with the macros for my baked goods is just as important as enjoying them—check out my notes on banana protein muffins one bowl recipe if you want something sweeter that’s also programmed for protein!
The main takeaway is that these **cheesy baked snacks** are high in fat but surprisingly low in sugar for a bread product. It’s all that good cheese fat doing the heavy lifting in the flavor department, which is exactly why they taste so amazing!
PrintAuthentic Gluten-Free Pão de Queijo (Brazilian Cheese Bread)

Make classic Brazilian cheese bread with a crispy exterior and a chewy, elastic interior using tapioca flour.
- Prep Time: 15 min
- Cook Time: 25 min
- Total Time: 40 min
- Yield: About 20 small rolls
- Category: Snack
- Method: Baking
- Cuisine: Brazilian
- Diet: Gluten Free
Ingredients
- 1 cup whole milk
- 1/2 cup vegetable oil
- 1 teaspoon salt
- 2 cups tapioca flour (sour or sweet)
- 2 large eggs
- 1 cup shredded Parmesan cheese
- 1 cup shredded mozzarella cheese
Instructions
- Preheat your oven to 375°F (190°C). Lightly grease a baking sheet or line it with parchment paper.
- In a small saucepan, combine the milk, oil, and salt. Bring the mixture to a boil over medium heat.
- In a large bowl, place the tapioca flour. Pour the hot milk mixture over the flour and stir quickly with a wooden spoon until well combined and a thick paste forms. Let this mixture cool for about 10 minutes.
- Add the eggs one at a time, mixing well after each addition until incorporated. The dough will look sticky.
- Stir in the Parmesan and mozzarella cheeses until evenly distributed throughout the dough.
- Using lightly oiled hands, scoop out tablespoon-sized portions of dough and roll them into small balls (about 1.5 inches in diameter). Place the balls about 1 inch apart on the prepared baking sheet.
- Bake for 20 to 25 minutes, or until the cheese bread puffs up and the exterior is lightly golden brown and firm to the touch.
- Serve warm for the best texture.
Notes
- Use sour tapioca starch for a slightly tangier flavor, or sweet tapioca starch for a milder taste.
- For extra cheesiness, increase the amount of mozzarella slightly.
- If the dough is too sticky to roll, chill it for 15 minutes before shaping.
Nutrition
- Serving Size: 1 roll
- Calories: 120
- Sugar: 0.5
- Sodium: 150
- Fat: 7
- Saturated Fat: 4
- Unsaturated Fat: 3
- Trans Fat: 0
- Carbohydrates: 12
- Fiber: 0.2
- Protein: 5
- Cholesterol: 30