

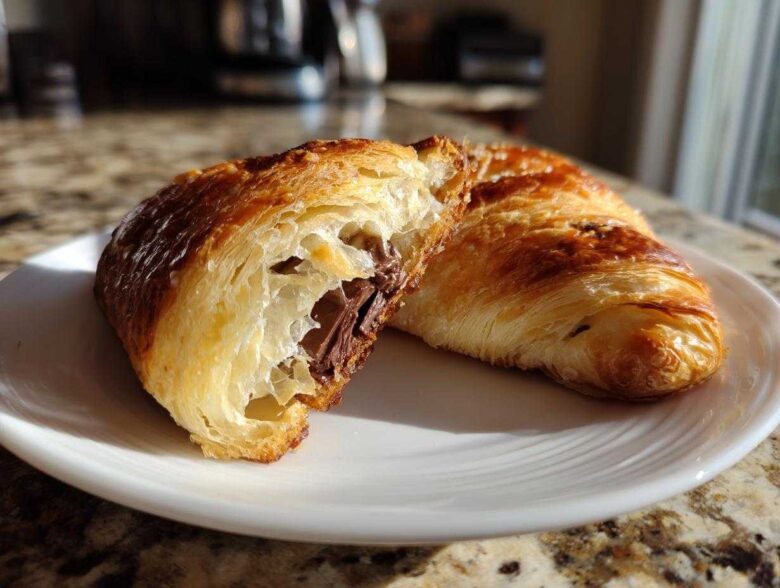
Oh my goodness, if you’ve ever stood in line at a fancy bakery just to get that perfect, shatteringly flaky **chocolate croissant**, I need you to stop right now and listen up! I adore French pastries, I really do, but tackling real lamination? Forget about it! It takes days, dedication, and I’m far too chaotic for that level of precision most mornings. That’s why I’m obsessed with sharing my absolute favorite secret: achieving bakery-quality, buttery goodness using simple store-bought puff pastry. Seriously, this **quick croissant hack** transforms a humble frozen block into the most decadent breakfast treat you can imagine. Get ready because these homemade **pain au chocolat** are about to become your new obsession for any indulgent breakfast or brunch.
If you’re looking for more easy and wonderful morning eats, check out some of my best breakfast inspiration!
Why This Easy Chocolate Croissant Recipe Works (The Quick Croissant Hack)
This is the recipe for everyone who loves the dream of French baking but hates the reality of hours spent folding butter! Honestly, making these **easy chocolate croissants** is all about accepting reality and embracing the best **shortcut baking recipes** out there. Why complicate things? Store-bought, all-butter puff pastry is already perfectly laminated—it’s just waiting for you to unlock its potential.
I used to think you couldn’t get that true, buttery snap without months of practice, but this **quick croissant hack** proves that thinking wrong. Because the pastry is already layered with hundreds of thin sheets of butter, we skip 90% of the work!
Achieving Flaky Chocolate Pastries Without Lamination
The goal here is pure, **flaky chocolate pastries**, right? When you use good quality puff pastry, you get that amazing rise in the oven. You want the steam from the butter layers expanding rapidly—that’s what causes the lift and the crispiness. Traditional methods take specialized freezing and resting times, but this recipe gets you that gorgeous texture in under half an hour of actual baking time. It’s genius, honestly. If you want more recipes that save you massive amounts of time, come check out my collection of shortcut baking recipes!
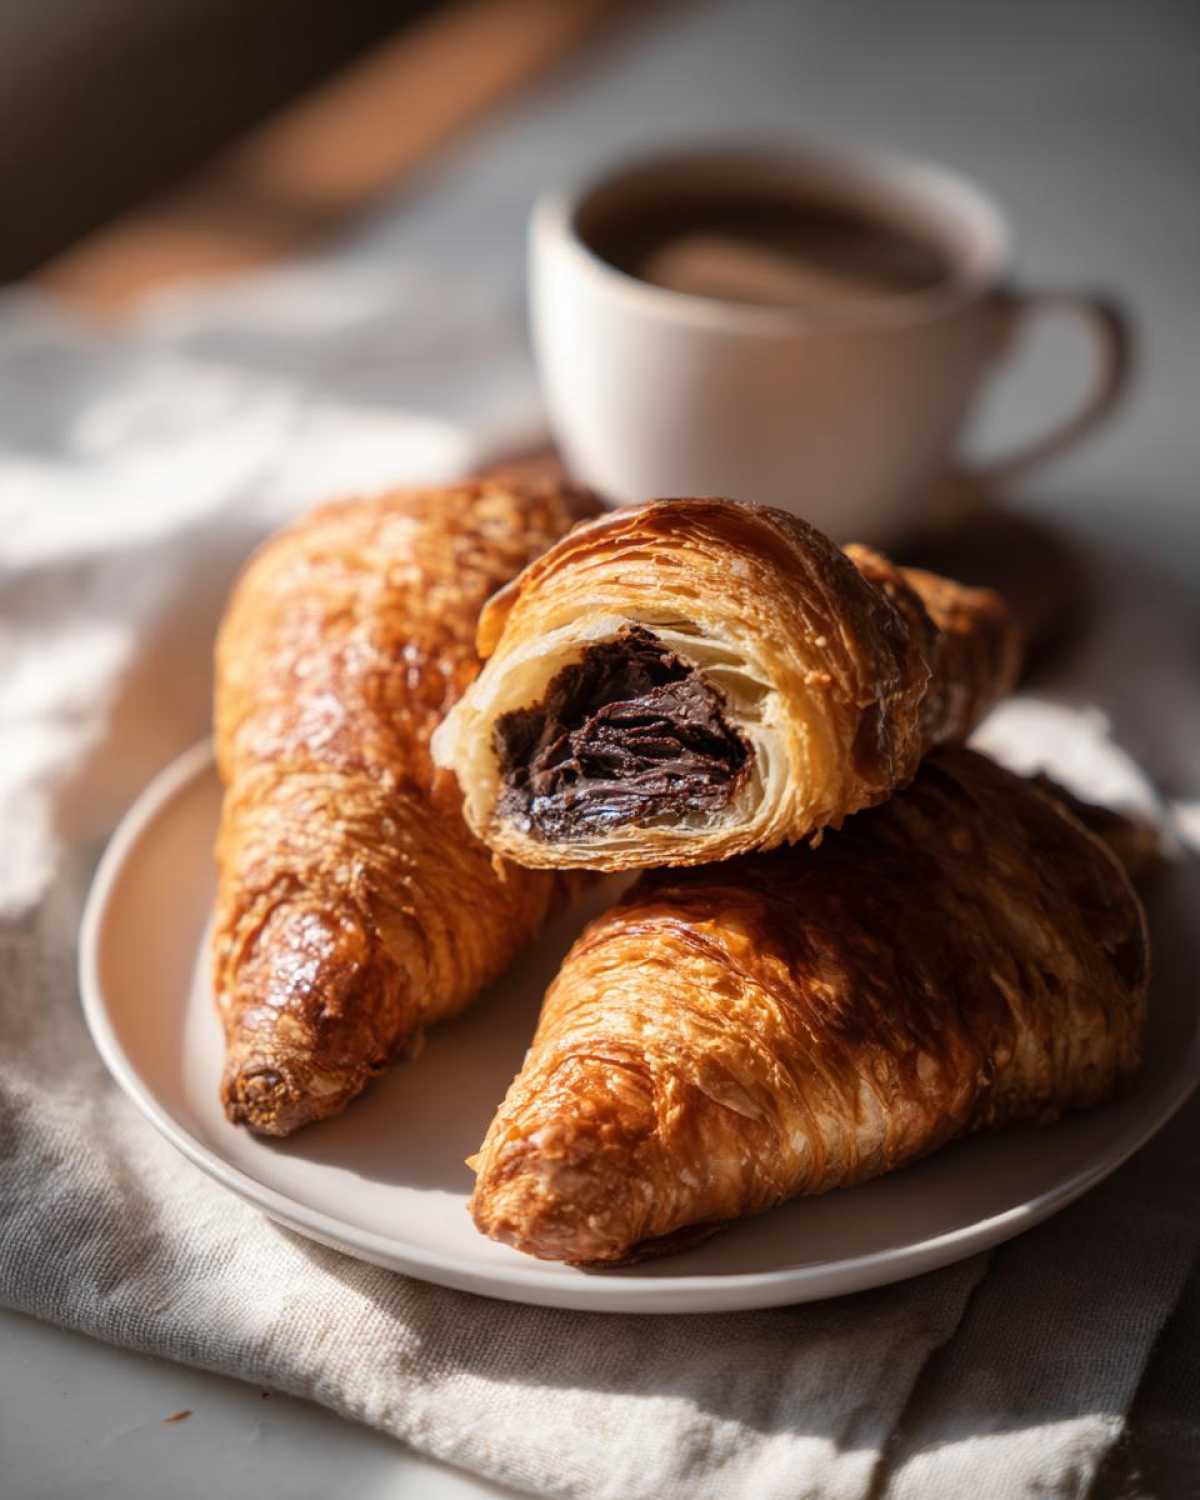
Ingredients for Your Puff Pastry Chocolate Croissants
Okay, this shopping list is almost hilariously short, which is exactly what I love about this recipe. We are relying on one main component to do the heavy lifting, which is fantastic for keeping things simple. Remember, if you are reaching for the store-bought pastry, make sure it says it’s “all-butter”—that makes a real difference in the flavor profile of your **chocolate filled croissants**.
- One package (about 14.1 ounces) of all-butter puff pastry. You must thaw this according to the package directions, please! Don’t try to rush the thaw in the microwave, or you’ll end up with a hot, gummy mess.
- Four ounces of high-quality chocolate. I prefer good bittersweet or semi-sweet bars. You need to cut these into sticks about half an inch thick. You’ll need about 12 sticks total.
- One large egg for the egg wash.
- Just one tablespoon of water to thin out that wash.
- A tiny sprinkle of granulated sugar if you like a little crunch on top—this is totally optional, I usually skip it!
Ingredient Notes and Chocolate Selection
Let’s talk chocolate for a minute because this is where we elevate these **puff pastry chocolate croissants** from good to incredible. I always stress using actual chocolate bars, not chocolate chips.
Why? Chocolate chips have stabilizers added so they hold their shape when baked. We don’t want shape; we want a gooey, luxurious melt when you bite into that buttery pastry! Cutting a good quality bar into batons—those thick little sticks—also helps them melt evenly across the dough strip before you roll it up.
My little secret? If I’m feeling fancy, I’ll use a mix—one stick of bittersweet and one stick of milk chocolate. Sounds complicated, but trust me, the flavor payoff for these **buttery chocolate croissants** is worth the two extra seconds it takes to grab two types of chocolate!
How to Prepare Easy Chocolate Croissants Step-by-Step
Alright, now for the fun part! Watching the magic happen is surprisingly fast once you have your ingredients ready. This entire hands-on process, not counting the baking time, takes maybe fifteen minutes. You need to move quickly once the puff pastry comes out, or it starts to get sticky, but don’t panic if you feel rushed—I’ll walk you through it!
First things first, crank that oven up! We need serious heat to get that instant puff. Preheat your oven right now to 400°F (200°C). While it’s heating, line two big baking sheets with parchment paper. This step is non-negotiable, trust me, or you will spend way too much time scrubbing baked-on butter later!
Prep Work and Cutting the Pastry
Gently unroll your thawed puff pastry sheet onto a slightly floured surface. If the edges look ragged after thawing (mine usually do), take a knife and trim them just a hair so you have cleaner lines to work with. Now, take your knife and slice that rectangle straight down the middle lengthwise, so you have two long, equal halves.
Next, we cut those in half again, and then again! You are aiming for 12 nice long strips total. Take your time here; straight cuts make for neater rolls. I usually count them out loud as I go: one, two, three… all the way up to twelve strips ready for their chocolate filling. I link to my favorite easy French pastries guide if you want other quick assembly ideas!
Rolling Your Buttery Chocolate Croissants
Grab one of your chocolate sticks—remember, the thick, luxurious kind that melts beautifully, not the chip kind! Place that chocolate piece right near one short end of a pastry strip. Roll the dough over the chocolate just once. Now, here is the key for that bakery look: place your second chocolate stick right at the edge of the roll you just made, and then keep rolling right until that strip is finished.
When you get to the end, make sure the final seam—the edge where the dough overlaps—is firmly pressed down and facing the baking sheet. This keeps everything tucked inside while they puff up! Repeat this process until you have 12 beautiful, plump little rolls ready for the oven. Seam-side down is the rule for neat **buttery chocolate croissants**!
Baking and Achieving Golden Perfection
Time for the egg wash—this is what gives you that gorgeous, deep golden color. Whisk that single egg with one tablespoon of water until it’s totally smooth. Use a pastry brush to lightly coat the tops and sides of every single croissant. If you like a little sparkle, this is when you dust them lightly with that optional granulated sugar.
Pop them into that hot 400°F oven. They don’t take long—15 to 18 minutes should do it. You’re looking for them to be dramatically puffed up and deeply golden brown all over. As soon as they look ready, pull them out! Let them sit on the sheet for just five minutes to firm up a tiny bit, then gently move them to a wire rack to cool down slightly. You absolutely must try one while they are still warm!
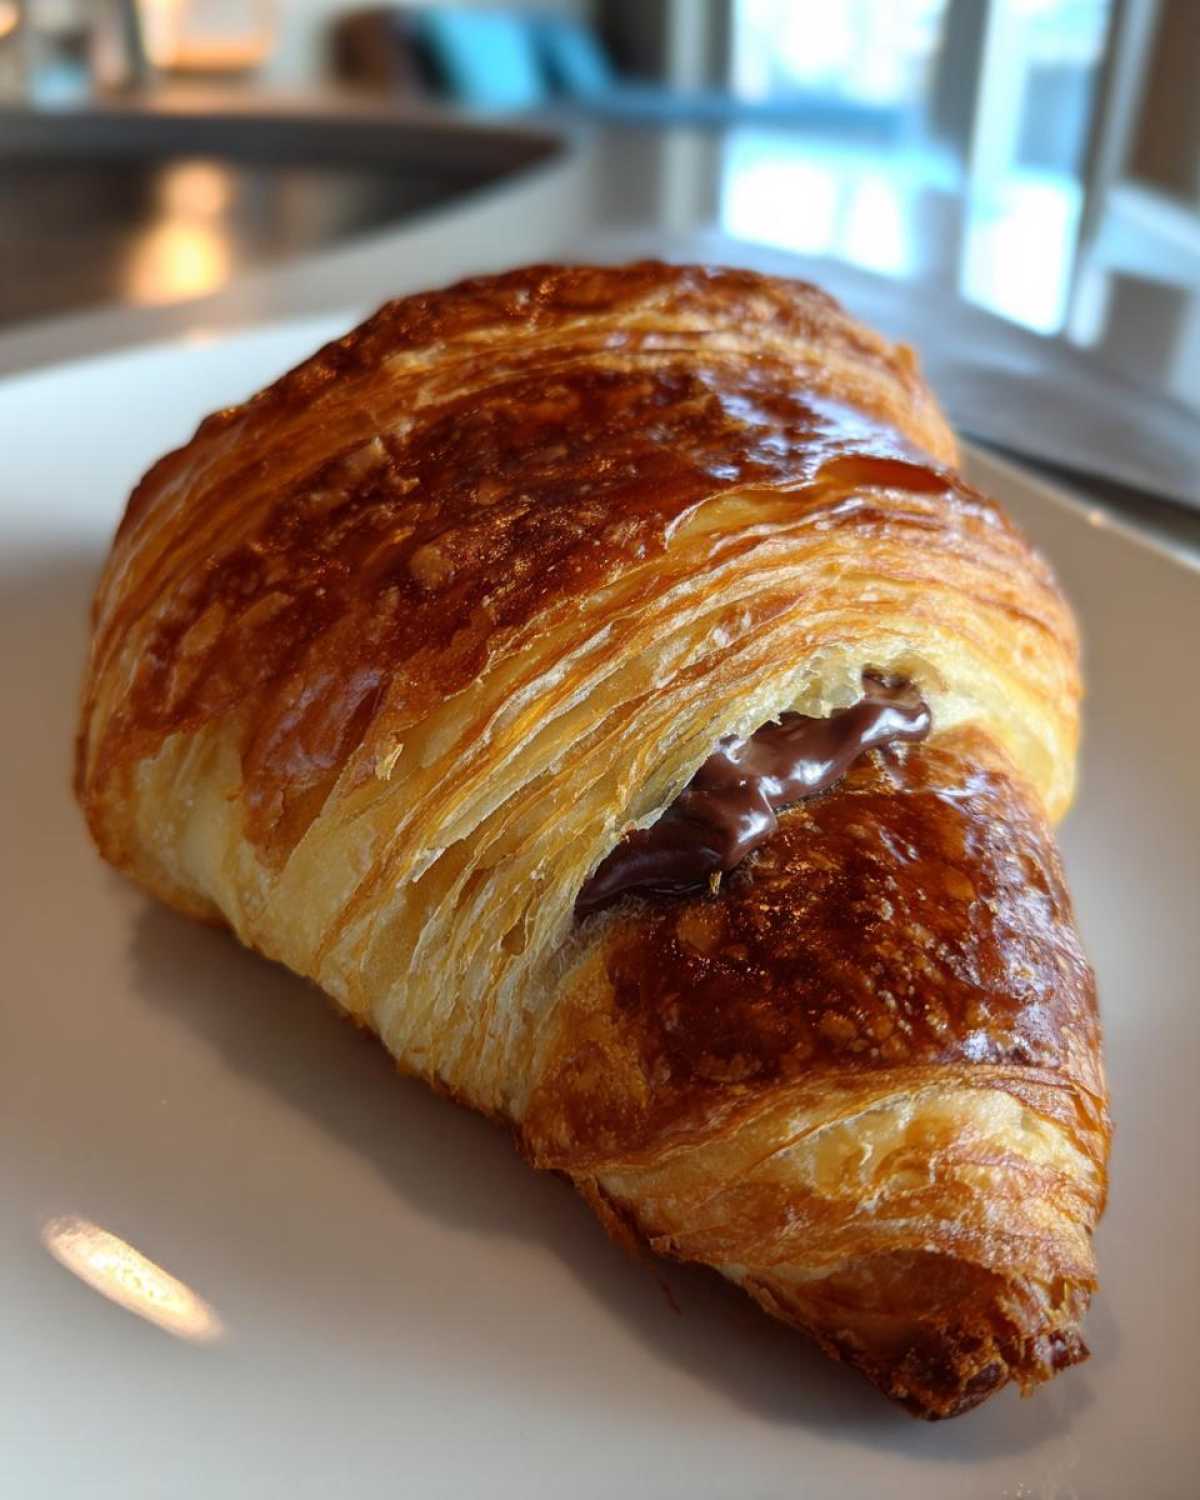
Tips for Perfect Bakery Style Croissants At Home
Even though this is the “hack” version of making **chocolate croissants**, we still want them to look like they came straight from Paris, don’t we? The biggest, most embarrassing mistake I ever made when I first tried this was not pressing down firmly on that final seam. The heat hit, and the whole thing just unrolled itself right there on the baking sheet, leaving a sad, flat ribbon of pastry and a puddle of melted chocolate. Yikes!
Seriously, make sure that seam is tucked neatly underneath before you egg-wash them. That little bit of effort is the difference between a beautiful **bakery style croissant at home** and a buttery disaster!
Also, remember what I said about the chocolate quality? If you use those cheap imitation baking sticks, the flavor just won’t sing. To get what I truly call the **best chocolate croissant recipe** result, use a good quality bar that you’d actually enjoy eating plain. The final result is so impressive, friends will think you spent all day laminating dough when really, you just used the magic of the freezer aisle, ha! If you fancy more advanced baking tips, come look at my guide to the best chocolate croissant recipe techniques!
Variations for Your Chocolate Filled Croissants
One of the best things about this **easy chocolate croissant recipe** is how easily we can tweak it. Since the base pastry is already doing all the hard work, you can personalize the filling without adding any extra steps to the lamination process—because we aren’t doing that, remember?
For a beautiful flavor contrast, try sprinkling just a tiny pinch of flaky sea salt right on top of the egg wash just before they go into the oven. That little salty hit cuts through the richness of the butter and the sweetness of the chocolate perfectly. It really makes them taste gourmet!
If you’re feeling adventurous or you have an audience that prefers something sweeter, swapping out the chocolate entirely is a breeze. Forget the bittersweet sticks and try these alternatives:
- Nutella Dreams: Instead of one chocolate stick, use a small teaspoon of Nutella or any hazelnut spread. You have to be a little quicker rolling this up because Nutella is softer, but oh my gosh, the payoff is incredible.
- White Chocolate Raspberry: Try pairing white chocolate sticks with a tiny, thin slice of dried or fresh raspberry tucked in next to the chocolate. The pink and white look amazing once baked!
- Almond Delight: Before rolling, spread a whisper of almond paste across the raw pastry strips before you place the chocolate on. This gives you a flavor profile very similar to an almond croissant, but in that delicious **chocolate filled croissants** shape.
Honestly, any way you try it, these **puff pastry chocolate croissants** are going to be miles better than anything you grab pre-made on the way out the door. They are meant to be fun and adaptable!
Serving Suggestions for Your Chocolate Croissant
Now that you’ve made these gorgeous, flaky **chocolate croissants**, what do you serve them with? The real magic of a **buttery chocolate croissant** is that it really doesn’t need much dressing up at all. They are the star of the show, truly. I always prefer to keep the presentation simple because the pastry itself is so visually stunning after that golden bake.
If you’re serving these for a casual weekend breakfast, a simple dusting of powdered sugar right before they hit the plate is classic. It looks so elegant and definitely elevates the look for your **brunch chocolate treats**.
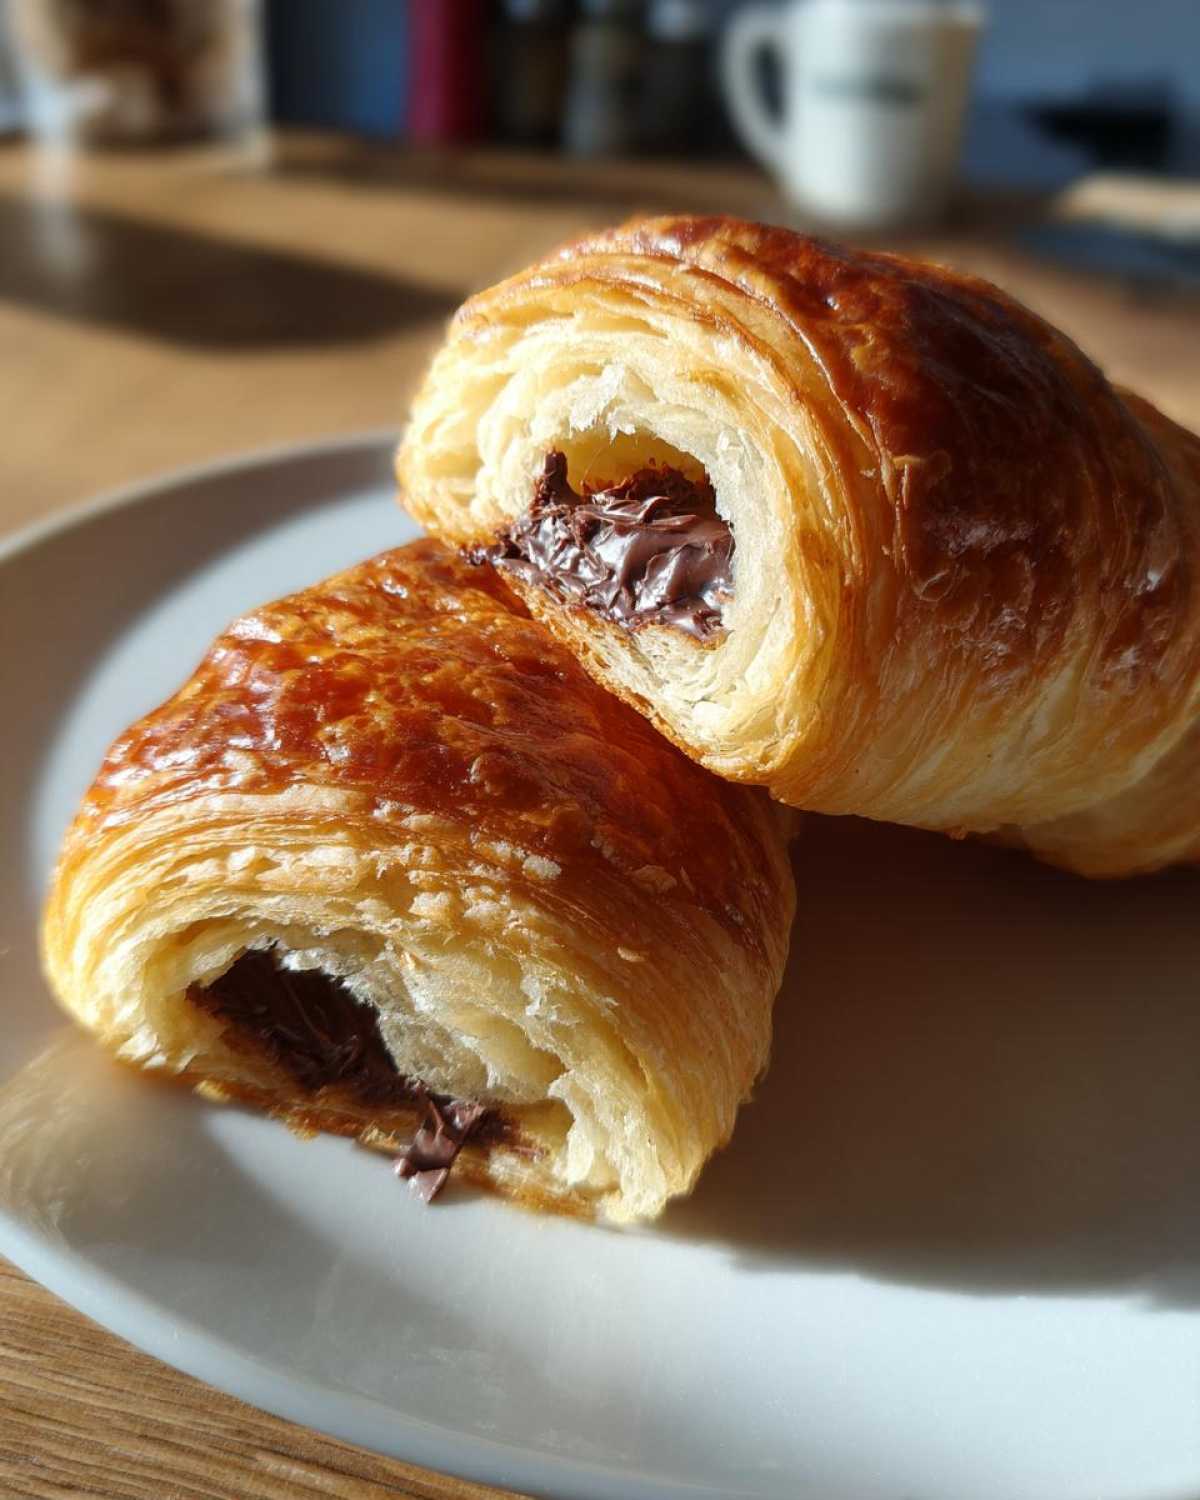
But here are a few of my go-to pairings for when I serve these up:
- The Perfect Coffee Companion: Obviously, nothing beats a hot cup of coffee. But if you want to lean into the chocolate theme, try making a rich, homemade cocoa! I have a fantastic recipe for homemade cocoa powder that makes the whole house smell divine right alongside your freshly baked pastries.
- Freshness Counterbalance: Because these are rich, **breakfast pastry ideas** that include something bright are always welcome. A small bowl of fresh raspberries or sliced strawberries on the side really cuts through that buttery richness beautifully.
- A Little Crunch: If you skipped adding sugar on top before baking, you can finish them with a tiny drizzle of maple syrup instead of powdered sugar. It gives them a sticky quality that is just irresistible when they’re slightly warm.
Honestly, the best way to serve them is warm, maybe slightly torn open so you can see that melted, gooey chocolate center peeking out. Enjoy every buttery bite!
Storage and Reheating Instructions for Leftover Chocolate Croissants
It is rare that we have any leftovers of these **easy chocolate croissants**, I’m not going to lie! They disappear alarmingly fast around here. But if you manage to save one or two for later, we absolutely need to talk about reheating them properly. You don’t want to ruin that beautiful flaky texture, right?
If you just leave them sitting out on the counter, they will start to get a little soft and chewy within about 24 hours. They are best eaten the day they are baked, but if you must store them, keep them in an airtight container at room temperature. They should last okay for about two days this way, maybe three if your kitchen is super dry.
Here is where we get serious about reheating. The absolute, number one *worst* way you can reheat one of these is in the microwave. I know, I know, it’s fast! But the microwave turns flaky pastry instantly into something heavy and rubbery. We want that shatter when you bite into it, not chewiness!
Instead, grab a toaster oven or your regular oven.
- Preheat your oven to about 300°F (150°C). This is low and slow, which is what we need to gently crisp the layers back up without burning the outside.
- Pop the **chocolate croissant** onto a small piece of foil or directly on the rack if your oven is reliable.
- Heat for about 5 to 7 minutes. Keep an eye on them! You just want them warm through—the residual chocolate inside will probably melt just a tiny bit during this time, which is perfect.

If you are saving them for longer, say a week or two, freezing is your best bet! Wrap them tightly in plastic wrap first, then slide them into a freezer bag. When you’re ready to enjoy one, just pull it out the morning before. Let it thaw completely on the counter, then hit it with that low oven heat. Trust me, they taste almost freshly baked this way. That’s the secret to keeping my **homemade pain au chocolat** stash going all week!
Frequently Asked Questions About Easy Chocolate Croissants
Look, I get it. When you use a shortcut, questions always pop up! Since we relied on store-bought pastry for these **easy chocolate croissants**, there are a few things folks always ask me to clarify. I want to make sure you have total confidence before you start rolling!
Can I use homemade puff pastry instead of store-bought for this chocolate croissant recipe?
Oh, you fancy baker! You absolutely *can*, but honestly, that defeats the whole point of why I even developed this version. If your goal is to make **easy chocolate croissants**, then the store-bought package is your best friend. If you decide to go the homemade route—kudos to you!—just be absolutely meticulous that your layers of butter are ice cold before you even think about rolling them out to cut them into strips. If the butter melts even a little bit, you lose the separation, and then you’re just making chocolate bread rolls, not **chocolate croissant recipes**!
What is the best way to prevent the chocolate from leaking out of my puff pastry chocolate croissants?
This is the number one heartbreak for a **puff pastry chocolate croissants** baker! You want that moist, melted center, not chocolate goo leaking onto your baking sheet. My biggest tip, besides using the thick sticks instead of chips, is where you place that final seam.
Make sure when you roll the pastry around the second chocolate stick, you press that last overlapping edge down *firmly* onto the dough underneath. It needs to seal! If you just lightly place it, the heat will conquer your efforts. Seal it tight, roll seam-side down onto the parchment, and you should have much better luck keeping that gorgeous chocolate exactly where it belongs inside your **buttery chocolate croissants**.
Can I make these easy chocolate croissants ahead of time?
Yes, you totally can! This is fantastic for **brunch chocolate treats** because you can prep them the night before. Assemble the **chocolate filled croissants** exactly as described in the rolling step, but stop right before the egg wash. Place them on your parchment-lined baking sheet, cover them *loosely* with plastic wrap (you don’t want the plastic sticking to the dough!), and pop the whole tray into the fridge overnight. They need to bake cold!
When you wake up, just pull them out, brush them with the egg wash, and bake them—you might need to add 3 to 5 extra minutes to the baking time since they start cold, but it works beautifully. If you want to freeze them raw, wrap them individually and freeze them flat before grouping them on a tray for later. Check out my guide on no-fuss croissants for more make-ahead baking ideas!
Estimated Nutritional Data for One Chocolate Croissant
Now, I know a lot of us who resort to a fantastic **shortcut baking recipe** like this are probably not looking at the nutrition label too closely—these are treats, after all! But just so you have a general idea for planning out your **indulgent breakfast ideas**, I’ve put together an estimate based on the ingredients we’re using, mostly coming from that gorgeous, buttery puff pastry and the chocolate.
Keep in mind, this is just a rough guess! The numbers will definitely shift based on the brand of puff pastry you use (some are much higher in fat than others!) and whether you pick dark chocolate or milk chocolate. But for a single, beautiful **baked chocolate croissant**, here’s what we are generally looking at:
- Calories: Approximately 250 per croissant
- Total Fat: Around 15 grams
- Carbohydrates: About 25 grams
- Protein: Roughly 4 grams
It’s important to remember this is a lovely, flaky, **weekend baking project** treat, not an everyday staple! Enjoy them warm with your coffee, and don’t stress too much about the details. If you want to lighten it up slightly, just make sure you use lower-sugar chocolate, but honestly, half the joy of these **easy french pastries** is the buttery goodness!
PrintEasy Puff Pastry Chocolate Croissants

Make flaky, buttery chocolate croissants quickly using store-bought puff pastry for a bakery-style treat at home.
- Prep Time: 15 min
- Cook Time: 18 min
- Total Time: 33 min
- Yield: 12 servings
- Category: Breakfast
- Method: Baking
- Cuisine: French
- Diet: Vegetarian
Ingredients
- 1 package (14.1 ounces) all-butter puff pastry, thawed according to package directions
- 4 ounces bittersweet or semi-sweet chocolate, cut into 1/2-inch thick sticks (about 12 sticks)
- 1 large egg
- 1 tablespoon water
- 1 teaspoon granulated sugar (optional, for sprinkling)
Instructions
- Preheat your oven to 400°F (200°C). Line two baking sheets with parchment paper.
- Unroll the thawed puff pastry sheet onto a lightly floured surface. If the pastry is rectangular, trim the edges slightly to make a cleaner shape. Cut the pastry sheet lengthwise into two equal rectangles.
- Cut each rectangle crosswise into 6 equal strips, creating 12 long strips in total.
- Place one chocolate stick near the short end of a pastry strip. Roll the pastry over the chocolate once, then place a second chocolate stick near the new edge and continue rolling until the entire strip is rolled up. The seam should be on the bottom.
- Place the rolled croissant seam-side down on the prepared baking sheets. Repeat with the remaining strips and chocolate. You should have 12 croissants.
- In a small bowl, whisk together the egg and water to create an egg wash. Brush the tops and sides of each croissant lightly with the egg wash. Sprinkle with granulated sugar if desired.
- Bake for 15 to 18 minutes, or until the croissants are puffed, golden brown, and flaky.
- Remove from the oven and let cool on the baking sheet for 5 minutes before transferring to a wire rack to cool slightly. Serve warm.
Notes
- Use high-quality chocolate bars rather than chips for the best melt and flavor.
- If you want a shinier finish, brush the baked croissants with a little melted butter immediately after they come out of the oven.
- For a faster prep, you can cut the chocolate into small batons or use two squares of a chocolate bar for each roll.
Nutrition
- Serving Size: 1 croissant
- Calories: 250
- Sugar: 8
- Sodium: 180
- Fat: 15
- Saturated Fat: 8
- Unsaturated Fat: 7
- Trans Fat: 0
- Carbohydrates: 25
- Fiber: 1
- Protein: 4
- Cholesterol: 45