

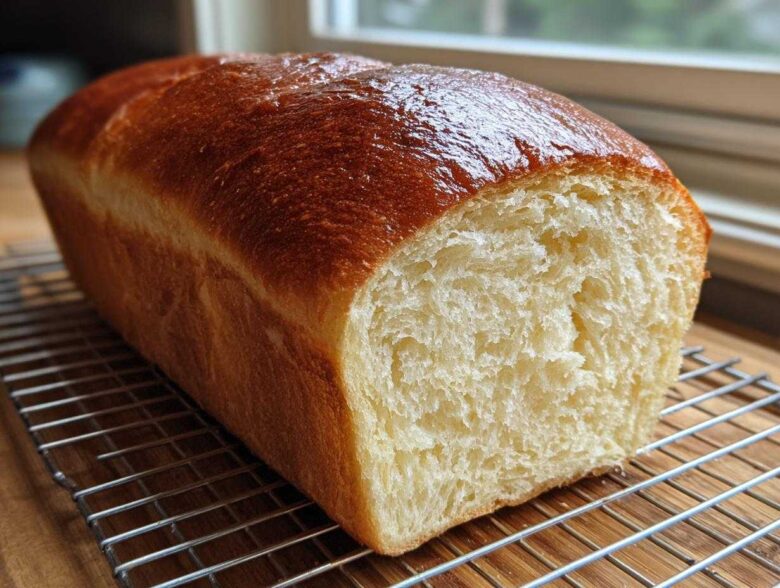
Oh my gosh, you are in for such a treat! If you think you know soft bread after trying regular milk bread, buckle up, because this condensed milk bread changes everything. I’m talking about a tenderness that just melts as you slice it—it practically sighs when you press it. When I first made a loaf using that thick, sweet can of goodness, I was skeptical. Honestly, I thought it would just make a super sweet cake! But watching that dough come together, knowing the secret was that rich, sweetened substance, I knew I had a winner. If you’ve ever struggled to get that bakery-style softness, this recipe is what you need. You should definitely check out my tips on making soft whole wheat bread too, but nothing beats this one for pure pillow-like texture.
Why This Sweetened Condensed Milk Bread Recipe Works
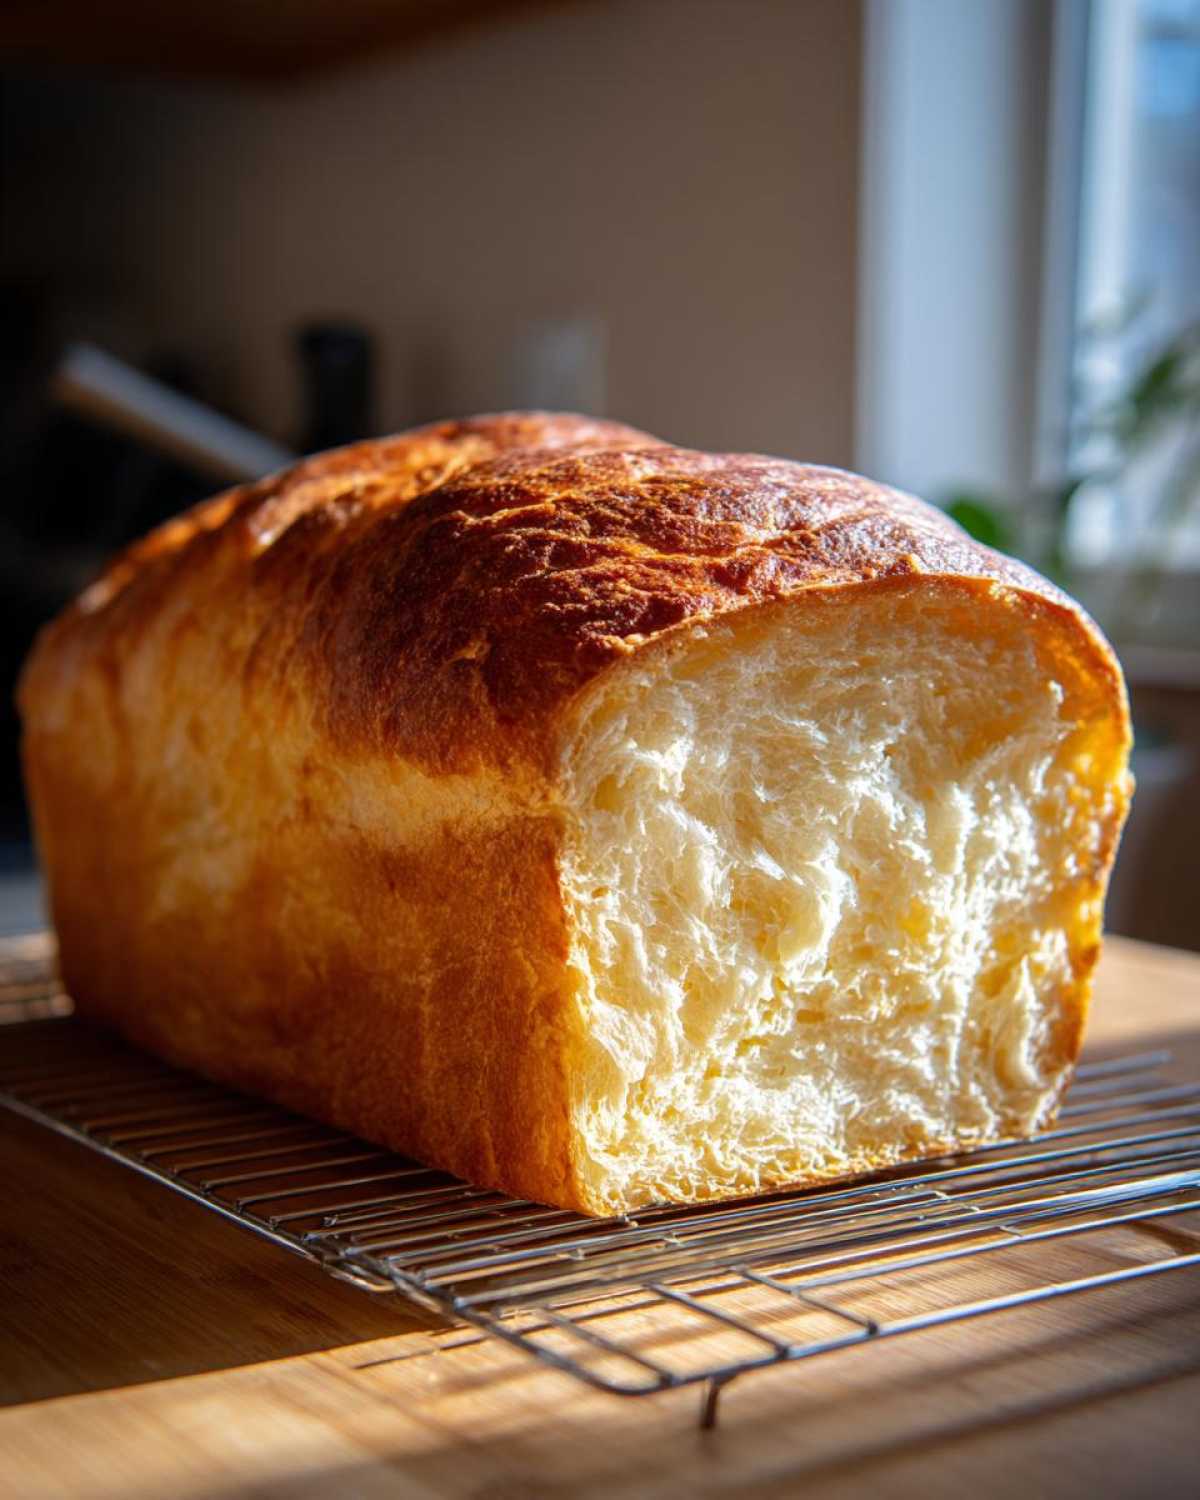
This recipe isn’t just throwing something sweet into the mix; it’s pure baking science, honestly! Sweetened condensed milk is basically milk with almost all the water cooked out and a whole heap of sugar added. That high concentration of sugar and fat acts like a super-softener in the yeast dough. It coats the flour particles, which prevents too much gluten development. That’s the secret to getting that unbelievably tender baked goods texture you dream about.
Because of this, we end up with a wonderfully rich and fluffy enriched dough that bakes up lighter than you’d expect for such a substantial loaf. Trust me, once you try this, you’ll understand why this is better than a standard sweet loaf. You can explore other moistening tricks in my post about getting the fluffiest blueberry muffins, but the effect here in bread is even more dramatic!
Achieving the Fluffiest Homemade Bread Texture
When we use condensed milk, we are building in moisture and richness from the very start, which is why this turns into such fluffy homemade bread. Standard milk bread relies only on milk and maybe a bit of butter, but this extra fat and sugar really locks in softness. It keeps the crumb delicate even after it cools completely. That’s how we win the battle against dry bread!
Essential Ingredients for Perfect Condensed Milk Bread
Okay, let’s talk about what goes into the bowl, because using the right stuff here is non-negotiable if you want that top-tier, melt-in-your-mouth texture. Getting these ingredients prepared correctly lays the groundwork for success! We aren’t just dumping things in; we need precision here so your final loaf is gorgeous.
You absolutely must have everything ready to go before you even wake up the yeast. The milk needs to be warm—think bathwater temperature, right around 105 to 115 degrees Fahrenheit. If it’s too cold, the yeast sleeps forever! Too hot, and, well, you kill your little yeast buddies. Also, make sure that egg is sitting out on the counter waiting patiently; a cold egg shocks the dough structure later on. I keep mine out with the butter, which needs to be truly softened, not soup! Here is the full rundown of what you need for that perfect loaf of condensed milk bread:
- One cup of whole milk, warmed up just right (105–115°F!).
- A quarter cup of that miracle ingredient: sweetened condensed milk!
- Two and a quarter teaspoons of active dry yeast—go on, let it foam up!
- Around three and a half cups of all-purpose flour, plus extra for dusting later.
- A quarter cup of plain granulated sugar.
- One teaspoon of salt to make the flavor sing.
- One nice large egg, and remember, room temperature!
- Four tablespoons of unsalted butter, softened to mushiness.
Ingredient Notes and Substitutions for Your Condensed Milk Bread
A quick word on your egg: using a room temperature egg helps it incorporate smoothly into the dough without cooling down the mixture, which keeps the rising process happy. If you tried to swap out the all-purpose flour for a bread flour, it would still work, but you might lose just a tiny bit of that signature delicate softness we’re after. Bread flour has more protein, which equals more chew, and we want tender here!
And listen, if you get halfway through making this and decide you’d rather have little buns for dinner instead of a loaf, don’t panic! This exact recipe is amazing when shaped into smaller balls to make condensed milk rolls—you just reduce the second proofing time significantly. See? It’s flexible, just like soft dough should be. You can find links on how to get the most out of those moist, fluffy blueberry muffins here, but the principles of enrichment apply to this bread too!
Step-by-Step Instructions for Soft Sweet Bread Recipe
Now we get to the fun part: turning those beautiful ingredients into magic dough! This is where patience pays off, especially with the kneading and the rising. Skipping steps here is how you end up with something closer to a hockey puck than a pillow, so follow along closely. We are aiming for that ultimate soft sweet bread recipe result, and that requires respecting the time the yeast needs to work its wonders.
Activating Yeast and Mixing the Fluffy Enriched Dough
First things first, we need happy yeast! Mix your warmed milk and the sweetened condensed milk together—it’s going to smell amazing already! Sprinkle the yeast right on top, give it a gentle stir, and just let it sit quietly for about 5 to 10 minutes. If you don’t see a foamy cap bubbling up on the surface, your yeast is dead, and you need to start that step over. Don’t worry, it happens to all of us beginner bread bakers! Once it’s foamy, stir in your room-temp egg.
While that’s doing its thing, quickly whisk your flour, sugar, and salt in a separate bowl. Then, slowly start adding the dry stuff—the flour mixture—into your wet yeast mixture. Mix it gently until you get what I call a ‘shaggy dough.’ It looks messy and nowhere near ready, which is exactly what the recipe asks for before we bring in the fat!
Kneading and the First Rise for Your Bread Made with Condensed Milk
Time for the workout! Dump that messy dough chunk out onto your counter, add your softened butter right on top, and start kneading. You have to work this dough for a solid full 8 to 10 minutes. It feels sticky at first—it really does—but keep going! You’re building that structure needed for this wonderful condensed milk bread. You’re done when the dough is gorgeously smooth, elastic, and no longer tries to stick to your hands. This dough will feel incredibly supple, unlike tougher breads.
Once you’ve kneaded it into submission, lightly oil a clean bowl, toss the dough ball in there, turning it to coat the top with a little oil. Cover it with plastic wrap and find the warmest, draft-free spot in your kitchen. Let it hang out until it doubles in size—that’s usually about an hour and a half, but look for the size, not the clock! This slow first rise is key to that easy milk bread texture.
Shaping, Second Proof, and Baking the Condensed Milk Bread
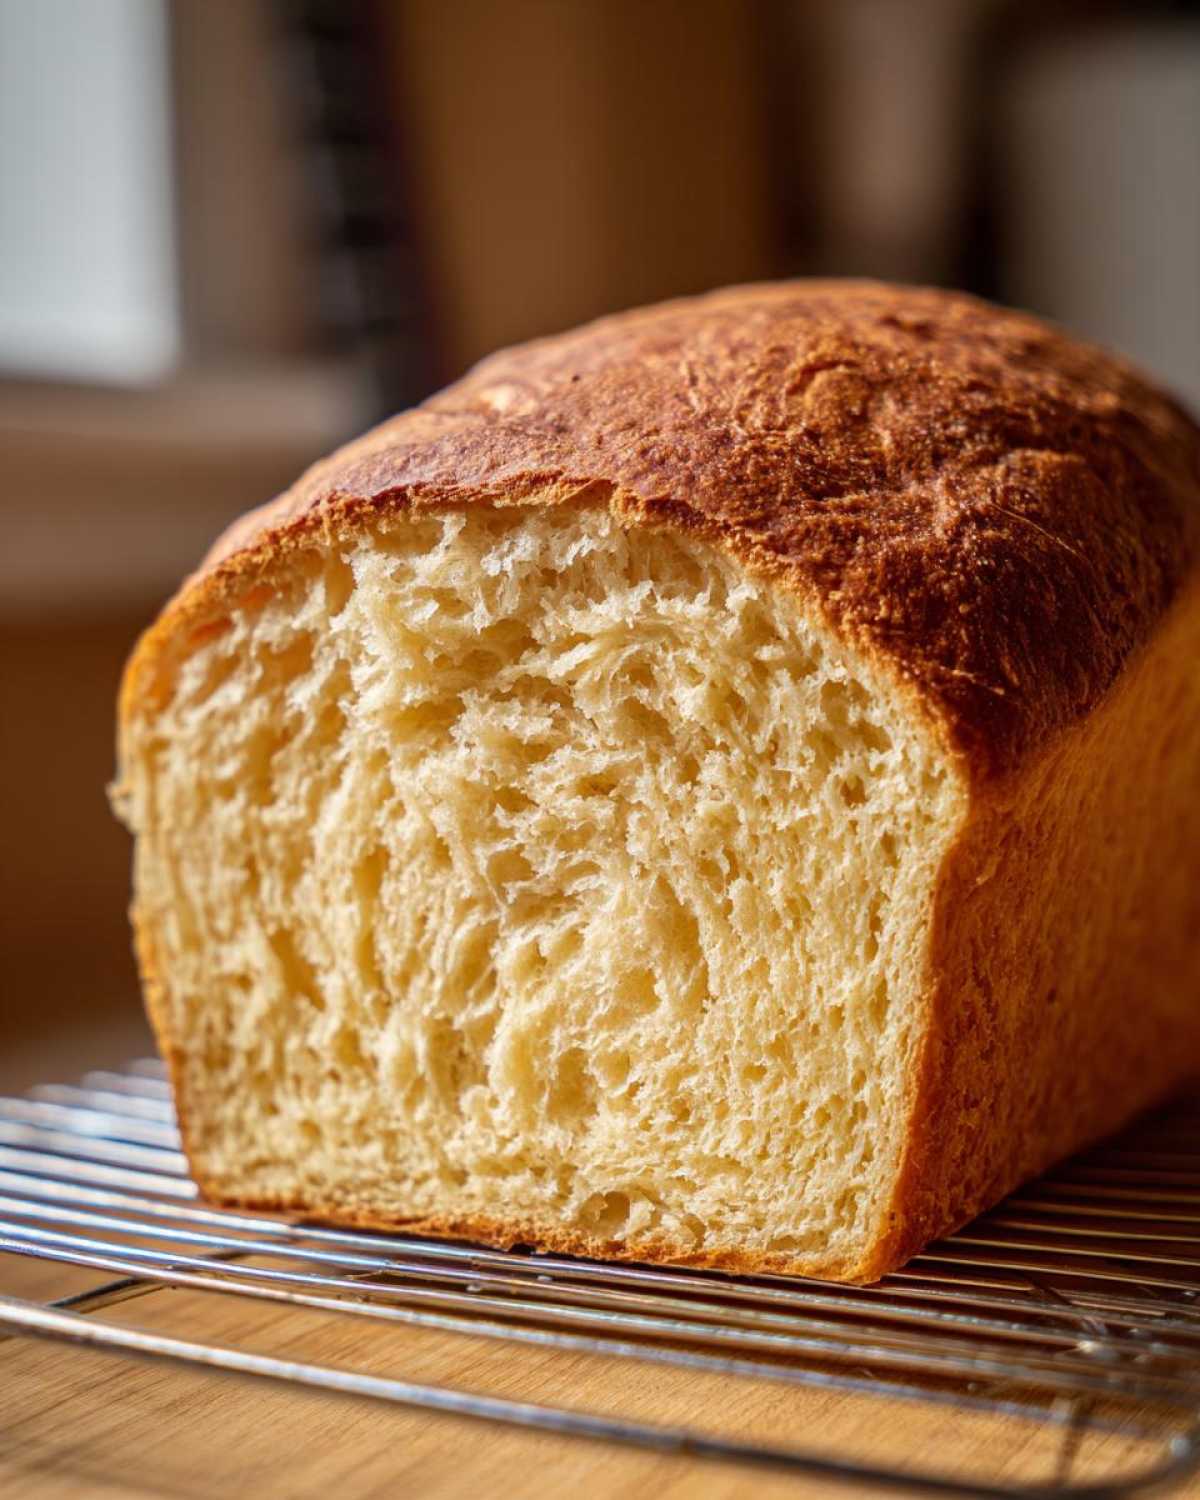
Gently deflate the dough when it’s nicely puffed up. Now, shape it into a smooth log and tuck it carefully into your greased 9×5 inch loaf pan. Tuck the seams underneath so the top looks neat. Cover it loosely again—we don’t want a dry skin to form!
This second rise is what gives you that perfect crown on your loaf. Let it rise again for 45 to 60 minutes. The visual marker you’re looking for? The dough should crest about one full inch over the rim of the pan. Seriously, that’s the tell-tale sign! In the last 15 minutes of that rise, crank your oven up to 350°F (175°C). Bake it for about 30 to 35 minutes until the top is gloriously golden brown, checking the internal temp if you have an instant-read thermometer (aim for 200°F). Don’t forget to check out these tips on fluffy vanilla cupcakes for baking inspiration!
Tips for Success When Making Bakery Style Sweet Bread
Now that you’ve successfully navigated the rising and kneading—pat yourself on the back!—I want to share a couple of little tricks that I lifted straight from years of trial and error to make this condensed milk bread truly taste like something you’d buy fresh from the absolute best bakery counter. These aren’t in the main instructions, but they make a huge difference in presentation and texture.
My number one tip, especially if you want that crust to disappear when you slice it, involves what you do the second the loaf comes out of the oven. Don’t let it just sit there cooling! Immediately—and I mean right away—brush the entire top surface generously with a tablespoon of melted, unsalted butter. Don’t worry about wasting it; this seals in the final bit of moisture and prevents the slightly tighter skin that can form as the bread cools. This trick guarantees that tender, soft crust every single time. You can see how useful these little extra steps are in my guide on making easy milk bread too!
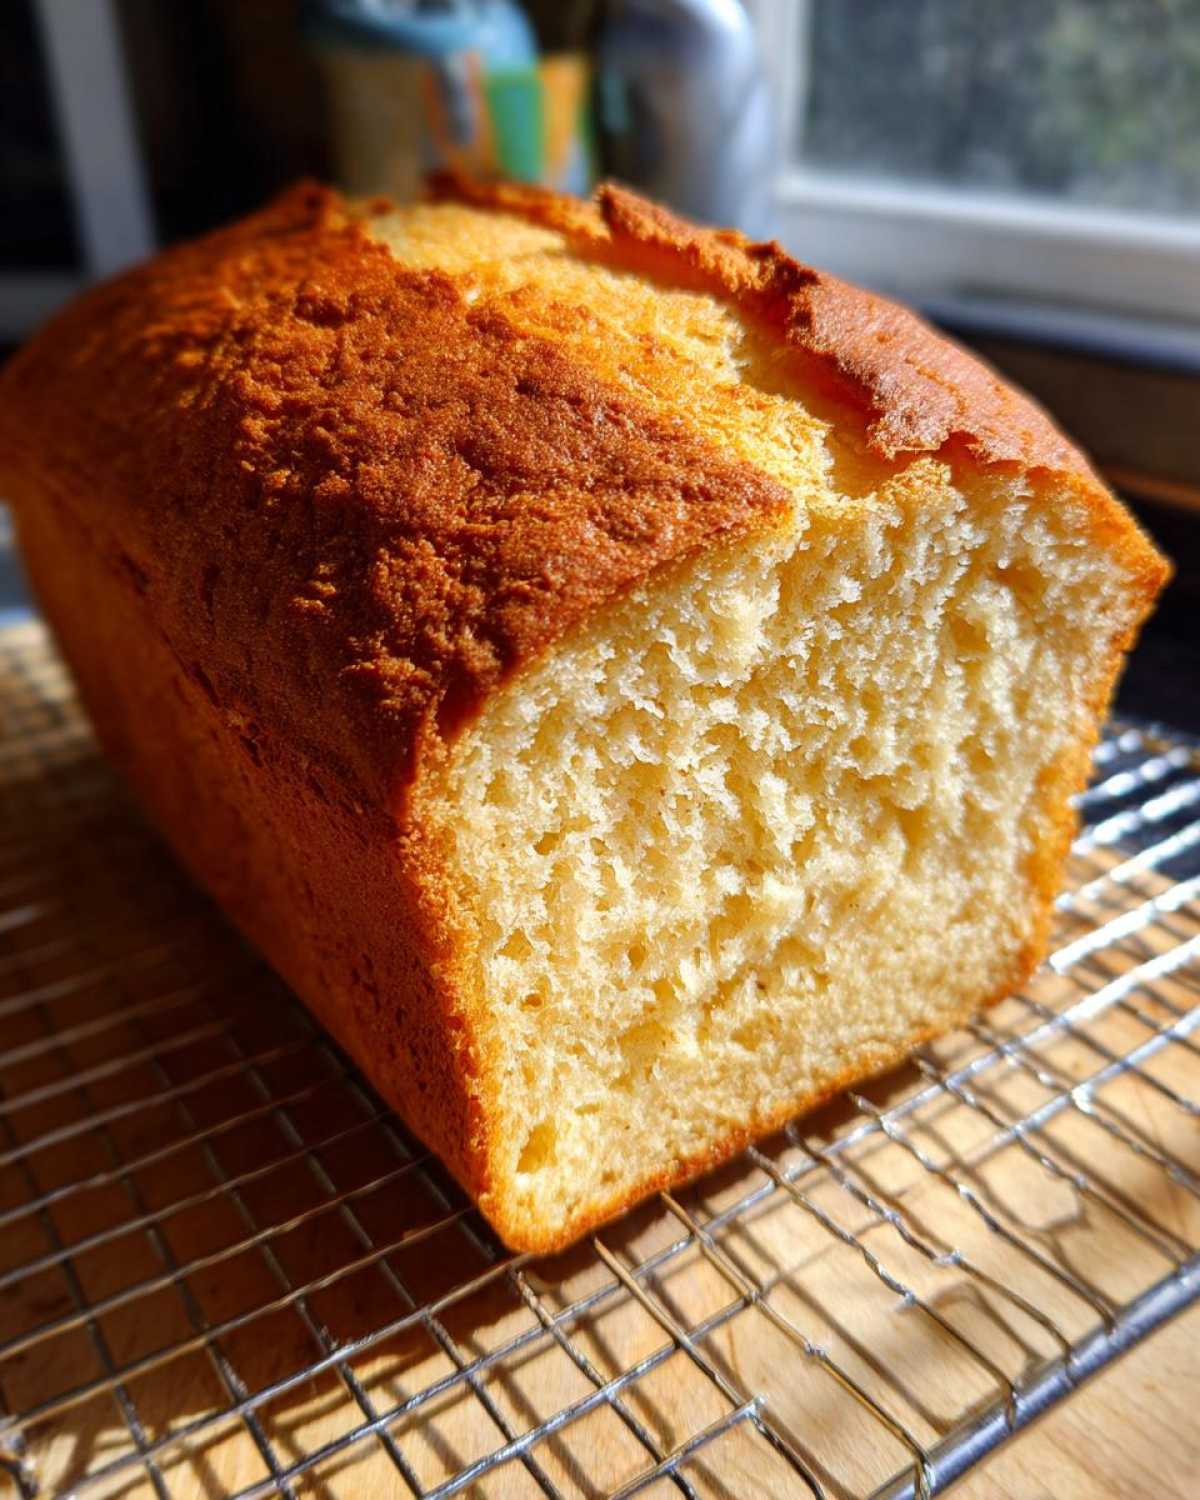
Another small thing: don’t peek! Resist the urge to open the oven door during the first 20 minutes of baking. A sudden drop in temperature can sabotage the final set of the loaf, especially one this enriched. We want slow, steady heat to cook that glorious combination of fat, sugar, and flour all the way through without deflating our beautiful dome. Follow those two rules, and you’re officially mastering bakery style sweet bread at home!
Serving Suggestions for Your Sweet Sandwich Bread
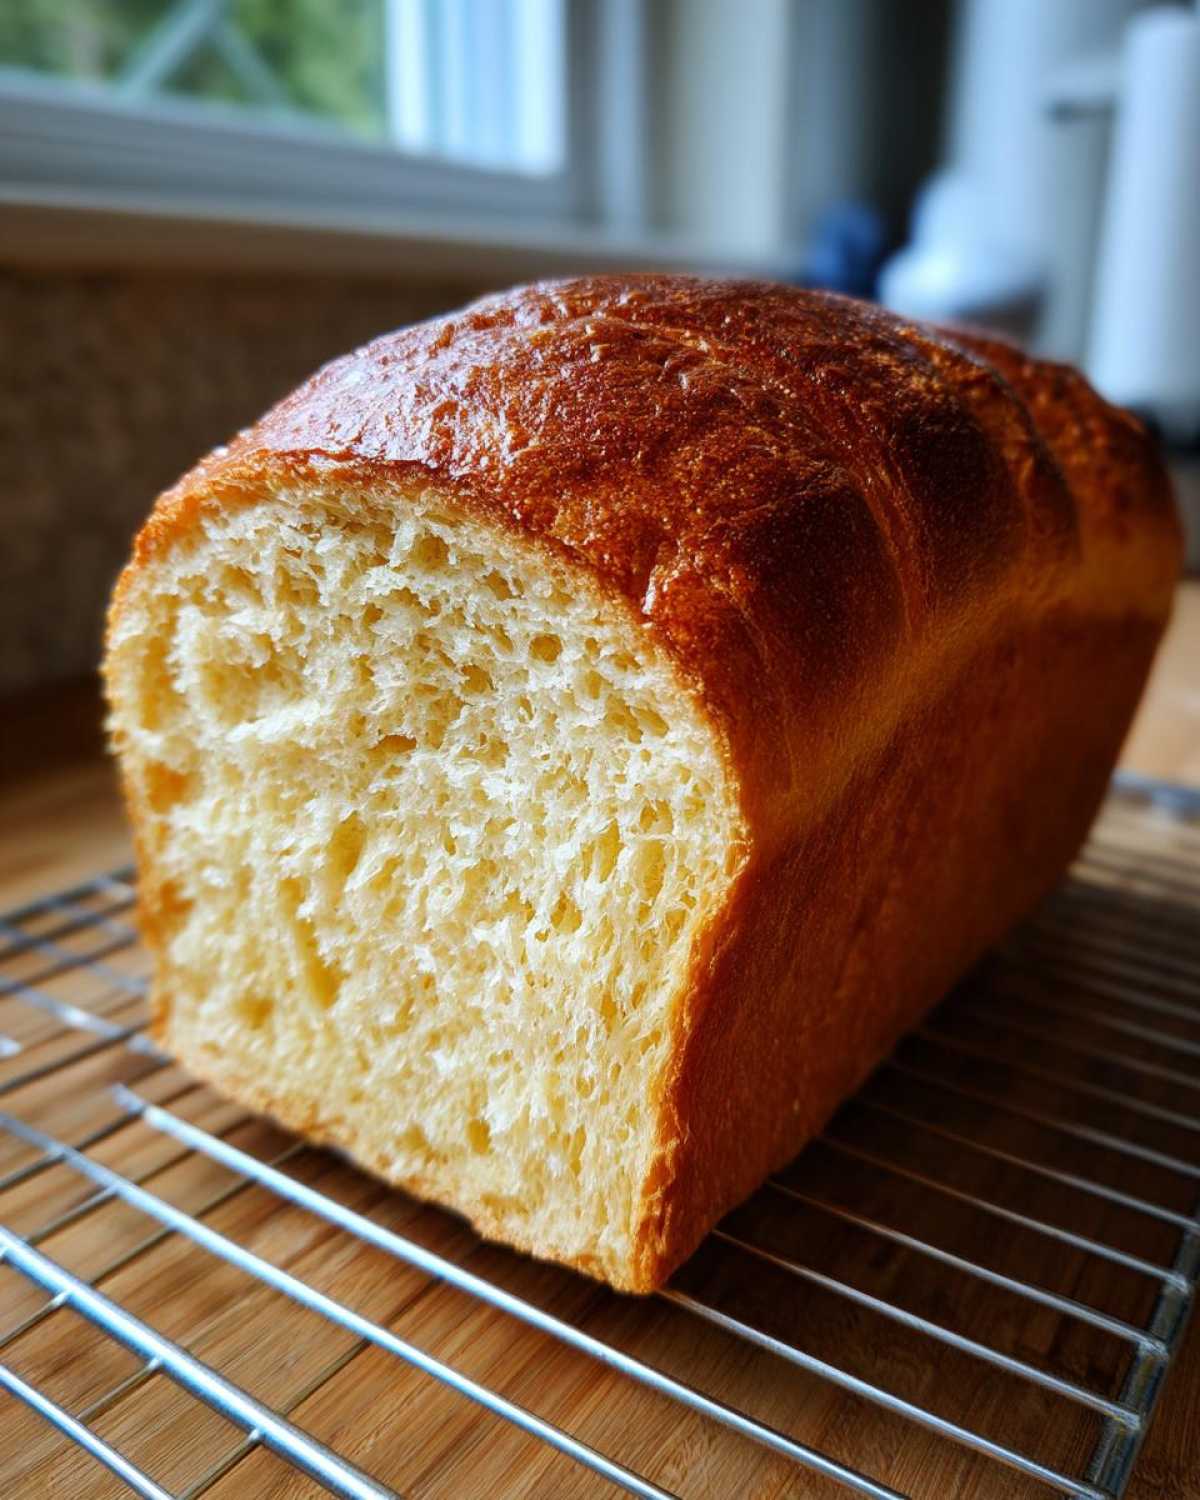
So you’ve got this perfect, slightly sweet loaf cooling on the rack—now what? Honestly, this sweet sandwich bread is so flavorful on its own, you hardly need anything! I love slicing it thick and toasting it just barely in the morning. It makes the most heavenly breakfast vehicle imaginable. Just a thin schmear of good quality salted butter lets that inherent sweetness shine through. It’s truly delicious.
But don’t feel limited to just breakfast! Because the flavor profile isn’t overly sugary, this loaf is phenomenal for snacks or even as a side to a lighter lunch. Think about pairing it with tart fruit preserves—raspberry or cherry jam works wonders because the acidity cuts through the richness of the bread. If you’re serving it savory, try it alongside a creamy chicken salad or even grilled cheese; the slight sweetness elevates everything!
If you’re looking for more breakfast ideas that pair well with this sort of tender bake, you absolutely must peek at my suggestions for breakfast sweet bread variations. But trust me, just a slice of this on its own is pure comfort. It’s one of those versatile bakes that just fits wherever you need a little something special in your day.
Storage and Reheating Instructions for Tender Baked Goods
The absolute worst thing you can do after all that hard work kneading and waiting is let your beautiful loaf go stale too fast! Luckily, because this condensed milk bread is so rich, it naturally stays softer for longer than a lean sandwich loaf. However, nobody likes dry bread, so we have to treat it right once it’s completely cool. Once the bread has cooled all the way down—seriously, don’t wrap it while it’s even a tiny bit warm, or you’ll trap steam and make the bottom soggy—wrap it tightly.
I usually double-wrap mine in plastic wrap, making sure to squeeze out any air pockets before sealing the ends. This keeps humidity out and maintains all that lovely richness the condensed milk gave us. Stored like this on the counter, it should stay wonderfully soft for three, maybe even four days. Any longer than that, and you risk mold, which is never fun!
If you know you won’t get through the whole thing in a few days, I highly recommend slicing it first before freezing it. Lay the slices out on a baking sheet until they are individually frozen stiff, and *then* transfer them to a freezer-safe bag. This way, you can just pull out one or two pieces whenever you need them. You can find some other great advice for keeping tender baked goods fresh in general over here!
Now, for the reawakening! Reheating is essential to bring back that fresh-from-the-oven fluff. If you are just doing one slice, zap it in the microwave for about 10 to 15 seconds—it will get steamy and incredibly soft again. If you are reheating a whole half-loaf, the toaster oven or a regular oven set low (around 250°F) for about five minutes works magic. It warms the butter back up just enough to make the crumb bloom again. Don’t skip this step if your bread has been sitting for a day or two; reheating makes this condensed milk bread taste like the day you baked it!
Frequently Asked Questions About Condensed Milk Bread
I know when you look at a special recipe like this, questions just bubble up! It’s totally normal, especially when you’re trying to get that perfect, soft outcome. I’ve pulled together the questions I get asked the most about this particular loaf so we can clear up any confusion before you preheat your oven. Let’s get you set up for success with your condensed milk bread!
Can I substitute evaporated milk instead of sweetened condensed milk?
Oh, that’s a tricky one, and the answer is generally no, you shouldn’t if you’re expecting the same results. Evaporated milk is unsweetened, meaning it’s just concentrated cow’s milk. It adds moisture, sure, but it lacks the massive sugar and fat content that gives this dough its unique tenderness. If you used evaporated milk, you would need to add significantly more sugar, and you’ll still likely end up with a texture closer to regular milk bread, not this super tender baked goods marvel. Stick to the can of sweetened condensed milk for this one!
How does this compare to Japanese milk bread style?
That’s a great comparison! Japanese milk bread style often uses a *tangzhong* or *yudane* starter, which is a cooked flour-and-water paste that gelatinizes starches, leading to incredible moisture retention. Our condensed milk bread achieves a similar level of fluffiness and softness, but we get that incredible richness primarily from the fats and sugars in the condensed milk itself, rather than the tangzhong technique. So, while the end result is equally soft and luxurious, the method used to get there is quite different!
Is this suitable for beginner bread baking recipes?
Yes, absolutely! Even though it has two rises, this is one of my go-to recommendations for those just starting out. Why? Because the visual cues are very clear, and the dough is forgiving due to the enriched nature. You don’t have to worry as much about over-proofing or stressing the dough, as the fat coating protects it. If you’re looking for more easy doughs to master, check out my guide on beginner bread baking recipes! This is a fantastic confidence builder.
Can I use honey instead of sugar in this recipe?
You definitely can substitute honey for the granulated sugar! Honey is super sweet, so you might want to reduce the total amount by about a tablespoon, depending on how sweet you like your final product. Remember, honey also adds extra liquid to the dough, so you might need to knead in an extra tablespoon of flour during the kneading stage to keep the dough manageable. It will add a lovely, deeper flavor to your sweet sandwich bread, too!
Estimated Nutritional Snapshot of This Condensed Milk Bread
When you’re baking something this luxurious, you know we’re adding flavor, and flavor usually comes with calories! But since this is homemade and we know exactly what went into it (no weird preservatives here!), we can feel pretty good about enjoying it. I’ve put together an estimated nutritional breakdown based on the ingredients listed above for one single slice of this rich loaf. Remember, these numbers are just a guide, since things like the exact brand of whole milk or how much butter we truly brush on top can change things slightly.
As always with homemade bakes, consider this a solid ballpark estimate rather than gospel, but it gives you a great idea of what you’re enjoying when you have a slice of this fantastic condensed milk bread. It’s definitely an enriched bread, so we see a bit more sugar and fat than in a lean French baguette, but that’s exactly what makes it so wonderfully soft!
- Serving Size: 1 slice
- Calories: Approximately 180
- Sugar: About 8g (That comes from the condensed milk and added sugar!)
- Total Fat: Around 4g
- Saturated Fat: About 2.5g
- Carbohydrates: 31g
- Protein: 5g
- Sodium: 180mg
- Cholesterol: 25mg
Don’t let those numbers scare you too much! This loaf is meant for special breakfasts or great snacks, not for daily rationing. You can’t beat the flavor of bread made with the best ingredients, and knowing you skipped all those weird additives you find in store-bought sweet sandwich bread makes it worth every single sprinkle!
Share Your Fluffy Homemade Bread Creations
Now you have officially unlocked the secret to making that unbelievable condensed milk bread at home! I honestly hope you can smell the loaf right now, because the aroma filling my kitchen when I pull this out is just the best kind of torture.
I really, really want to know what you think! Did it come out as soft as you hoped? Did adding that spoonful of butter right after baking make a difference for your crust? Don’t just leave me hanging—please jump down to the comments section below and leave a rating for the recipe. Hearing from you makes my day and helps other bakers decide if they should try this amazing loaf next!
And if you took a picture of that beautiful, golden-brown crown, I’m begging you to share it! Tag me on your favorite social platform so I can see your perfectly fluffy homemade bread. It makes me so happy to see my family recipes spreading joy and making delicious things happen in kitchens all over. Happy baking, and until the next delicious adventure, keep those ovens hot!
If you’re looking for more fun baking projects after mastering this loaf, you can always browse the rest of my adventures over on the main recipe index!
PrintUltra Soft Sweetened Condensed Milk Loaf Bread
Make a very soft and slightly sweet loaf of bread using sweetened condensed milk for a tender crumb.
- Prep Time: 20 min
- Cook Time: 35 min
- Total Time: 2 hours 5 minutes
- Yield: 1 loaf (about 12 slices)
- Category: Baking
- Method: Baking
- Cuisine: American
- Diet: Vegetarian
Ingredients
- 1 cup whole milk, warmed to 105-115F
- 1/4 cup sweetened condensed milk
- 2 1/4 teaspoons active dry yeast
- 3 1/2 cups all-purpose flour, plus more for dusting
- 1/4 cup granulated sugar
- 1 teaspoon salt
- 1 large egg, room temperature
- 4 tablespoons unsalted butter, softened
Instructions
- Combine the warm milk and sweetened condensed milk in a large bowl. Sprinkle the yeast over the top and let it sit for 5 to 10 minutes until foamy.
- In a separate bowl, whisk together the flour, sugar, and salt.
- Add the egg to the yeast mixture and stir briefly. Gradually add the dry ingredients to the wet ingredients, mixing until a shaggy dough forms.
- Add the softened butter to the dough. Knead the dough on a lightly floured surface for 8 to 10 minutes until it becomes smooth and elastic. The dough will feel soft.
- Place the dough in a lightly oiled bowl, turning to coat. Cover the bowl with plastic wrap and let it rise in a warm place for 1 to 1.5 hours, or until doubled in size.
- Gently punch down the risen dough. Shape it into a loaf and place it in a greased 9×5 inch loaf pan.
- Cover the pan loosely and let the dough rise again for 45 to 60 minutes, or until it crests about 1 inch above the rim of the pan.
- Preheat your oven to 350F (175C) during the last 15 minutes of the second rise.
- Bake for 30 to 35 minutes, or until the top is golden brown and the internal temperature reaches 200F (93C).
- Remove the bread from the pan immediately and cool completely on a wire rack before slicing.
Notes
- For an extra soft crust, brush the top of the loaf with melted butter immediately after removing it from the oven.
- If you prefer rolls instead of a loaf, divide the dough into 12 equal pieces and bake them close together on a baking sheet for about 18-20 minutes.
Nutrition
- Serving Size: 1 slice
- Calories: 180
- Sugar: 8
- Sodium: 180
- Fat: 4
- Saturated Fat: 2.5
- Unsaturated Fat: 1.5
- Trans Fat: 0
- Carbohydrates: 31
- Fiber: 1
- Protein: 5
- Cholesterol: 25