

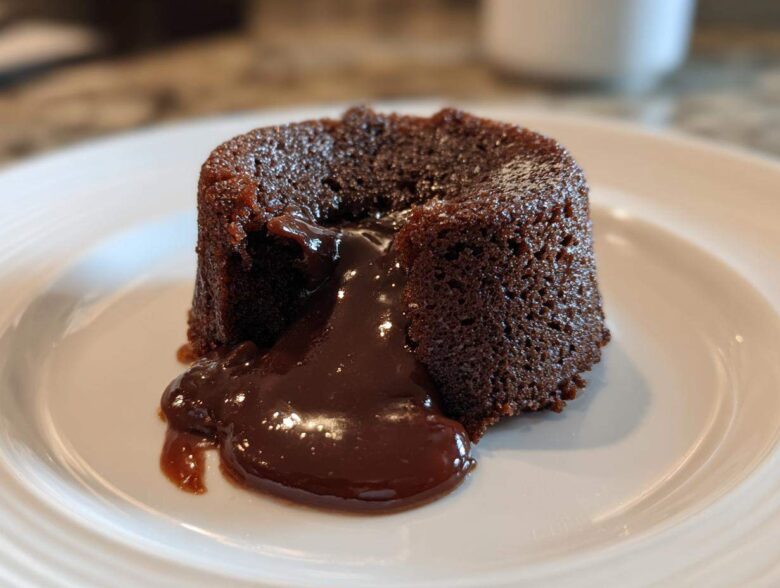
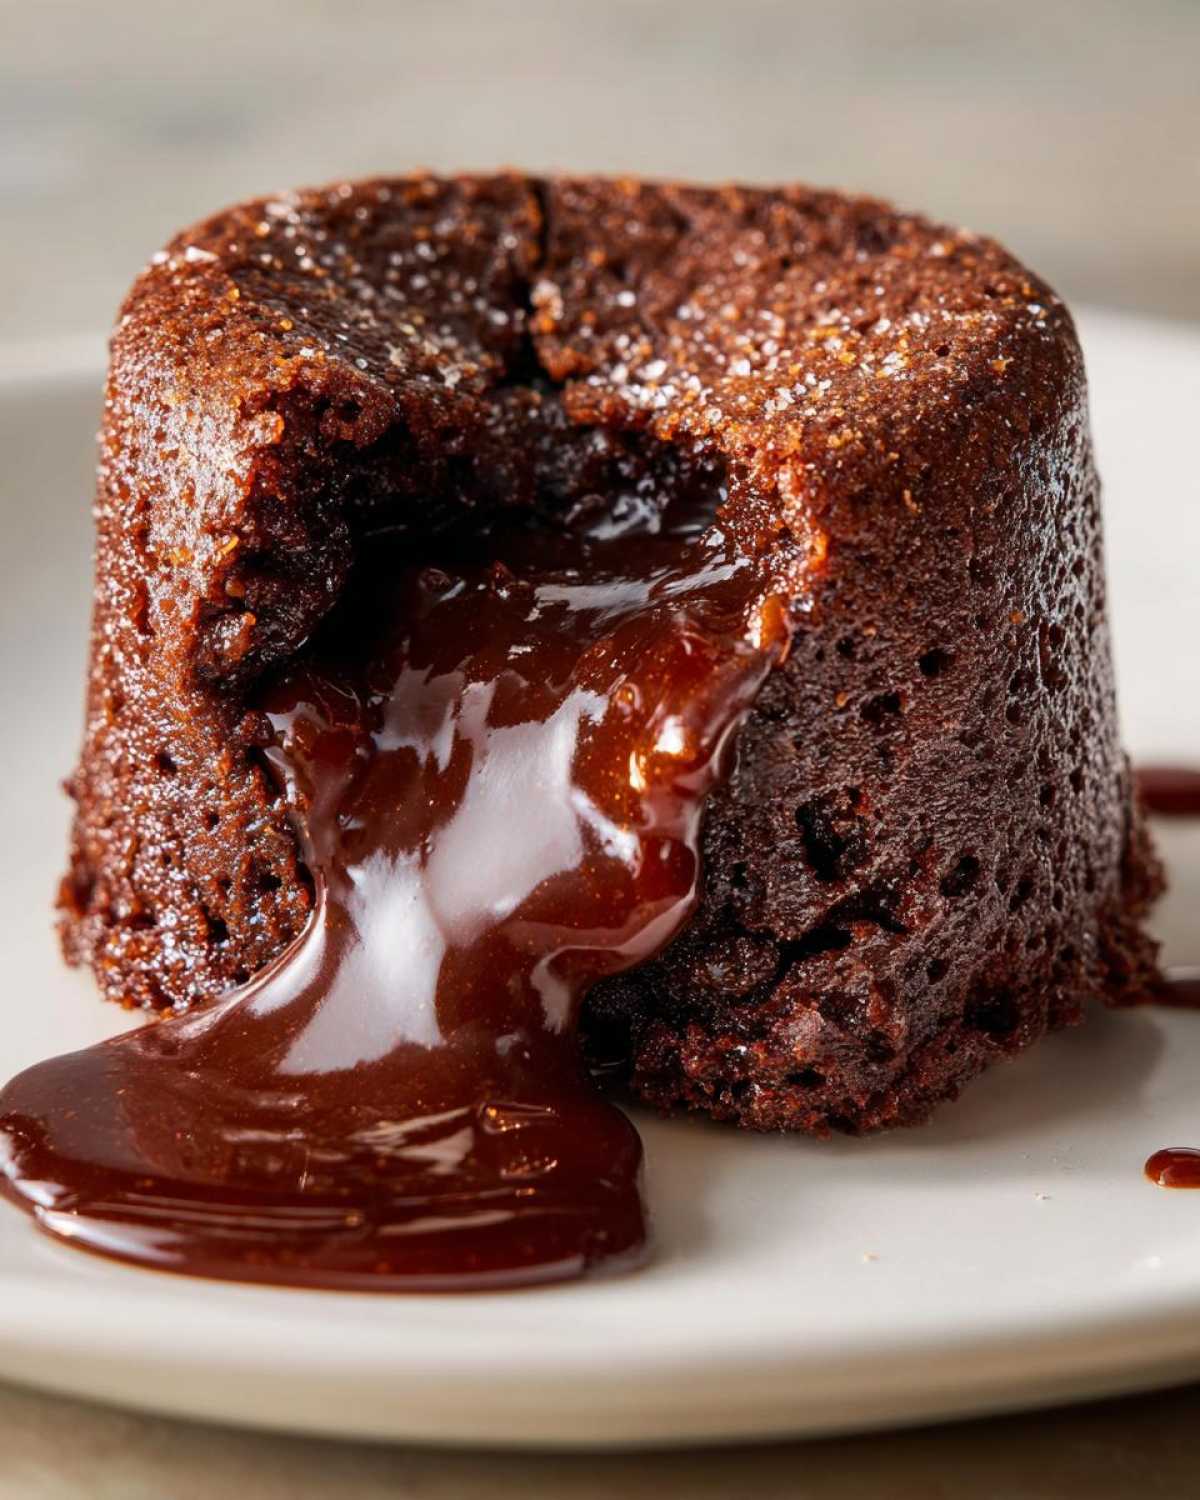
Oh, you are in for such a treat! There is nothing, absolutely nothing, like cutting into a perfect lava cake and watching that dark, rich river of chocolate spill out onto the plate. For years I kept trying, and failing, getting either undercooked goo or just a regular, slightly dense chocolate cupcake. But I finally nailed it! This recipe right here? It cuts the prep time right down, and trust me, it delivers that crisp edge and silky, molten center every single time. It’s my go-to for those nights when I need an impressive dessert in record time.
Why This Classic Chocolate Lava Cake is a Must-Try (Impressive Easy Desserts)
If you’re looking for a showstopper that only takes about 25 minutes start to finish, this is it. Seriously, you can whip this up right before you plan to eat dessert, which makes it perfect for impromptu indulgences or quick date nights. I used to think rich desserts meant hours of work, but this recipe proves you can have it all.
We’re talking about a truly decadent chocolate dessert here. The technique is so simple—it’s mostly just melting and whisking—but the results look like you slaved away for an hour! These are the kind of impressive easy desserts that make people ask for the recipe every time. The guarantee here is that deep, flowing center; if you follow my timing exactly, you won’t be disappointed. You can even prep the batter ahead of time!
I found that using high-quality bittersweet chocolate makes a massive difference, which is why I detailed exactly what you need above. If you want to see another incredible way to combine rich chocolate depth with way less fuss, you should check out my decadent flourless chocolate cake recipe next!
Gathering Ingredients for Your Perfect Lava Cake
Okay, before we get to the fun part—baking!—we need to gather our troops. Honestly, the ingredient list for these individual chocolate cakes is short, which is part of why they are so fast. But hear me out: quality matters here, especially when you’re making something so simple.
Since chocolate is the star, don’t skimp if you can help it. Using a higher percentage for your bittersweet chocolate truly deepens the flavor, making it one of those truly spectacular dark chocolate desserts.
Essential Components for the Lava Cake Batter
- Four ounces of really good bittersweet chocolate, chopped up finely. The smaller the pieces, the faster they melt later!
- Four lovely tablespoons of unsalted butter. Make sure it’s room temperature—it just makes things easier later on.
- One large, fresh egg, plus one extra egg yolk. That extra yolk is my little secret for making sure the center stays super creamy!
- Just two tablespoons of granulated sugar—not too much, because we want that dark chocolate flavor to shine through.
- One tiny teaspoon of all-purpose flour, mixed with just a small pinch of salt to make all that chocolate taste even better.
- Don’t forget the prep materials! You’ll need extra butter and some cocoa powder for coating those ramekins.
Preparation Steps: Achieving the Lava Cake Molten Center
This is where the magic happens, and honestly, it all comes down to timing! Since these are quick chocolate recipes, you want to have everything ready to go before you even start melting the chocolate. Pop your oven up to a blistering 425 degrees Fahrenheit first. That high heat is what sets up those lovely crisp edges so quickly!
Next, you need to prepare your four 6-ounce ramekins. Don’t be lazy here! Butter them generously—I mean, really slather it on. Then, dust them with cocoa powder, tapping out any excess. If you don’t coat them well, your beautiful cake will stick, and that’s the saddest sight in the baking world. This step guarantees those perfect little individual chocolate cakes come out clean.
Melting Chocolate and Butter for the Lava Cake Base
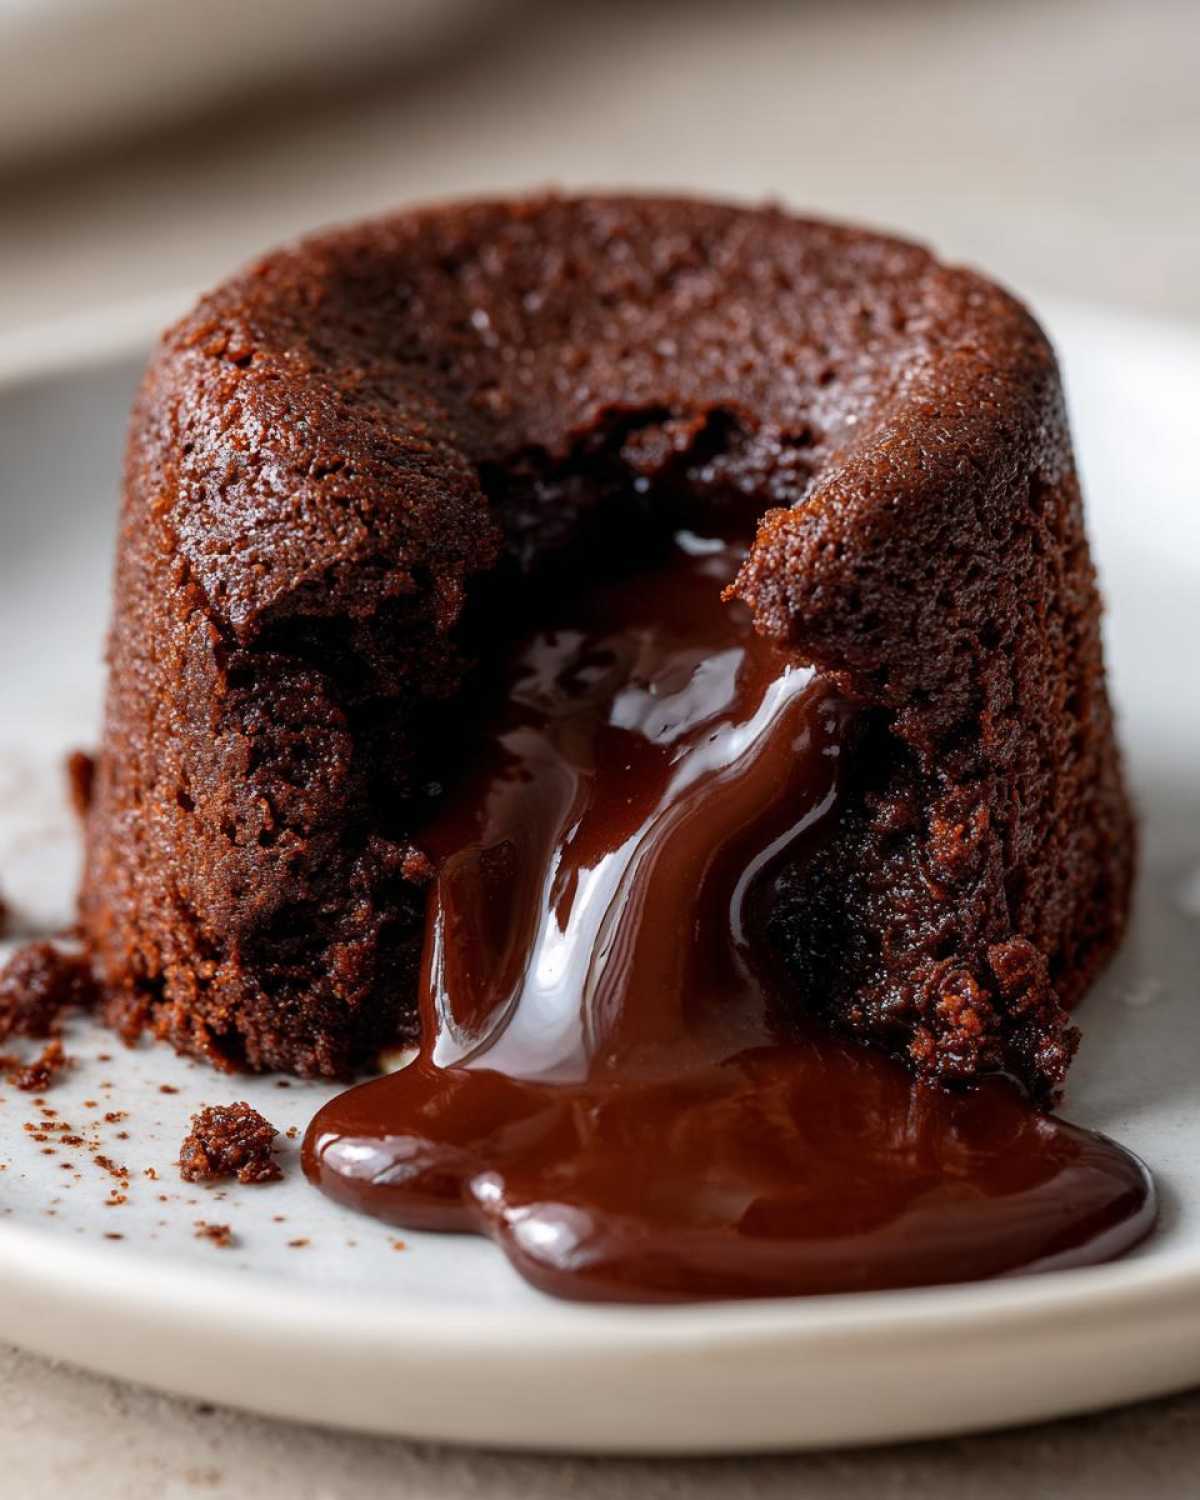
I usually go for the double-boiler method, setting my heatproof bowl right over simmering water. It melts so gently! If you’re in a rush, you can microwave it, but you have to do it in tiny bursts—like 15 seconds at a time—stirring well in between so it doesn’t seize up on you. Once that chocolate and butter are smooth as glass, pull the bowl off the heat and let it rest for a few minutes. This is super important, because if it’s too hot when it hits the eggs, you’ll end up scrambling them, and we definitely don’t need soup instead of batter!
Mixing the Batter for a Silky Lava Cake Texture
In a separate bowl, you’ll beat that whole egg, the extra yolk, and the sugar until it’s light and looks a little pale and fluffy. Then, slowly whisk in your cooled chocolate mixture. Once that’s mostly combined, gently whisk in the tiny bit of flour and salt. Listen, this is vital: once that flour goes in, stop mixing the second you see no white streaks left. You want to keep that batter tender! Overmixing develops gluten, and we need this to be a soft, molten chocolate cake, not a chewy brick.
Baking Time Secrets for the Ideal Lava Cake Flow
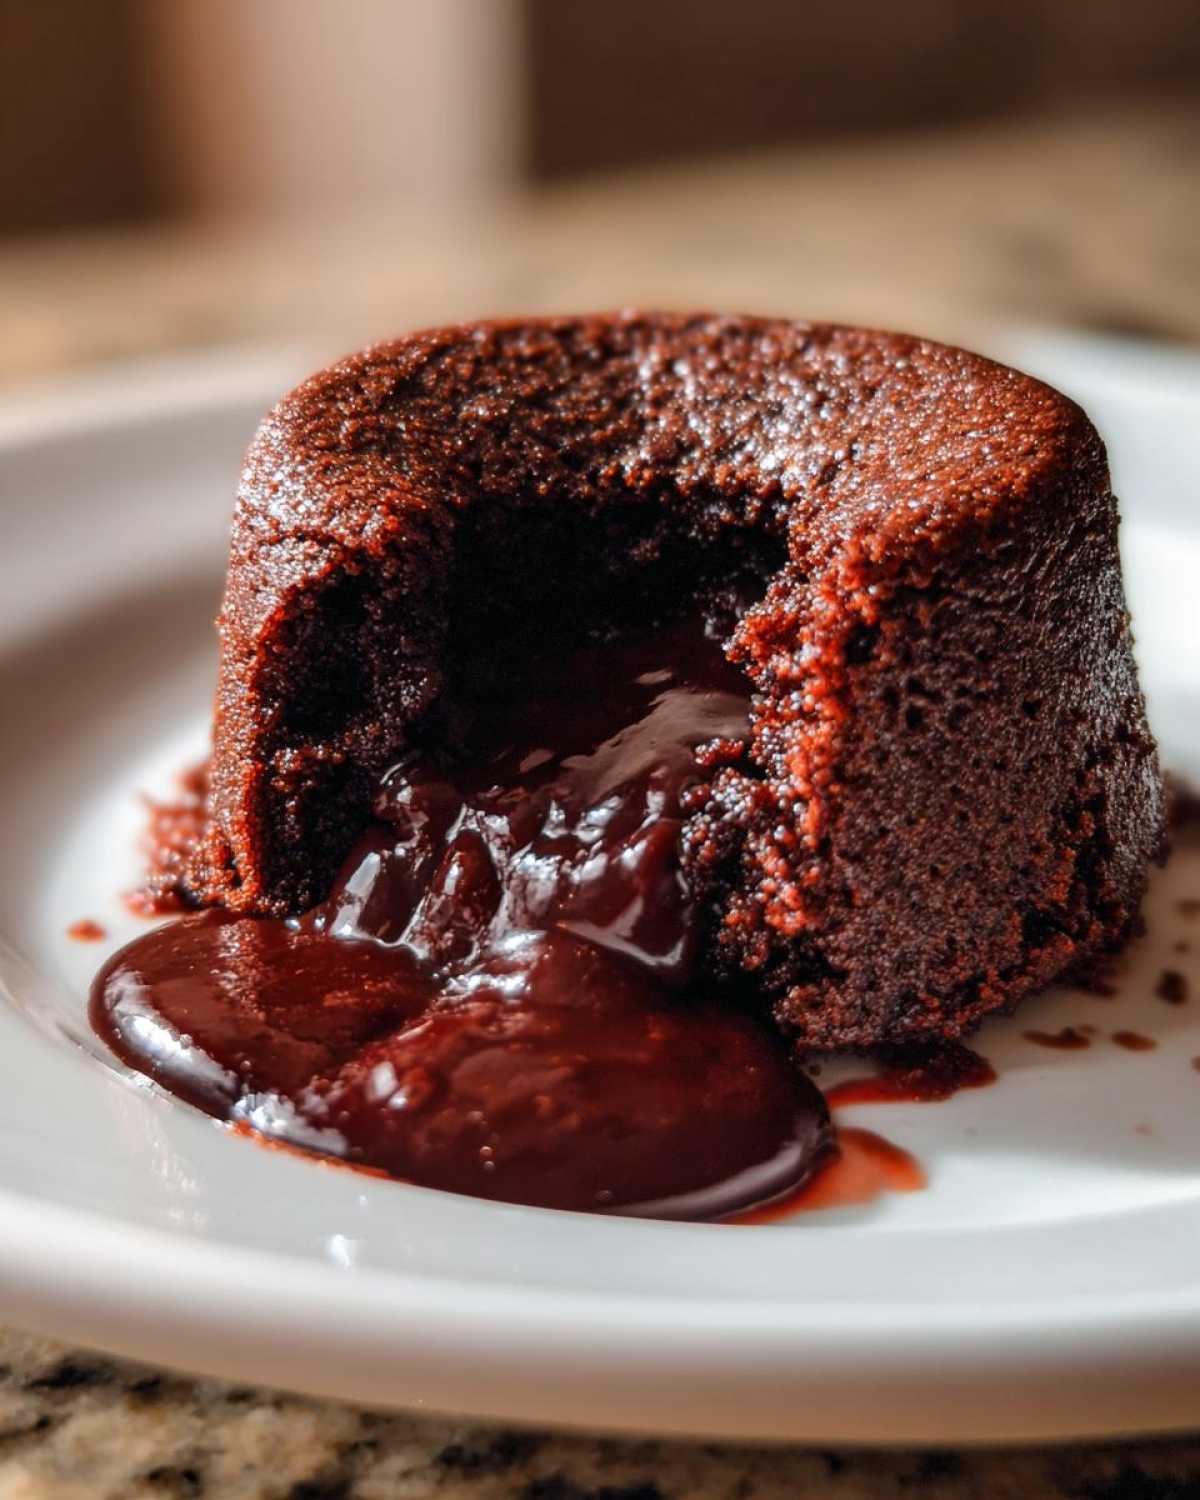
Divide your batter evenly into those prepped ramekins and get them right into the hot oven on a baking sheet. Set a timer for 12 minutes sharp. When you check them, the edges should look firm and slightly pulled away from the sides of the ramekin. The center, however, must still look soft and jiggly. If you bake it until the center is firm, you’ve accidentally made a regular cake! That jiggly middle is what gives you that incredible gooey center dessert experience.
After 12 to 14 minutes—no longer!—pull them out. Let them hang out in the ramekins for just one minute, run a thin knife around the edge, and flip them out right onto your plate. You absolutely must try this when warm!
If you’re looking for more fantastic ideas on how to make impressive chocolate things quickly, have you seen my instructions for making easy chocolate mousse? It’s another winner!
Tips for the Best Ever Lava Cake Results
Getting that perfect pourable puddle of chocolate every single time takes just a couple of little tricks, the kind I learned the hard way! The ramekin prep we talked about earlier? It’s not optional; it’s mandatory for these individual chocolate cakes. If you don’t grease and dust properly, you lose that clean release, and suddenly your gorgeous dessert looks like a tragic kitchen accident.
When I first started making these for my anniversary—they are the ultimate date night dessert ideas, by the way—I realized the oven temperature is everything. Too low, and the edges won’t set before the center melts too much. Too high, and you burn the outside before the inside even thinks about melting. Stick exactly to 425°F, and your 14-minute timer is your best friend.
Also, don’t try to make these ahead of time and freeze them unless you adjust the timing significantly! I tried once, hoping to save time, and they came out half-baked slush. It’s best if you prep the batter, pop them into the fridge for maximum of an hour if you must, but otherwise, bake them fresh. If you love quick, impressive desserts, you simply have to try Bananas Foster next week!
Serving Suggestions for Your Warm Chocolate Lava Cake
This is the grand finale, the moment everyone is waiting for! Once you’ve carefully flipped that beautiful lava cake out of the ramekin, you have to serve it immediately. These desserts are simply not meant to wait around; that warm chocolate center will become just warm pudding if you let it sit too long.
For a truly classic presentation, you can lean into the sheer decadence. A simple dusting of powdered sugar over the top looks elegant and keeps the focus right on that flowing center. It instantly turns this into a perfect warm chocolate dessert.
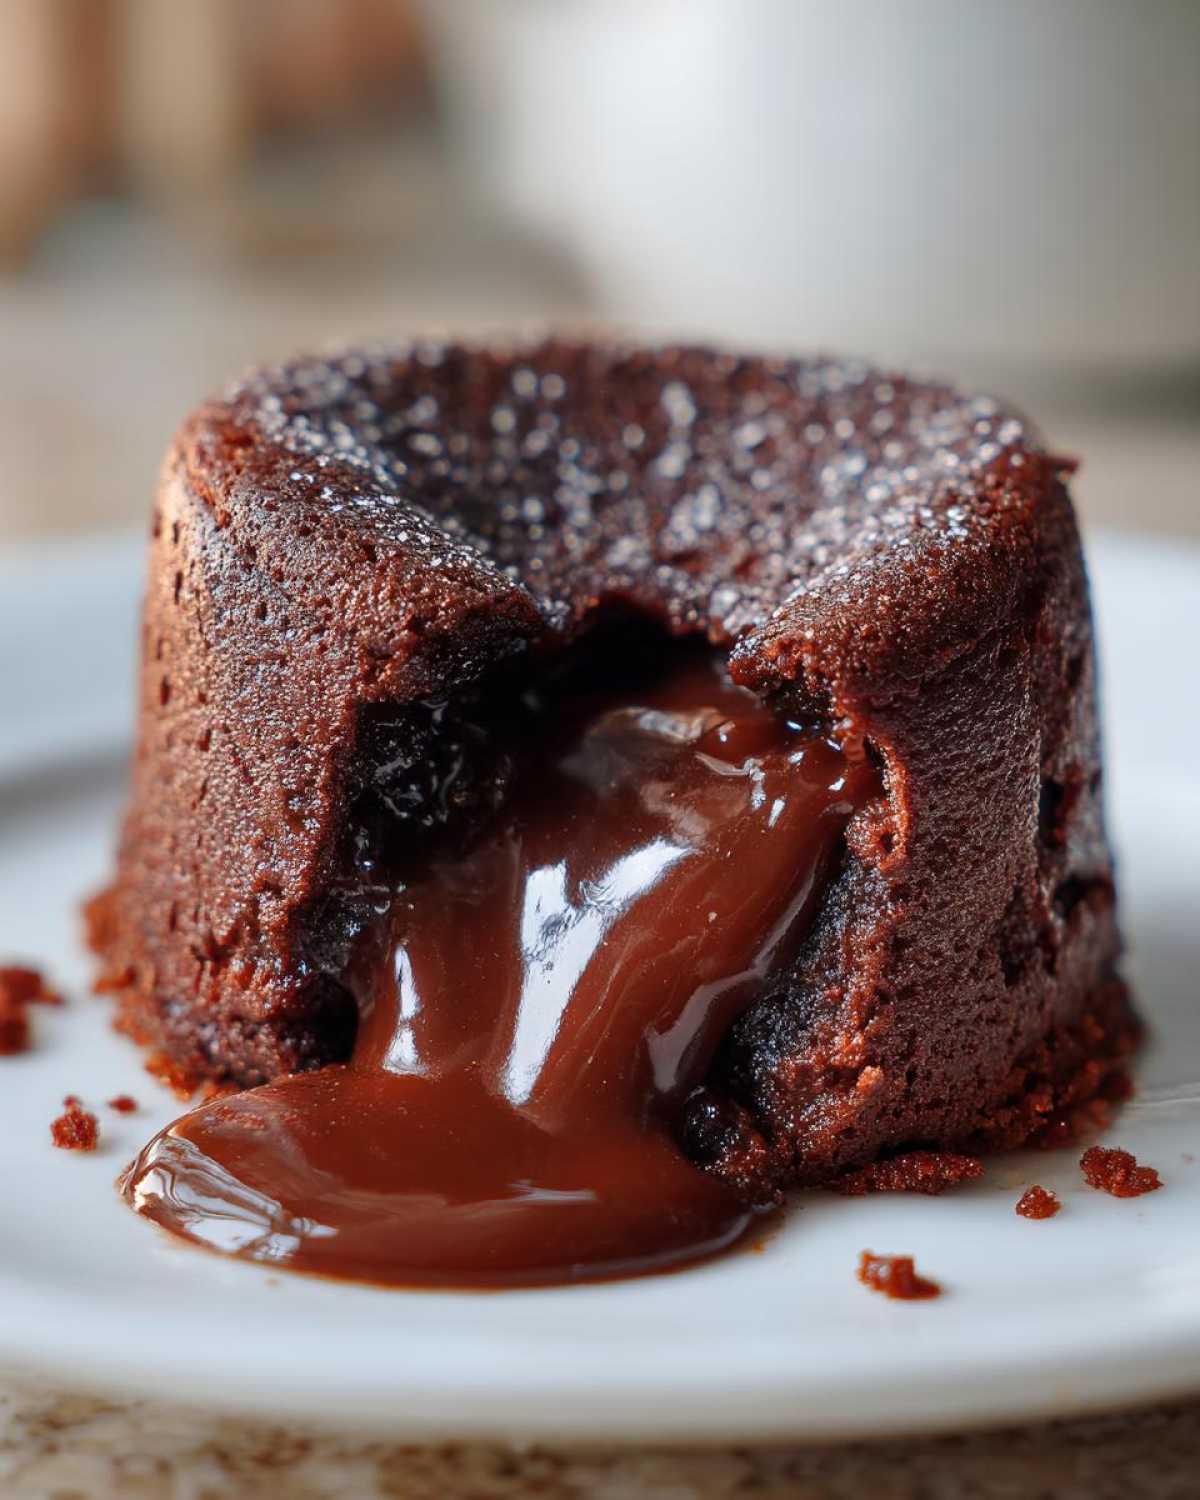
But if you ask me? A scoop of really good vanilla bean ice cream is non-negotiable! The temperature contrast between the hot, dark cake and the cold, creamy vanilla is just heavenly. The ice cream, of course, melts right into that molten core, creating an instant chocolate sauce. If you’re feeling fancy, add just a few fresh raspberries or sliced strawberries around the plate. The tartness cuts through the richness of the chocolate so perfectly. Don’t forget a little drizzle of raspberry sauce if you have it; it really brightens the whole plate up!
Lava Cake Variations and Flavor Twists
I know the classic recipe is near perfection, but sometimes you just need to sprinkle a little extra magic on things, right? That’s what I love about this recipe; it’s a fantastic base for experimenting with different flavors. Don’t feel like you have to stick to plain chocolate every time! There are so many fun chocolate lava cake variations you can try out.
My absolute favorite addition, especially when I’m trying to elevate the flavor profile without adding too much complexity, is espresso powder. Just dissolve a teaspoon of instant espresso powder right into the chocolate and butter mixture when you’re melting them down. It doesn’t make the cake taste like coffee, no! It just deepens the chocolate flavor significantly, making it taste darker and richer—it’s a total game-changer for a truly luxurious experience.
If you’re thinking about a different twist, try adding a tiny drop of peppermint extract along with your vanilla when combining the wet ingredients. Hello, holiday treat that you can eat any time of year! Or, if you’re a fruit fanatic, a little bit of raspberry jam swirled gently into the batter just before baking adds a lovely tartness.
Speaking of substitutions, if you’re out of bittersweet chocolate or just craving something slightly different, you can swap out about half of the required chocolate for Nutella. It makes the center even runnier and sweeter. Just remember, Nutella is sweeter than dark chocolate, so you might want to cut the granulated sugar in the main batter down by just a hair. You can find some great ideas for other easy chocolate projects, including a huge batch of mix you can use for a quick hot chocolate later, over at my big batch hot cocoa mix guide!
Storage and Reheating Your Leftover Lava Cake
Okay, let’s talk about the dreaded leftovers situation. If you’ve somehow managed to have any, or if you bravely baked an extra batch for later—good on you! The trick here is recognizing that the very best part of this dessert, that amazing molten center, is temperature-dependent.
If you have leftovers, the absolute best way to store them is right inside their ramekins, covered tightly with plastic wrap or a lid, and popped into the fridge. They should be fine for about two to three days looking fresh. Honestly, they’re never going to be quite as perfect as when they are piping hot and fresh from the oven—that gooey center firms up significantly once it cools down—but they are still delicious!
To bring them back to life, you want to use the oven, not the microwave. The microwave will heat the center too fast and make the outer cake rubbery. Preheat your oven (or toaster oven!) to about 350 degrees Fahrenheit. Pop the cakes, still in their ramekins, in there for about 6 to 8 minutes. You want the edges to feel set again and the absolute center to feel warm and just slightly softer than the edges when you gently tap it.
If you’re truly desperate and need a single serving lava cake heated in under 30 seconds, you can microwave it for about 15 seconds. But I won’t lie, the texture change is noticeable. For the best flavor profile, really commit to that quick oven warm-up; it helps restore that beautiful contrast between the set outside and the flowing inside!
Frequently Asked Questions About Making Lava Cake
I know we covered a lot of ground to make sure you get that perfect flow, but sometimes you just have a few quick lingering questions! That’s totally normal when you’re tackling a dessert famous for its tricky timing. I’ve compiled the ones I get asked most often about making the best lava cake possible, just to smooth over any last worries.
If you’re looking for more simple desserts that still pack a punch but might be a bit less fussy on the timing, I highly recommend looking through my list of easy baked desserts next!
Can I make the lava cake batter ahead of time?
You absolutely can! Pro tip: making the batter ahead of time is a perfect strategy for an impressive dinner party, knowing your **date night dessert ideas** are already handled. You can mix everything up—just make sure you don’t pour it into the ramekins yet if you plan to refrigerate it for more than an hour or two. I prefer covering the full bowl and keeping it cold.
If you want to pour it into the ramekins ahead of time, seal them tightly with plastic wrap and refrigerate for up to 24 hours. When you are ready to bake, you MUST add about 4 to 6 extra minutes to the baking time because the batter is starting cold! Watch those edges carefully!
What happens if my lava cake doesn’t flow?
Oh, trust me, I’ve been there! If you cut into your cake and nothing flows out—it’s just a little mound of delicious chocolate cake—it means you baked it too long. That thin line between perfection and a standard cake is so fine, isn’t it? If the center is completely set when you pull it out, the lava effect is lost.
It doesn’t mean it tastes bad, of course! You’ve made a fantastic **chocolate indulgence**, just not specifically a **molten chocolate cake**. Next time, pull it out a minute or two earlier, or drop the temperature down just a bit. Don’t stress! It’s super easy to get that flowy center once you get used to your particular oven.
Can I use a muffin tin instead of ramekins for this lava cake?
Yes, you totally can, especially if you’re trying to bake for a bigger crowd or just don’t have enough ramekins on hand! Just treat the muffin tin just like the ramekins: butter it thoroughly and dust it heavily with cocoa powder. This ensures you get a clean release, which you really need for these individual chocolate cakes.
The trade-off is the baking time. Muffin cups are shallower than the 6-ounce ramekins we used, which means they cook much faster. Start checking them around the 10-minute mark. You’re looking for the same result—set edges, jiggly center—but you will likely need less time in the oven for those muffin-tin versions, so keep a close eye on them!
Estimated Nutritional Profile for This Lava Cake
Now, I want to be super clear right up front—since this is a homemade dessert, the nutrition facts are my best estimate based on the amounts listed. This isn’t a lab-tested chart, but it gives you a good idea of what you’re sinking into! Because we are using bittersweet chocolate and butter, this is definitely a special occasion treat, not an everyday slice.
This profile is based on four servings, meaning it’s the breakdown for one single, gorgeous, gooey lava cake.
Here’s the rundown:
- Serving Size: 1 cake
- Calories: A rich 350
- Sugar: 18 grams
- Fat: 24 grams (with 14 grams being saturated fat—that’s the butter goodness!)
- Carbohydrates: 25 grams
- Protein: 7 grams
- Sodium: About 80 mg
- Cholesterol: 120 mg
See? It’s deep, luxurious chocolate indulgence in a little cup! Don’t worry too much about the numbers, though. When you cut into that cake and the warm center pours out, these numbers just kind of melt away, don’t they?
PrintClassic Chocolate Lava Cake
A simple recipe for individual chocolate cakes with a crisp exterior and a warm, molten center.
- Prep Time: 10 min
- Cook Time: 14 min
- Total Time: 24 min
- Yield: 4 servings
- Category: Dessert
- Method: Baking
- Cuisine: American
- Diet: Vegetarian
Ingredients
- 4 ounces bittersweet chocolate, chopped
- 4 tablespoons unsalted butter
- 1 large egg
- 1 large egg yolk
- 2 tablespoons granulated sugar
- 1 teaspoon all-purpose flour
- Pinch of salt
- Butter and cocoa powder for dusting ramekins
Instructions
- Preheat your oven to 425 degrees Fahrenheit. Butter four 6-ounce ramekins thoroughly. Dust the inside of each buttered ramekin with cocoa powder, tapping out any excess.
- Place the chopped chocolate and butter in a heatproof bowl set over a saucepan of simmering water, or microwave in short bursts, stirring until completely smooth. Remove from heat and let cool slightly.
- In a separate bowl, whisk together the whole egg, egg yolk, and sugar until the mixture is pale and slightly thickened, about 1 minute.
- Gently whisk the melted chocolate mixture into the egg mixture until just combined.
- Whisk in the flour and salt until no streaks of flour remain. Do not overmix.
- Divide the batter evenly among the prepared ramekins.
- Place the ramekins on a baking sheet. Bake for 12 to 14 minutes. The edges should look set, but the center should still look soft.
- Let the cakes cool in the ramekins for 1 minute. Run a thin knife around the edge of each cake.
- Carefully invert each cake onto a serving plate. Serve immediately.
Notes
- For a richer flavor, use dark chocolate that is 60% cacao or higher.
- If you do not have ramekins, you can use a standard muffin tin, but baking time may decrease slightly.
- Dust the finished cakes with powdered sugar or serve with vanilla ice cream and fresh raspberries.
Nutrition
- Serving Size: 1 cake
- Calories: 350
- Sugar: 18
- Sodium: 80
- Fat: 24
- Saturated Fat: 14
- Unsaturated Fat: 10
- Trans Fat: 0
- Carbohydrates: 25
- Fiber: 2
- Protein: 7
- Cholesterol: 120