

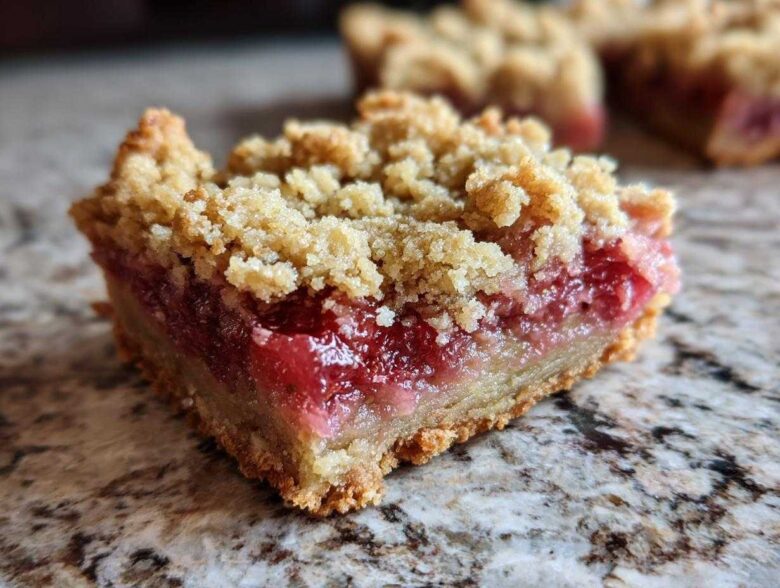
Oh my gosh, spring and summer bring the BEST baking opportunities, right? That beautiful moment when the rhubarb gets perfectly tart and the strawberries are so juicy? We have to take advantage! For years, I struggled making anything remotely ‘bar-like’ that was gluten-free. Everything either crumbled into a sad pile or turned into a dense, gummy brick. But I finally cracked the code on these Gluten-Free Strawberry Rhubarb Bars!
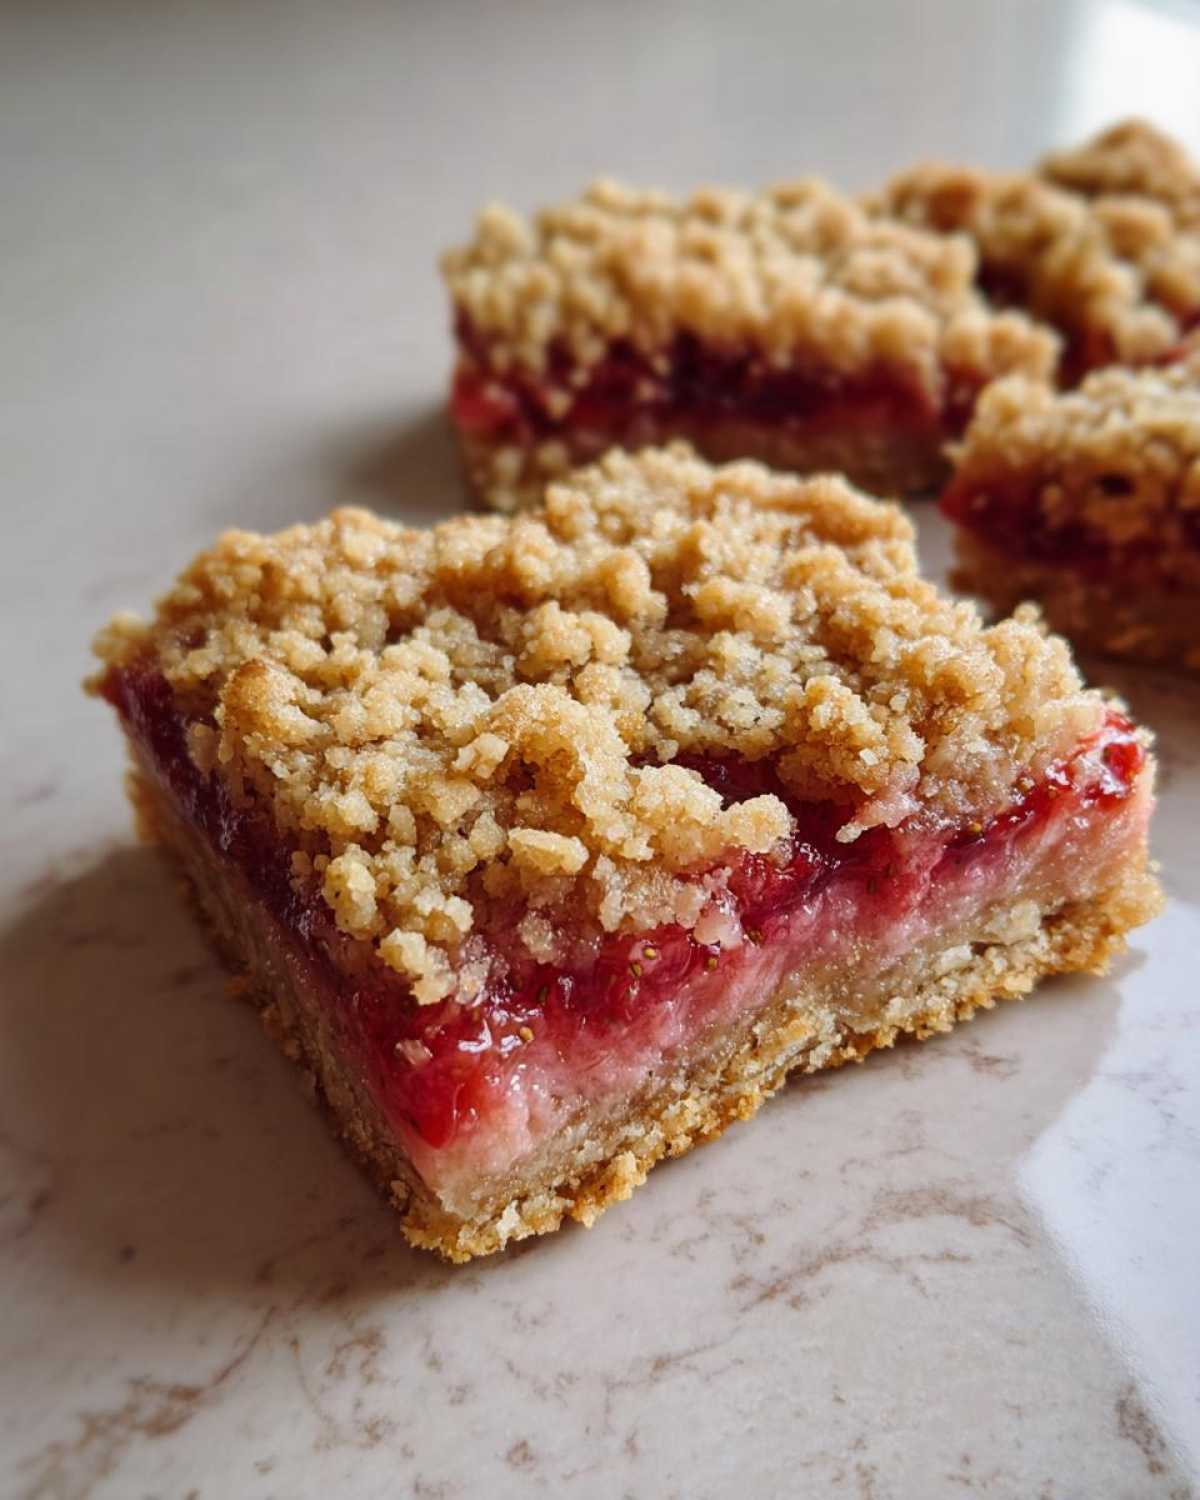
Seriously, I think these are my best discovery yet. We’re talking two full cups of fruit smothered in a crisp, somehow buttery oat and almond flour crust. The tartness from the rhubarb is just divine against the sweet berries, and the texture? You’d never guess there’s zero wheat flour in here. If you’ve been avoiding fruit bars because your GF attempts always fail, trust me, you need this recipe. We’re making something sturdy enough to actually take to a picnic!
If you want to check out some other great sweet gluten-free bakes while you’re here, my ultimate moist blueberry muffins are always a winner too!
Why This Gluten-Free Strawberry Rhubarb Bars Recipe Works
So, why toss out your old recipes for these? Because these bars actually hold up! When you bake gluten-free, you often fight against everything turning too sandy or too gummy, but we fixed both problems here. This recipe is designed for maximum flavor and stability.
- The crust mixes up beautifully! It presses down firmly without turning into dough.
- The filling sets up perfectly—no soupy messes here, guaranteed.
- We get that wonderful, slightly chewy texture that tastes homemade, not alternative.
It’s all about using the right supporting ingredients to help those lovely GF flours shine.
Achieving the Perfect Gluten Free Strawberry Rhubarb Squares Texture
The secret for the filling is that cornstarch! It acts like glue for the strawberries and rhubarb, making sure all that delicious juice thickens up nicely when it bakes. Don’t skip it, or your bars will weep all over the plate!
For the crust texture—the part you eat first—we rely on very cold pieces of butter mixed into our almond and oat flour base. When that cold butter melts in the oven, it creates those lovely, slightly flaky pockets instead of just clumping together. That’s how we keep these squares sturdy!
Essential Ingredients for Your Gluten-Free Strawberry Rhubarb Bars Recipe
When you’re baking gluten-free, the ingredient list moves straight to the top—it has to be perfect, right? For these bars, we aren’t using some proprietary seven-grain mix. We are keeping it simple but powerful with almond and oat flour for that amazing texture. I’ve highlighted exactly what you need below so you can double-check your pantry!
For the base, you need a cup of almond flour and a cup of gluten-free rolled oats. We are bumping up the flavor with a half cup of packed light brown sugar, plus your baking soda and salt. Crucially, you need a half cup of very cold unsalted butter cut into little cubes for that perfect crumble. And don’t forget that egg and teaspoon of vanilla to bind it!
Now for the star of the show, the filling! Toss two cups of fresh strawberries and two cups of chopped rhubarb with a half cup of regular granulated sugar. The secret binder is two tablespoons of cornstarch—that’s what keeps things neat—plus just a touch of lemon juice for brightness. If you want to check out my fluffiest almond flour pancakes sometime, you’ll see how well that almond flour plays with eggs!
Expert Tips for Making the Best GF Strawberry Rhubarb Slices
Making any bar is tricky, but when you’re working with alternative flours like we are, temperature control and patience become your best friends. I learned this the hard way after wasting an entire batch of rhubarb because I rushed the cooling process. Don’t make my mistake!
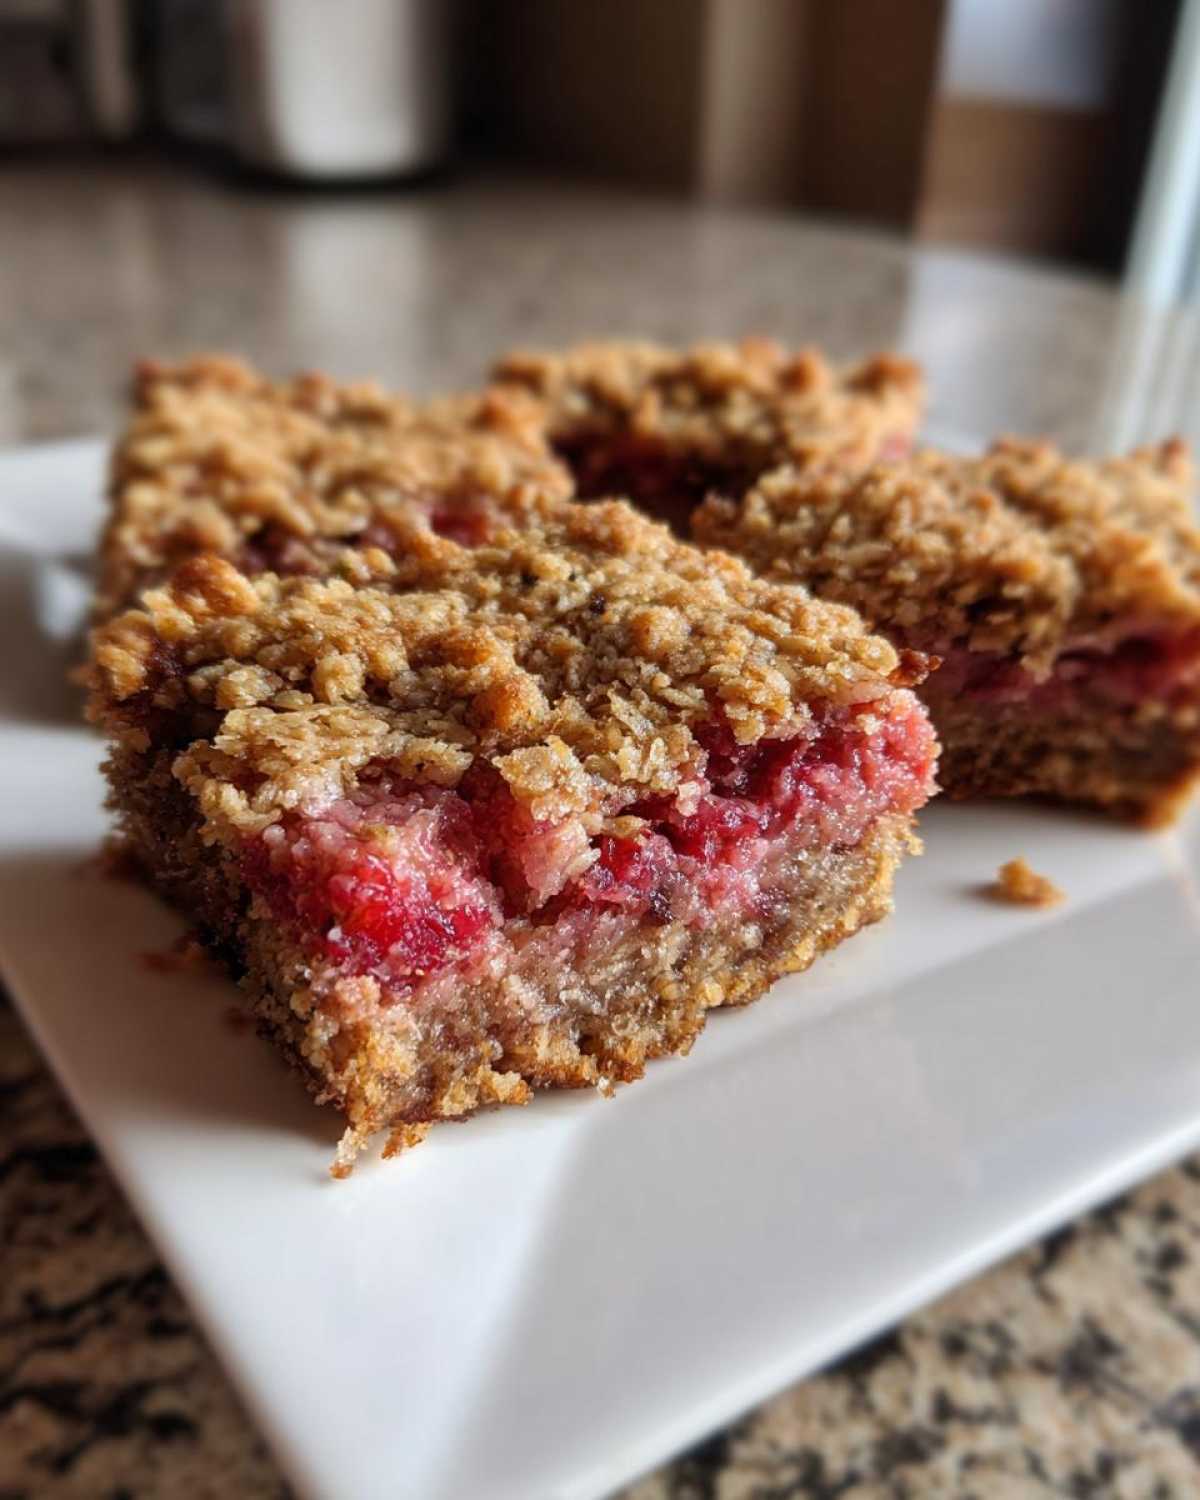
When you assemble these Gluten-Free Strawberry Rhubarb Bars, remember that every single step matters for the final structure. We need the crust to hold firm, and the fruit filling absolutely needs to set up properly before you try slicing. A warm bar just turns into a very tasty puddle, which is fun, but not what we want for cutting neat squares!
Also, make sure you’re using parchment paper correctly. It’s the secret handshake for stress-free bar removal! Trust me on this—it makes lifting the whole thing out so easy you’ll wonder why you ever sweated over trying to scrape it out. If you’re curious how almond flour works in other recipes, check out my easy almond flour pancakes!
Gluten Free Strawberry Rhubarb Bars Crust: Cold Butter is Key
This is non-negotiable for a good crumbly crust, whether you’re dealing with wheat or not. Your butter needs to be straight from the fridge, rock solid, and cut into small cubes—think little dice, not big chunks. When you cut that tiny cold butter into the almond and oat flour, you are creating little pockets of fat.
As the bars bake, the water turns to steam and puffs up those pockets, giving you that flaky, non-sandy texture we love for the base and the topping of your Gluten-Free Strawberry Rhubarb Bars. If your butter gets soft or greasy while you are mixing, just shove the whole bowl back in the freezer for about ten minutes before continuing!
How to Prevent a Soggy Bottom on Your Gluten Free Fruit Bars
Nobody wants a wet layer under their delicious topping! This is where the cornstarch in the filling really helps, but we can boost our defenses. My favorite trick is to bake the crust layer alone for about 8 or 10 minutes *before* adding the fruit on top.
This pre-bake gives the bottom a slight head start in firming up. It seals those crumbs together so the juicy fruit mixture can’t soak all the way through while baking. When you pull it out to add the fruit, be gentle, but after that initial bake, you’re set up for success!
Step-by-Step Instructions for Easy Gluten Free Strawberry Rhubarb Dessert Bars
Okay, now for the fun part—putting it all together! Don’t stress about this part; honestly, it’s super straightforward, provided you’ve followed the temperature rules for the crust ingredients we talked about earlier. You’ll need your 8×8 inch pan lined with parchment paper first. Make sure that overhang hangs over the sides; it acts like built-in handles later!
Here’s the timeline you want to follow:
- First things first, crank that oven up to 350°F (175°C). We need it hot and ready.
- In one bowl, quickly whisk together everything dry for the base: your almond flour, your GF oats, brown sugar, baking soda, and salt.
- Now, cut in that cold butter like we practiced! Use your fingers or a pastry blender until it looks like coarse, shaggy crumbs.
- Stir in the egg and vanilla just until it comes together. We aren’t whisking for volume here—just combining!
- Press about two-thirds of those crumbs firmly into the bottom of your parchment-lined 8×8 pan. This is your sturdy base layer.
- In a second bowl—don’t mix these with the flour mix—gently combine your chopped strawberries, rhubarb, the granulated sugar, the cornstarch, and that lemon juice. Make sure the fruit is evenly coated.
- Spread all that beautiful, tart fruit mixture right over the crust layer. Try to keep it flat!
- Take that last little bit of crust mix and just crumble it right on top of the fruit filling. Don’t press this layer down at all!
- Time for the oven! Bake this glorious thing for about 40 to 45 minutes. You’re looking for that topping to get nice and golden brown, and the fruit should be bubbly.
This is the non-negotiable step: Once it comes out, you MUST let these cool completely on a wire rack. I know, waiting is the absolute worst, but if you try to cut these warm bars, they will fall apart. Seriously, wait at least two hours. When they are completely cool, you can lift them out easily with the parchment overhang and slice them into beautiful squares. For more tips on making things super moist in the oven, check out my recipe for the best blueberry muffin secret!
Variations for Your Gluten Free Strawberry Rhubarb Bake
Once you have this base nailed down—the oat and almond crust, the perfect fruit ratio—you can absolutely start playing around! Spring baking is all about experimentation, and lucky for us, this structure is tough enough to handle little tweaks.
If you want a little warmth mixed in with that tartness, try adding half a teaspoon of ground cinnamon or a pinch of ground ginger right into the fruit filling along with the cornstarch. It makes these Gluten-Free Strawberry Rhubarb Bars taste like a cozy hug!
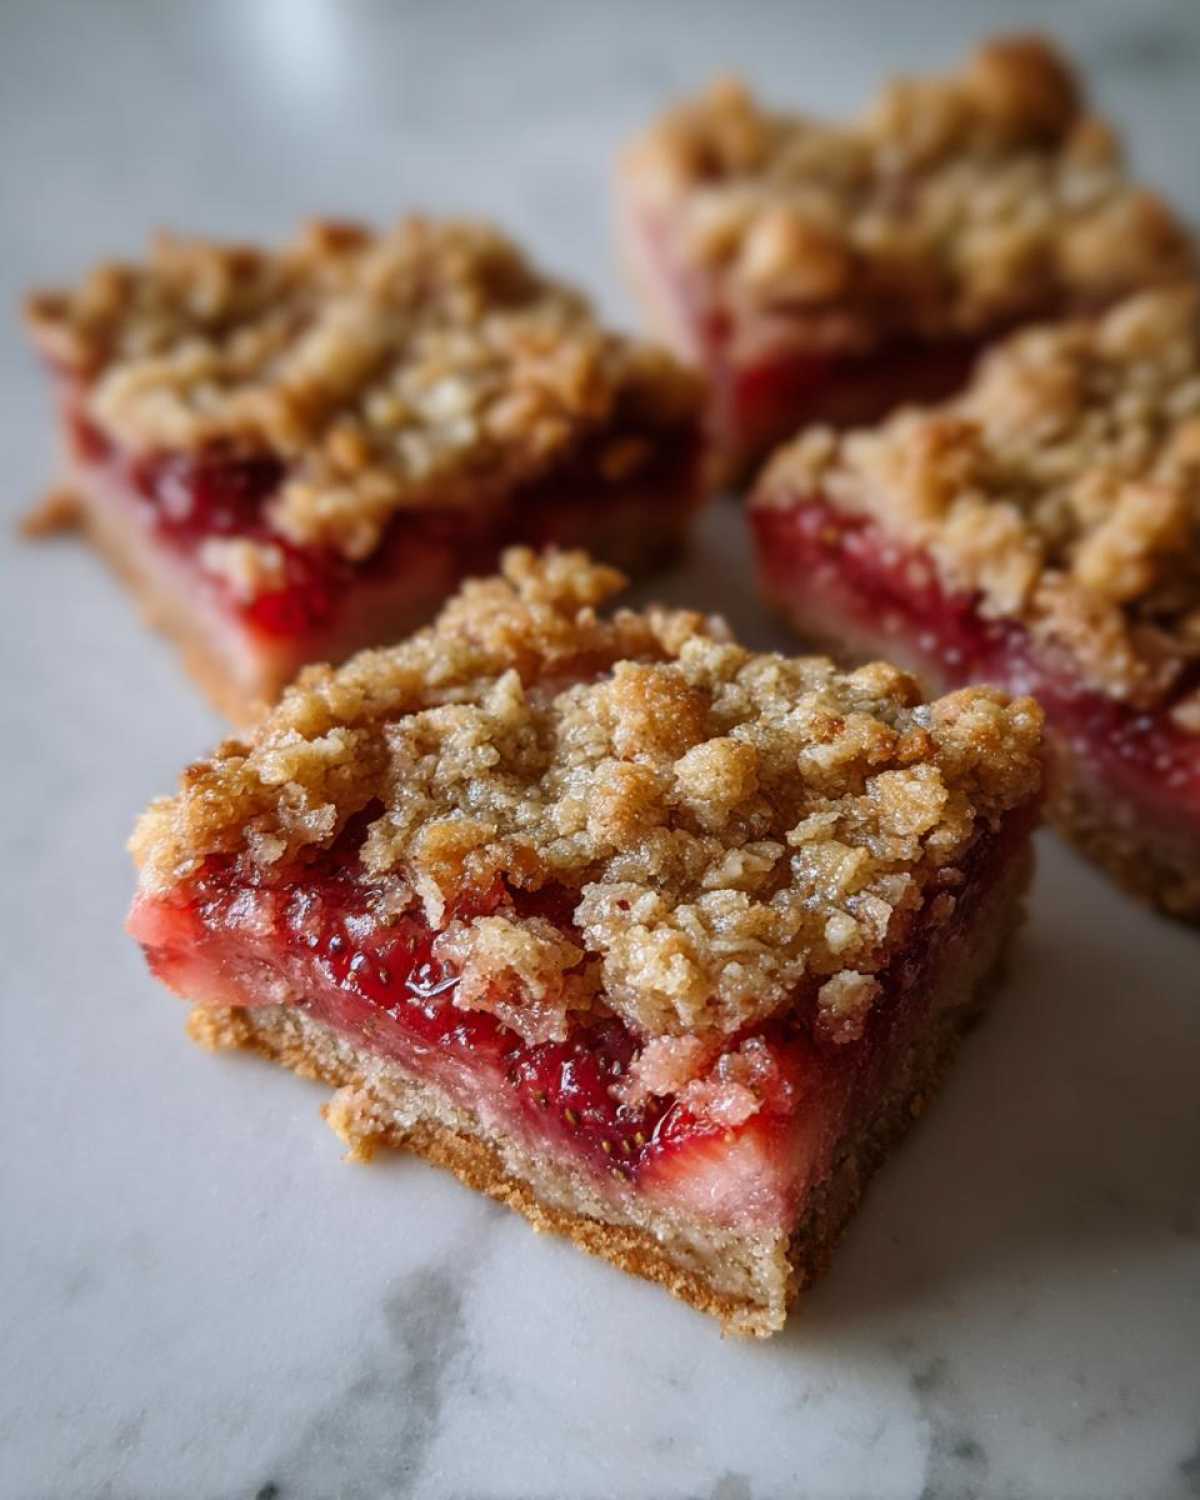
Also, these work great if you swap out half of the strawberries for raspberries or even tart cherries if they are in season. Just keep the total fruit volume the same so the filling sets correctly. If you need more inspiration for fruit bakes, my blueberry banana bread is fantastic when you need to use up overripe fruit!
Storing and Serving Your Gluten-Free Strawberry Rhubarb Squares
Okay, you’ve waited the required two hours—or maybe you waited until the next day, which is even better—and now you have perfect squares! The next question is, how do we save these treasures?
Because the crust uses almond flour and oats, these bars are actually pretty resilient at room temperature. If you’re planning to eat them all within two or three days, just keep them stored in an airtight container on the counter. They stay wonderfully soft and sliceable this way. Just make sure they are completely cool before you put the lid on, or you’ll trap steam and ruin that nice crisp top!
If you’re a slow eater or the weather is really humid—humidity is the enemy of any good crumbly bar, by the way—then pop them into the fridge. Storing them cold will keep them super firm, but let them sit on the counter for about 30 minutes so they can come back up to room temperature before serving. Trust me, the flavor really pops when they aren’t ice-cold!
When it comes to reheating, I keep it simple. If I want that ‘fresh out of the oven’ moment, I just zap a square for about 15 seconds in the microwave. It softens the filling just a touch. If you’re trying to revive a slightly older bar, sometimes warming them slightly in a 300°F oven for about five minutes works wonders too, especially if you’ve stored them in the fridge. For a neat way to use up leftovers, you could try making my crispy mashed potato cakes next time, but, you know, with fruit!
Frequently Asked Questions About Gluten Free Rhubarb Desserts
It makes total sense that you’d have questions! Baking gluten-free always requires more attention to ratios, and when you add in the wild fluctuations of fresh fruit, things can get tricky. I’ve collected a few things people always ask me when they are first making these Gluten-Free Strawberry Rhubarb Bars Recipe. Don’t worry, they are easier than they look!
Also, if you ever want to transition to gluten-free sandwich bread, my recipe for soft whole-wheat bread has awesome GF swap notes!
Can I use frozen strawberries and rhubarb in these Gluten-Free Strawberry Rhubarb Bars?
You absolutely can use frozen fruit, but you have to treat the moisture differently. Frozen fruit releases way more liquid when it bakes than fresh fruit does. If you use frozen, I recommend adding at least another tablespoon of cornstarch to the filling to soak up that extra moisture. Also, dump the frozen fruit into the bowl without thawing it first. If you thaw it, it gets mushy!
What is the best gluten-free flour blend for this recipe?
That’s the beauty of this specific recipe—you don’t need a proprietary blend! We are using a mix of almond flour and certified gluten-free rolled oats, which provide the structure and richness all on their own. This keeps the texture tender but sturdy, which is tough to achieve with standard 1-to-1 cup-for-cup GF blends. Stick to the almond and oat mix, and you’ll have the Best GF Strawberry Rhubarb Slices!
Nutritional Overview of These Gluten Free Fruit Bars
It’s smart to know what you are eating, especially when you switch up your flour base! These bars are packed with real fruit, so they have fiber and natural sugars, but because we used a homemade crust relying on almond and oat flour instead of straight white flour, they pack a little extra protein and healthy fat.
Keep in mind that these numbers are just estimates, since fresh fruit sizes and the exact brand of almond flour you use can change things slightly. But this gives you a really good idea of what you’re digging into when you grab one of those perfect squares!
For one bar, based on 16 servings, you are looking at:
- Calories: Around 220
- Fat: About 14 grams
- Carbohydrates: Roughly 23 grams
- Protein: A solid 4 grams!
I think that’s pretty great for a delicious spring treat! It’s certainly a much healthier way to enjoy a rich dessert bar compared to anything made with refined white flour and shortening.
Share Your Perfect Gluten-Free Strawberry Rhubarb Bars
Well, that’s about it for the deep dive into making these beauties! Now that you have all the secrets to getting that perfect oat and almond crust and that tart, bubbly fruit filling, I really, really want to hear what you think!
Did you try them out? Were they as sturdy as you hoped? Did the kids even realize they were gluten-free? Please hop down into the comments section below and leave your rating!
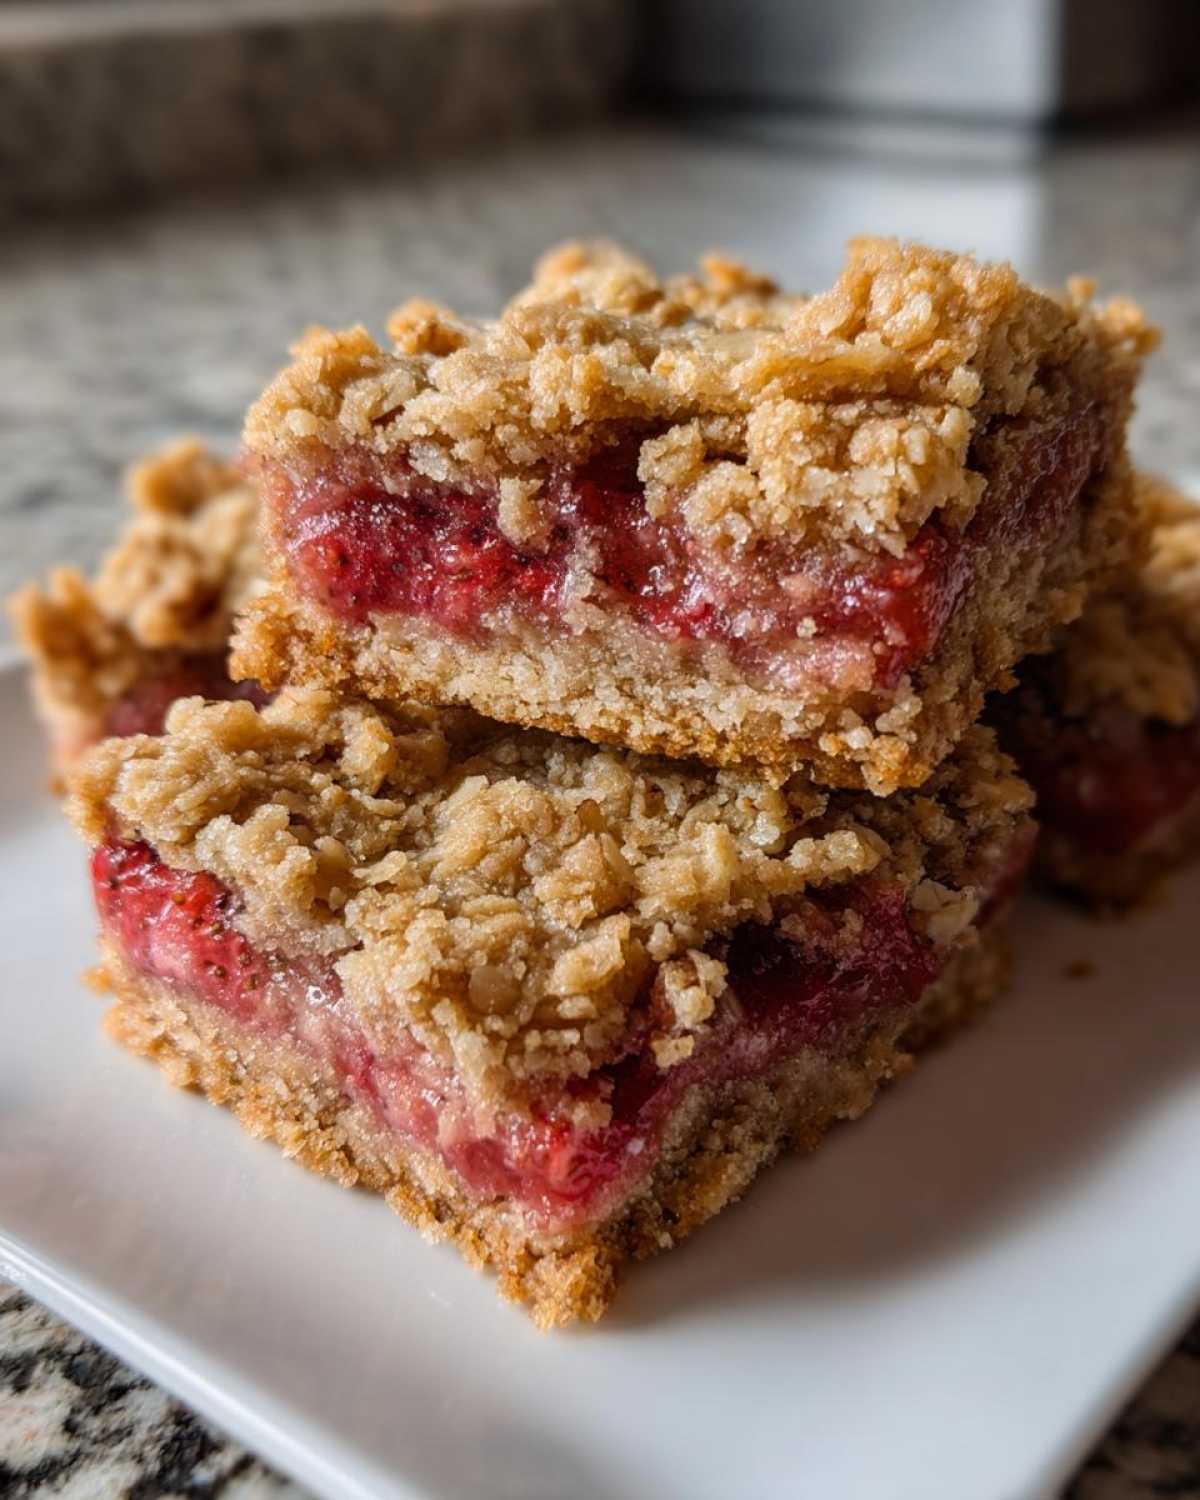
I genuinely love seeing your creations and reading your feedback on how these Gluten-Free Strawberry Rhubarb Bars turned out in your kitchen. It helps me keep refining the techniques for everyone!
If you snapped a picture of your delicious squares—especially if you tried adding a little cinnamon or ginger—please share it! Tag me on social media so I can see your beautiful work. I’m always looking for more inspiration from my fellow bakers. You can find more of my favorite recipes over on the main recipe index!
PrintGluten-Free Strawberry Rhubarb Crumble Bars
Make sturdy, flavorful dessert bars featuring a sweet and tart strawberry rhubarb filling set in a gluten-free oat and almond flour crust.
- Prep Time: 20 min
- Cook Time: 45 min
- Total Time: 65 min
- Yield: 16 bars
- Category: Dessert
- Method: Baking
- Cuisine: American
- Diet: Gluten Free
Ingredients
- 1 cup almond flour
- 1 cup gluten-free rolled oats
- 1/2 cup packed light brown sugar
- 1/2 teaspoon baking soda
- 1/4 teaspoon salt
- 1/2 cup cold unsalted butter, cut into cubes
- 1 large egg
- 1 teaspoon vanilla extract
- 2 cups chopped fresh strawberries
- 2 cups chopped fresh rhubarb
- 1/2 cup granulated sugar
- 2 tablespoons cornstarch
- 1 tablespoon lemon juice
Instructions
- Preheat your oven to 350°F (175°C). Line an 8×8 inch baking pan with parchment paper, leaving an overhang for easy removal.
- In a medium bowl, combine the almond flour, gluten-free oats, brown sugar, baking soda, and salt for the crust.
- Cut in the cold butter using a pastry blender or your fingers until the mixture resembles coarse crumbs.
- Stir in the egg and vanilla extract until just combined. Press about two-thirds of this mixture evenly into the bottom of the prepared pan to form the base.
- In a separate bowl, gently toss the strawberries, rhubarb, granulated sugar, cornstarch, and lemon juice until the fruit is coated.
- Spread the fruit filling evenly over the crust layer in the pan.
- Crumble the remaining one-third of the crust mixture over the top of the fruit filling.
- Bake for 40 to 45 minutes, or until the topping is golden brown and the filling is bubbly.
- Let the bars cool completely in the pan on a wire rack before lifting them out using the parchment overhang and cutting them into squares.
Notes
- For the best texture, ensure your butter is very cold when mixing the crust.
- If you prefer a finer crumb, pulse the dry ingredients and butter in a food processor until crumbly.
- Allow the bars to cool for at least two hours before slicing; this helps the filling set properly.
Nutrition
- Serving Size: 1 bar
- Calories: 220
- Sugar: 18
- Sodium: 55
- Fat: 14
- Saturated Fat: 7
- Unsaturated Fat: 5
- Trans Fat: 0
- Carbohydrates: 23
- Fiber: 2
- Protein: 4
- Cholesterol: 35