

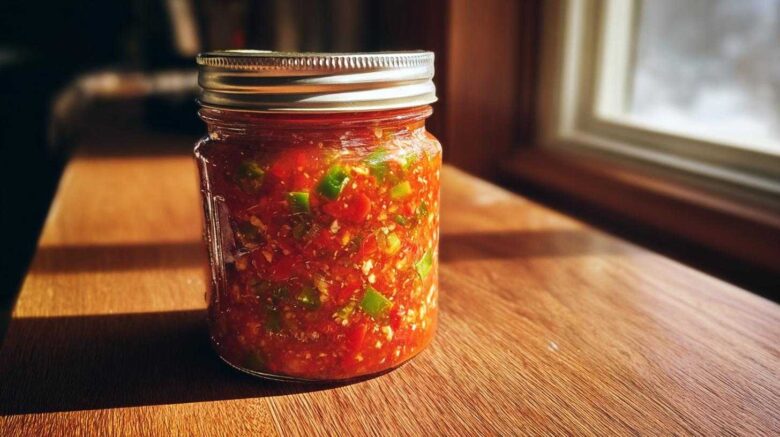
Homemade Canned Salsa (Summer Harvest): Preserve Your Garden’s Bounty
Oh, the magic of summer! When your garden is overflowing with ripe tomatoes and vibrant peppers, there’s nothing quite like capturing that sunshine in a jar. I’m Jen, and after years of living abroad and discovering food as our global language, I’ve learned to cherish these moments of preservation. This homemade canned salsa recipe is my way of holding onto those fleeting summer days. It’s simple, incredibly flavorful, and turns that garden abundance into a pantry staple. Let’s keep that summer taste alive!
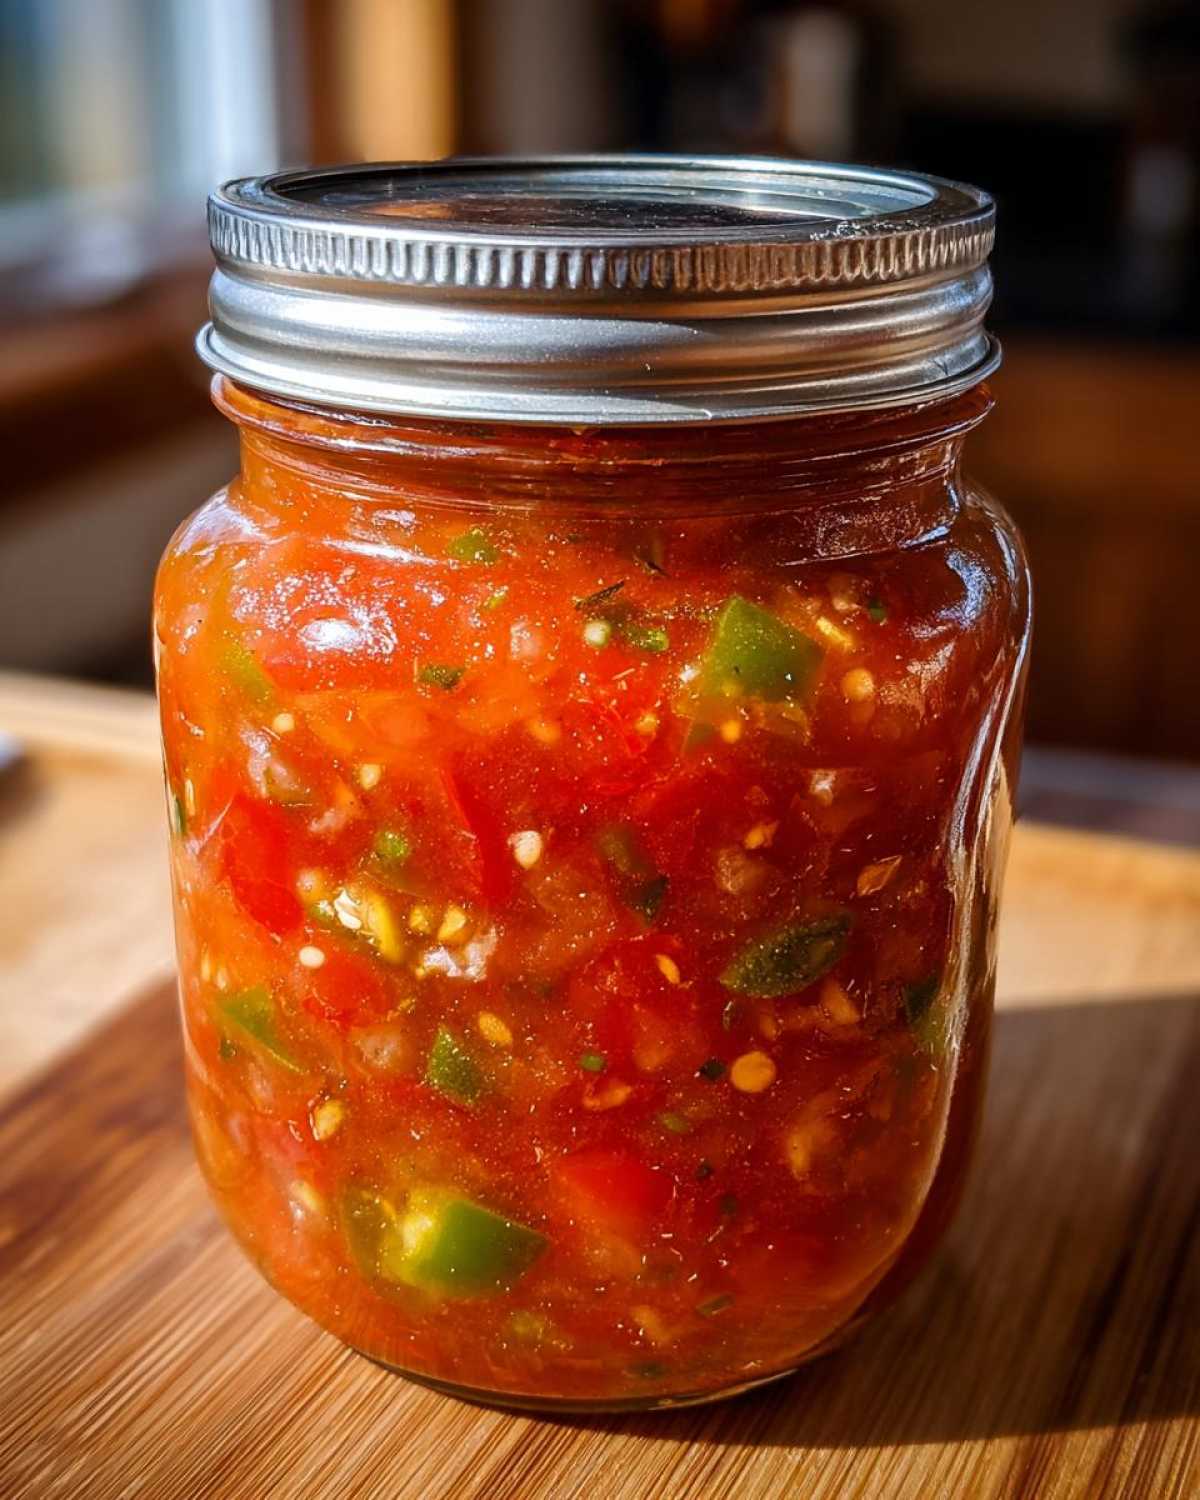
Why You’ll Love This Homemade Canned Salsa (Summer Harvest)
There are so many reasons this recipe has become a favorite in my kitchen. It’s a true taste of summer, all year long.
- Quick and Easy Preparation: You’ll be amazed at how straightforward this is. Even if you’re new to canning, this recipe is super approachable.
- Bursting with Fresh, Summer Flavors: Forget bland store-bought stuff. This salsa tastes like pure sunshine, thanks to fresh tomatoes and peppers.
- Perfect for Garden Surplus: Got too many tomatoes? This is the ultimate way to use them up. It’s a gardener’s dream!
- Long-Lasting Preservation: Properly canned, this salsa stays fresh for ages. You can enjoy your harvest well into winter.
- Versatile Dip and Ingredient: It’s not just for chips! Use it in tacos, on eggs, or as a base for other dishes.
Essential Ingredients for Your Homemade Canned Salsa (Summer Harvest)
Gathering your ingredients is the first exciting step toward canning your own delicious salsa. This recipe uses simple, fresh produce that truly shines. You’ll need about 5 pounds of ripe tomatoes. I like to use a mix of varieties for depth of flavor. Then, grab 2 pounds of onions – yellow or white work wonderfully here. For that lovely color and sweetness, we’ll use 2 pounds of bell peppers; any color combo is fantastic. To add a bit of heat, have 4 to 6 jalapeño peppers ready. Remember, you can always add more or fewer depending on your spice preference! Don’t forget 4 to 6 cloves of garlic, minced. For the canning liquid, you’ll need 1 cup of cider vinegar. This acidity is key for safe preservation. Finally, 2 tablespoons of salt and 1 tablespoon of cumin will bring all the flavors together. A pinch of cayenne pepper is optional if you crave extra warmth.
Specific Ingredient Notes and Substitutions
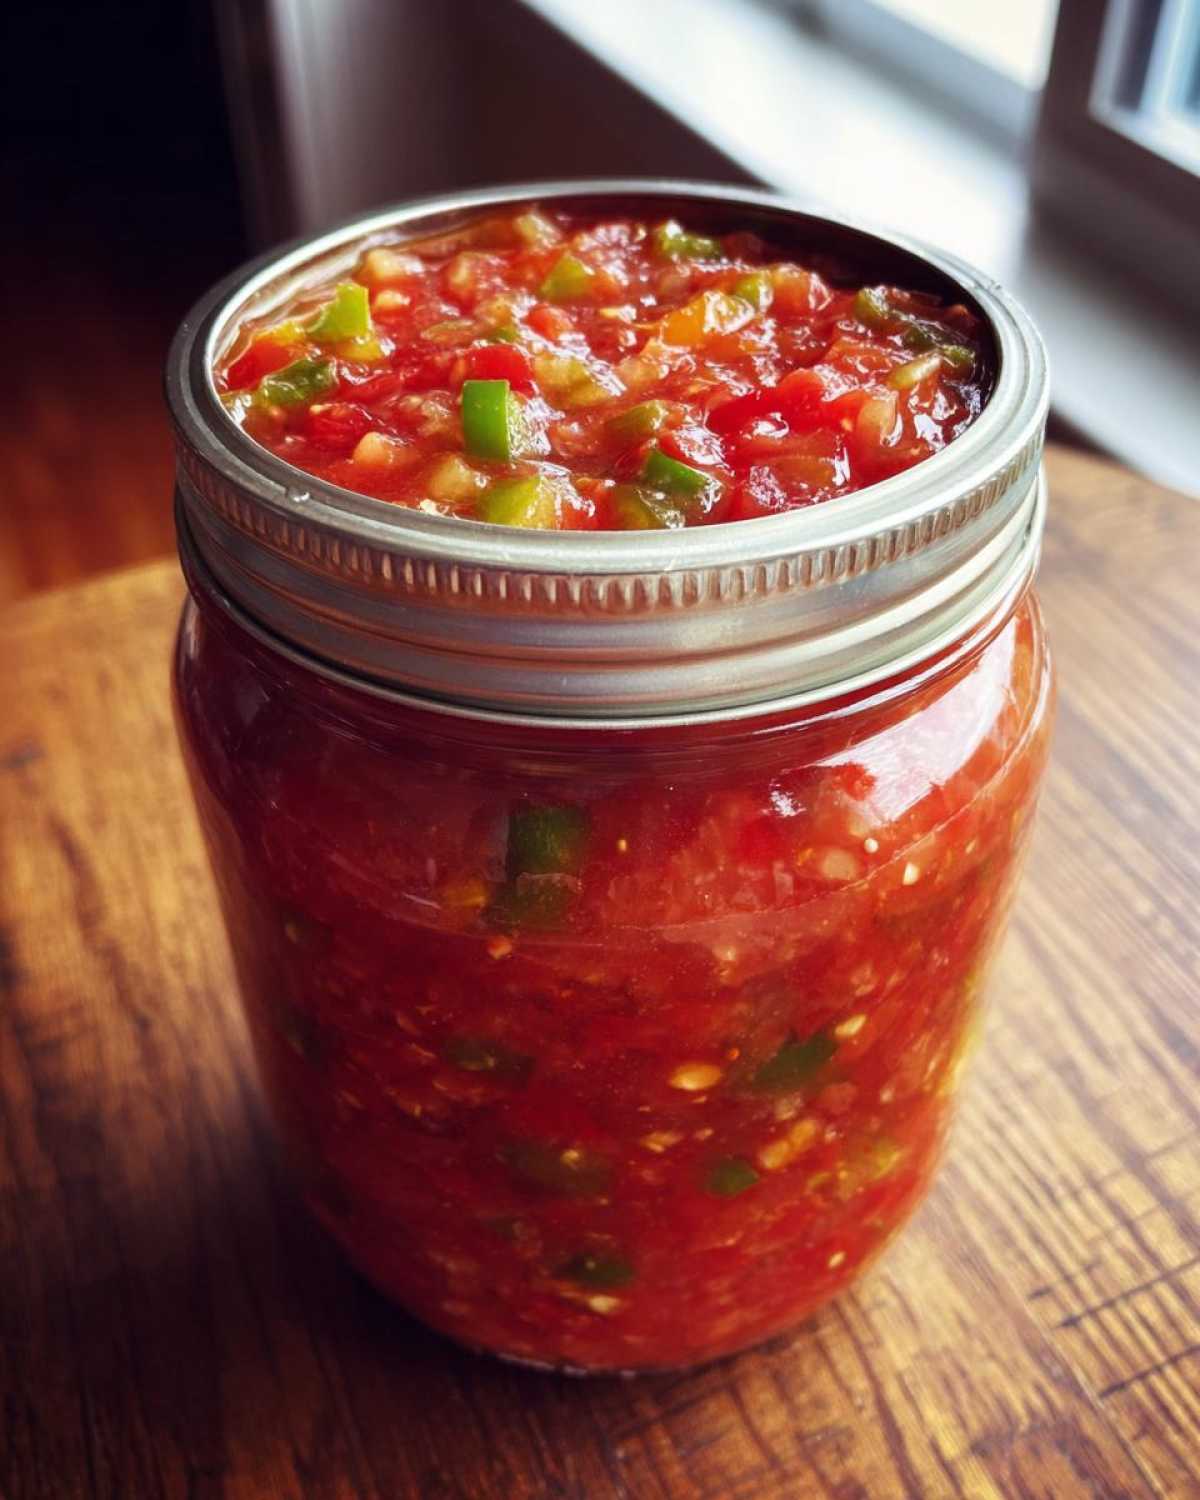
A few notes to make your homemade canned salsa perfect! For the tomatoes, you can leave the skins on for a rustic texture, or blanch and peel them if you prefer a smoother result. I usually leave them on; it’s one less step! The cider vinegar is crucial for the correct acidity needed for safe water bath canning. White vinegar can be used in a pinch, but cider vinegar adds a subtle sweetness. If you can’t find cumin, don’t worry! A little chili powder or even just salt and pepper can work, though cumin really adds that classic salsa zest. For those sensitive to onions, you can try using shallots, though the flavor will be milder. And when it comes to the jalapeños, always wear gloves when handling them, especially if you’re sensitive. Taste a small piece first to gauge its heat. This recipe is quite forgiving, so feel free to adjust the peppers to your liking.
Step-by-Step Guide to Making Homemade Canned Salsa (Summer Harvest)
Now for the fun part! Turning all those beautiful garden goodies into delicious, shelf-stable salsa. It might seem a bit daunting at first, but I promise, it’s quite manageable. Just follow these steps, and you’ll have jars of summer goodness ready in no time. It’s all about preparation and a little bit of patience.
Preparing Your Canning Station
Before you even chop a single vegetable, let’s get your canning station ready. You’ll need clean pint jars, lids, and rings. Wash them thoroughly. I usually pop my jars into the dishwasher on a hot cycle to sterilize them. Keep them warm until you’re ready to fill them; this helps prevent the jars from breaking when you add the hot salsa. Get your large water bath canner pot ready too. Fill it about two-thirds full with water.
Chopping and Combining Your Fresh Produce
Time to get chopping! Wash all your tomatoes, onions, bell peppers, and jalapeños. You can leave the skins on the tomatoes for a rustic feel, or blanch them briefly in boiling water, then shock them in ice water to easily slip off the skins. Chop the tomatoes, onions, bell peppers, and jalapeños into small, bite-sized pieces. Mince your garlic. Toss everything into a large, heavy-bottomed pot. This is where the magic starts to happen.
Simmering to Perfection
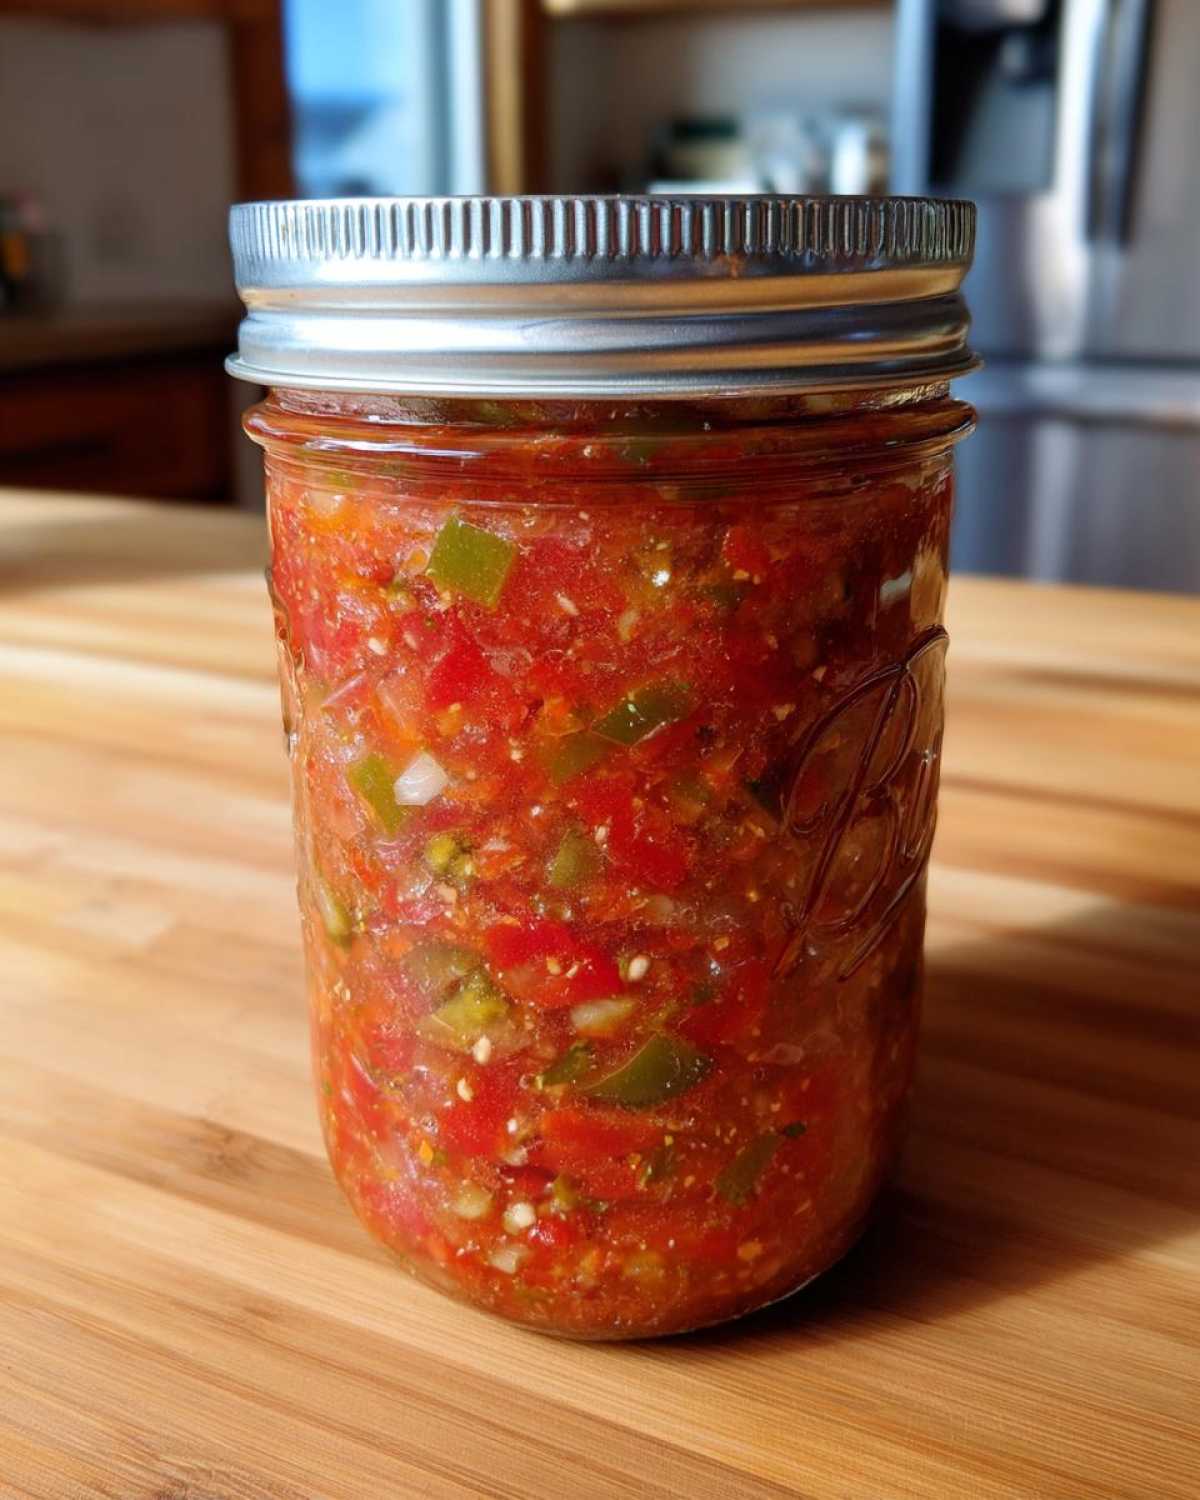
Add the cider vinegar, salt, and cumin to the chopped vegetables. If you like it spicier, add that pinch of cayenne pepper now. Give it all a good stir to combine. Bring the mixture to a boil over medium-high heat. Once it’s boiling, reduce the heat to low. Let it simmer for about 30 minutes, stirring occasionally. This simmering time helps meld the flavors and cook down the vegetables slightly, creating that perfect salsa consistency.
The Art of Water Bath Canning Your Salsa
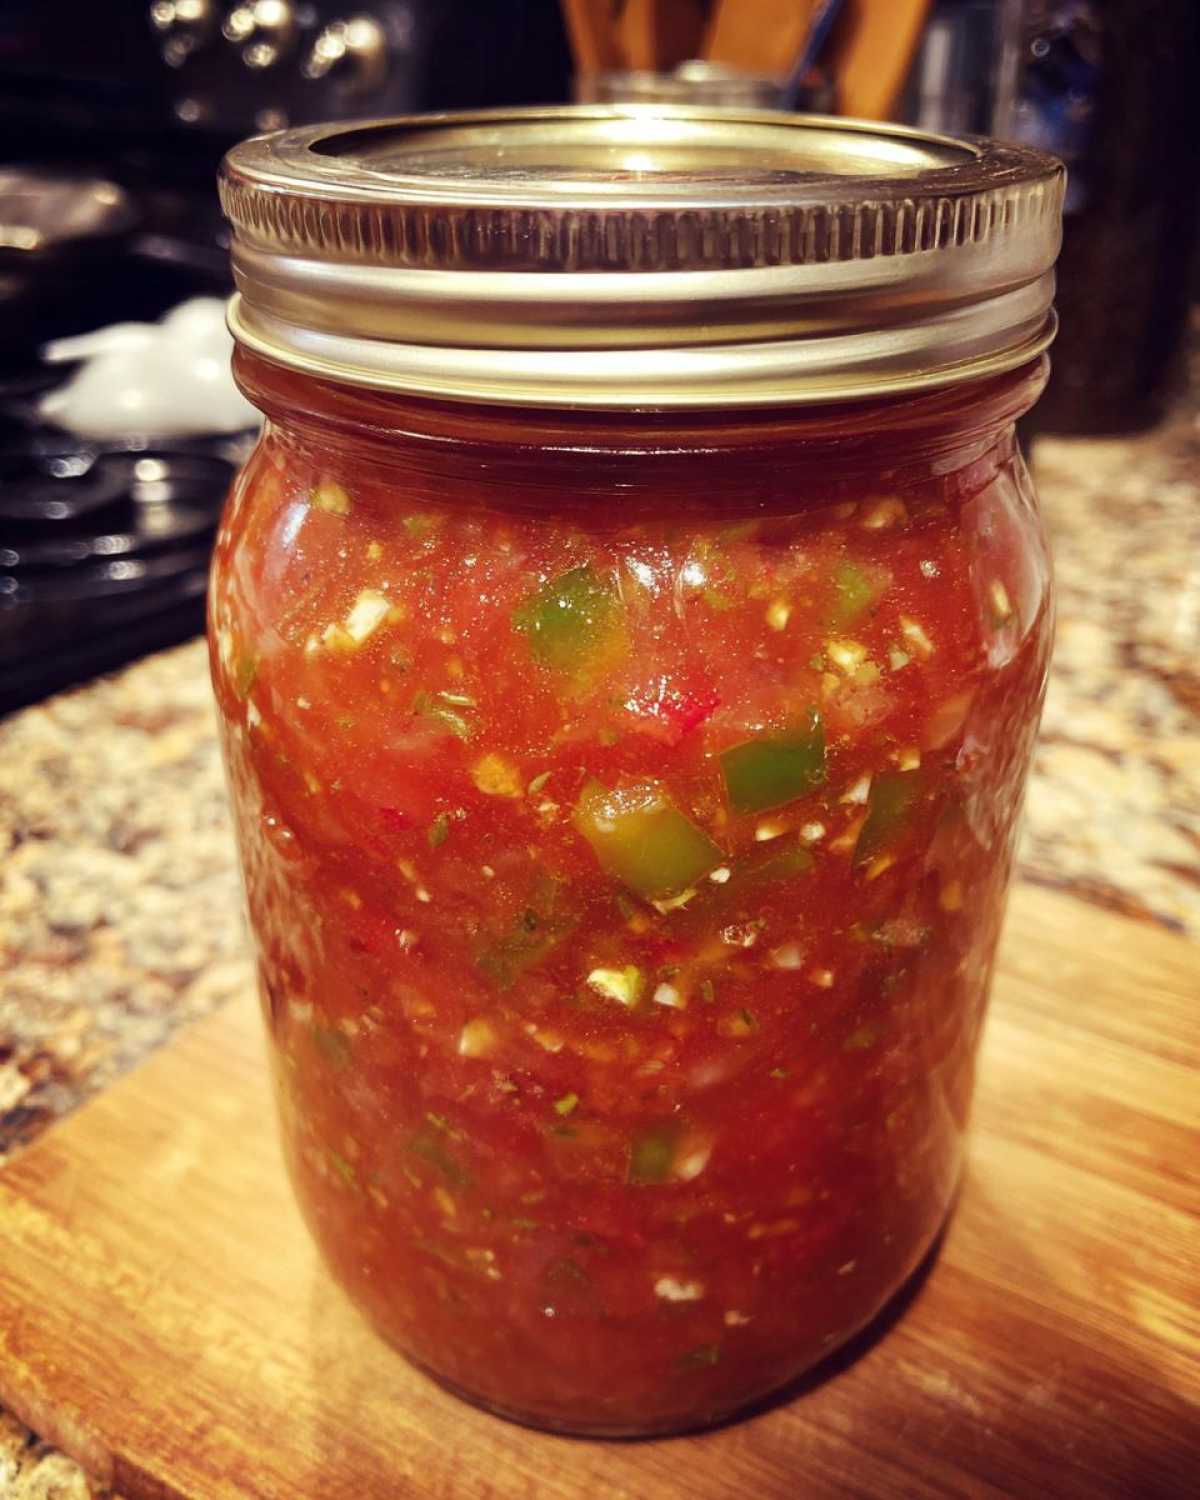
While your salsa simmers, bring your water bath canner to a rolling boil. Carefully ladle the hot salsa into your warm, sterilized jars. Leave about 1/2 inch of headspace at the top. This is important for creating a good seal. Wipe the rims of the jars with a clean, damp cloth to remove any salsa residue. Place the flat lids on the jars, then screw on the rings until they are just fingertip tight. Don’t overtighten them! Carefully place the filled jars into the boiling water bath canner, making sure they are covered with water. Process them for 15 minutes. After processing, carefully remove the jars from the canner using jar lifters. Place them on a towel-lined counter to cool completely. You’ll hear them ping as they seal! Check the seals after 12-24 hours; the lids should not flex.
Jen’s Tips for the Best Homemade Canned Salsa (Summer Harvest)
Over the years, I’ve picked up a few tricks for making my homemade canned salsa truly shine. My family always asks for “Mom’s summer salsa” even in the dead of winter! First, don’t be afraid to taste as you go during the simmering stage. Adjust the salt and spice levels to your family’s liking. I remember one year, we had an abundance of really mild jalapeños, so I added an extra one and some poblano peppers for a deeper flavor. It was a hit! Also, ensure your jars are truly clean. Even a tiny bit of oil or residue can prevent a good seal. I always give my jar rims an extra wipe with a vinegar-dampened cloth. It sounds fussy, but it makes a difference. Finally, don’t rush the cooling process. Letting the jars cool undisturbed on the counter is crucial for developing that satisfying seal. Happy canning!
Serving and Storing Your Homemade Canned Salsa (Summer Harvest)
My homemade canned salsa is so versatile! It’s perfect for dipping tortilla chips, of course. But I also love spooning it over scrambled eggs for breakfast. It’s fantastic on tacos, quesadillas, or even as a topping for grilled chicken or fish. It really brightens up any meal.
Delicious Serving Suggestions
Think of it as bottled sunshine for your meals! It’s wonderful with grilled meats. It makes simple tacos feel gourmet. And for game nights, it’s always a crowd-pleaser with chips.
Storage and Reheating Best Practices
Once sealed, your jars of homemade canned salsa can live happily in a cool, dark pantry for up to a year. Once you open a jar, just pop it in the refrigerator. It will stay fresh for about 2-3 weeks. If you’re reheating any, a gentle warm-up on the stovetop or in the microwave is perfect.
Frequently Asked Questions about Homemade Canned Salsa (Summer Harvest)
Got questions about making this delicious homemade canned salsa? I’m happy to help! Canning can seem a bit mysterious, but it’s really quite straightforward once you get the hang of it.
Can I use fresh tomatoes instead of canned? Absolutely! This recipe is designed for fresh garden tomatoes. That’s the whole point of a summer harvest salsa!
What kind of peppers should I use? While jalapeños are listed, feel free to experiment! Serranos add more heat, while poblanos offer a milder, smoky flavor. Bell peppers give it sweetness and color. Adjust the pepper mix to your taste.
Do I really need the vinegar? Yes, you do. The acidity from the cider vinegar is crucial for safe water bath canning. It helps prevent the growth of harmful bacteria. Don’t skip it!
Can I make this salsa without canning it? You sure can! If you plan to eat it within a week or two, just store it in the refrigerator. It’s just as delicious fresh.
How do I know if my jars sealed properly? After cooling, the center of the lid should be concave (curved inward) and should not flex when pressed. If a lid didn’t seal, refrigerate that jar and use it first.
Can I make a chunkier or smoother salsa? For a chunkier texture, just chop your veggies a bit larger. If you prefer it smoother, pulse the chopped ingredients in a food processor before simmering. Just be careful not to over-process into a puree.
PrintPreserve Summer’s Taste: 5 Amazing Homemade Canned Salsa Tips
Preserve the taste of summer with this easy homemade canned salsa recipe. Perfect for using up your garden’s bounty of tomatoes and peppers, this recipe will guide you through creating a flavorful salsa that stays fresh long after the growing season ends.
- Prep Time: 30 minutes
- Cook Time: 30 minutes
- Total Time: 1 hour 15 minutes (includes water bath processing)
- Yield: Approximately 6-8 pint jars
- Category: Salsa
- Method: Water Bath Canning
- Cuisine: American
- Diet: Vegetarian
Ingredients
- Tomatoes (about 5 pounds)
- Onions (2 pounds)
- Bell Peppers (2 pounds, any color)
- Jalapeño Peppers (4-6, adjust to spice preference)
- Garlic (4-6 cloves)
- Cider Vinegar (1 cup)
- Salt (2 tablespoons)
- Cumin (1 tablespoon)
- Optional: Pinch of cayenne pepper
Instructions
- Prepare your canning supplies: jars, lids, rings, and a large pot for water bath canning.
- Wash and chop all vegetables: tomatoes, onions, bell peppers, jalapeños, and garlic. You can leave the skins on the tomatoes or blanch and peel them if you prefer.
- Combine chopped vegetables in a large pot.
- Add cider vinegar, salt, cumin, and optional cayenne pepper to the pot.
- Stir everything together and bring the mixture to a boil.
- Reduce heat and simmer for 30 minutes, stirring occasionally.
- While the salsa simmers, prepare your water bath canner by filling it with water and bringing it to a boil.
- Carefully ladle the hot salsa into clean canning jars, leaving about 1/2 inch of headspace.
- Wipe the rims of the jars clean and place the lids and rings on.
- Process the jars in the boiling water bath canner for 15 minutes (adjust time for altitude if necessary).
- Remove jars from the canner and let them cool completely on a towel-lined counter. Check seals after 12-24 hours.
Notes
- For a smoother salsa, you can pulse the ingredients in a food processor before cooking.
- Adjust the number of jalapeños to control the heat level.
- Ensure your jars and lids are clean and sterilized before filling.
- Properly sealed jars can be stored in a cool, dark place for up to a year.
Nutrition
- Serving Size: 2 tablespoons
- Calories: 15
- Sugar: 2g
- Sodium: 150mg
- Fat: 0g
- Saturated Fat: 0g
- Unsaturated Fat: 0g
- Trans Fat: 0g
- Carbohydrates: 3g
- Fiber: 1g
- Protein: 0g
- Cholesterol: 0mg