

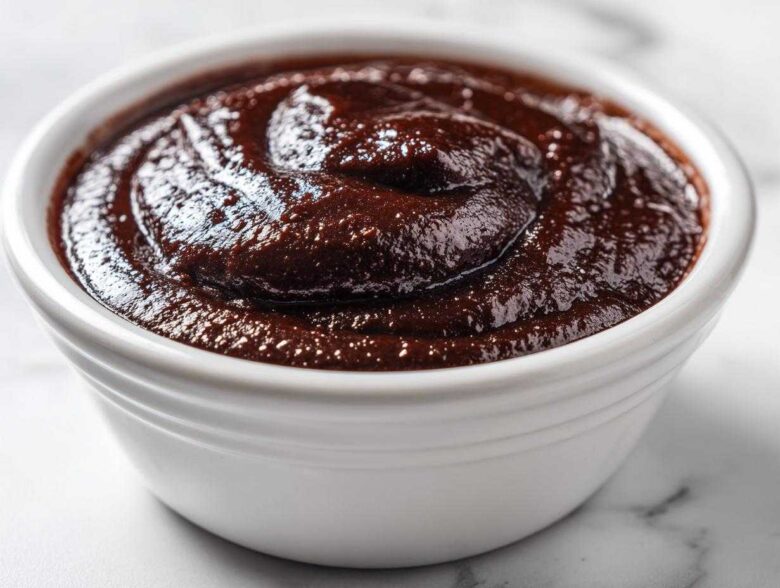
Oh man, I am so excited you’re here because we are tackling the ultimate comfort food today! Seriously, is there anything better than digging into a bowl of rich, cool chocolate when the day just needs a reset? Forget those sad little boxes and tubes—we are making proper, dreamy homemade chocolate pudding completely from scratch. Trust me when I say this is the silkiest, most decadent sweet treat you will ever whip up on the stovetop. It only takes about twenty minutes of actual cooking, and the feeling you get when you realize you made something this good yourself? Unbeatable! You can see more of my favorite kitchen hacks over at my recipe index!
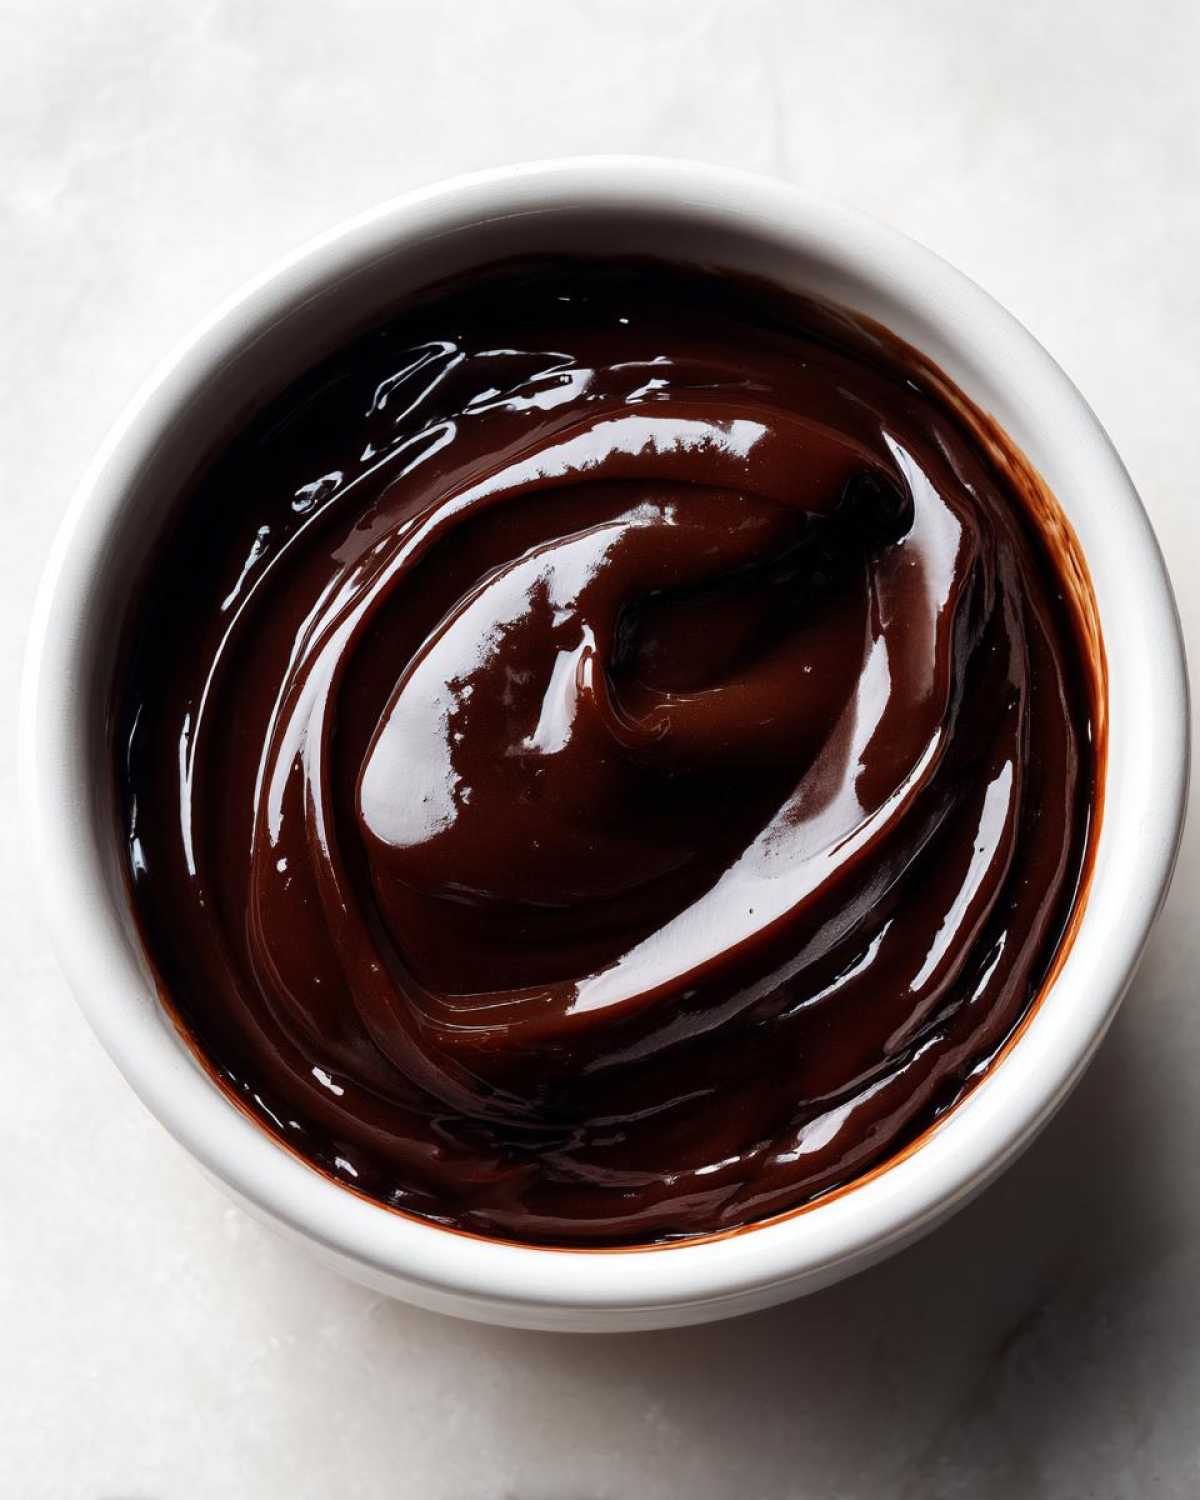
Why This Homemade Chocolate Pudding Recipe is the Best (Rich Chocolate Pudding Recipe)
You know those mixes you buy in the grocery aisle? They’re fine in a pinch, I suppose, but they taste… fine. This recipe, making a true creamy chocolate pudding from scratch, is in a totally different league. The difference is night and day! We’re getting a deep, glorious chocolate kick because we use real cocoa powder and a touch of butter right at the end. Forget the tinny, artificial aftertaste you get from boxed versions. If you love this level of decadence, you absolutely have to try my flourless chocolate cake or my warm coconut hot chocolate too!
This isn’t just pudding; it’s like tasting your happiest childhood memories, only better because it’s richer. I honestly think this is the best chocolate pudding recipe out there for anyone who wants serious flavor without spending half the day cooking. When you taste this rich chocolate pudding recipe, you’ll never go back to the store-bought stuff—promise!
Key Features of Our Homemade Chocolate Pudding
- It’s deeply chocolatey, made with high-quality cocoa.
- The texture is unbelievably silky smooth once chilled.
- It relies only on simple, common pantry staples you probably have right now.
- The entire stovetop cooking process moves really fast!
Gathering Ingredients for Silky Smooth Homemade Chocolate Pudding
Okay, stop what you’re doing and look at this ingredient list! This is why it’s so easy to pull off this amazing silky smooth pudding dessert on a weeknight. We’re not dealing with gelatin or weird stabilizers here; it’s all about classic kitchen workhorses. Don’t try to cheat on the milk, either—whole milk really helps deliver that creamy mouthfeel we’re chasing.
You’ll need:
- 1/2 cup granulated sugar
- 1/4 cup unsweetened cocoa powder (the better the quality, the richer the flavor!)
- 1/4 cup cornstarch (this is our thickening secret weapon!)
- 1/4 teaspoon salt
- 2 cups whole milk (do not substitute unless you absolutely have to)
- 2 large egg yolks (save those whites for meringues later!)
- 2 tablespoons unsalted butter (for shine and richness)
- 1 teaspoon vanilla extract
That’s it! Seriously, you can whip up this entire batch of homemade chocolate pudding before you even finish brewing your coffee. If you’re looking for another quick chocolate fix once you’re done here, check out my recipe for chocolate espresso protein truffles!
Step-by-Step Guide to Making Creamy Chocolate Pudding From Scratch
Alright, grab your whisk and find the biggest saucepan you own because we are cooking this puppy right on the stovetop! I know some folks are scared of heating milk and starch together, but that’s where the magic—and the texture—is made. The key here is constant motion! Don’t walk away once you start cooking, or you’ll end up scraping burnt bits off the bottom, and that means disaster for our silky smooth pudding.
First, whisk all your dry stuff—sugar, cocoa, cornstarch, and salt—in the pot. Then, slowly pour in the cold milk while whisking like you mean it until everything looks like smooth chocolate water. Get that over medium heat. You need to stir this non-stop for about five to eight minutes. You’ll notice it suddenly gets thick, almost like lava, and starts to bubble gently. That’s your sign to back off the heat a little bit!
Next comes the slightly nervous part: dealing with those yolks. We can’t just dump them in, or we’ll have sweet scrambled eggs floating around! Take about half a cup of that hot, wonderful pudding mix and slowly drizzle it into the yolks while you whisk like crazy in a separate small bowl. This is called tempering, and it gently warms the yolks up so they play nice with the rest of the batch. Once they’re warmed up, pour that yolk mix right back into the main pot. Keep stirring for just one more minute over low heat. Then, yank it off the burner and stir in that vanilla and the glorious butter until everything melts and shines!
If you’re looking for another fantastic stovetop treat that browns up nicely, you should peek at my peanut butter cup fudge bars recipe!
Tempering the Egg Yolks for Homemade Chocolate Pudding
I cannot stress this enough: tempering is non-negotiable for a smooth result. When you take that ladle of hot pudding mixture, pour it in a *thin stream* right onto the whisking egg yolks. You are essentially coaxing the yolks to accept the heat slowly. If you dump it all in at once, boom—you’ve got lumps that cooking won’t fix later on. Once they’ve absorbed some heat, they’re ready to rejoin the main pot without curdling.
Chilling Your Homemade Chocolate Pudding Dessert
Once everything is mixed and off the heat, divide it into your serving cups or bowl immediately. This is crucial: take a piece of plastic wrap and press it *directly* onto the surface of the pudding. If you let air touch it, you get that weird, sad skin, and nobody wants that on their easy chocolate pudding dessert. Then, pop it in the fridge for at least two hours until it’s firm and perfectly chilled.
Tips for the Best Silky Smooth Pudding Texture
You’ve cooked it, you’ve tempered the yolks—fantastic! Now, let’s talk about locking in that perfect texture so you get the most glorious silky smooth pudding imaginable. If, heaven forbid, you get a tiny clump while whisking on the stove, don’t panic! Just pull the pot off the heat immediately, take a fine-mesh sieve, and pour the entire mixture through it into a clean bowl. It catches any little bits of cooked egg or undissolved starch. Quick fix!
Also, I always feel like the cocoa powder quality makes a huge difference here. If you use a darker, Dutch-processed cocoa, that richness really comes through, making it taste gourmet instead of just homemade. Proper chilling time is the final step for texture. Don’t rush the two hours in the fridge; that rest time is when the cornstarch fully blooms and firms things up properly. When you’re ready for something lighter but still decadent, you can check out my berry quinoa parfait recipe!
Variations for Your Rich Chocolate Pudding Recipe
This rich chocolate pudding recipe is fantastic as written—truly a classic—but sometimes you just want to jazz things up a little bit, right? Since the base is so simple, it screams for little additions! If you want to lean into the dark side, skip the regular cocoa and go for Dutch-processed cocoa powder; the flavor darkens immediately. It’s a small change with a huge payoff.
For a little zing, a tiny pinch of cinnamon or a half-teaspoon of instant espresso powder dissolved in a splash of vanilla extract makes the chocolate taste even deeper. You wouldn’t believe how much coffee powder can enhance chocolate flavor! If you’re curious about other ways to use intense chocolate flavors, you have to look at my recipe for Mexican hot chocolate brownies. They are dangerously fudgy!
You can also mess with the milk; half-and-half instead of whole milk makes it unbelievably decadent, richer than a store-bought version by far. Just remember, if you use thinner milk, you might need to cook it just a minute or two longer to get that thickness.
Serving Suggestions for This Easy Chocolate Pudding Dessert
Now that your beautiful, creamy homemade chocolate pudding has set up perfectly, the fun part begins: dressing it up! Honestly, this easy chocolate pudding dessert is amazing all by itself, but a little topping never hurt anyone. I love to keep my presentation simple, though, because the star is really that silky texture.
A big cloud of freshly whipped cream on top makes it feel fancy, but if you’re feeling extra ambitious, try a few fresh raspberries or sliced strawberries peeking out from the side. For those who need more crunch in their life, crush up some shortbread cookies or even those crunchy chocolate wafers right over the top. If you’re a serious chocoholic like me, you must try shaving curls of high-quality dark chocolate over the top before serving. It looks elegant and tastes incredible! Speaking of dark chocolate, take a look at my dark chocolate covered strawberry skewers for another great chocolate finishing touch.
Storage and Make-Ahead Tips for Homemade Chocolate Pudding
One of the best things about this homemade chocolate pudding is that it’s practically designed to be made ahead! Since it needs that mandatory chilling time anyway, you can totally whip this up in the morning or the day before you plan to serve it. It’s perfect for when you need a great no bake chocolate pudding dessert but don’t want to risk burning anything while the main meal is cooking.
Remember that plastic wrap trick? Keep pressing it right onto the surface! This keeps out fridge smells and stops any texture changes. It stays wonderfully creamy for about three days in the coldest part of the fridge. Anything past that, and the cornstarch starts to break down a little—but honestly, it never lasts that long in my house anyway! If you need another make-ahead treat, my no-bake gingerbread energy balls are perfect to store in the freezer!
Frequently Asked Questions About Homemade Chocolate Pudding
You’ve got the recipe, but maybe you have a few last-minute snags! It happens to everyone, especially when you’re making a classic chocolate pudding for the first time on the stovetop. Don’t stress! This is honestly a very forgiving pudding recipe for beginners, but I’ve gathered a few common questions you might have before you start scooping.
If you’re feeling confident after reading these, you might want to bookmark my main beginner’s guide to pudding for future reference!
Can I use a different type of milk in this homemade chocolate pudding recipe?
Yes, you can, but whole milk gives the best richness! If you use skim milk, the final texture will be noticeably thinner and less creamy, which defeats the point of making this amazing homemade chocolate pudding.
How do I ensure my stovetop pudding recipe sets firmly?
Make sure you cook it until it bubbles gently on the stove—that means the cornstarch has activated! Then, don’t cheat the chill time. A minimum of two hours is needed for the *stovetop pudding recipe* to fully set up into that perfect sliceable consistency.
Why did my pudding turn out grainy instead of silky smooth?
Nine times out of ten, graininess means either the egg yolks weren’t tempered slowly enough and they scrambled a tiny bit, or you didn’t whisk the dry ingredients well enough before adding the milk. Just strain it next time, it usually fixes it right up!
Can I make a vegan version of this easy chocolate pudding dessert?
It takes a bit of tweaking! You’d swap the whole milk for a rich plant-based milk like full-fat oat or cashew milk, and you’d skip the egg yolks entirely, increasing the cornstarch by about one extra tablespoon to make up for that lost thickening power for your easy chocolate pudding dessert.
Estimated Nutrition for This Classic Chocolate Pudding
Listen, I always feel a little silly putting numbers on something this comforting, but I know some of you track these things! Because we use real butter and egg yolks to get that luxurious texture in our classic chocolate pudding, the numbers are a bit different than the watery stuff in the store. Just remember, these nutrition estimates are based purely on the ingredients listed in the recipe above, and they can definitely change depending on the exact brands and milk you use.
For a standard single serving of this delicious dessert:
- Calories: Around 285 per serving
- Fat: Roughly 12 grams (thanks to that lovely butter!)
- Protein: About 7 grams
- Carbohydrates: Around 38 grams
Honestly, for something this decadent and made completely from scratch, I think those numbers are pretty good! It’s all about enjoying life, and what’s better than a bowl of perfect pudding? These numbers are a great thing to keep in mind if you are planning your week, but don’t stress too much over them when you’re diving in! If you are looking for another great classic that can be tracked easily, you have to check out my classic chocolate chip cookies recipe!
PrintThe Ultimate Creamy Homemade Chocolate Pudding: Rich, Easy, and Better Than Store-Bought
Make a rich, silky smooth chocolate pudding completely from scratch using basic ingredients. This stovetop recipe is simple to follow and results in a decadent dessert superior to any mix.
- Prep Time: 10 min
- Cook Time: 10 min
- Total Time: 20 min
- Yield: 4 servings
- Category: Dessert
- Method: Stovetop
- Cuisine: American
- Diet: Vegetarian
Ingredients
- 1/2 cup granulated sugar
- 1/4 cup unsweetened cocoa powder
- 1/4 cup cornstarch
- 1/4 teaspoon salt
- 2 cups whole milk
- 2 large egg yolks
- 2 tablespoons unsalted butter
- 1 teaspoon vanilla extract
Instructions
- In a medium saucepan, whisk together the sugar, cocoa powder, cornstarch, and salt until combined.
- Gradually whisk in the whole milk until the mixture is smooth.
- Place the saucepan over medium heat. Cook, stirring constantly with a whisk, until the mixture thickens significantly and begins to bubble. This takes about 5 to 8 minutes.
- Reduce the heat to low. In a small bowl, lightly whisk the egg yolks. Scoop about 1/2 cup of the hot milk mixture into the yolks while whisking constantly to temper them.
- Pour the tempered yolk mixture back into the saucepan, whisking constantly. Continue to cook for 1 minute, stirring well, but do not let it boil rapidly.
- Remove the saucepan from the heat. Stir in the butter and vanilla extract until the butter melts and is fully incorporated.
- Pour the pudding into individual serving dishes or a single bowl. Press plastic wrap directly onto the surface of the pudding to prevent a skin from forming.
- Chill in the refrigerator for at least 2 hours, or until completely cold and set.
Notes
- For a deeper chocolate flavor, use dark or Dutch-processed cocoa powder.
- If you prefer a lighter texture, you can gently whisk in 1/2 cup of cold heavy cream after the pudding has cooled slightly before chilling.
- This pudding is best eaten within 3 days.
Nutrition
- Serving Size: 1 serving
- Calories: 285
- Sugar: 35
- Sodium: 150
- Fat: 12
- Saturated Fat: 7
- Unsaturated Fat: 5
- Trans Fat: 0
- Carbohydrates: 38
- Fiber: 2
- Protein: 7
- Cholesterol: 75