

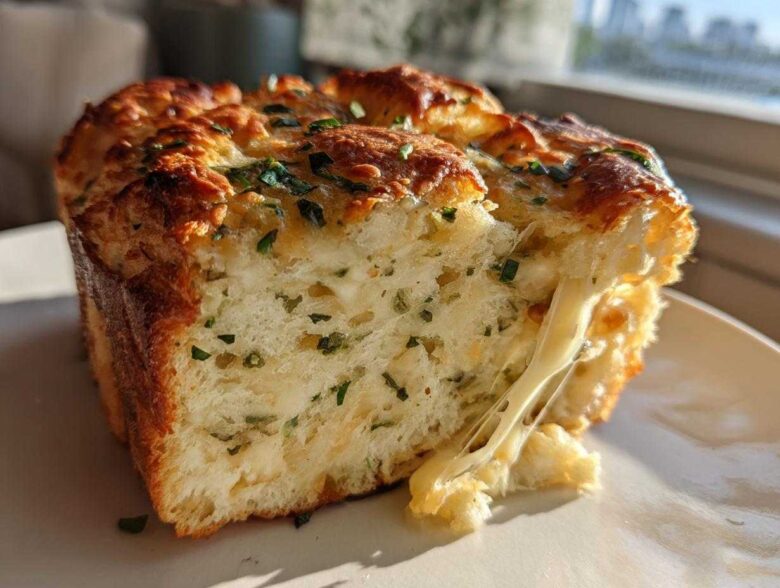
After all our years moving around and cooking over open fires in different countries, sometimes you just crave something simple, reliable, and utterly delicious that doesn’t require constant attention. That’s where the magic of the bread machine comes in! It was the closest thing we found to a ‘set it and forget it’ appliance in Lagos sometimes, I swear. This recipe for Italian herb and cheese bread is my new favorite way to get a stunning, savory loaf onto the counter with almost zero fuss. It’s so perfect for anyone just dipping their toes into baking, and honestly, the smell alone will make your kitchen feel like the coziest spot in the house. We’re talking about a truly *good* sandwich loaf that slices like a dream, even after being made by a machine!
If you want to explore more of our simple, flavor-packed finds, you can always check out all our recipes over at the AfriPaket blog!
Why This Easy Italian Herb and Cheese Bread Machine Recipe Works So Well
I get it—baking can look intimidating, especially if you’re new to the whole process or if you’ve just pulled your bread machine out of storage after a few years. But this loaf? This is your new best friend. It’s truly superior because it manages to pack huge Italian flavor into a foolproof machine cycle. It’s such a delight to have found a bread machine herb bread that tastes complex but requires minimal fuss from me. Looking for more simple machine ideas? I’ve rounded up my favorites for you over on my dedicated page for beginner bread machine recipes.
- It delivers maximum cheesy, herby flavor without needing to knead or punch down dough.
- It develops a fantastic, sturdy structure perfect for slicing thick for sandwiches.
- We skip the mess! It’s the easiest way to get a fresh, savory loaf for dinner tonight.
Built for the Beginner Bread Machine User
Honestly, this is the definition of a «dump and go» recipe. Alex is the methodical one, but even he loves this because you literally measure everything and toss it in the order the manual tells you. The machine does the heavy lifting—the complex kneading, the rise, the baking—all automatically! You just have to listen for that beep when it’s time to add the flavor boosters. Trust me, if you own a bread machine, you can nail this easy bread machine recipe.
Achieving the Perfect Sandwich Loaf Texture
The biggest frustration with homemade bread is often slicing it cleanly; it just crumbles everywhere, right? Not with this recipe! Because we use high-protein bread flour and rely on the machine’s steady Basic White cycle, we form a stable gluten structure. This stability is what creates that beautiful, dense-yet-soft crumb. When it cools properly, you’ll get those perfect, non-crumbly slices you want for making the ultimate savory sandwich loaf.
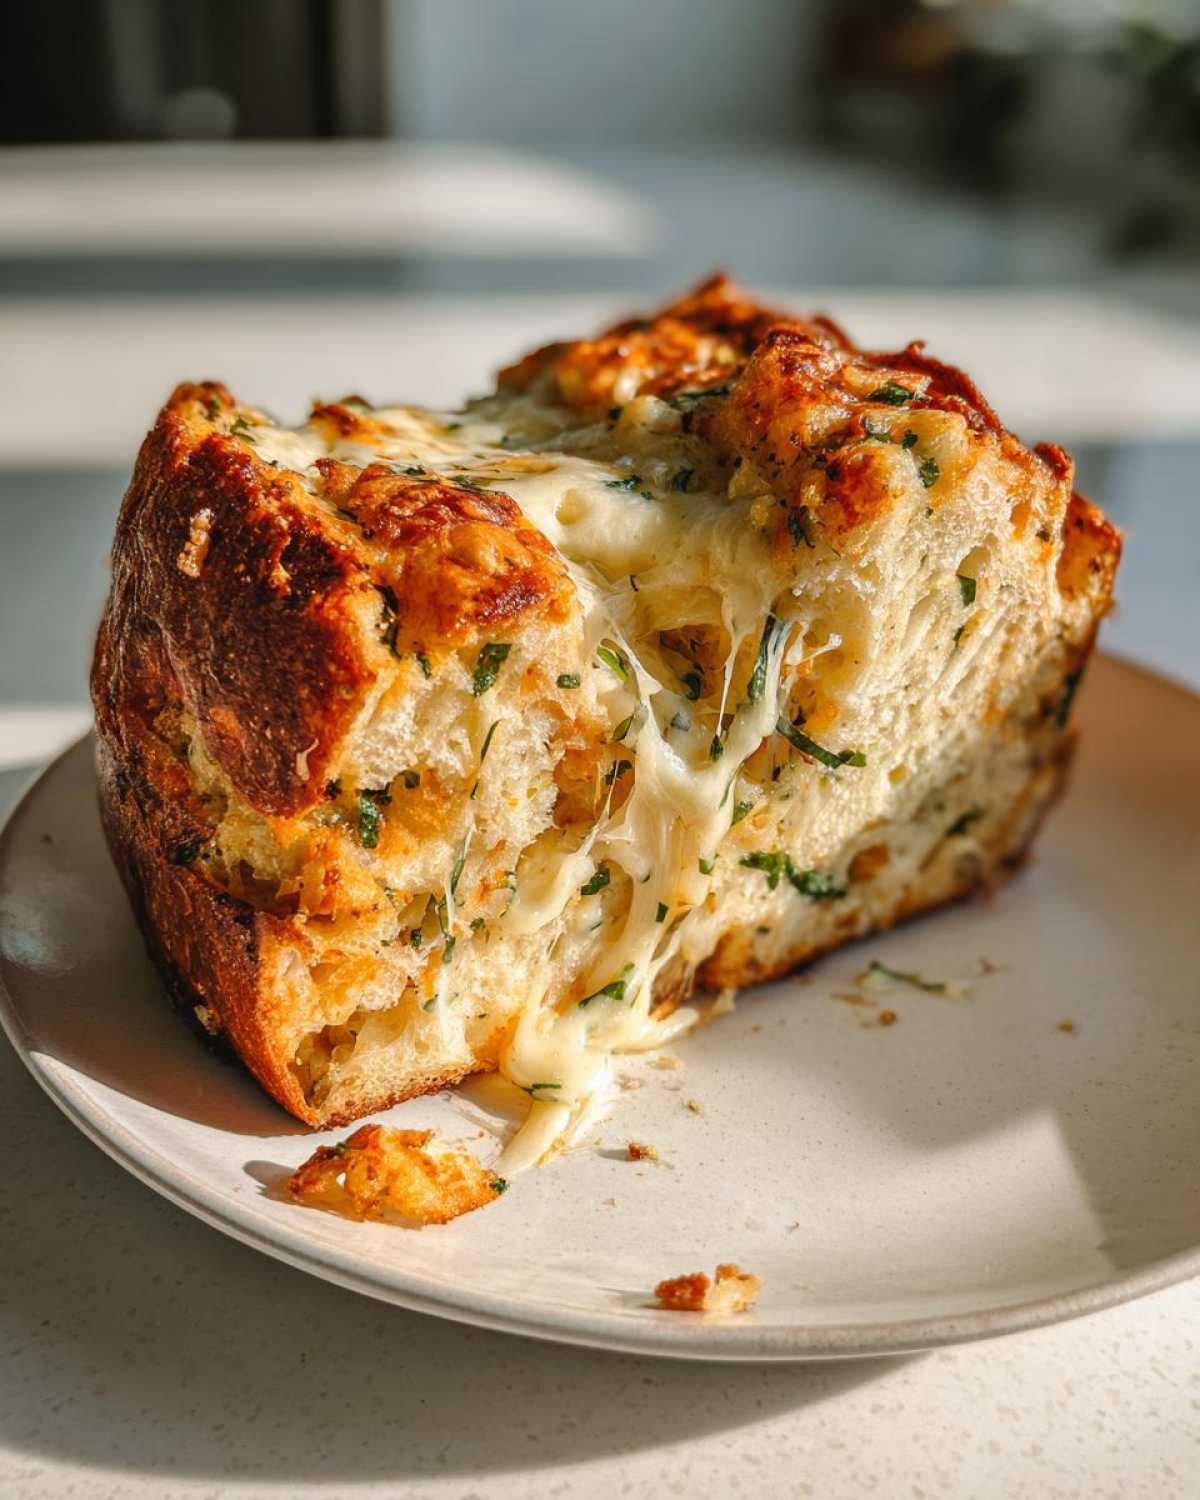
Gathering Ingredients for Your Italian Herb and Cheese Bread
Okay, let’s talk ingredients! Getting the measuring right here is crucial because the bread machine is sensitive to ingredient ratios, especially the liquid needed for that perfect rise. Don’t worry; once you measure this out, it’s all easy street. We need specific things for this italian herb and cheese bread to shine. Make sure you have your 3 cups of reliable bread flour—it really makes a difference!
Here’s exactly what you need waiting on your counter:
- 1 cup water—and this is important—it needs to be warm, about 80°F. Not hot, just lightly warm, you know?
- 2 tablespoons olive oil.
- 3 cups bread flour.
- 1 tablespoon granulated sugar.
- 1 teaspoon salt.
- 1 1/2 teaspoons active dry yeast. Please check that date on the package!
- 1 tablespoon dried Italian seasoning blend.
- 1 teaspoon garlic powder.
- 1/2 cup shredded Parmesan cheese.
- 1/2 cup shredded mozzarella cheese.
See? Nothing too wild, but those individual measurements guarantee a beautifully textured, savory loaf.
Step-by-Step Instructions for Your Bread Machine Herb Bread
This is where the machine truly earns its keep! Getting the order right for your easy bread machine recipe makes all the difference between a perfect loaf and a soupy mess. We follow the rules laid out in the manual—always liquids first—and then we wait for the machine to prompt us before dumping in all that cheesy goodness. If you’re looking for other hands-off baking wins, check out my favorite easy bread machine recipes for inspiration!
Loading the Pan: Liquid First
Remember our talk about the structure? It starts here! Pour your warm water and olive oil into the machine pan first. Next, layer in the dry stuff—that’s the bread flour, sugar, and salt—gently on top. Finally, make a small divot right in the center of the flour mound and carefully place your active dry yeast there. Don’t let the yeast touch the salt or the liquid yet. That’s the secret handshake for happy yeast!
Setting the Cycle and Timing the Add-Ins for Parmesan Herb Bread
Select the standard Basic White Bread cycle and choose either Medium or Dark for your crust color—I always lean toward Dark for that extra depth! Now, the important part: stay nearby! You need to listen for the machine’s “Add-In” signal beep, which happens *before* the final kneading section finishes. When you hear it, quickly lift the lid and evenly sprinkle in all your seasonings (Italian blend and garlic powder) and both cheeses. Close the lid right away so the dough doesn’t deflate while you’re making this amazing parmesan herb bread.
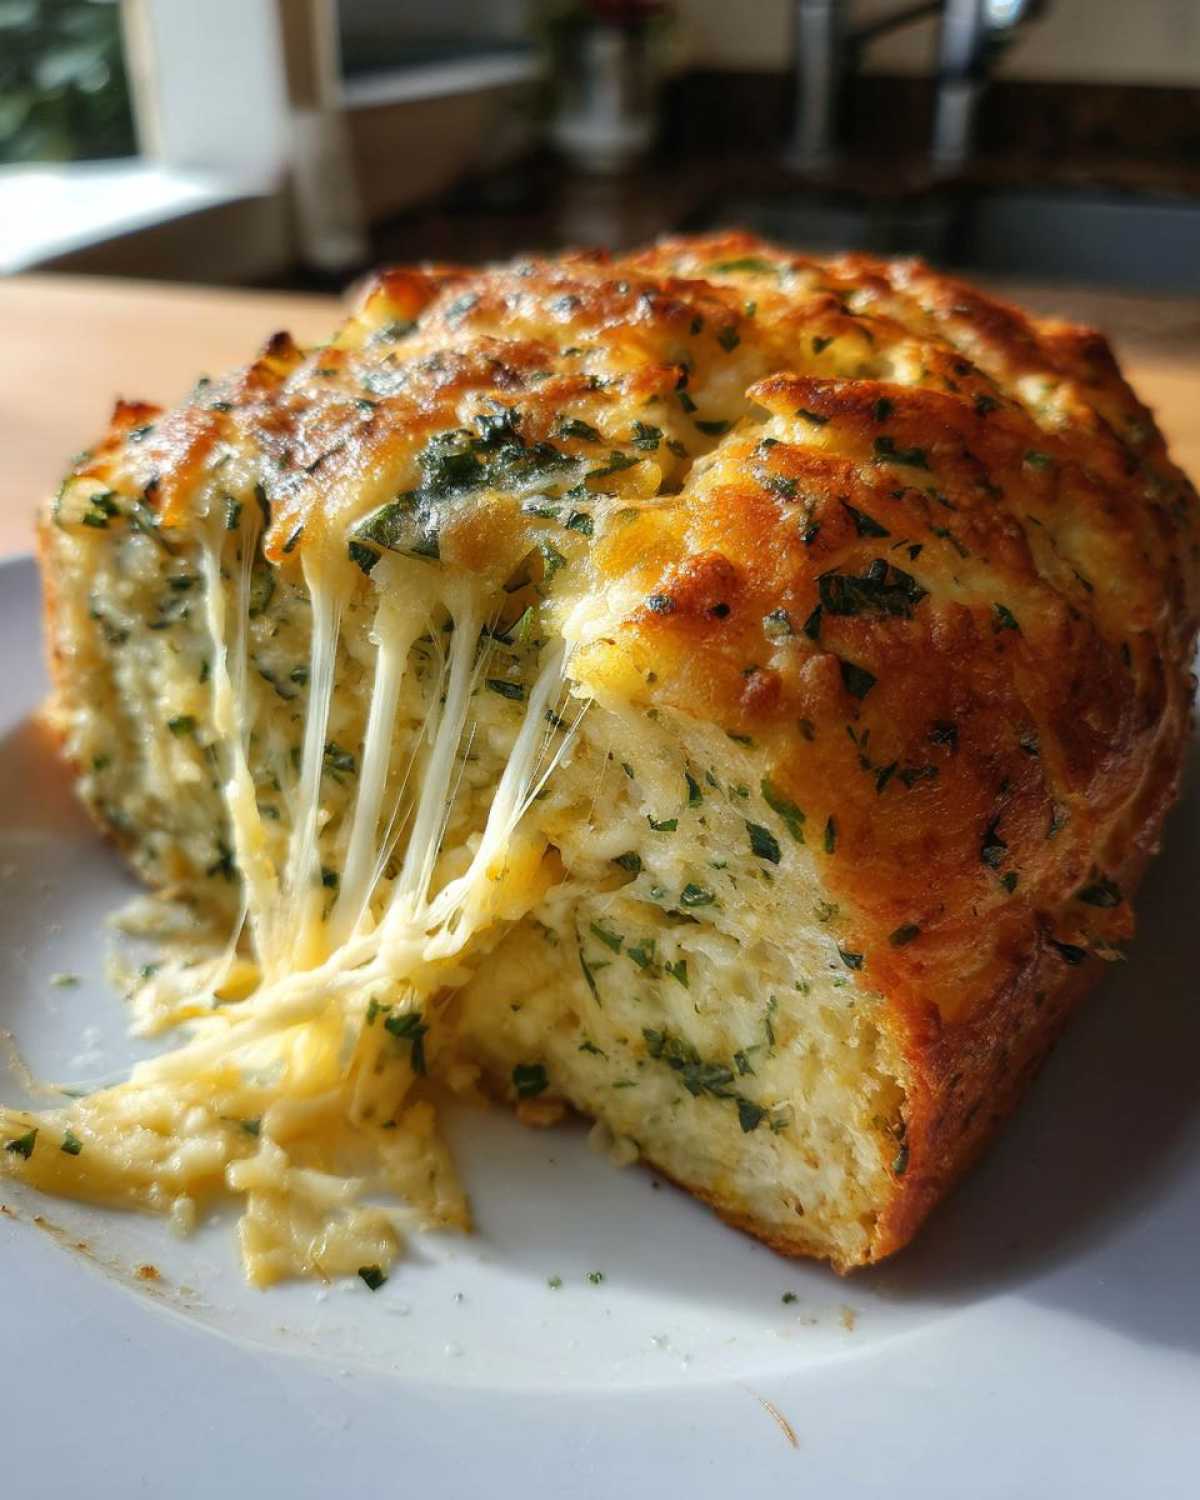
Tips for Perfecting Your Italian Cheese Bread
Even though the machine is doing the work, a few tiny details can elevate this from a good loaf to an absolutely amazing italian cheese bread. First off, water temperature is non-negotiable! If the water is too hot, you kill your yeast, and you’ll end up with a sad, dense brick. Keep it right around 80°F, just slightly warm to the touch. Also, please, for the love of savory loaves, stick to bread flour! It has that extra protein it needs to handle all those cheese additions without collapsing halfway through the bake.
Here’s my favorite little trick for the cheese: I know the recipe calls for shredded cheese, but if you have a spare three minutes, shredding your own Parmesan and Mozzarella makes the biggest difference. Pre-shredded cheese is coated in anti-caking agents that can sometimes prevent that beautiful, gooey melt we are looking for in our cheesy dinner bread. Freshly grated cheese incorporates so much smoother and creates those lovely cheese pockets throughout the crumb.
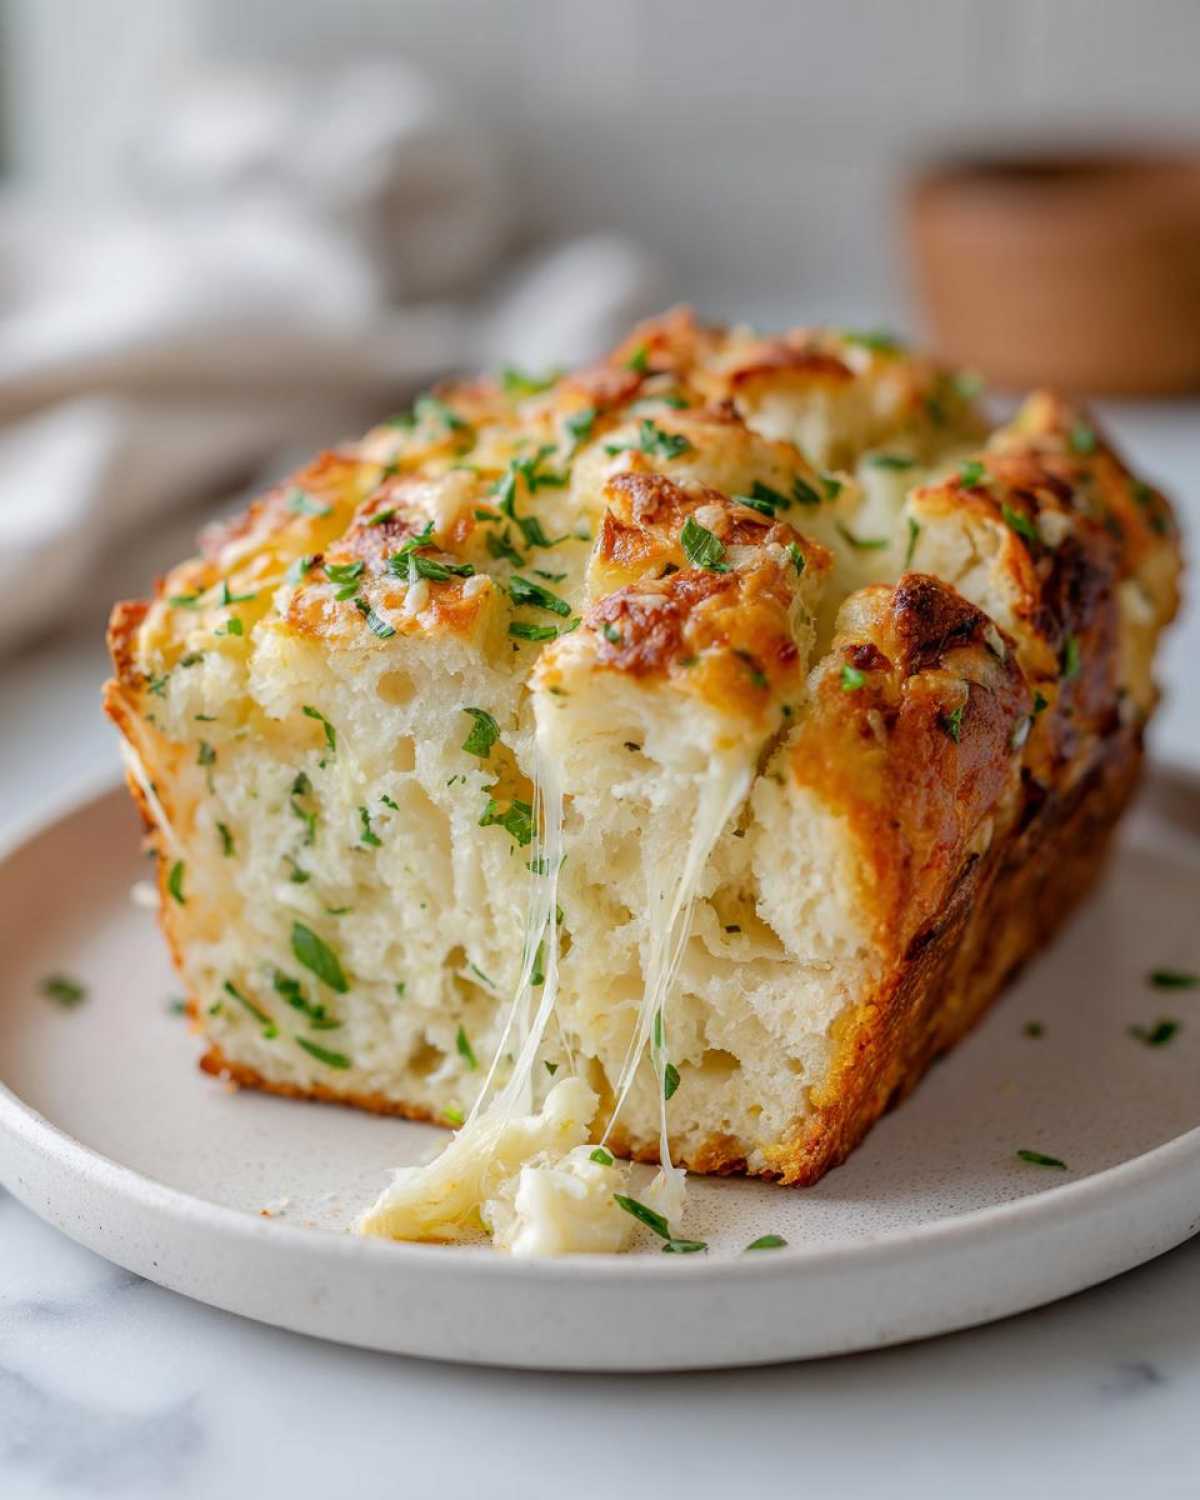
Variations: Making Rosemary Oregano Bread or Garlic Herb Bread
One of the great things about this machine recipe is how easily you can customize the flavor profile while it’s baking! If the Italian blend feels a little too general for what you’re craving, feel free to switch things up. Say you want something earthy and fragrant—just swap the Italian blend for 1 tablespoon of crushed dried rosemary and oregano. That gives you a fantastic rosemary oregano bread that pairs beautifully with roasted meats.
Or, maybe you want to lean hard into the savory profile to serve alongside something like a creamy soup? For an intense garlic herb bread experience, keep that 1 teaspoon of garlic powder, but also toss in about 1/2 teaspoon of onion powder when you add the cheese. That extra layer of allium flavor really kicks it up a notch. You can even dive into some of our favorites that go great with savory sides, like these roasted garlic mashed potatoes!
Serving Suggestions for Your Cheesy Dinner Bread
So, the machine is done, and you have this glorious, aromatic loaf of cheesy dinner bread cooling on the rack—now what? Honestly, this bread is so flavorful it stands perfectly well on its own! But if you want to turn it into a real meal centerpiece, I always pair it with something creamy that needs dipping action. It’s absolutely phenomenal when dunked into a rich tomato soup, which you know we have a fantastic recipe for over here—you have to try our creamy tomato bisque!
It’s equally wonderful sliced thickly and served alongside any saucy pasta dish, soaking up all that extra marinara. Seriously, it’s better than garlic bread, in my humble opinion, because it’s already got that wonderful cheese baked right in!
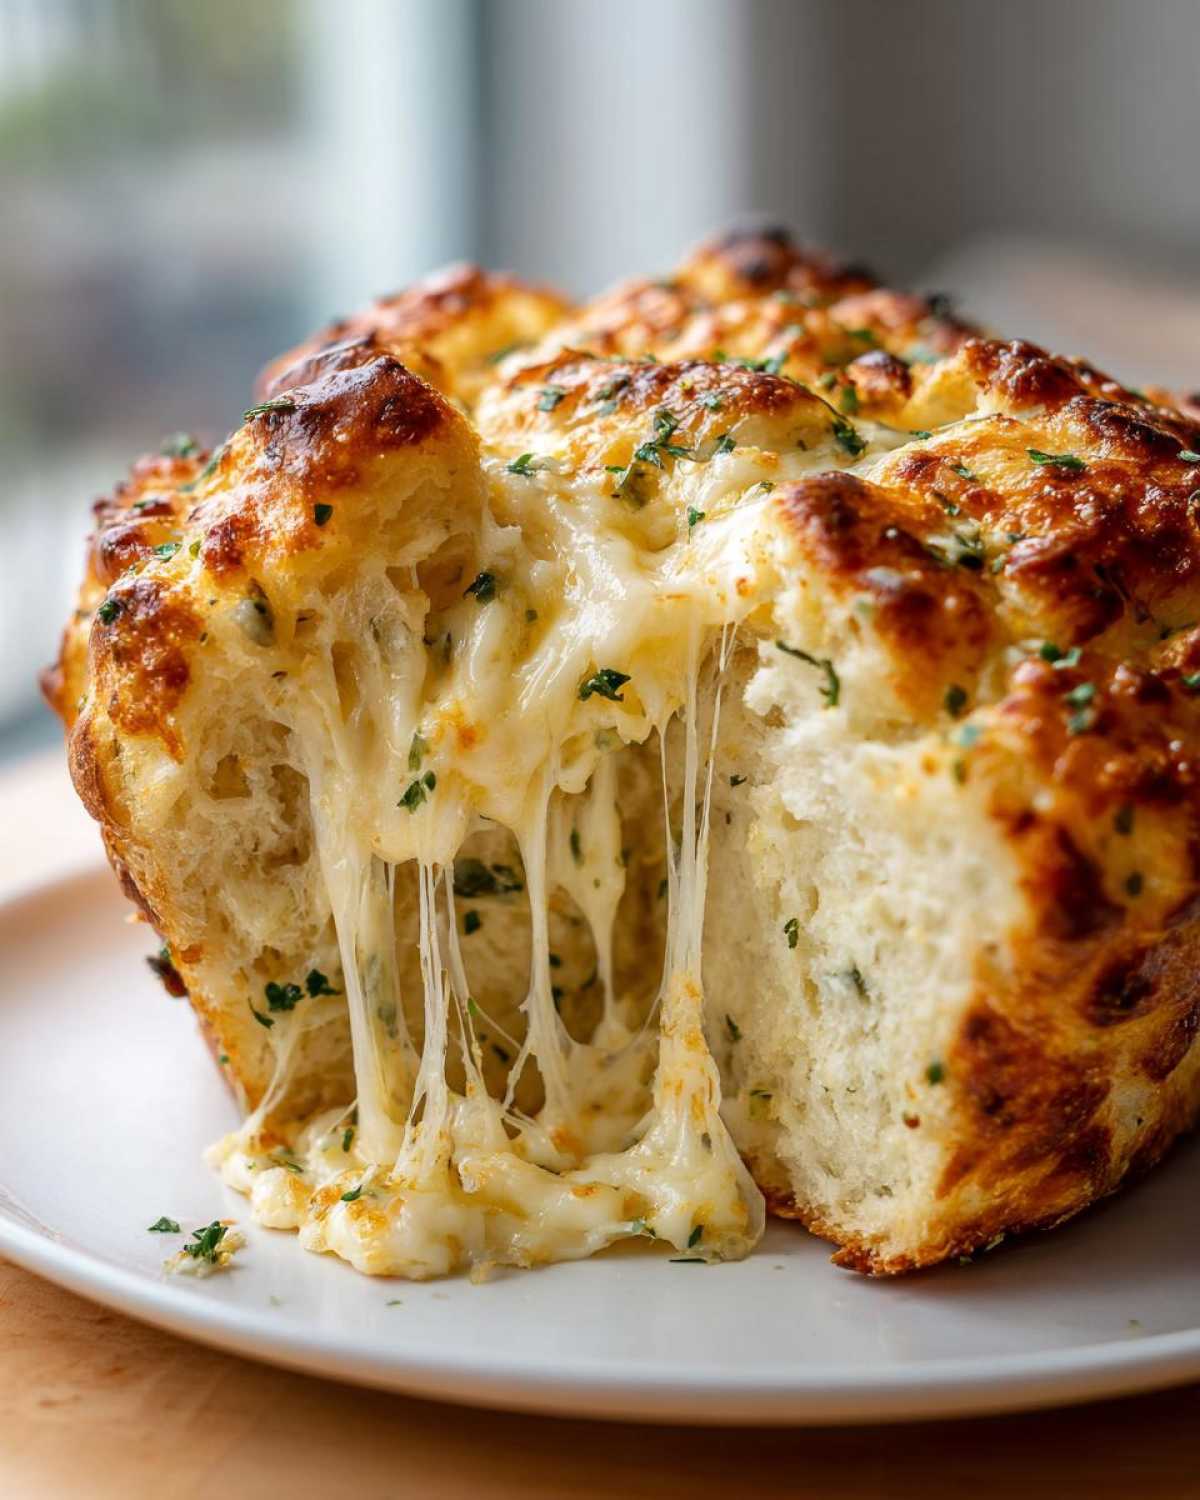
Storage and Reheating Your Italian Herb and Cheese Bread
This loaf is so good you’ll definitely want some leftovers, but the cheese means we need to treat it right! The best rule for keeping your savory bake fresh is to let it cool completely—I mean *completely*—before you wrap it up. Once it’s cooled down, pop your italian herb and cheese bread into an airtight container. It should stay perfectly soft and ready to eat at room temperature for up to three days. Don’t even think about the fridge; it just dries out baked goods!
When you pull out a slice later, you need to wake up that cheese flavor again. My trick? Wrap a slice loosely in a damp paper towel and microwave it for just 10 to 15 seconds. That little burst of steam softens the crumb beautifully and brings the Parmesan and Mozzarella right back to life. Instant freshness!
Frequently Asked Questions About Bread Machine Herb Bread
It’s natural to have a few questions when you’re using a new machine or recipe, especially one as flavorful as this bread machine herb bread! Don’t stress if your setup is a little different than mine; we can troubleshoot together. I’ve gathered a few of the questions I get asked most often about settings and ingredients for this savory loaf.
Can I use the ‘Dough’ cycle for this Italian Herb and Cheese Bread?
Oh, absolutely, you can! If your machine doesn’t handle the bake well or you just prefer that oven-baked crust, just run the ‘Dough’ cycle. When that cycle finishes, gently punch the dough down, shape it into a standard loaf, place it in your greased loaf pan, and pop it into a preheated oven at 375°F (190°C). It usually takes about 30 to 35 minutes to bake perfectly. It’s a great pivot for those who love the initial mix but prefer oven baking!
What if my bread machine does not have an ‘Add-In’ signal?
This happens all the time, especially if you have a lovely, reliable beginner bread machine! If you listen closely, you can usually time it out. The ‘Add-In’ signal comes before the final kneading period starts. For the standard Basic White cycle, that’s usually around 1 hour and 15 minutes into the entire process. That’s the crucial moment: open the lid, drop in your seasonings and cheese mixture quickly, and shut it tight. This prevents the dough from deflating while still incorporating those delicious flavors.
Can I substitute the cheese in this recipe?
Yes, you totally can! Mozzarella and Parmesan are my go-tos because they melt beautifully and have that classic Italian note, but I encourage you to experiment with what you love. If you want a sharper, nuttier flavor in your cheesy dinner bread, try swapping both cheeses out for 1 cup of Gruyère or a good sharp white cheddar. Just remember to stick to the total 1 cup volume of cheese to keep the moisture balance right!
Nutritional Estimate for This Savory Loaf
Now, I always caution folks that these numbers are just estimates, especially since how much flour clings to your scoop can change things! But based on the ingredients listed for this satisfying loaf, here’s what you can generally expect per slice of this italian herb and cheese bread. Remember, this is a rich, cheesy bread, so moderation is key if you’re tracking macros closely!
- Calories: Approximately 180
- Fat: About 6g
- Carbohydrates: Around 27g
- Protein: Roughly 6g
- Sodium: Around 300mg
It gives you a wonderful, cheesy foundation for any meal, so enjoy knowing what you’re working with!
Share Your Homemade Italian Herb and Cheese Bread
I truly hope you loved making this ridiculously easy loaf! Once you try this cheesy dinner bread, I want to hear all about it. Did you stick to the classic Italian herbs, or did you try one of the variations we talked about? Please leave a rating for this recipe right below this section, and certainly share a photo on social media if you made something beautiful. Tag us! We absolutely love seeing what you bake in your kitchens!
PrintEasy Italian Herb and Cheese Bread Machine Loaf
Make a flavorful, sliceable Italian herb and cheese bread right in your bread machine. This recipe is perfect for beginners and yields a delicious loaf for sandwiches or dinner.
- Prep Time: 10 min
- Cook Time: 3 to 4 hours (machine cycle)
- Total Time: 3 hours 40 min
- Yield: 1 loaf
- Category: Baking
- Method: Bread Machine
- Cuisine: Italian
- Diet: Vegetarian
Ingredients
- 1 cup water (warm, about 80°F)
- 2 tablespoons olive oil
- 3 cups bread flour
- 1 tablespoon granulated sugar
- 1 teaspoon salt
- 1 1/2 teaspoons active dry yeast
- 1 tablespoon dried Italian seasoning blend
- 1 teaspoon garlic powder
- 1/2 cup shredded Parmesan cheese
- 1/2 cup shredded mozzarella cheese
Instructions
- Add the warm water and olive oil to the bread machine pan in the order recommended by your machine’s manual.
- Add the bread flour, sugar, and salt on top of the liquids. Create a small well in the center of the flour.
- Place the active dry yeast into the well you created. Do not let the yeast touch the salt or liquid yet.
- Select the Basic White Bread cycle (or the equivalent setting for your machine). Select a Medium or Dark crust setting.
- When the machine signals the Add-In phase (usually before the first knead cycle finishes), carefully open the lid.
- Evenly sprinkle the dried Italian seasoning, garlic powder, Parmesan cheese, and mozzarella cheese over the dough. Close the lid quickly.
- Allow the bread machine to complete the full cycle.
- Once the cycle is finished, carefully remove the bread pan and turn the loaf out onto a wire rack to cool completely before slicing.
Notes
- For the best flavor, use fresh herbs if you have them, increasing the amount to 2 tablespoons total.
- This loaf slices well for sandwiches once fully cooled.
- Store leftover cheesy dinner bread in an airtight container at room temperature for up to three days.
Nutrition
- Serving Size: 1 slice
- Calories: 180
- Sugar: 1
- Sodium: 300
- Fat: 6
- Saturated Fat: 3
- Unsaturated Fat: 3
- Trans Fat: 0
- Carbohydrates: 27
- Fiber: 1
- Protein: 6
- Cholesterol: 10