

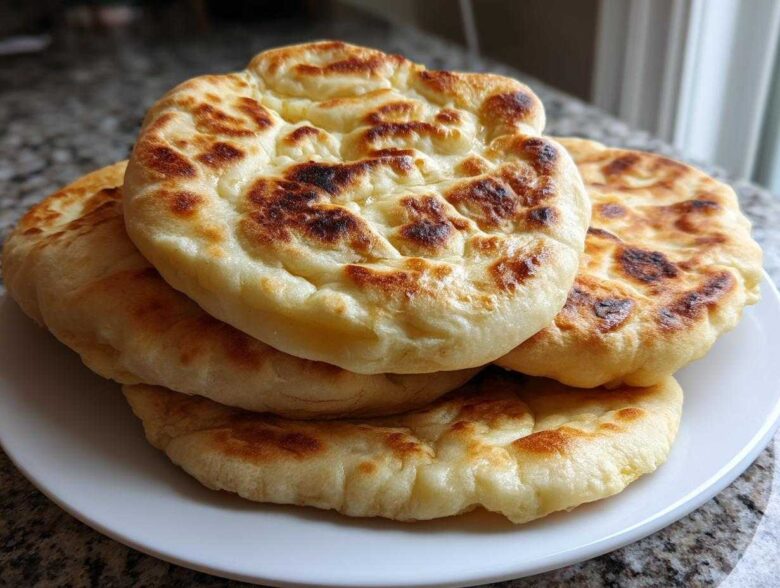
Oh, there is absolutely *nothing* like the smell of fresh bread wafting through the kitchen, is there? Forget the store-bought stuff that cracks the second you try to fold it. We are making real, honest-to-goodness homemade pita bread today, and I mean the good kind—incredibly soft, fluffy, and yes, the kind that balloons up into those amazing pockets when it hits the heat!
This isn’t some complicated overnight dough, either. After years of tweaking and testing—trust me, I have ruined more batches than I care to admit finding the perfect combination—I finally cracked the code for a foolproof stovetop method. This recipe guarantees you get that beautiful Mediterranean flatbread puff every single time. If you’re looking for more baking inspiration, you can always check out my general baking adventures here. Grab your flour; you’re going to love feeling that warmth!
Why This is the Best Homemade Pita Bread Recipe
You need this easy pita bread recipe in your life, I promise! What sets this apart from the sad, flat discs you buy wrapped in plastic? For starters, it’s genuinely fast. We’re talking about soft pita bread that goes from mixing bowl to plate in under two hours. And the biggest win? No oven required! We rely entirely on the magic of a screaming hot cast-iron pan, which makes this the ultimate stovetop pita bread approach. If you’re looking for other easy bread options, you might want to check out my guide on easy homemade Italian bread.
I’ll never forget the first time one actually puffed! I was convinced I’d failed again; the dough was rolled thin, but nothing happened. Then I cranked the heat just a tiny bit more, and BAM! It ballooned up like a perfect little cloud. That moment sold me forever. It’s this guaranteed pocket formation that makes it perfect for stuffing your favorite fillings for gyros or just tearing pieces off for dipping.
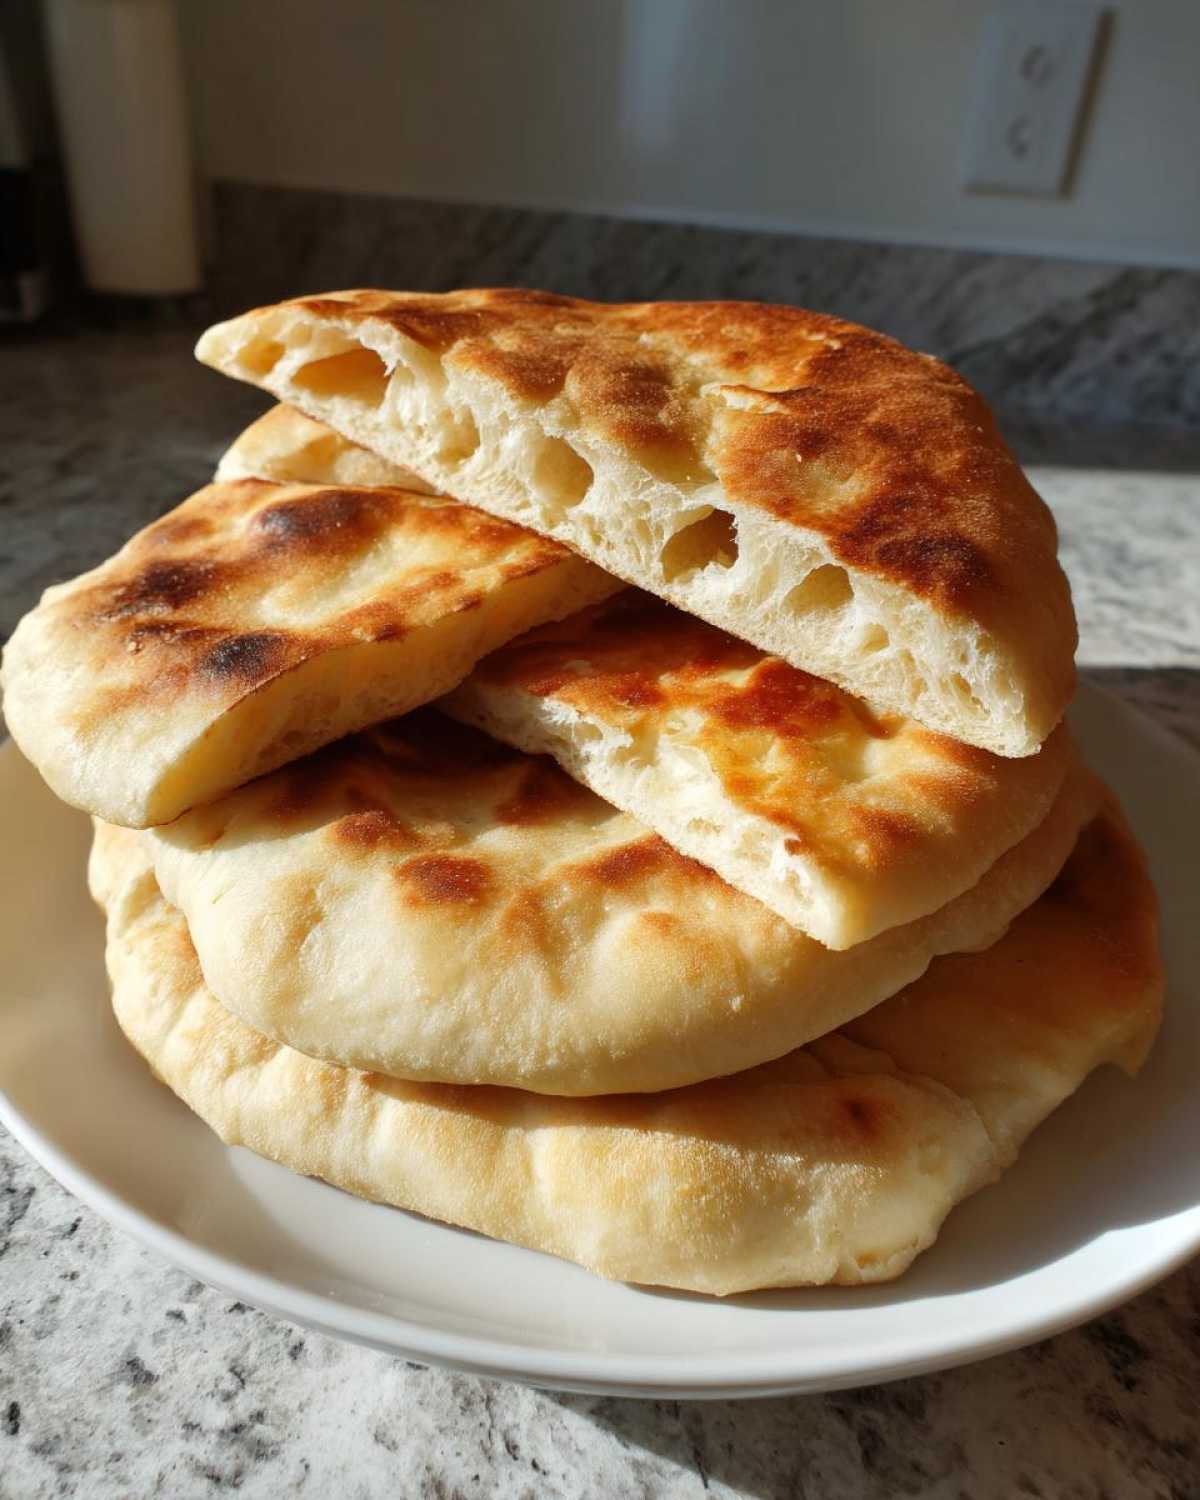
Achieving Pillowy Soft Pita Bread Texture
The secret to that pillowy soft bread quality isn’t just the ingredients; it’s the work you put in where it counts. We need a strong gluten network, and that means kneading until your arms feel it! When you knead the dough until it’s smooth and elastic, you’re building structure. That structure traps the steam when it hits the hot pan, which gives you the lift you need.
Don’t skip the rest periods either! Resting calms the dough down after you challenge it with kneading and rolling. If you stretch the dough out too soon after working it, it fights back and shrinks. A little patience during the rising and short resting phases ensures that when those dough circles hit the heat, they puff up beautifully instead of snapping back flat. We want fluffy perfection here, not a yoga mat!
Essential Ingredients for Perfect Pita Bread
Okay, if you look at the ingredients list, you’ll see why this recipe earns the ‘easy’ badge. We are sticking to the basics here—stuff you probably already have in the pantry right now! We are using standard all-purpose flour, salt, olive oil, and of course, yeast. The yeast needs proper waking up, so please pay attention to the water temperature: it absolutely must be warm, about 105–115°F. If it’s too cold, your active dry yeast just sleeps in, and then you’ll have sad, flat dough later! You need that beautiful foam on top to show you the yeast is ready to get to work.
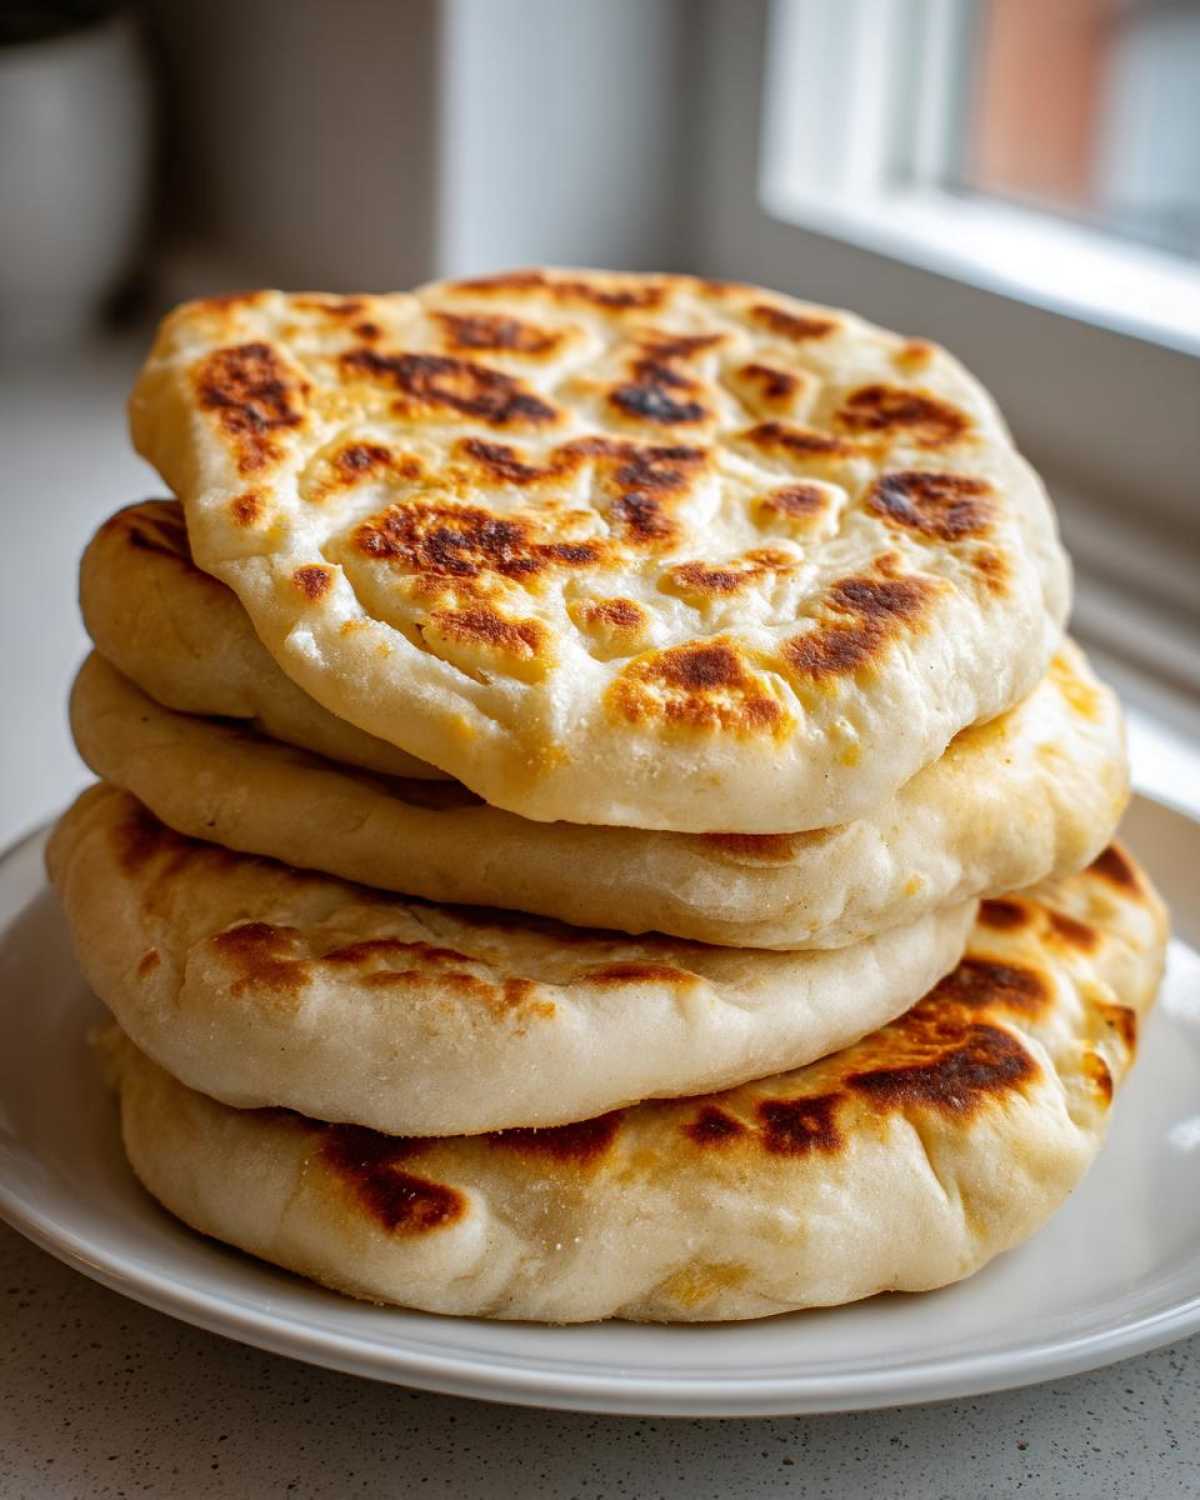
I think keeping the ingredient list short is why this is my go-to Greek pita bread recipe. If you want to see how I handle whole wheat flour in other bakes, check out my soft whole wheat bread recipe. It’s delicious, but for the classic puff, stick to white flour here for now.
Ingredient Notes and Substitutions for Pita Bread
A couple of quick words on substitutions! If your container only has instant yeast, skip the blooming step entirely—just mix it right in with the dry ingredients. It’s a little less dramatic, but it works! Also, because we are keeping this recipe super clean, it’s naturally a fantastic vegan pita bread option since we use oil instead of butter. No eggs, no dairy, just pure, fluffy goodness.
Make sure you use good quality olive oil; it adds flavor and helps keep the final bread supple. Don’t try swapping that 2 1/2 cups of flour for bread flour unless you plan on kneading for an extra five minutes; all-purpose is perfect for this softer texture we are aiming for.
Step-by-Step Instructions: How to Make Pita Pockets
Alright, this is the exciting part where we turn shaggy mess into smooth, beautiful dough! Remember how we talked about activating the yeast? Once it’s foamy—which means it’s alive and ready to make our bread rise—we get to actual mixing. You whisk the flour and salt together first, making a nice little well right in the center like a tiny volcano. Then, pour in your bubbly yeast mixture and that all-important olive oil.
You’ll mix it until it looks like a shaggy mess clumped together. Don’t panic! Now, turn it out onto your counter dusted lightly with flour. This is where you get your workout in—knead this dough for about 5 to 7 minutes. You are looking for springy smoothness, that perfect elastic feeling that tells you the gluten is developed enough to hold onto steam later. If you’ve ever made dough before, you know this feeling! If you’re new to bread making, don’t worry, just keep working it until it stops sticking everywhere.
Mixing and Kneading the Pita Bread Dough
My biggest piece of advice here is patience during the kneading. You want that dough to feel lively, not stiff or sticky. If it’s sticking too much, add the tiniest pinch of flour at a time—we don’t want to dry it out because dry dough equals dense pita bread! Once it’s smooth, coat your mixing bowl with a bit of oil, drop the dough ball in, and turn it over so it gets a nice slick coating. Cover it up tight!
The Crucial Rise and Dividing the Pita Bread
Now, we wait! Put the bowl somewhere warm—my oven with the light on works perfectly if my kitchen is chilly. We need this dough to double in size, which usually takes an hour to an hour and a half. This rise is what develops the flavor and gives you a nice structure for those pockets. If you’re keen on other high-heat flatbreads, maybe take a look at my recipe for homemade naan bread on the stovetop! Once it’s doubled, gently punch the air out—it’s so satisfying! Then, divide that big ball into 8 even pieces. Roll each one into a perfect little ball and cover them up again with a kitchen towel while they rest for just 10 minutes. This brief rest lets the gluten relax before the rolling stage, which is huge for getting those even, round shapes.
Rolling Technique for Perfect Pita Pockets
Okay, here’s where you need to treat the dough gently. Take one dough ball at a time, keeping the others covered—we don’t want them drying out! Roll it out into a circle that’s about 6 to 7 inches across. The thickness is the key here: aim for about 1/8 of an inch thick all the way around. If it’s too thick, the steam might not be strong enough to push the layers apart. If it’s too thin, it might tear! It takes a little practice, but you’ll get the hang of it fast.
Cooking Pita Bread on the Stovetop
This is the showstopper moment! Get your heavy-bottomed skillet—cast iron is my absolute favorite for this—and set it over medium-high heat. You want it hot, *really* hot, but do not add any oil! We need that dry, intense heat to create the steam shock. Place one rolled pita in the pan. Watch it like a hawk! In about 30 to 60 seconds, you should see large bubbles appearing all over the surface. That’s the steam building up!
Flip it immediately. The second side cooks for maybe another 30 to 60 seconds. If you are patient, you will watch it inflate into a perfect, beautiful balloon shape. If it seems stuck and isn’t puffing up right away, don’t cut it open! Just gently press down on the surface with your metal spatula—just a little nudge will often encourage the steam to blast the pocket open. As soon as it’s done, slide that beauty out onto a clean towel and wrap it up right away to keep it soft while you cook the rest of your homemade pita bread!
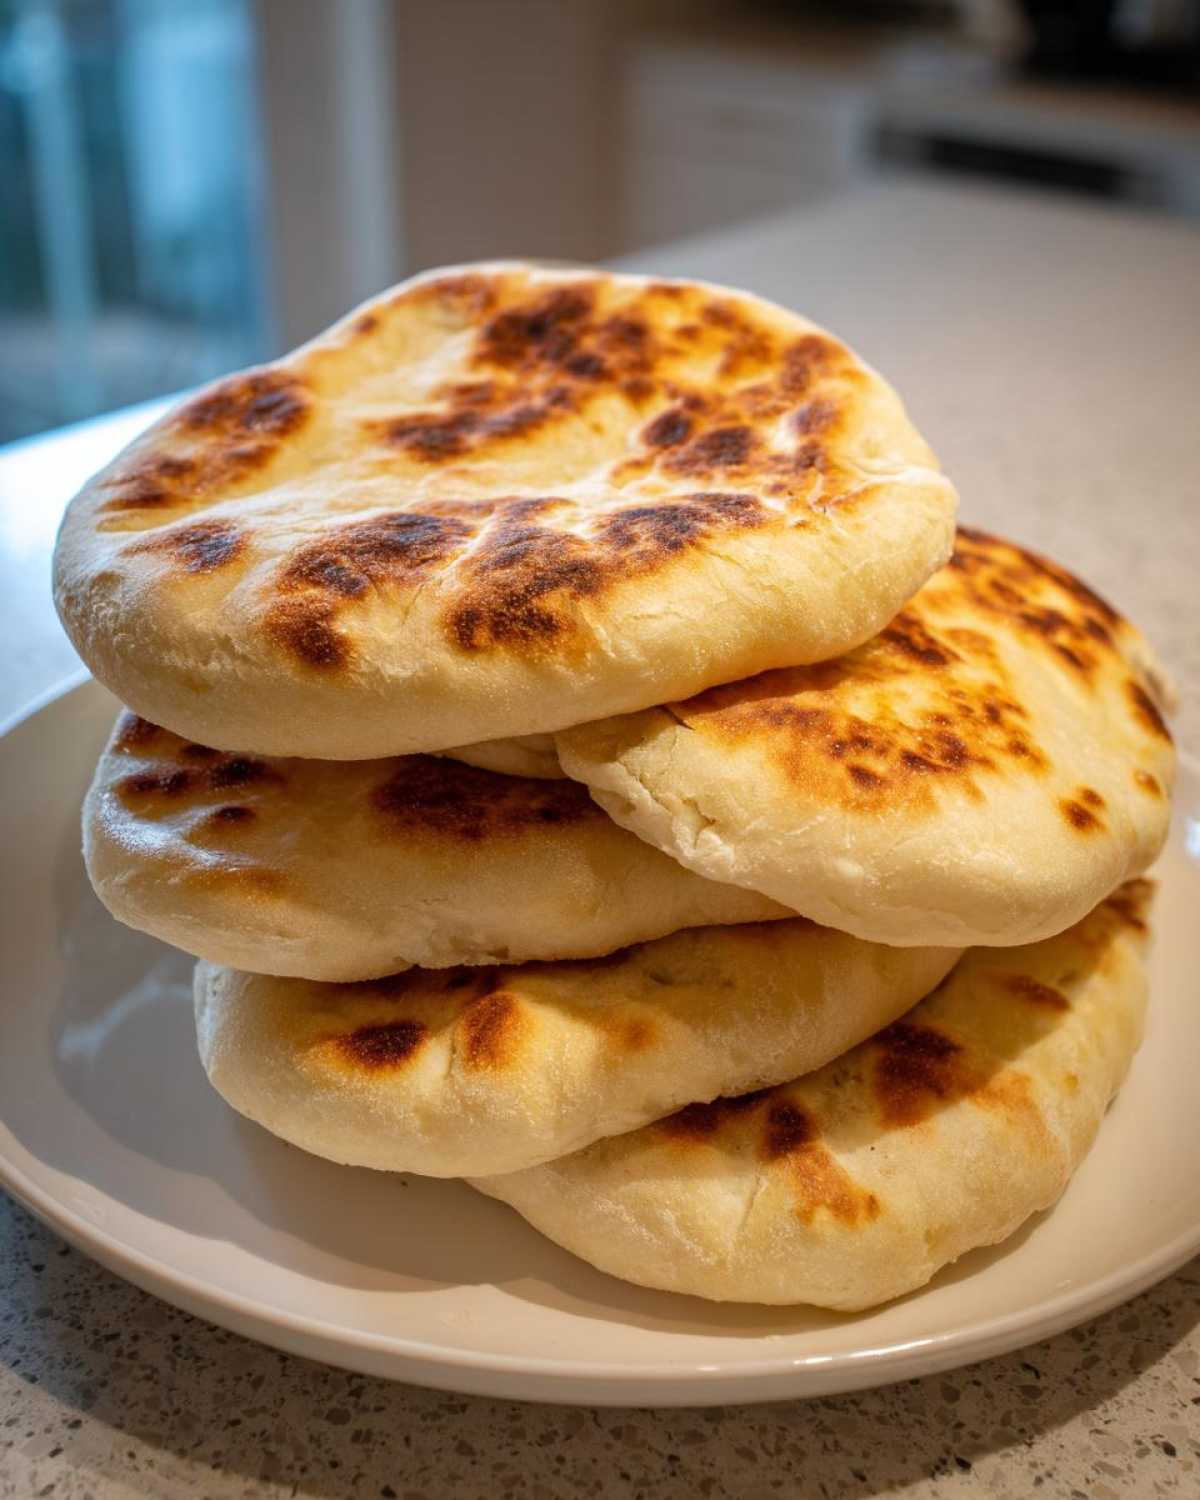
Expert Pita Bread Cooking Tips for Maximum Puff
We’ve talked about the process, but let’s nail down those little tricks that turn a good pita into the best homemade pita bread you’ll ever eat. The number one mistake people make is not trusting your pan heat. Seriously, crank it up until you see a whisper of smoke—that intense heat is what turns the water inside the dough into instant steam, creating that glorious pocket formation. If your pitas aren’t puffing, your pan isn’t hot enough, plain and simple!
And this next tip is non-negotiable for maintaining that incredible soft pita bread texture: steam retention. The second you pull a puffed pita off that skillet, lay it on a clean kitchen towel and immediately wrap it up snugly. That trapped steam keeps the surface from hardening up while you finish cooking the rest of the batch. If you leave them exposed, they stiffen instantly, and that’s just not what we want for our pita bread for gyros!
If you’re planning on making some amazing steak fajitas later, you’ll want these warm and pliable, so keep wrapping tightly! You can check out the recipe for easy steak fajitas when you’re done here! Remember, a successful pita bread cook time is measured in seconds, not minutes. Work swiftly, keep them covered, and you’ll have perfect Mediterranean flatbreads ready to go.
Serving Suggestions for Your Fresh Pita Bread
Now that you’ve mastered the art of the puff, what are you going to do with all this amazing, warm bread? Honestly, right off the towel, they are perfect just ripped apart for dipping into a thick bowl of homemade hummus. Forget fancy accessories—the natural flavor of this fluffy flatbread stands up on its own!
But if you need more ideas, these pitas are definitely ready for stuffing. They make the best pita bread for gyros because the pocket is wide and sturdy enough to actually hold meat, veggies, and sauce without immediately tearing open. I love filling them with grilled chicken, a squeeze of lemon, and lots of tzatziki. They also work wonderfully warmed up alongside a fresh Greek salad.
For something a little different, try brushing them with olive oil, sprinkling them with a bit of za’atar, and baking them for just five minutes until they get crispy edges—perfect for dipping into rich feta cheese spreads! If you want to use that crispiness in a different Mediterranean way, you should definitely look up my recipe for Mediterranean Spinach and Feta Cheese Crisps next!
Storage and Reheating Instructions
So, you made a huge batch because, honestly, who can stop at just two? Smart move! The key to keeping your gorgeous, freshly baked pita bread soft is trapping that steam we worked so hard to create. Don’t just stick them in a plastic bag on the counter—they’ll get gummy, not soft.
The very best way to store them is right after they come out of the pan: stack them up like dinner plates and wrap the entire stack tightly in a clean kitchen towel, and then place that whole bundle inside a zip-top bag. This keeps them nice and pliable for about two days at room temperature. If you need them to last longer, they freeze beautifully! Just slip a piece of parchment paper between each pita before bagging them up so they don’t stick together later.
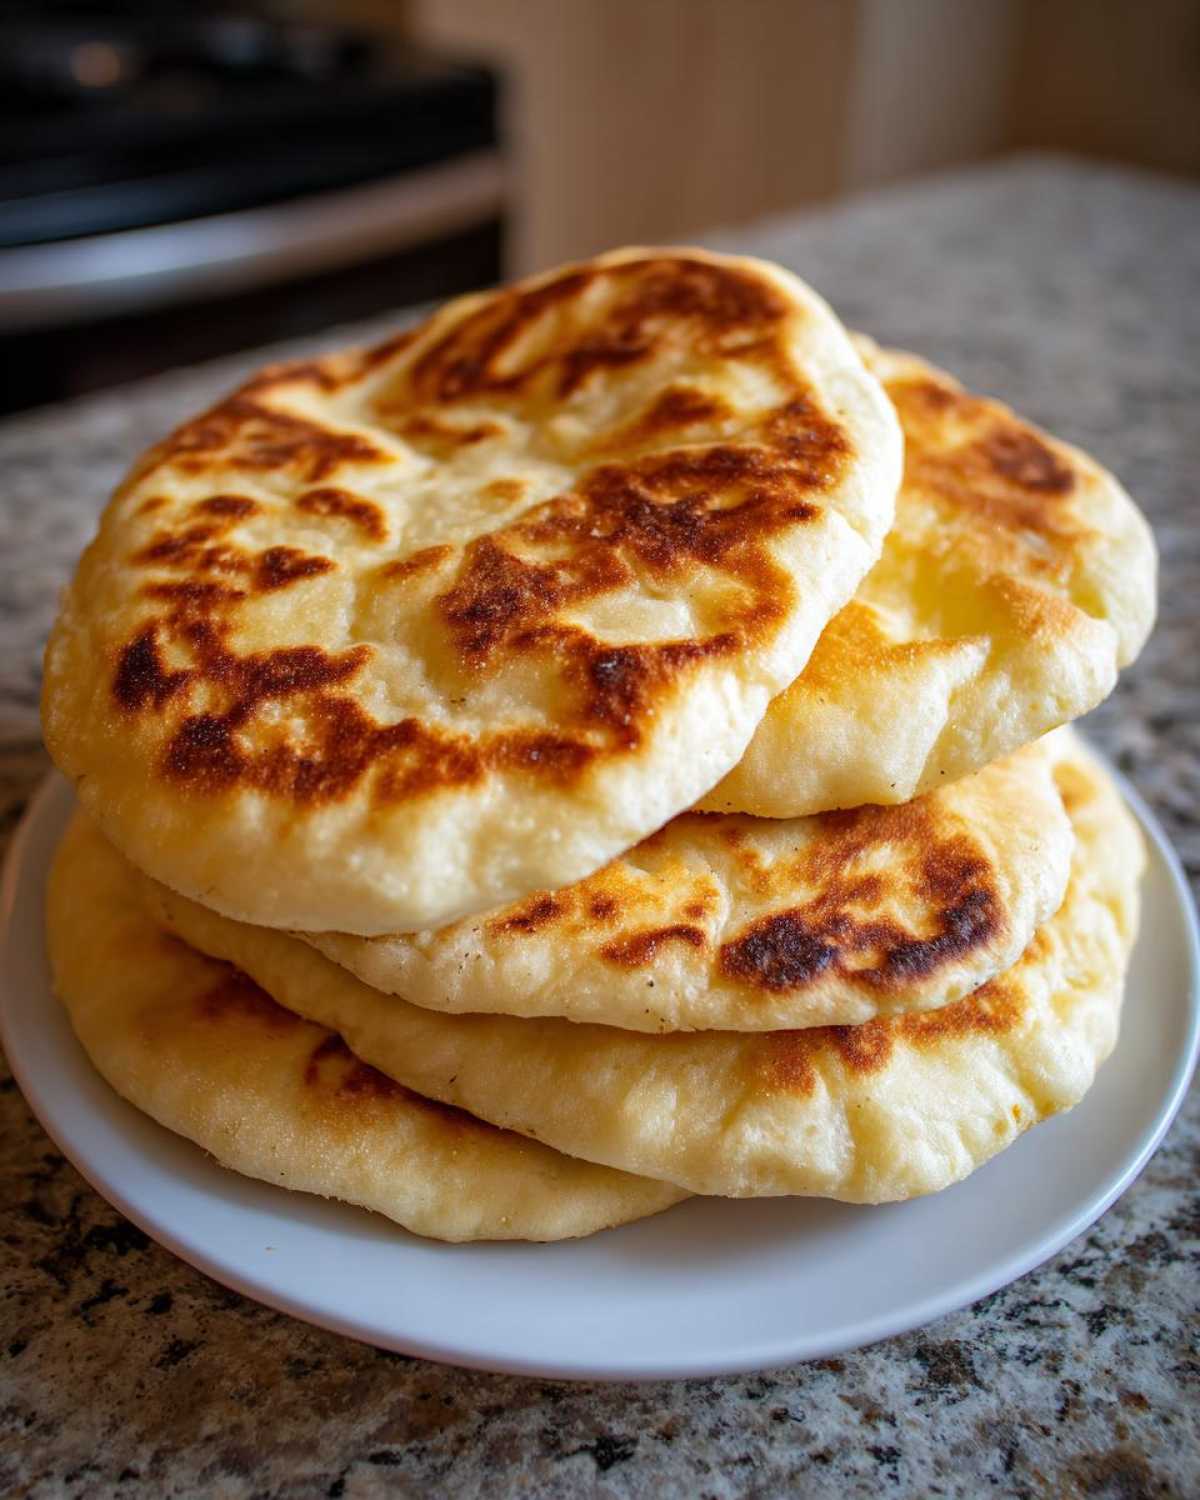
When you’re ready to eat them again, don’t microwave them—that always makes bread chewy and weird! Just reheat them the same way you cooked them: piping hot, dry skillet. Toss one in for about 20 seconds on each side. Give it a flip, and watch it puff up again like it just came out of the oven. It’s almost magical how they spring back to life! That quick blast of dry heat reactivates that perfectly set structure we built during the kneading process.
Frequently Asked Questions About Pita Bread
I get so many questions about this recipe once people see how easy it is to make pita bread from scratch! It’s natural to have a few worries when you’re tackling yeast for the first time. Here are the ones I hear most often, but if you have more, drop them in the comments section below!
Can I make this pita bread recipe without yeast?
You absolutely *can* try, but let me warn you: it won’t be the same experience. If you substitute baking powder for the yeast—say, two teaspoons of powder instead of the yeast and sugar—you’ll end up with a ‘quick bread’ version. It will be a decent Mediterranean flatbread, and it will cook up pretty fast on the stovetop, but it won’t have the classic structure. Yeast produces the strong internal gas structure needed for that big, beautiful puff and pocket. Baking powder gives you lift, but not the powerful, targeted steam explosion we need for an authentic pita pocket. If you are new to yeast, I really encourage you to try the original recipe first; it’s easier than you think! For starting points on other simple breads, check out my beginner bread recipe guide.
How long will this fluffy flatbread stay soft?
This is the magic of a properly made pita! If you store them correctly—wrapped tightly in that kitchen towel bundle we talked about, then put in a sealed bag—they stay wonderfully soft and pliable for a full two days at room temperature. They are definitely best eaten the day you make them, of course, but two days is a solid run for homemade bread. If you freeze them (remember to separate them with parchment!), they are good for about two months. When you pull them out, just reheat quickly on a hot pan, and that fluffy flatbread texture returns almost instantly!
Is this a true Greek pita bread recipe?
Yes, in terms of style, this definitely leans Greek! What makes it distinctly Greek-style pita bread is how thin we roll it—that 1/8-inch thickness is key. Traditional Greek pitas are known for being softer and thinner than, say, some of the very thick, pocket-less Lebanese or Syrian styles. Our recipe focuses on that lightness and pliability so you can stuff them for gyros or fold them easily for dipping. The pure white flour keeps the texture delicate, just how I like my Mediterranean flatbread!
Nutritional Estimates for Homemade Pita Bread
Now, listen, I am a baker, not a nutritionist, so take these numbers with a giant grain of salt! These estimates are based strictly on the ingredients listed, and remember, these numbers are per single pita serving. If you happen to use a little extra flour for dusting, or if your olive oil pour was a bit heavier than mine was that day, things are going to shift around a bit. Just consider this a general guide for what you’re putting into your body!
I always bake because it tastes amazing and brings people together, not because I’m counting macros, but it’s good to know what we’re working with. Since this recipe is all plant-based, it’s naturally free of cholesterol, which is a nice bonus when you’re loading up on these babies for dipping night!
- Serving Size: 1 pita
- Calories: Approximately 180
- Fat: About 3g
- Carbohydrates: 35g
- Protein: 5g
- Sugar: Just 0.5g—mostly from the tiny bit we use to wake up the yeast!
- Sodium: Around 250mg
See? Pretty straightforward! You get a good amount of substance for just 180 calories, and since we cook them without any extra oil in the pan, the fat content stays nicely low. Happy eating, friends!
Share Your Homemade Pita Bread Success
Well, there you have it! We’ve made it from yeast activation all the way to perfectly puffed, pillowy soft pita bread! I really hope you loved this process as much as I do. Baking bread should be fun and rewarding, and frankly, seeing those pockets inflate is the most fun part of this whole recipe.
I would absolutely *love* to see your beautiful results! Have you tried the stovetop method? Did your pita bread puff up like a balloon on the first try, or did you need that little spatula trick? Please take a picture of your fresh batch—whether they’re filled with gyros filling or just waiting for hummus—and share it!
If you loved this recipe and want to reach out, ask follow-up questions, or tell me what to bake next, you can always get in touch with me over on my contact page. Don’t forget to leave a rating below so other bread lovers know this is the recipe to trust for the best homemade pita bread. Happy baking!
PrintFoolproof Homemade Pita Bread with Pockets
Make soft, fluffy Greek-style pita bread from scratch using a simple stovetop method. This recipe ensures your pitas puff up perfectly to create pockets for stuffing.
- Prep Time: 20 min
- Cook Time: 20 min
- Total Time: 1 hour 50 min
- Yield: 8 servings
- Category: Bread
- Method: Stovetop Cooking
- Cuisine: Mediterranean
- Diet: Vegan
Ingredients
- 1 teaspoon active dry yeast
- 1 teaspoon granulated sugar
- 1 cup warm water (about 105-115°F)
- 2 1/2 cups all-purpose flour, plus more for dusting
- 1 teaspoon salt
- 2 tablespoons olive oil
Instructions
- Activate the yeast: In a small bowl, combine the warm water, yeast, and sugar. Let stand for 5 to 10 minutes until foamy.
- In a large bowl, whisk together the flour and salt. Make a well in the center and pour in the yeast mixture and olive oil.
- Mix the ingredients until a shaggy dough forms. Turn the dough out onto a lightly floured surface and knead for 5 to 7 minutes until the dough is smooth and elastic.
- Place the dough in a lightly oiled bowl, turning to coat. Cover the bowl with plastic wrap or a damp towel and let it rise in a warm place for 1 to 1.5 hours, or until doubled in size.
- Punch down the risen dough and divide it into 8 equal pieces. Roll each piece into a smooth ball. Cover the balls and let them rest for 10 minutes.
- Working with one ball at a time, roll it out on a lightly floured surface into a circle about 6 to 7 inches in diameter and about 1/8 inch thick. Keep the remaining dough covered.
- Heat a heavy-bottomed skillet or cast-iron pan over medium-high heat until very hot (no oil needed).
- Place one rolled-out pita into the hot, dry pan. Cook for 30 to 60 seconds until bubbles appear on the surface.
- Flip the pita. Cook for another 30 to 60 seconds. The pita should puff up completely like a balloon. If it does not puff, press gently on the surface with a spatula to encourage the steam to create the pocket.
- Remove the puffed pita from the pan and place it on a clean kitchen towel. Cover it immediately to keep it soft while you cook the remaining pitas.
Notes
- For the best puff, make sure your pan is very hot before adding the dough.
- If your dough does not puff, it often means the dough was rolled too thin or the pan was not hot enough.
- Store cooked pitas wrapped tightly in a clean towel to retain moisture and softness.
Nutrition
- Serving Size: 1 pita
- Calories: 180
- Sugar: 0.5
- Sodium: 250
- Fat: 3
- Saturated Fat: 0.4
- Unsaturated Fat: 2.6
- Trans Fat: 0
- Carbohydrates: 35
- Fiber: 2
- Protein: 5
- Cholesterol: 0