

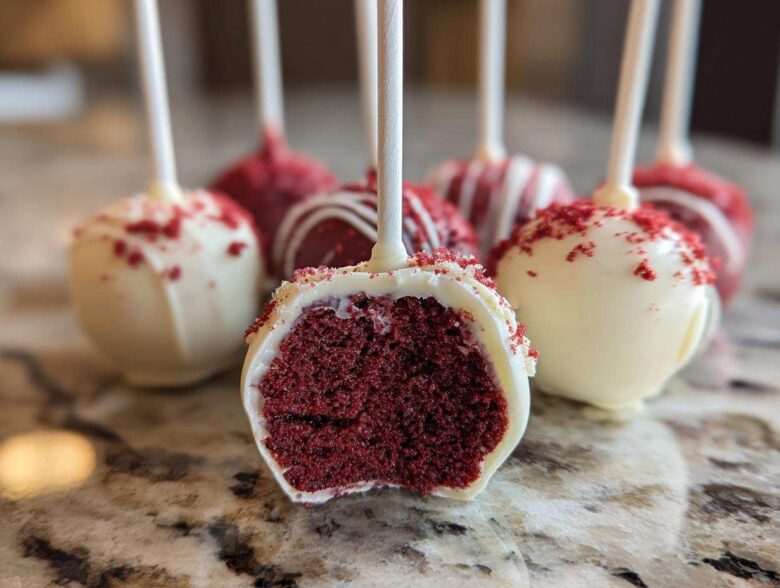
Oh my goodness, you guys! If you’re looking for a dessert that screams “Wow, you made that?!” but secretly takes almost no time, you have to stop what you’re doing and try these. I am obsessed with how cute and satisfying these little bites are. Forget drying out in the oven; we’re making the absolute easiest, moistest red velvet cake pops that are guaranteed to disappear first at any party. Honestly, my favorite thing about making them is how perfectly portioned they are—no weird cutting involved! Trust me, once you see how simple the cake-to-frosting ratio works, you’ll never go back to regular cake again. If you ever want to try the full cake version, check out my red velvet cake from scratch guide!
Why This Is the Best Red Velvet Cake Pops Recipe (Easy & Moist Treats)
I know, I know, there are a million ways to handle cake pops, but my method for these red velvet cake pops is the one you need. Why mess around with complicated baking when we’re just going to crumble it all up anyway? We start with a box mix, which is totally allowed in my kitchen—it saves so much time! The real game-changer is the binding agent: full-fat cream cheese frosting. That stuff works magic alongside the crumbs to create a dough that rolls beautifully and bakes up unbelievably moist.
And don’t even get me started on the coating. We’re not messing around with temperamental dipping chocolate; we’re using simple white melting wafers that give you that satisfying, snappy shell every single time. If you want the best cream cheese flavor binding everything together, make sure you check out my recipe for the best cream cheese frosting if you decide to go homemade!
Key Components for Moist Red Velvet Cake Pops
The secret to keeping these treats from tasting dry or crumbly is all in the ratio. You need enough cream cheese frosting to fully saturate those cake crumbs—think of it like binding damp sand, not dry dust. I aim for a consistency where when you squeeze a bit between your fingers, it holds its shape perfectly without cracking.
My expert tip? Use your hands for the final mix! A spoon just won’t cut it. When you feel the mixture start to come together and become smooth, stop mixing immediately. Overworking that dough, even after the cake is baked, can sometimes make the final pop feel tough instead of delightfully soft.
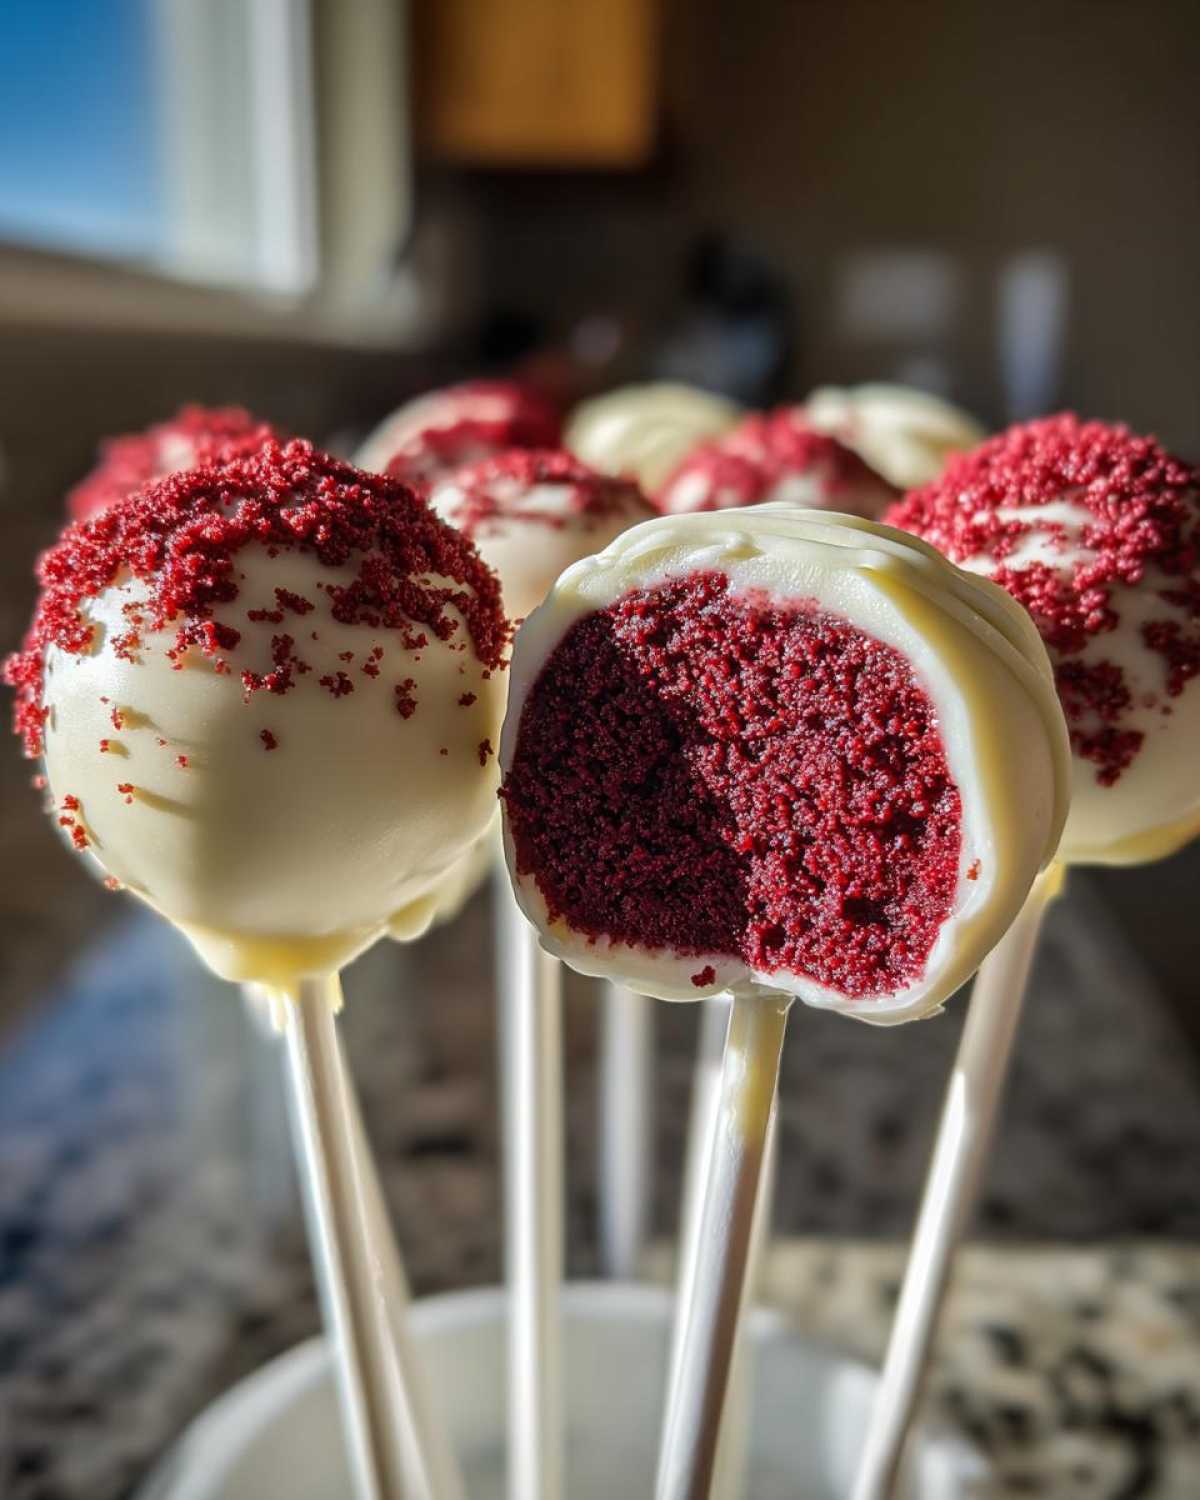
Gathering Ingredients for Your Red Velvet Cake Pops
Alright, let’s talk about what you need to make these amazing red velvet cake pops! The beauty of this recipe is that we keep the main cake components super simple. Grab one standard box—that’s the 1 box (15.25 oz) red velvet cake mix, plus whatever that box tells you to add (usually eggs, water, and oil). That’s our starting point!
The only other real binder needed for the dough is the frosting. You’ll need one full container, about 8 ounces, of cream cheese frosting—whether you make it from scratch or grab the tub from the store, that’s fine by me!
Ingredient Notes and Substitutions for Red Velvet Cake Pops
When it comes to the coating for our red velvet cake pops, I strongly recommend using white chocolate melting wafers over standard chips. Chips have stabilizers that make them tricky to get smooth.
If you do use wafers and they seem too thick after melting—and trust me, they can get seriously thick—you need a helper! Stir in about one teaspoon of coconut oil or vegetable shortening. This little bit of extra fat thins out the coating immediately, making dipping so much easier. It’s my secret for getting those smooth sides!
Step-by-Step Instructions: How to Make Red Velvet Cake Pops
Okay, now for the fun part! We’re going to turn that delicious cake into perfect little spheres of joy. Just follow these steps closely, especially paying attention to the chilling times, and you’ll have beautiful red velvet cake pops. Remember, patience is key when we’re dealing with something that needs to hold its shape!
Baking and Creating the Cake Dough Base
First, bake your cake according to the box directions in a 9×13 inch pan. This shape works best for getting those great crumbs. The absolute most important part here is letting the cake cool down completely. I mean it—if it’s even slightly warm, your frosting will melt right into mush! Once cooled, transfer it to a big bowl and crumble it up. You want it fine, like coarse sand—no big chunks allowed!
Next, dump in that whole tub of cream cheese frosting. I always use my hands for this part—it’s therapeutic! Squish and mix everything together until it looks like a deep red, uniform play-dough. Don’t mix any longer than you need to for it to combine, or we risk losing that tenderness.
Chilling and Dipping Technique for White Chocolate Dipped Cake Pops
Now, roll those dough bits! Aim for uniform balls, about 1 to 1.5 inches wide. Line a tray with parchment paper and stick them right into the fridge for a minimum of 30 minutes. They need to be firm before we dip them! While they chill, you can relax! If you ever need a rich, creamy savory recipe, I highly recommend checking out my homemade alfredo sauce recipe, but right now, focus on these pops!
Melt your white chocolate wafers. Heat them in the microwave in short bursts—30 seconds at a time—stirring vigorously between each blast until it’s silky smooth. If it looks too thick to coat those wonderful chilled balls, stir in just a tiny bit of coconut oil.
Here’s the pro move for dipping your white chocolate dipped cake pops: Dip the very tip of your cake pop stick into the melted chocolate first, and then stick that coated tip halfway into a chilled cake ball. Pop the tray back in the fridge for 10 minutes so that stick sets firmly—don’t skip this! Finally, dip the whole ball in slowly, swirl it just once, and gently tap the stick against the side of the bowl to let any excess chocolate drip off. Set them upright in a styrofoam block until that gorgeous coating hardens.
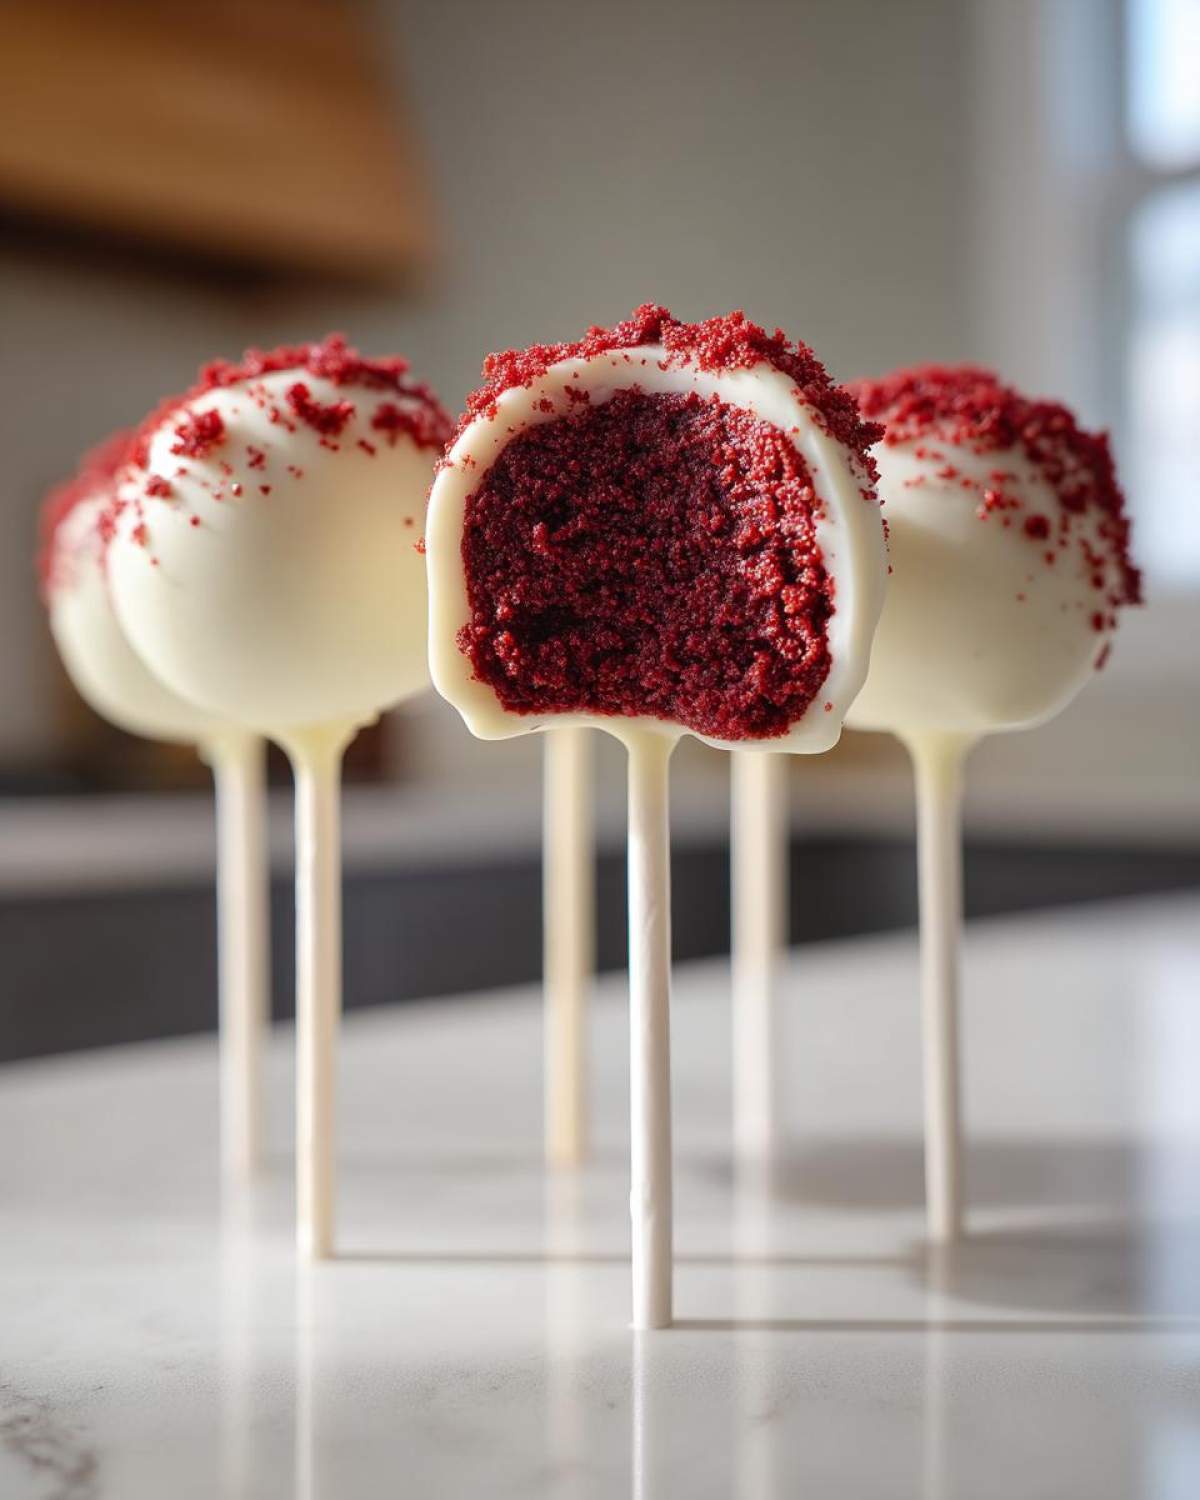
Tips for Perfect Red Velvet Cake Pops Every Time
We’ve covered the assembly, but let’s talk about those little nuances that separate a good batch of red velvet cake pops from a truly fantastic one. These tips are non-negotiable in my book because they are what keep me from having lopsided, cracked, or crumbly treats when guests arrive!
First, always remember the chilling gospel: Ensure your cake balls are seriously cold before they even think about meeting that melted white chocolate. If they are room temperature, the chocolate will instantly melt the outside, and you’ll just have a chocolate puddle with a stick poking out. Cold cake holds its shape, period.
Another note directly from my kitchen secrets: Don’t over-mix the dough! When you start combining the crumbs and the cream cheese frosting, you’re aiming for *just* combined. If you knead it forever like you’re making bread, you compact the air, and that makes your final pop dense and chewy instead of light and velvety. Stop when it looks uniform!
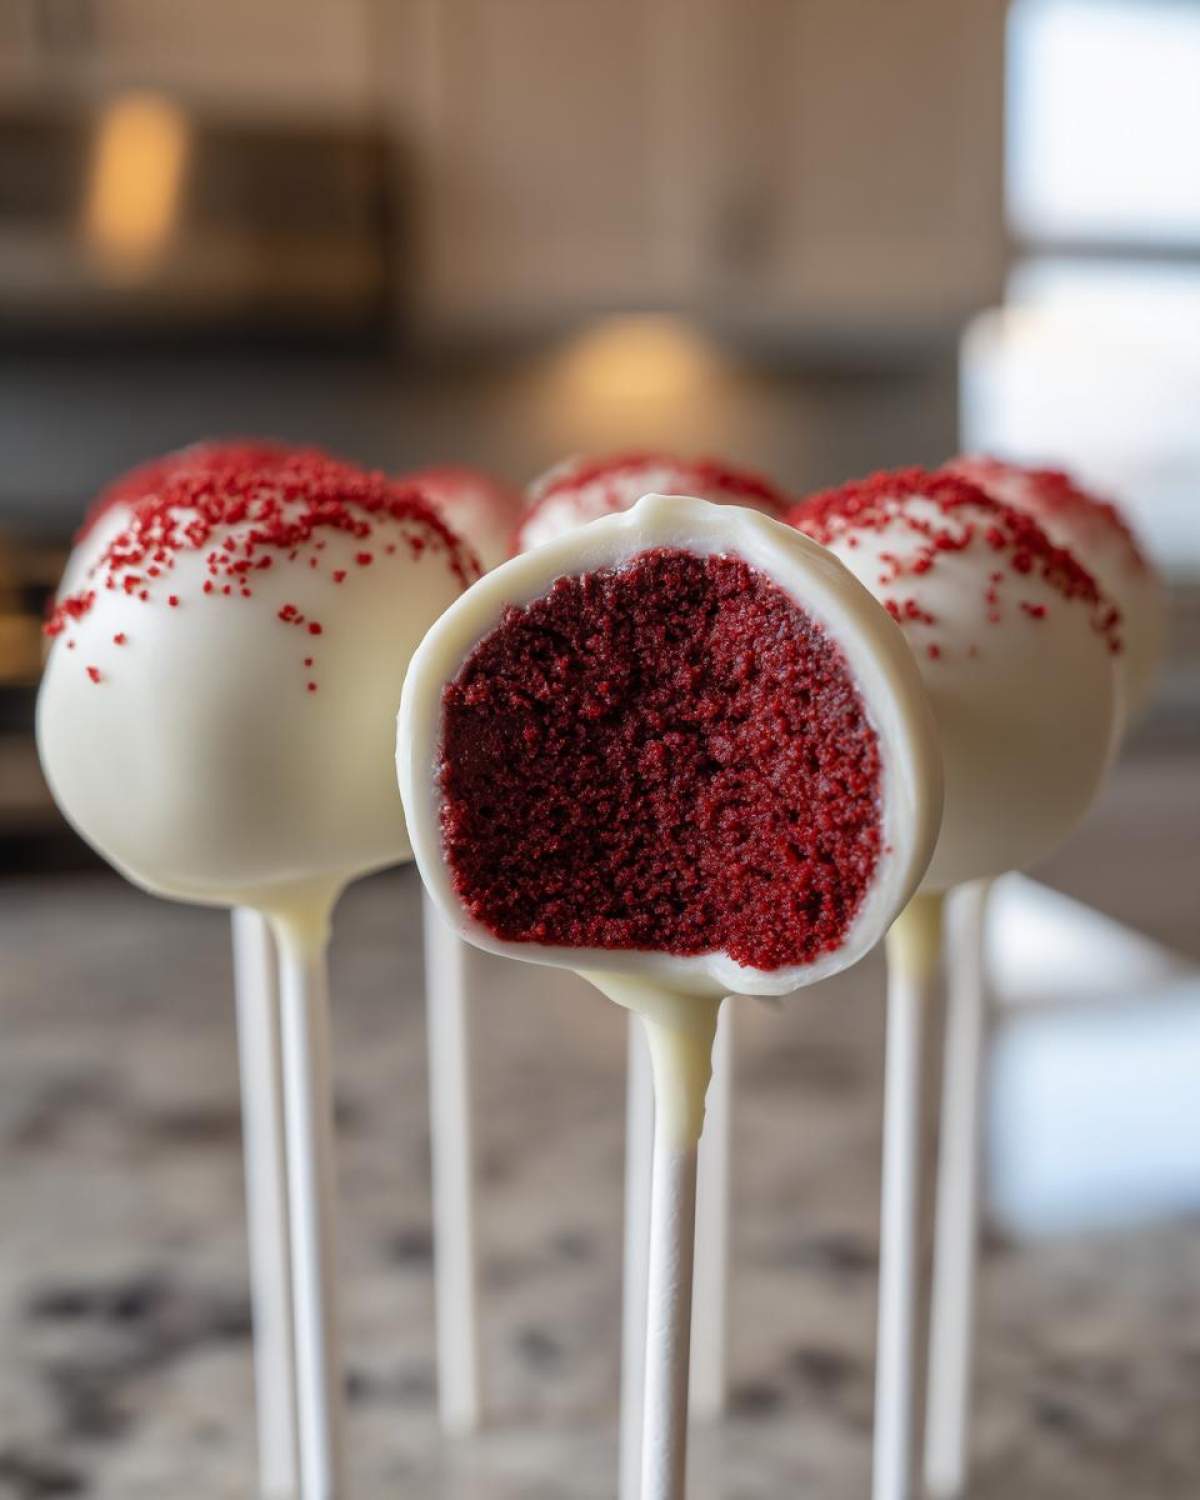
Also, if you are aiming for a super-smooth coating, that little bit of refined coconut oil or shortening I mentioned earlier is crucial for thinning the chocolate. A thick dip looks lumpy; a thin coating dries beautifully snap-worthy. If you don’t have the red velvet mix but have the vanilla craving instead, try dipping these beauties after baking my vanilla cake recipe!
Finally, I always keep all my decorations—sprinkles, edible luster dust, whatever—ready to go *before* I start dipping. Once that stick is inserted and the pop is chilled, you only have seconds to apply any extra decorations before the white chocolate hardens, leaving you with sad, lonely sprinkles stuck to nothing!
Storage and Make Ahead Tips for Your Red Velvet Cake Pops
One of the best things about these little bite sized red velvet desserts is that they are absolute champions for making ahead! If you’re planning a big party or making these for your Valentine’s Day bash, you can totally bake and decorate these a few days early. Being able to pull a tray of festive treats out when company arrives? Pure bliss!
For storing, once the white chocolate coating is completely set—I mean rock hard—you want to keep them in an airtight container. Don’t crowd them! If they are pressed together, they can get smushed or the chocolate might soften and stick to its neighbor. I usually place a layer of parchment paper between the rows inside the container just for insurance.
Here’s the debate: room temperature or fridge? Because we used that delicious cream cheese frosting as a binder, they technically contain dairy. If your house is cool (under 70°F), they are perfectly fine sitting out on the counter in that airtight container for about two to three days. If your house is warm, or if you need them to last longer than three days, move them to the fridge. Just remember, if you refrigerate them, let them sit out on the counter for about 30 minutes before serving so the chocolate can soften slightly—cold cake pops don’t have the best texture!
And yes! You can absolutely freeze them. If you’re making these way in advance, this is your best bet. Freeze them on a baking sheet until hard, then transfer the frozen pops into a freezer bag, squeezing out as much air as you can. They last beautifully for up to a month. You can defrost them overnight in the fridge, then let them warm up on the counter before serving. It’s brilliant for helping you prep for the holidays! For more great make-ahead ideas, take a look at my favorite make ahead desserts guide.
Decoration Ideas for Festive Red Velvet Cake Pops
Now that we have the perfect, structurally sound, moist little spheres coated in pristine white chocolate, it’s time to make these red velvet cake pops truly shine! This is where they go from being a delicious snack to genuine showstoppers, perfect for any party or gift-giving occasion. You don’t need complex piping skills, either; simple decorations make the biggest impact, especially when you are aiming for gorgeous holiday cake pops.
My favorite technique is the drizzle. You just need to slightly melt a tiny bit of contrasting chocolate—maybe some regular dark chocolate or even pink candy melts if it’s for Valentine’s Day. You don’t even need a fancy piping bag! Just spoon the melted contrast chocolate into a small zip-top bag, snip off the very tiniest corner with scissors, and drizzle back and forth over the set white coating. It looks so professional, I promise!
If you’re pressed for time or just want a bit of sparkle, edible glitter or sanding sugar is your best friend. You must apply these while the white chocolate is still wet, right after you pull the pop out of the dipping bowl. A quick roll or sprinkle, and boom—instant festive glamour! For something slightly firmer, you can whip up a quick royal icing. If you’d like a recipe for icing that hardens fast—perfect for drawing little hearts or snowflakes—my guide on easy sugar cookie icing works wonderfully for drying hard on these pops too!
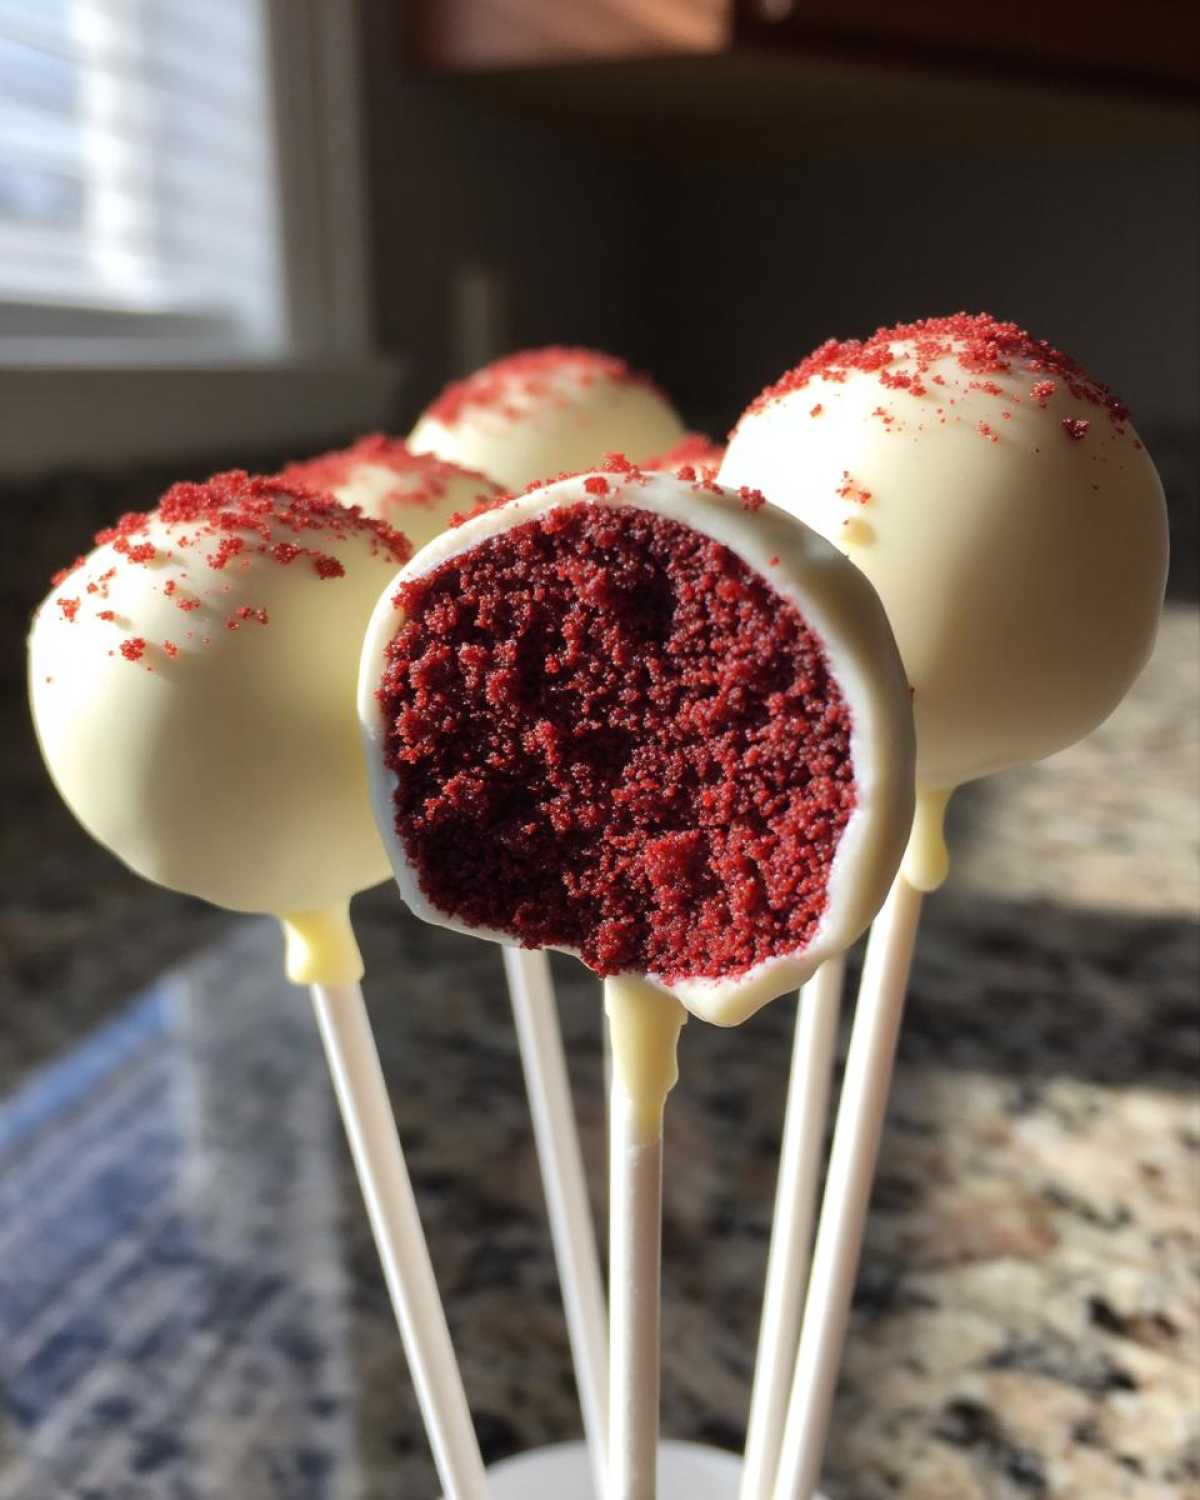
For themed parties, think simple: Red, white, and maybe a touch of gold or silver sprinkles elevate these instantly. These truly are the ultimate easy dessert when you need something bite-sized, beautiful, and totally festive!
Frequently Asked Questions About Red Velvet Cake Pops
It’s natural to have a few questions when diving into a new baking project, especially something as cute and slightly fussy as cake pops! I’ve collected the most common queries I get about making these delicious red velvet cake pops so you can bake with total confidence. Hopefully, this clears everything up!
Why do my red velvet cake pops fall apart?
Oh, the dreaded fall-apart issue! This almost always comes down to the ratio of cake crumbs to cream cheese frosting. If you put in too much frosting, your dough will be too soft and greasy, and it won’t hold its lovely round shape once chilled. You want that mixture to feel firm, like a dense dough, almost like cookie dough, not mushy. If you find yours is too soft, just add more crumbled cake, a little bit at a time, until you hit that perfect, rollable consistency. You can also check out my general guide on how to make cake pops for more troubleshooting!
Can I use a different frosting for these red velvet cake pops?
You absolutely can, but let’s be honest, it just won’t be the same! The tanginess of the cream cheese frosting is what balances out the sweetness of the cake and the white chocolate shell perfectly. If you’re out of cream cheese frosting or have a major dairy issue, vanilla buttercream works as a binder, but it will make the resulting pop significantly sweeter and change the classic flavor profile. Vanilla is fine, but cream cheese is divine here!
What is the best chocolate to use for dipping cake pops?
For the smoothest, shiniest coat on your white chocolate dipped cake pops, skip the standard chocolate chips you use for cookies. Seriously, don’t bother! They contain stabilizers designed to prevent them from melting smoothly when baked, and that means they often seize up or dry thick and lumpy when you try to dip. I highly recommend using candy melts, often labeled as “melting wafers,” or a high-quality baking chocolate designed specifically for dipping. They melt down silkier, ensuring you get that beautiful, clean shell you see in the pictures!
Nutritional Estimates for Bite Sized Red Velvet Desserts
Now, I know we’re making these for fun, not for a health kick, but I always like to give you an idea of what’s sneaking into our delicious little bite sized red velvet desserts. I pulled the numbers based on the ingredients list above, but remember, this is just an estimate, okay? If you use low-fat ingredients or make your own frosting with less sugar, your final count will definitely look different!
This information is based on the estimated serving size of one cake pop. I really relied on my kitchen scale when making these, and I found that using the box mix tends to be pretty consistent, but homemade frosting throws everything off a little!
Roughly, for one pop, here’s what we are looking at:
- Calories: About 200
- Total Fat: Around 12g (Be mindful of that saturated fat coming mostly from the chocolate coating!)
- Carbohydrates: Roughly 23g
- Protein: A small boost at 2g
- Sugar: Yes, there is sugar—around 22g, as expected with that white chocolate shell!
- Cholesterol: About 15mg
So, while they are certainly a treat, knowing that they pack that flavor punch in just one little bite makes them totally worth it for a party centerpiece or a seasonal indulgence. Don’t sweat the numbers too much; just enjoy the velvet goodness!
Share Your Homemade Red Velvet Cake Pops Creations
Whew! We made it! Now that you have a tray full of perfect, bite-sized beauties, I honestly cannot wait to hear what you think of these red velvet cake pops! This recipe is my go-to party trick, and I really hope it becomes one of yours too. Did they come out just as moist and lovely as mine?
I would be absolutely thrilled if you took a moment to leave a rating below! Five stars if they earned it, of course! Your feedback helps other bakers know exactly what to expect from this simplified method. If you had any hiccups, please leave a comment so we can troubleshoot together—that’s what this community is for.
And please, please, please snap a picture! I live for seeing your beautiful results. Share your photos on social media and tag me—I love seeing how you decorate them. Seriously, are these headed for a birthday bash, or did you manage to hoard them all for a cozy movie night?
Whether they end up adorning your table for Valentine’s Day or acting as a fun Christmas finger food, let me know! Tell me what occasion you made these fun treats for in the comments below. If you’re looking for more fun baking adventures and community discussions, you can always pop over to the main blog!
PrintEasy Moist Red Velvet Cake Pops with White Chocolate Coating

Make simple, bite-sized red velvet cake pops using cream cheese frosting and a white chocolate shell. This recipe yields moist, delicious treats perfect for parties.
- Prep Time: 30 min
- Cook Time: 30 min
- Total Time: 60 min
- Yield: 24 pops
- Category: Dessert
- Method: No Bake (after cake baking)
- Cuisine: American
- Diet: Vegetarian
Ingredients
- 1 box (15.25 oz) red velvet cake mix
- Ingredients required by cake mix box (usually eggs, oil, water)
- 1 container (8 oz) cream cheese frosting (store-bought or homemade)
- 12 oz white chocolate melting wafers or chips
- 1 teaspoon coconut oil or vegetable shortening (optional, for thinning chocolate)
- Cake pop sticks
Instructions
- Prepare the red velvet cake according to the package directions, substituting water with milk if desired for extra richness. Bake the cake in a 9×13 inch pan. Let the cake cool completely.
- Crumble the cooled cake into a large bowl until no large pieces remain.
- Add the entire container of cream cheese frosting to the cake crumbs. Mix thoroughly with your hands or a sturdy spoon until a uniform, thick dough forms.
- Roll the dough into small, uniform balls, about 1 to 1.5 inches in diameter. Place the balls on a parchment-lined baking sheet.
- Chill the cake balls in the refrigerator for at least 30 minutes, or until firm.
- Prepare the white chocolate coating. Melt the white chocolate wafers in a microwave-safe bowl in 30-second intervals, stirring well after each interval, until smooth. Stir in the coconut oil or shortening if the chocolate is too thick.
- Dip the tip of a cake pop stick into the melted chocolate and insert it about halfway into a chilled cake ball. Return the sheet to the refrigerator for 10 minutes to set the stick.
- Dip each cake ball completely into the melted white chocolate, rotating to coat evenly. Gently tap the stick against the side of the bowl to remove excess chocolate.
- Place the coated cake pops upright in a styrofoam block or a tall glass until the chocolate sets completely.
Notes
- For easier dipping, ensure your cake balls are very cold before coating.
- If you prefer a thinner chocolate coating, add a small amount of refined coconut oil or shortening to the melted chocolate.
- You can decorate the pops immediately after dipping with sprinkles before the chocolate hardens.
Nutrition
- Serving Size: 1 pop
- Calories: 200
- Sugar: 22
- Sodium: 150
- Fat: 12
- Saturated Fat: 7
- Unsaturated Fat: 5
- Trans Fat: 0.1
- Carbohydrates: 23
- Fiber: 0.5
- Protein: 2
- Cholesterol: 15