

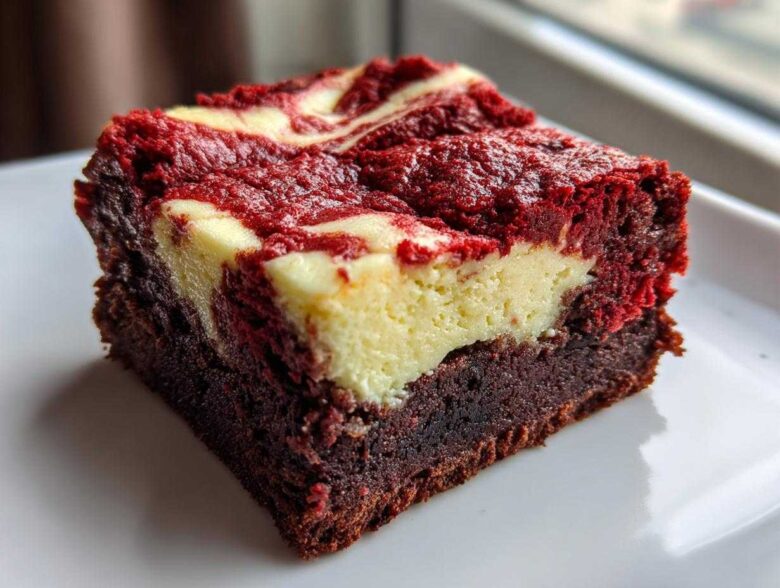
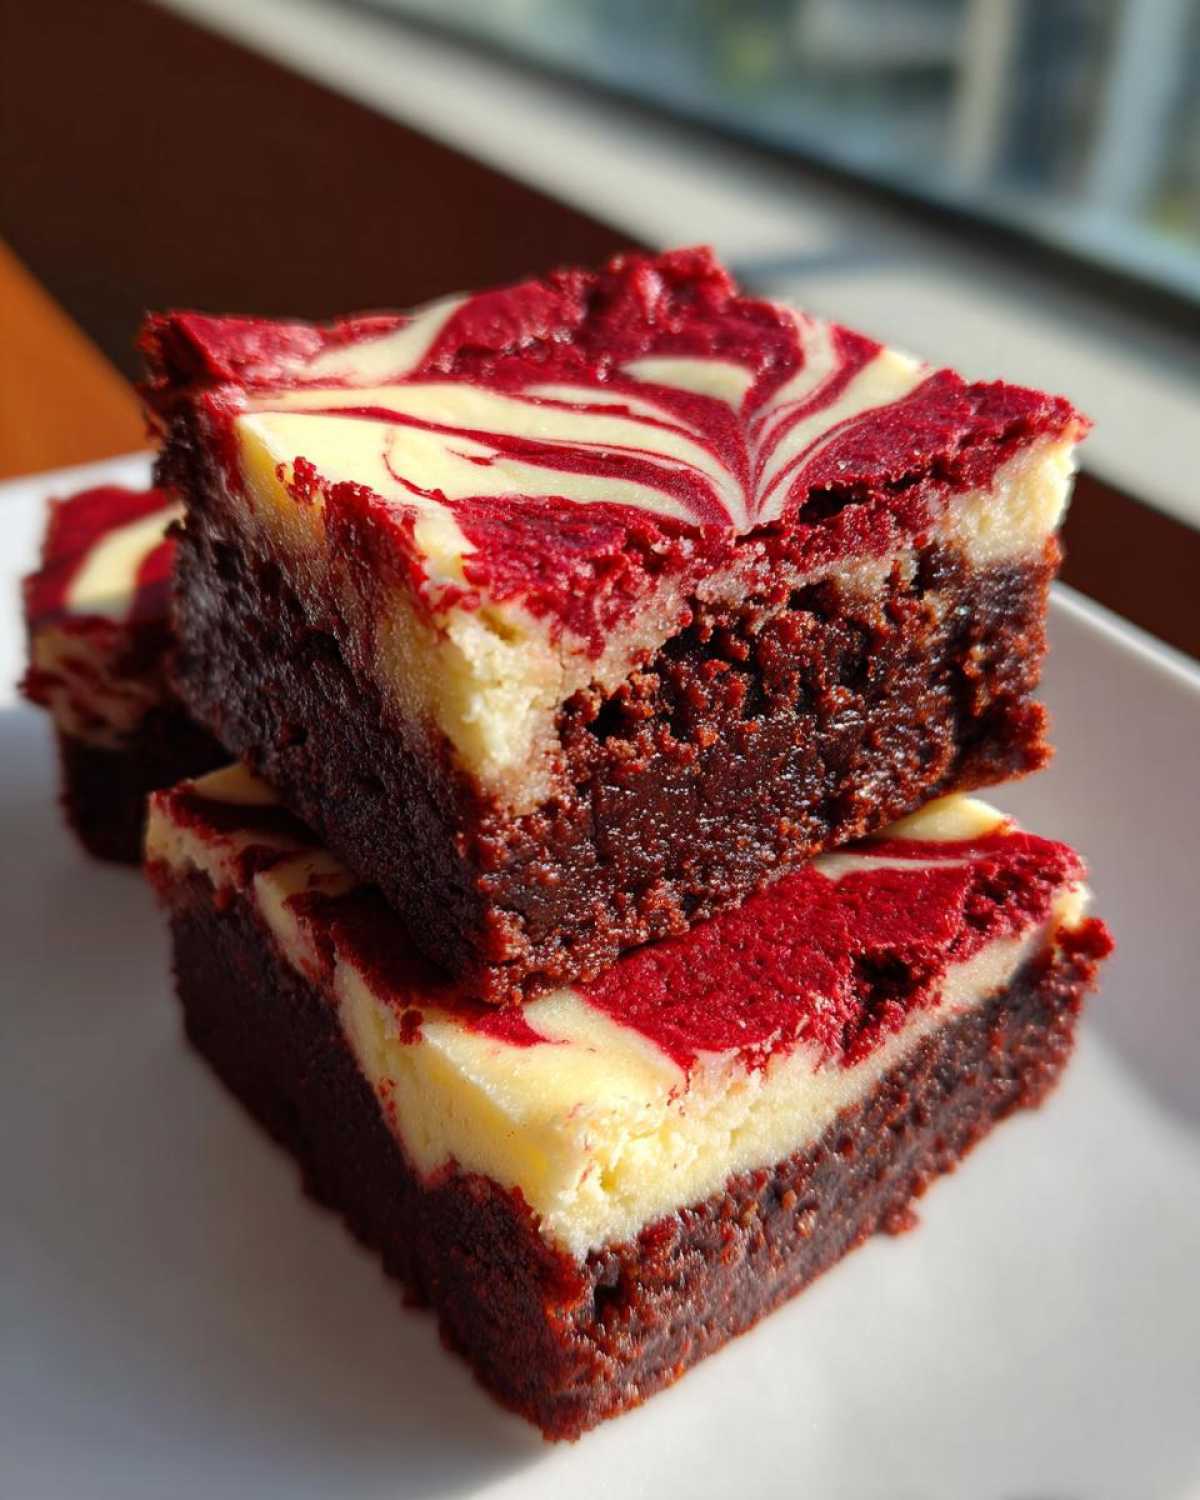
Okay, stop whatever you’re doing and listen up because I just cracked the code on what might be the most ridiculously indulgent square of heaven you’ll ever bake: the ultimate Red Velvet Cheesecake Brownies. I’m talking about a dense, deeply fudgy brownie base that melts in your mouth, topped with a bright, tangy swirl of cheesecake? It’s just pure magic! This recipe brings together the best textures—that amazing chocolate structure and that creamy pull—and trust me, once you swirl them together, you’ll never look back. They are seriously showstopping sweets.
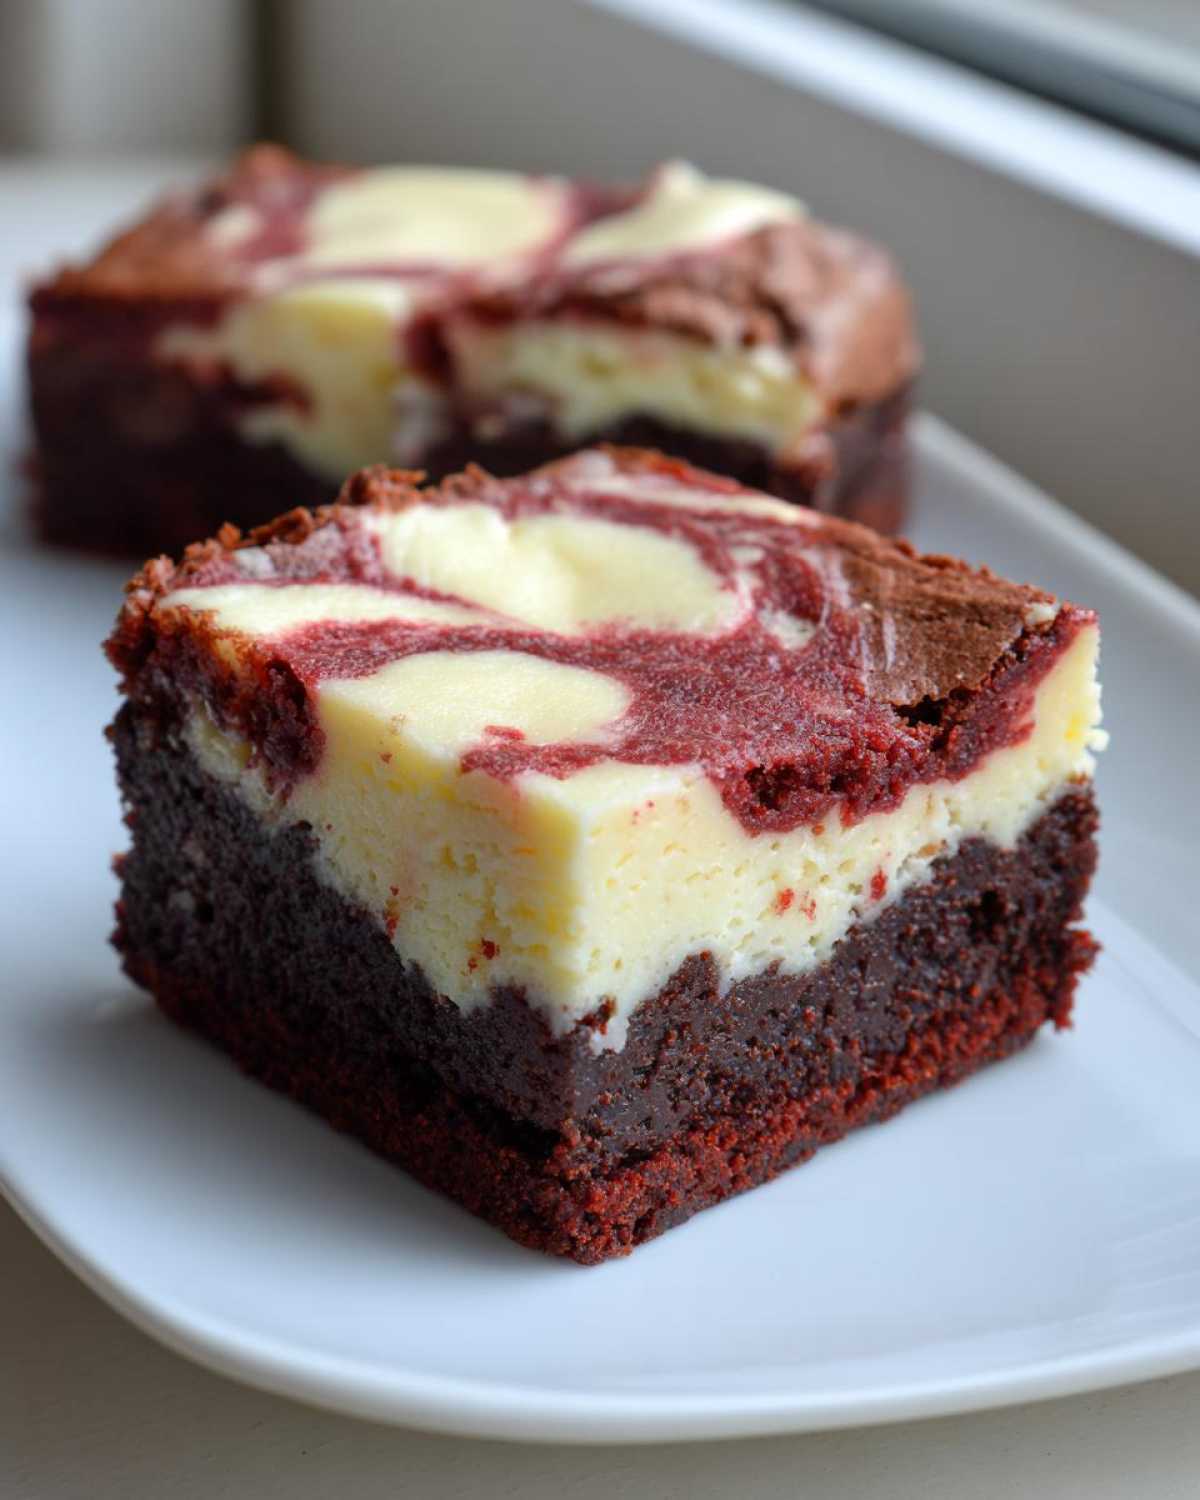
Why You Will Love These Red Velvet Cheesecake Brownies
Honestly, these bars have it all! They hit every single spot you want in a dessert. I make them constantly because they are foolproof and always wow the crowds. Forget dry cake; these are truly decadent chocolate treats.
- The texture contrast is everything: Fudgy, dense red velvet meets a soft, slightly tart cream cheese swirl—perfection!
- They look absolutely stunning with that beautiful marbled effect. Perfect for a centerpiece!
- It’s easy holiday baking without stressing over making two separate desserts. You get both flavors in one pan!
- They are the definition of homemade dessert recipes that feel gourmet but take less than an hour to bake.
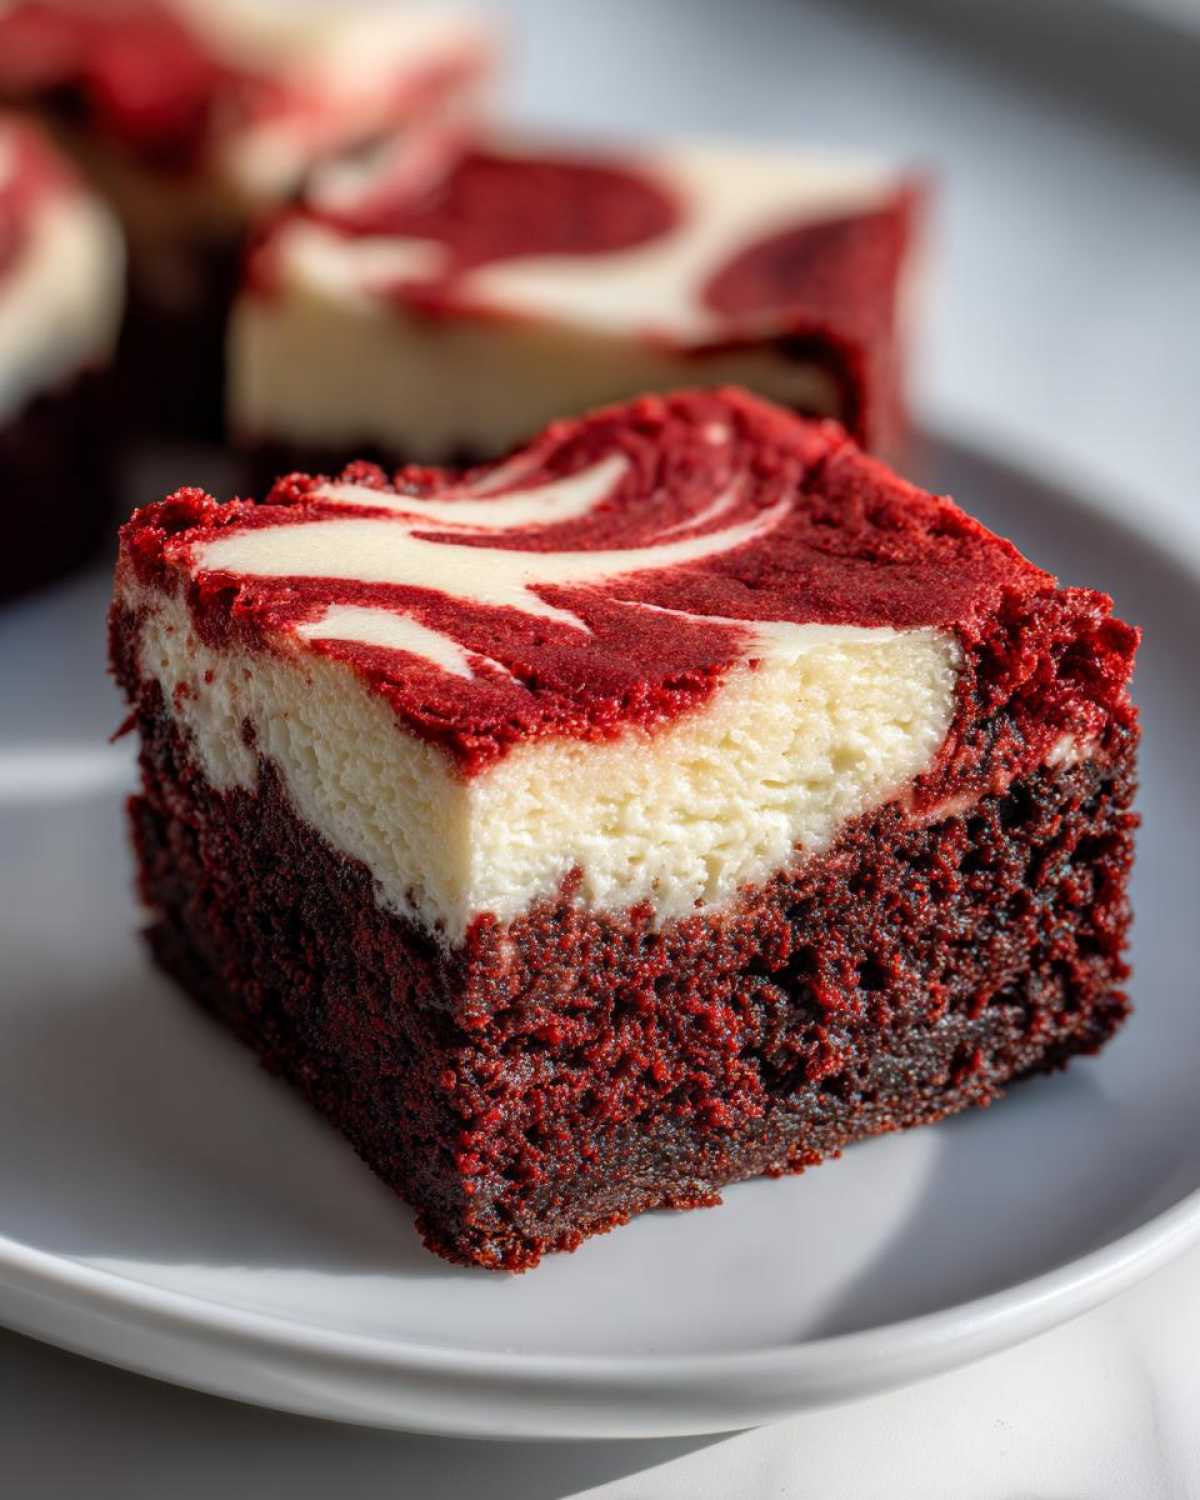
Essential Ingredients for Perfect Red Velvet Cheesecake Brownies
This is where we build the foundation of these gorgeous treats. When you’re aiming for perfection in your cream cheese swirl dessert, you can’t skip out on quality ingredients, especially keeping them at the right temperature. I always measure everything twice before I start mixing because these bars are so rich; any imbalance can throw off that delicate texture.
For the Fudgy Red Velvet Base
For the brownie layer, we need that deep chocolate flavor and the signature red hue. Remember what I said about color? You absolutely want to use gel food coloring here. Liquid coloring just adds too much extra liquid, and we are aiming for fudgy bars, not cakey ones! Also, make sure your cocoa powder is unsweetened for the best result.
- 1 cup (2 sticks) unsalted butter, melted
- 1 3/4 cups granulated sugar
- 3/4 cup unsweetened cocoa powder
- 1 teaspoon salt
- 1 teaspoon vanilla extract
- 4 large eggs
- 1 cup all-purpose flour
- 1 teaspoon red food coloring (The gel kind is my secret weapon!)
For the Cream Cheese Swirl
The cheesecake layer has to be silky smooth before it even gets near that red batter. That means your cream cheese has to be completely soft—think elbow-soft, not just slightly yielding. If it’s even a little cold, you’ll end up with little hard lumps when you try to swirl them in, and nobody wants a lumpy swirl!
- 8 ounces cream cheese, softened completely
- 1/2 cup granulated sugar
- 1 large egg
- 1 teaspoon vanilla extract
- 1/4 teaspoon salt
Step-by-Step Instructions for Your Red Velvet Cheesecake Brownies
Alright, let’s get baking! These red velvet cheesecake brownies come together surprisingly fast, but the key is keeping your head about you during the mixing stages. Don’t rush the process. We’re going for quality over speed here, even though these bake up pretty quickly!
Preparing the Pan and Brownie Batter
First things first: heat that oven up to 350 degrees F. I always take a moment to line my 9×13 inch pan with parchment paper. Leave the sides sticking up—seriously, don’t skip this part! Those overhangs become your handles later when you lift the whole slab out for perfect squares. Now, for the brownie batter, grab a big bowl. Whisk your melted butter, the bigger amount of sugar, cocoa powder, and salt until they look happy together. Then you toss in the eggs one by one, mixing well after each one joins the party. Finally, gently stir in the flour and that brilliant red food coloring until you just don’t see any streaks left. Stop mixing right there!
Creating the Cheesecake Layer and Swirling Technique
While you’re letting the red batter rest for a second, whip up the cheesecake layer in a separate bowl. Remember I told you the cream cheese needs to be rock-soft? Beat it with the smaller amount of sugar, the egg, vanilla, and salt until it’s totally smooth—no lumps allowed on my watch. Once that’s ready, spoon dollops of the cheesecake mixture all over the top of the red velvet batter in the pan. Now for the fun part to get that famous marble look! Grab a knife or even a wooden skewer, and gently drag it through the layers. You’re just making sweeping motions—don’t stir it completely or you’ll lose the beautiful marbling effect for these stunning sweets.
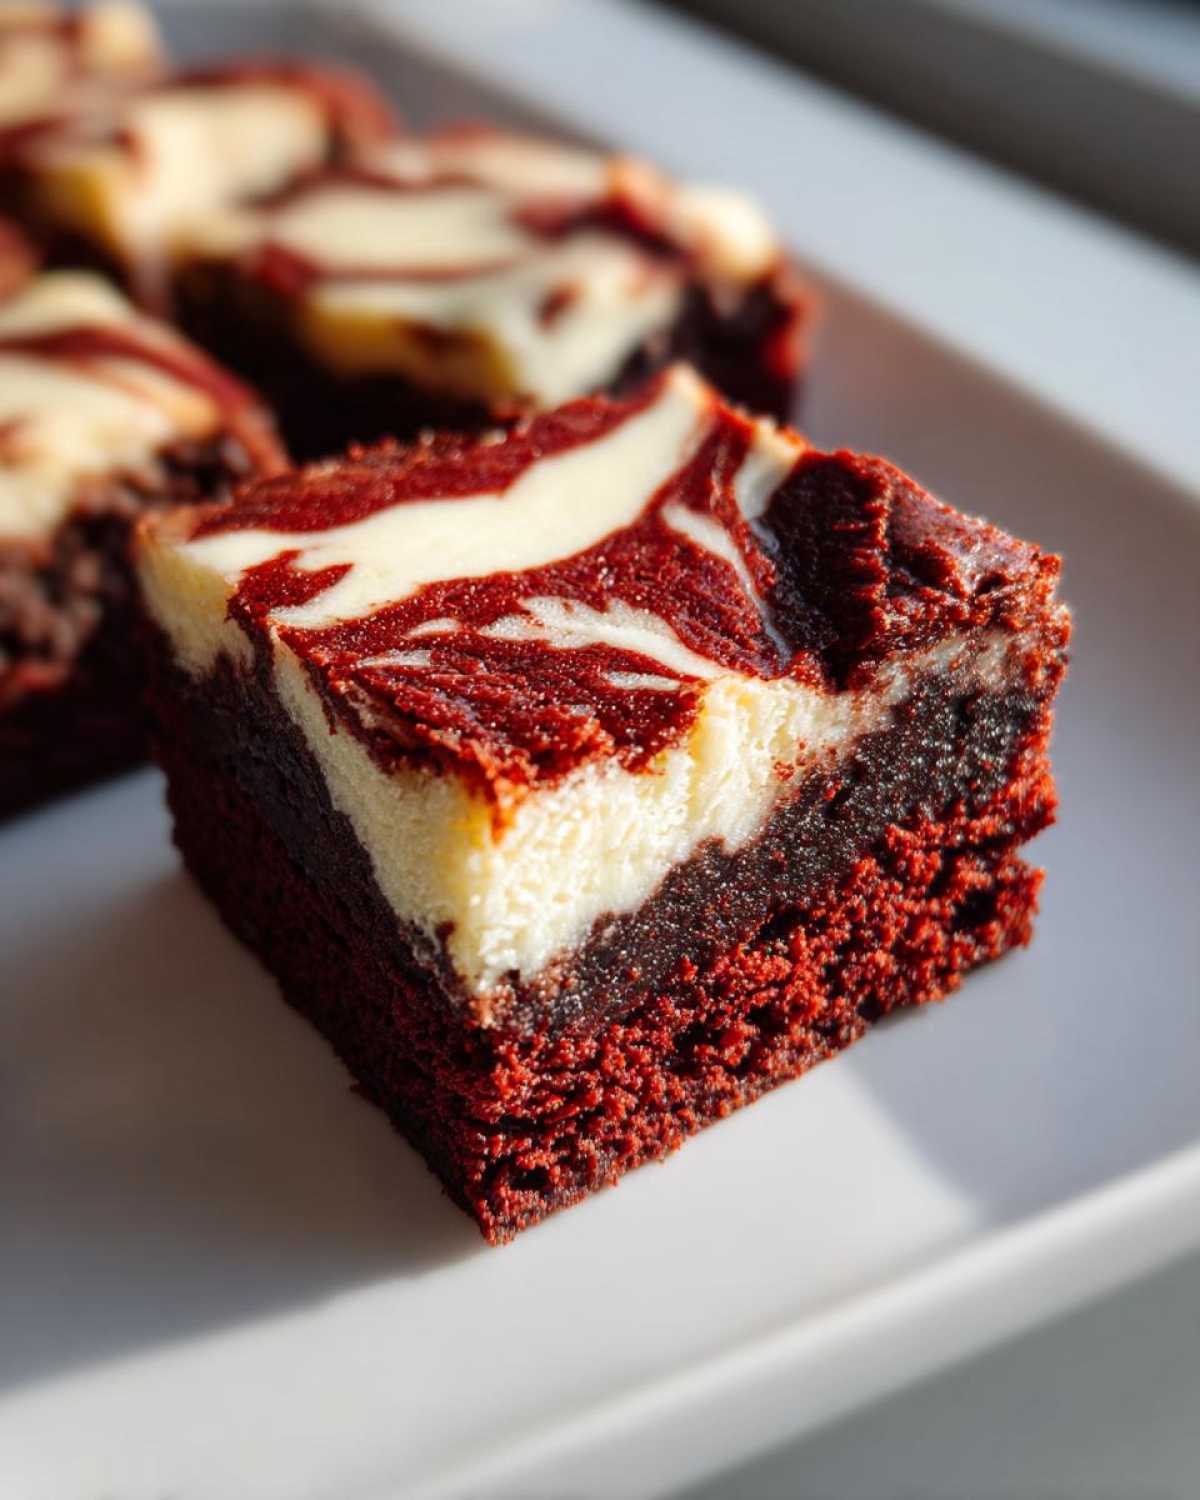
Baking and Cooling the Ultimate Indulgent Treats
Pop that pan into the preheated oven and set a timer for about 30 to 35 minutes. You want the edges to look set, but the center shouldn’t look totally firm yet. When you test for doneness, look for moist crumbs on your toothpick, not wet batter clinging on. That’s your sign! The absolute toughest part comes now: you need to let these cool completely in the pan. If you try to slice them while they are warm, the cheesecake swirl will ooze everywhere. Trust me, patiently letting them cool on a rack, and then even chilling them for an hour or two, makes cutting these gourmet dessert bars so much cleaner.
Expert Tips for Flawless Red Velvet Cheesecake Brownies
I know you are going to nail these Red Velvet Cheesecake Brownies, but I want to share the little things that take them from good to absolutely unforgettable. Seriously, these tips are based on years of trial and error, so pay attention!
For that intense, beautiful red that screams ‘Red Velvet,’ you really must stick to gel food coloring. If you use the standard liquid drops, you end up needing way too much, and suddenly your fudgy base becomes slightly more cakey than we want. We are aiming for rich and dense!
Also, here is my biggest tip for slicing like a pro—and this is crucial for serving up those perfect cheesecake brownie bars: Chill them! After they cool down to room temperature on the counter, wrap the whole pan (still containing the parchment overhang) and stick them in the fridge for at least two hours. A cold brownie cuts like butter. If you skip this, you just end up with a delicious, messy puddle of chocolate and cream cheese, which is fun, but not great for presentation.
And finally, if you’re using a stand mixer for that cheesecake layer, keep the speed on low-to-medium. My mixer sometimes wants to whip too much air into the cream cheese, and we want it dense and creamy, not light and airy like a cloud. Keep it tight!
Ingredient Notes and Substitutions for Red Velvet Baking Ideas
I get so many questions about ingredients, and honestly, when you’re making something as special as these Red Velvet Baking Ideas, the details matter! The texture of these red velvet cheesecake brownies hinges on a couple of key points, especially temperature.
Let’s talk about that cheesecake layer first. If your cream cheese is cold, it won’t combine properly with the sugar and egg. You’ll end up fighting lumps the entire time! I usually take my cream cheese out on the counter first thing in the morning if I plan to bake in the afternoon. It needs to be totally ready to go—no excuses for a lumpy swirl!
Now, cocoa powder. Since this is mixed with red color, people sometimes wonder if they can cut back on it. My advice? Don’t! The cocoa powder gives these brownies that classic chocolate depth that pairs so wonderfully with the tang of the cheesecake. It’s what makes the red velvet flavor deeper than just food coloring.
What about substitutes for that vibrant red? If, and I mean if, you absolutely cannot find gel food coloring, liquid coloring will work in a pinch for this recipe. However, because you need more liquid to achieve the same intensity, you risk changing the beautiful fudgy structure we worked so hard for. If you use liquid, start with half a teaspoon and add slowly until you get the color you like. Just know you’re sacrificing a *tiny* bit of richness for that color intensity. My heart hurts a little saying that, but I want you to have the best results!
Overall, for this specific recipe, sticking to the listed ingredients—especially the melted butter for the base (which guarantees fudginess) and the softened cream cheese—will ensure you get those perfectly marbled baked goods every single time. It truly minimizes the risk when dealing with such a decadent dessert!
Storage and Reheating Instructions for Cheesecake Brownie Bars
Okay, so you’ve made these spectacular cheesecake brownie bars (big congrats, by the way!), and now you have leftovers. My biggest piece of advice for keeping these tasting day-one amazing? You absolutely have to keep them cold. Since we worked so hard to get that smooth cream cheese swirl in there, leaving them on the counter is just asking for trouble.
For storage, I grab an airtight container—one that’s wide enough so the brownies aren’t stacked too high. If you are stacking them, you must put a piece of wax paper or parchment paper between the layers. This keeps the rich red velvet bottom from sticking to the cheesecake topping of the layer below it. Believe me, warm brownies stick to everything!
These bars are best served chilled or at cool room temperature. If you pull them out of the fridge about 20 minutes before you plan to eat them, they soften up just enough so you get that perfect density without them feeling too hard. They actually stay really fresh this way for almost a week!
Now, reheating? Honestly, I almost never reheat them, because they’re designed to be amazing cold. If you absolutely must have a slightly warmer bite—maybe you’re eating one late at night and want it soft—just take a single square and microwave it for about 8 to 10 seconds, max. Any longer and that beautiful cheesecake topping starts to get weepy. These red velvet cheesecake brownies are designed to be eaten as a cooled, dense bar, so treat them gently!
Serving Suggestions for Your Gourmet Dessert Bars
Even though these red velvet cheesecake brownies are absolutely perfect all on their own—totally showstopping sweets if you ask me—sometimes you just want to dress them up a little before serving, especially when company is coming over for the holidays.
The great thing is that the flavor profile is already so complex; you don’t need much fuss. Because you have that deep cocoa flavor from the brownie and the richness of the cream cheese, big, heavy toppings can just weigh the whole experience down. We want to enhance, not hide, that amazing marbled center!
My go-to method for serving these gourmet dessert bars is extremely simple. Just a small dollop of freshly whipped cream on top, maybe dusted lightly with a bit of extra cocoa powder or some fine shaved dark chocolate. That fresh cream lightens things up beautifully without competing with the tanginess of the swirl.
If you’re serving these as part of a bigger dessert spread, remember that they are incredibly rich—they are truly ultimate indulgent treats! They pair brilliantly with a strong, hot beverage. A nice, dark roast coffee cuts right through that richness perfectly. If you’re serving these Valentine’s Day Desserts to the kids, a tall glass of my homemade chocolate milk recipe is always a huge hit. The cold milk against the dense, slightly cool brownie is just heaven.
I also love just cutting them into smaller squares if I’m serving them after a big meal. They look elegant, yet they satisfy that deep craving for something sweet and slightly chocolatey. These are designed to be the star, so keep the accompaniments minimal and let that red velvet and cheesecake magic shine through!
Frequently Asked Questions About Red Velvet Cheesecake Brownies
Whenever I share these with friends, I always end up answering the same few questions! It’s totally normal; these red velvet cheesecake brownies are a marriage of two powerhouse desserts, so there are a few tricks to keep things running smoothly.
Can I use liquid food coloring instead of gel for the red velvet cheesecake brownies?
You sure can, but I’m going to warn you right now: it’s a bit of a gamble! Gel food coloring is my firm favorite because it packs so much magnificent color into just a single drop or two. If you use standard liquid food coloring, you have to use a lot more of it to get that gorgeous, deep red color we associate with red velvet. When you add that much extra liquid to a brownie batter, you risk thinning it out too much. Remember how we want fudgy? Too much liquid means it starts baking like a cake, and we definitely don’t want that for these cheesecake brownie bars. If you must use liquid, add it slowly until you hit the color you love!
How do I get a perfect marbled effect in my Swirled Brownie Recipe?
This is the fun, artistic bit! The key to nailing that beautiful marbling in your swirled brownie recipe is gentleness. After you drop those spoonfuls of cheesecake mixture over the red velvet batter, you take your knife or skewer and make long, slow S-shapes across the pan. Think of it like gently painting the top. Seriously, don’t stir it! If you stir too much—say, more than four or five passes across the pan—the cheesecake colors will totally blend into the red and you’ll just end up with a dull, purplish-brown mess. We need clear definition between the two layers for those stunning results.
Are these considered Decadent Chocolate Treats, and how should I store them?
Oh my goodness, yes! These are absolutely some of the most decadent chocolate treats you can make. The combination of rich cocoa, butter, and the creamy cheesecake layer makes them incredibly indulgent. Because of that cream cheese layer, storage is important—we need to keep them cool and covered to keep the cheesecake happy and safe! Once they are completely cooled after baking (and ideally chilled for cutting), transfer them to an airtight container. I always put a piece of wax paper between the layers if I stack them, otherwise, the cheesecake topping sticks to the bottom of the layer above it. Keep them in the fridge, and they are good to go for nearly a week!
Estimated Nutritional Data for Red Velvet Cheesecake Brownies
Now, let’s be real. When you’re diving into a pan of these gorgeous, marbled red velvet cheesecake brownies, you aren’t exactly thinking about calories, are you? I know I’m not! But since we are dedicated to understanding what we are cooking up, I put together the general nutritional breakdown based on the ingredients list. Please remember this is just an estimate, because my brand of butter might be different than yours, right?
These figures are calculated based on yielding 24 bars, so if you cut them into bigger squares, your numbers will naturally climb higher. This is what makes these bars such decadent chocolate treats—they are rich, and that’s okay sometimes!
- Serving Size: 1 bar
- Calories: 280
- Sugar: 28g (That’s where the joy comes from!)
- Fat: 17g
- Saturated Fat: 10g
- Total Carbohydrates: 30g
- Protein: 4g
- Cholesterol: 75mg
- Sodium: 150mg
See? Just as I thought—a powerhouse dessert! The fat and sugar content shows just how rich and beautifully fudgy these cheesecake brownie bars are. I chalk up the small amount of protein to all those eggs we used in both layers! Don’t let the numbers scare you; these are made for enjoyment, not for tracking every little thing. Just cut a piece, be happy, and save the rest for tomorrow!
PrintRed Velvet Cheesecake Brownies
Make fudgy red velvet brownies topped with a creamy, swirled cheesecake layer for a decadent dessert bar.
- Prep Time: 20 min
- Cook Time: 35 min
- Total Time: 55 min
- Yield: 24 bars
- Category: Dessert
- Method: Baking
- Cuisine: American
- Diet: Vegetarian
Ingredients
- 1 cup (2 sticks) unsalted butter, melted
- 1 3/4 cups granulated sugar
- 3/4 cup unsweetened cocoa powder
- 1 teaspoon salt
- 1 teaspoon vanilla extract
- 4 large eggs
- 1 cup all-purpose flour
- 1 teaspoon red food coloring (gel preferred)
- 8 ounces cream cheese, softened
- 1/2 cup granulated sugar
- 1 large egg
- 1 teaspoon vanilla extract
- 1/4 teaspoon salt
Instructions
- Preheat your oven to 350 degrees F. Line a 9×13 inch baking pan with parchment paper, leaving an overhang on the sides for easy removal.
- Prepare the brownie batter: In a large bowl, whisk together the melted butter, 1 3/4 cups sugar, cocoa powder, and salt until combined.
- Stir in 1 teaspoon vanilla extract and 4 eggs, one at a time, mixing well after each addition.
- Mix in the flour and red food coloring until just combined. Do not overmix. Spread the red velvet batter evenly into the prepared pan.
- Prepare the cheesecake layer: In a medium bowl, beat the softened cream cheese with 1/2 cup sugar, 1 egg, 1 teaspoon vanilla extract, and 1/4 teaspoon salt until smooth.
- Drop spoonfuls of the cheesecake mixture over the red velvet batter.
- Use a knife or skewer to gently swirl the cheesecake mixture into the brownie batter to create a marbled effect.
- Bake for 30 to 35 minutes, or until the edges are set and a toothpick inserted near the center comes out with moist crumbs attached, not wet batter.
- Let the brownies cool completely in the pan on a wire rack before lifting them out using the parchment overhang.
- Cut into squares and serve.
Notes
- Use gel food coloring for the most intense red color without adding too much liquid.
- For cleaner slices, chill the cooled brownies for at least 2 hours before cutting.
- You can use a stand mixer or hand mixer for the cheesecake layer for the smoothest texture.
Nutrition
- Serving Size: 1 bar
- Calories: 280
- Sugar: 28
- Sodium: 150
- Fat: 17
- Saturated Fat: 10
- Unsaturated Fat: 7
- Trans Fat: 0
- Carbohydrates: 30
- Fiber: 1
- Protein: 4
- Cholesterol: 75