

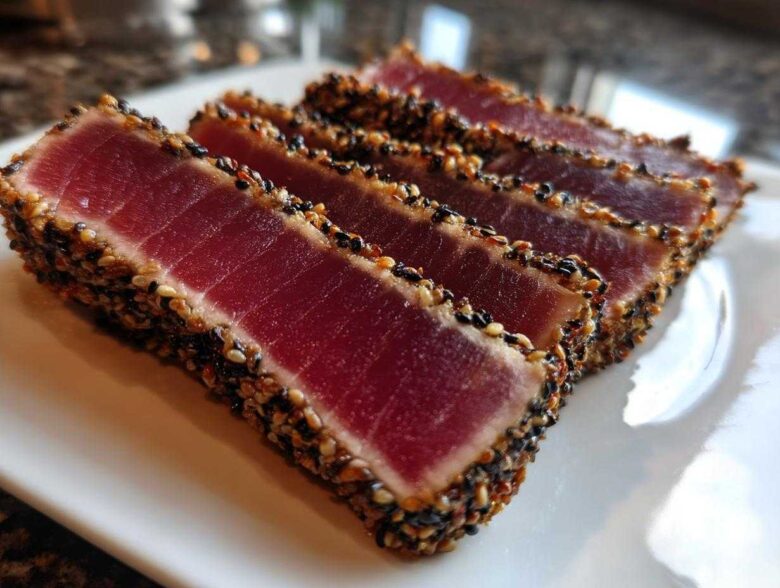
You know those moments when you bite into tuna at a fantastic restaurant, and the crust is dark and crisp but the inside is cool, buttery pink? It feels unattainable at home, right? Wrong! I’m so excited to share this recipe because Alex, my systematic engineer-turned-cook, has cracked the code on achieving that jaw-dropping, restaurant-quality crust on your Seared Ahi Tuna every single time. Forget complicated cooking; this is a lightning-fast, super healthy, and seriously gourmet way to enjoy seafood. Alex’s precise method for mastering that high-heat sear means you get a perfect result with minimal fuss. Honestly, watching him do this is like watching a science experiment—but one that tastes incredible!
Why This Perfect Seared Ahi Tuna Recipe Works (Alex’s Expert Tips)
Seeing Alex work his magic on this seared ahi tuna always reminds me why precision matters when you’re cooking something this delicate. It isn’t about complex moves; it’s about controlling temperature and surface readiness. We aren’t just cooking fish here; we are creating a reaction! If you skip these foundational steps, you’ll end up with sort of grey, sad tuna, and nobody wants that in their quick seafood recipe. Trust me, following these fundamentals turns this into a true gourmet tuna experience. When I’m craving a genuinely impressive but easy meal, I always turn back to our main blog posts for inspiration on technique before I start prepping things like, say, my gingerbread protein shake!
The Importance of Dryness for Seared Ahi Tuna
This is the step I nag Alex about constantly because he hates wet countertops! If your **sushi grade tuna** isn’t bone dry—and I mean really dry, wiped down about three times—the pan will steam the fish instead of searing it. You need that beautiful, dark crust, and water is the enemy of a good crust. No searing, no flavor!
Choosing the Right Pan for Your Seared Ahi Tuna
We learned this the hard way in a tiny kitchen in Lagos: you need a heavy-bottomed pan, like cast iron. Forget non-stick pans for high heat searing; they just won’t hold the necessary sustained temperature. You want that pan screaming hot so the moment the **yellowfin tuna** hits the surface, you hear an immediate, aggressive sizzle. High heat equals the perfect crust right away.
Gathering Ingredients for Your Asian Tuna Recipe
Okay, let’s talk about what goes onto that perfectly dry piece of fish. Since we are working with such a high-quality piece of sushi grade tuna, we don’t need much dressing up, just flavors that complement that natural richness. Think of this marinade as a quick little hug for the fish before it hits the heat! Alex is particular about the measurements here because we want enough coating to create flavor without weighing down the surface, which would hinder the sear we worked so hard for. When you gather these few items, remember that the freshness of the ginger and garlic makes a huge difference here, just like when we’re whipping up a batch of soy sauce fried noodles.
Ingredient Specifications and Preparation
When you pull out your measuring spoons, make sure you are precise. We need two beautiful 6-ounce **sushi grade ahi tuna steaks**—make sure they are thick enough to handle the intense heat! For the marinade itself, grab exactly 1 tablespoon of pure sesame oil, 1 tablespoon of soy sauce (or tamari if you’re watching the gluten), 1 teaspoon of fresh grated ginger, and yes, you have to mince that 1 clove of garlic. The only slightly flexible bit is the pepper and the sesame seeds—I love mixing white and black seeds for that speckled gourmet look, so use about 1/4 cup if you’re feeling decorative! Don’t forget that little bit of black pepper to wake everything up.
- 2 (6 ounce) sushi grade ahi tuna steaks
- 1 tablespoon sesame oil
- 1 tablespoon soy sauce or tamari
- 1 teaspoon grated fresh ginger
- 1 clove garlic, minced
- 1/2 teaspoon black pepper
- 1/4 cup sesame seeds (mixed white and black, optional)
Step-by-Step Instructions for Perfect Seared Ahi Tuna
This is where Alex’s methodical nature really shines, but don’t let the precision scare you! This whole process, from prepping to plating, takes less than 10 minutes start to finish. The key here is moving quickly once that pan gets hot. We want the fish marinated just long enough to get some flavor transference, but not so long that those wonderful fish fibers start to break down. If you’re looking for another super-fast dinner idea that uses simple ingredients, check out how we make our garlic butter ahi tuna—it’s a totally different flavor profile but just as quick!
Marinating and Coating the Yellowfin Tuna
First things first: Step 1 is non-negotiable. Take those gorgeous **yellowfin tuna** steaks and pat them down aggressively with paper towels until they feel completely dry. Seriously, scrub them gently! Next, whisk up our little flavor bath: sesame oil, soy sauce, ginger, and garlic. Brush this mixture liberally all over every side of the tuna. Don’t let it sit bathing in this mixture! Once coated, you’re ready for the seeds. Press each side of the marinated tuna gently into the sesame seeds (if you’re using them) so they stick right onto that marinade layer. That coating is your armor against the high heat!
Achieving the Ideal Sear on Sushi Grade Tuna
Now for the action! Get your heaviest skillet—cast iron is my favorite—on the burner and crank it to high heat. You need it searing-hot; wait until a tiny droplet of water instantly vanishes with a loud sizzle. Carefully lay the **sushi grade tuna** in the dry, hot pan. Don’t crowd it; if you’re doubling the recipe, sear in batches! Now, don’t touch it! Sear for just 60 to 90 seconds max if you want that cool, rare center—true perfection. Flip it and do another 60 to 90 seconds on the other side. Seriously, that’s it for the cooking. If you see the sides turning opaque too fast, pull it off! This is a quick seafood recipe; don’t overthink it.
Resting and Slicing the Seared Ahi Tuna
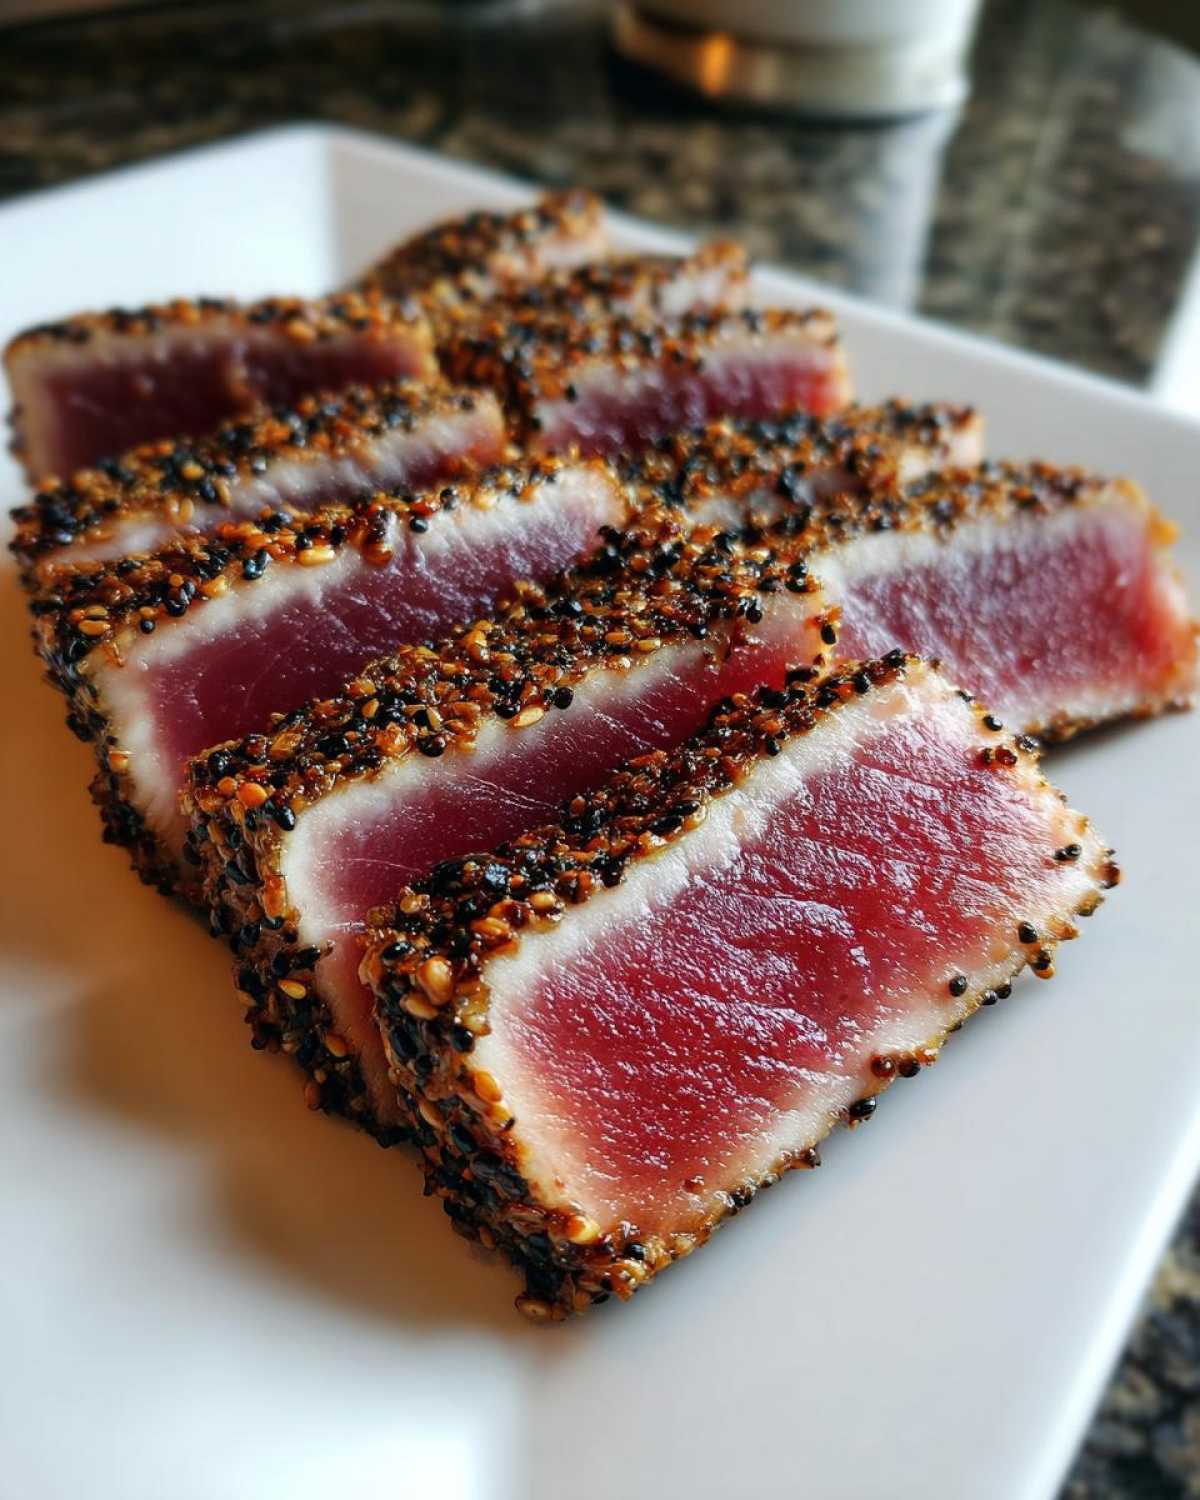
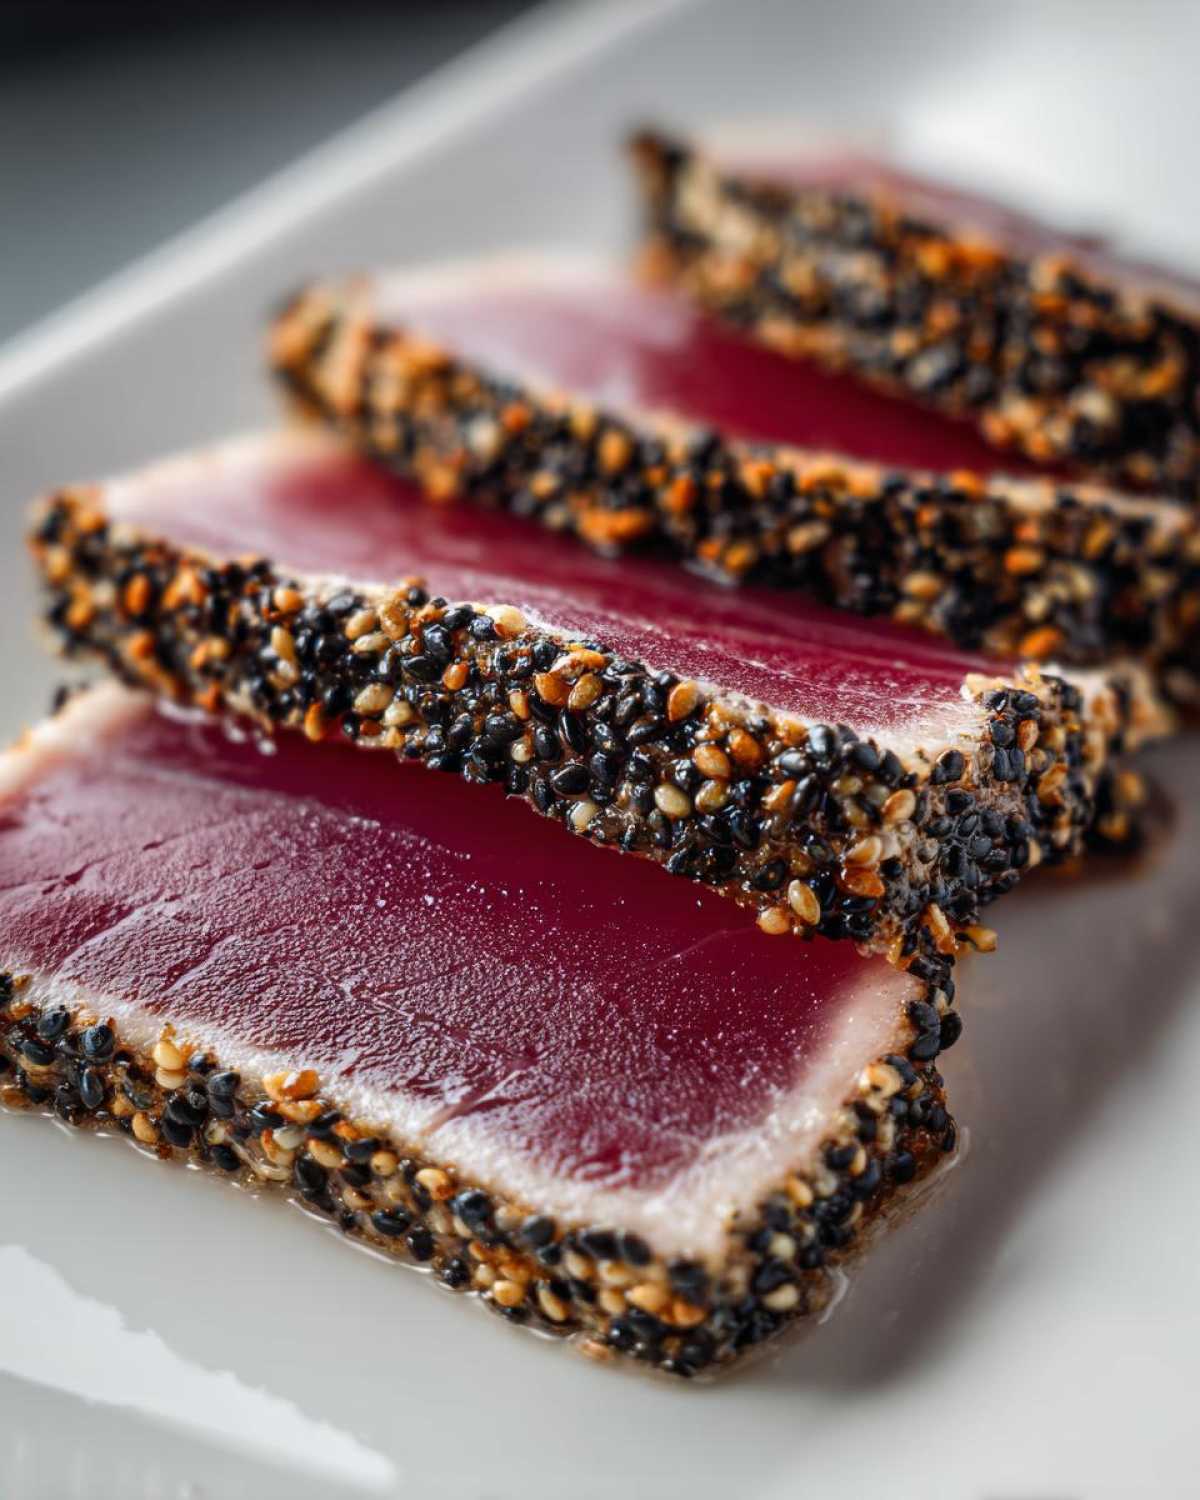
Once you pull the tuna from that screaming hot pan, take it out immediately onto a cutting board. It needs a breather! Let those steaks rest for a solid 5 minutes. I know, waiting is hard when something smells this good, but resting allows the residual heat to distribute evenly without continuing to cook the edges. After 5 minutes, use your sharpest knife and slice the tuna thinly—we’re talking half-inch pieces—always cutting against the grain. When you slice it, you’ll see that thin, dark crust surrounding that beautiful, deep red center. That’s the sign of a successful sear!
Tips for Success with Your Gourmet Tuna
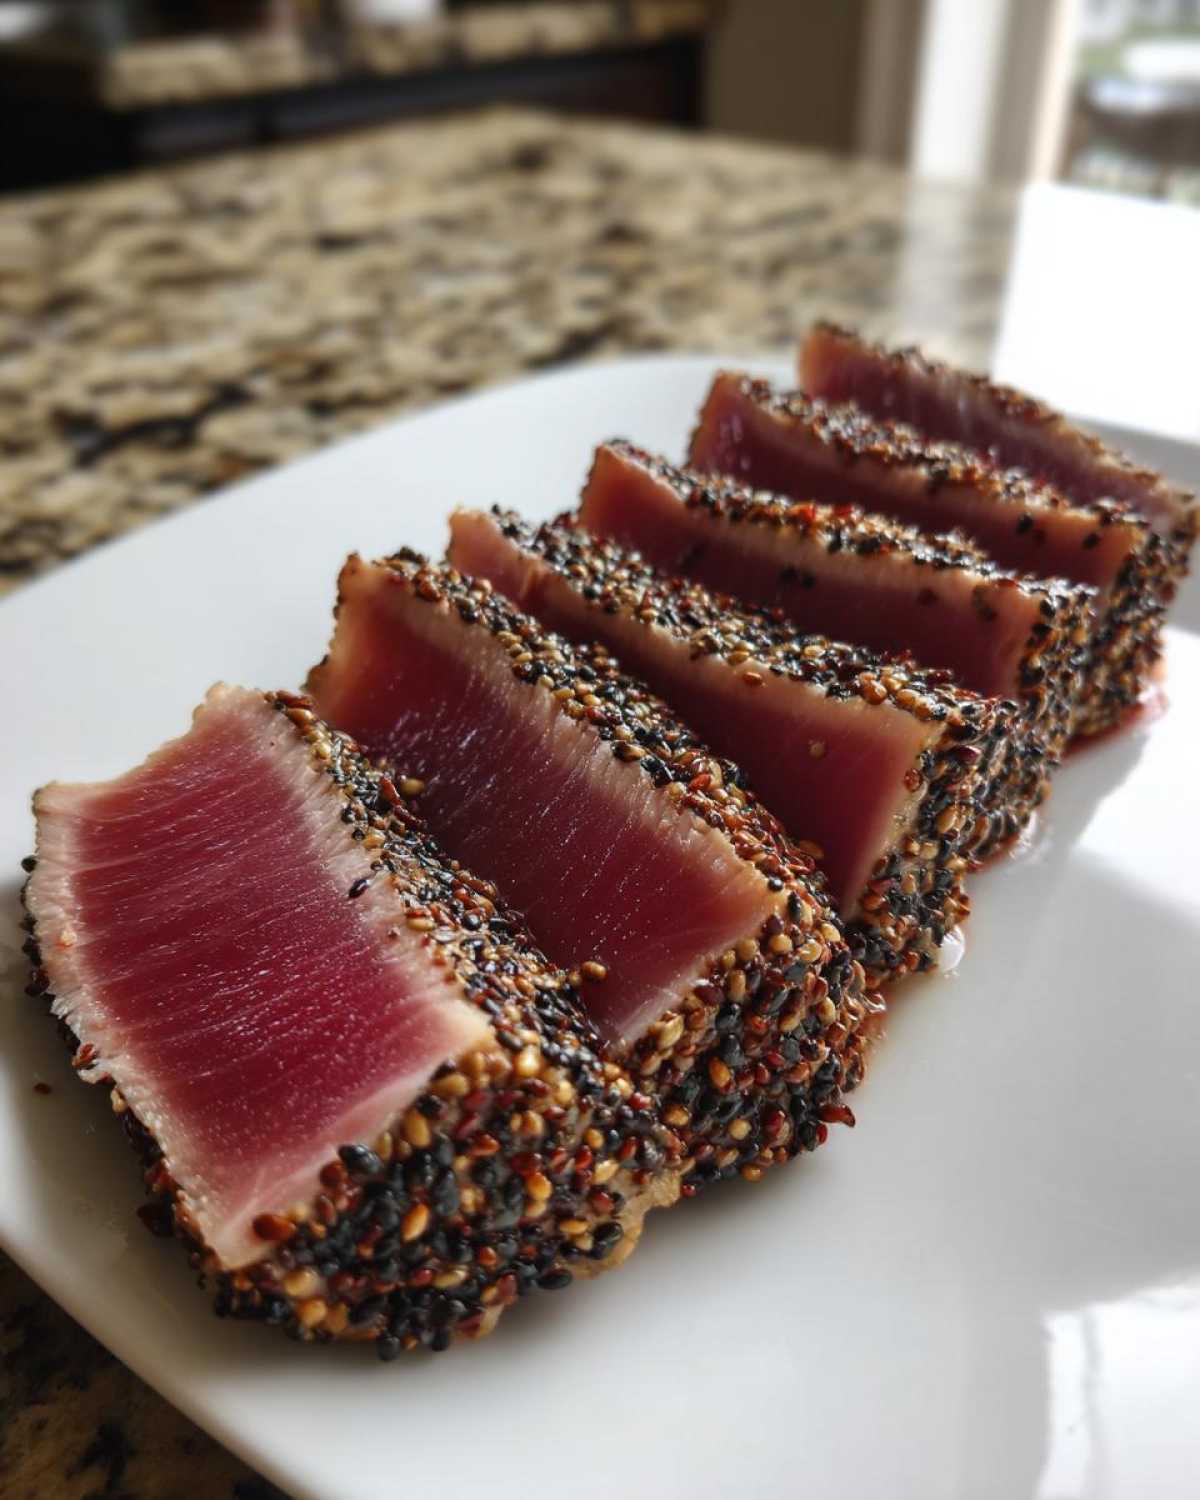
Making an amazing **gourmet tuna** dish at home is really all about respect for the ingredient, isn’t it? Alex stresses that since the cooking time is so brief, we rely heavily on the starting quality of the fish. You can’t fake high-quality **sushi grade tuna**—it just won’t behave the same way in that hot pan! If you’ve ever seen some of the inspiring plating ideas on Pinterest, you know presentation matters, but without great fish, the flavor just won’t match the picture.
Sourcing High-Quality Sushi Grade Tuna
Seriously, go to the best fishmonger you can find. When they say it’s sushi grade, that means it’s been handled specifically for raw or barely-seared consumption, and that matters here. If you are worried about the soy sauce or maybe just want a slightly different salty kick, feel free to swap that out for coconut aminos. It gives the marinade a slightly different, richer base flavor, but it works just as beautifully with the ginger and garlic.
Serving Suggestions for Your Quick Seafood Recipe
Now that you’ve done the hard part—the perfect sear—it’s time to make this **quick seafood recipe** look as amazing as it tastes! Because this tuna is so light and clean, it pairs wonderfully with something simple underneath. I always default to a bed of perfectly steamed jasmine rice, or maybe some lightly dressed greens to cut through the richness of the sesame oil. Don’t forget the final flourish: have soy sauce, a tiny dab of fiery wasabi, or maybe a bright drizzle of sriracha ready on the side. If you want a heartier meal that still uses quick cooking techniques, you might try pairing it with leftover shrimp fried rice!
Storage and Reheating Instructions for Leftover Seared Ahi Tuna
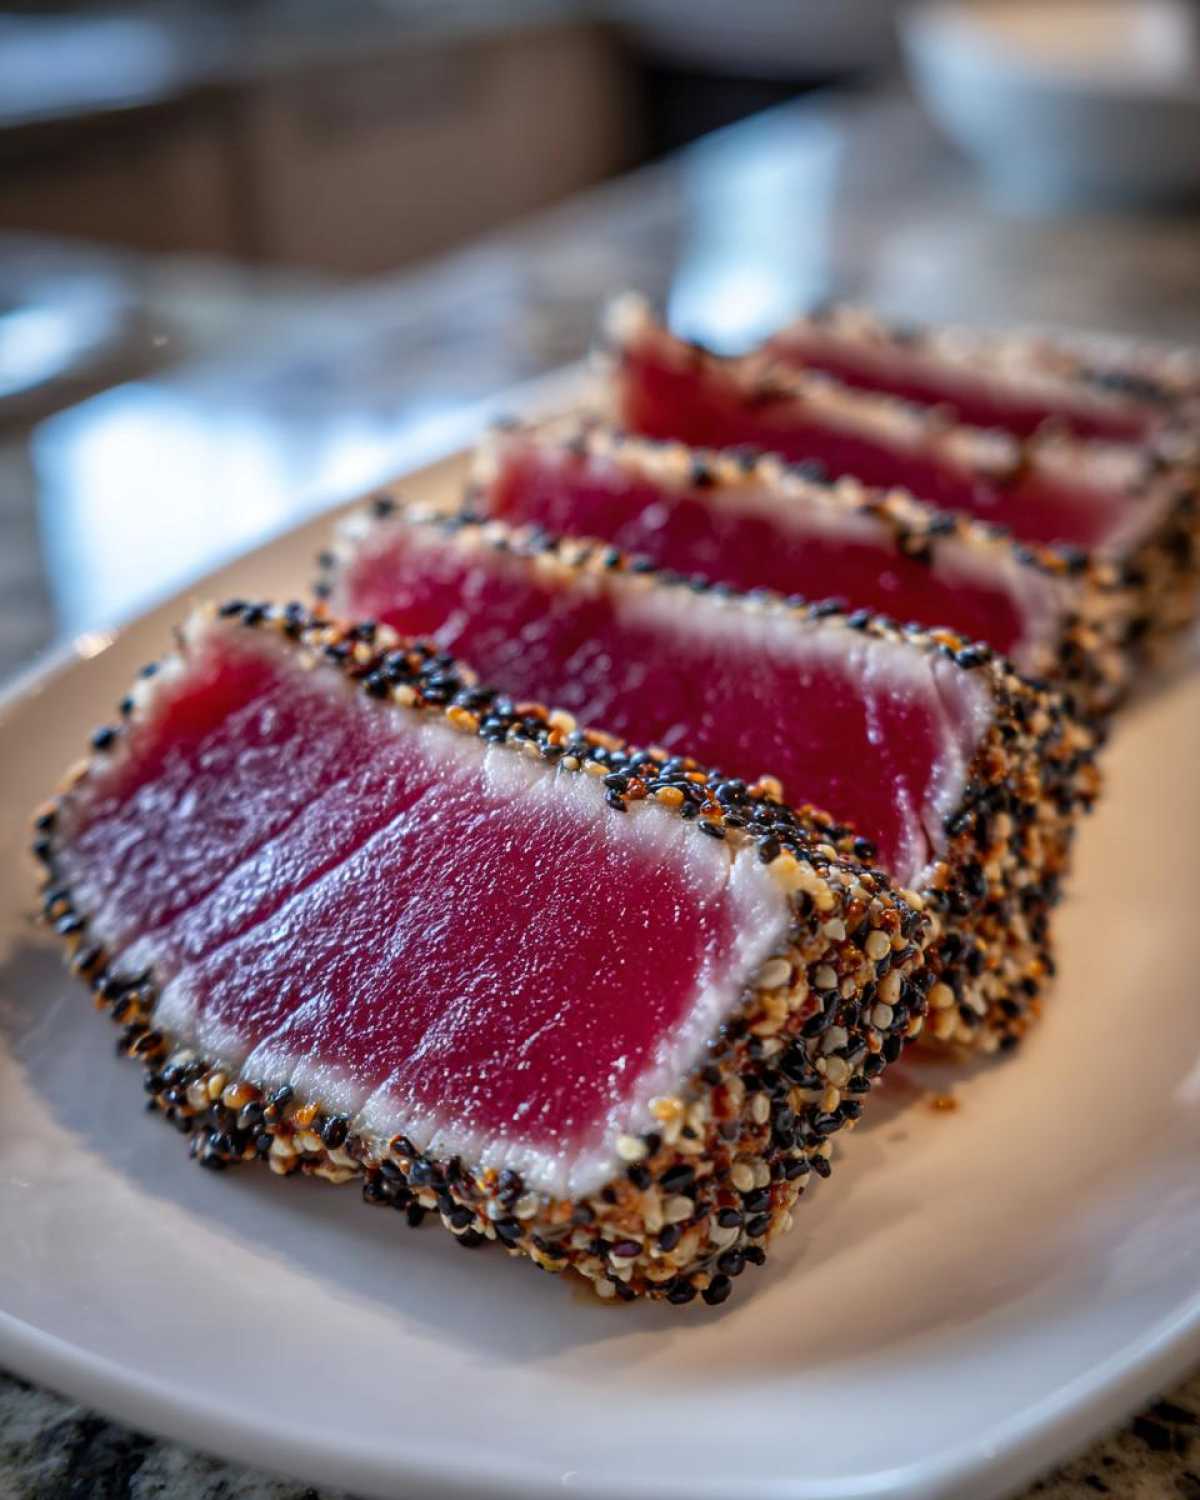
Okay, listen up: this is important for your seared ahi tuna because it is truly the best when it’s just off the hot pan. If you happen to have any leftovers, please, please do not try to reheat them in the microwave or a pan! That beautiful rare center you fought for will instantly turn tough and grainy. Instead, store any leftover slices in the fridge because they are absolutely fantastic cold. I love taking the leftover chilled pieces and tossing them into a light salad the next day. It keeps the texture right and turns it into a different, but equally delicious, **healthy dinner**!
Frequently Asked Questions About Making Seared Ahi Tuna
We get so many questions about this recipe when folks first try searing tuna at home! It’s natural to be nervous when you’re dealing with such a special piece of fish. Alex is always happy to jump in and clear up any confusion so you can cook with confidence. We want this to be the easy, go-to recipe for you. For more quick ideas on simple meals that pack a flavor punch, check out what we whip up when we only have a few minutes, like our avocado toast recipes!
Can I use frozen tuna steaks for this Asian Tuna Recipe?
This is a super common question, especially since good **sushi grade tuna** can be hard to find sometimes! My honest answer is: if you can, buy fresh. But if you have to buy frozen, you absolutely must make sure it’s high-quality, previously frozen, sushi-grade fish. You need to thaw it *slowly* in the refrigerator overnight. If it’s just standard frozen tuna from the freezer chest at the supermarket, save it for something else—it won’t have the texture needed for this quick sear. We need that density!
How do I know when my healthy dinner is perfectly seared?
It’s all about the visual indicators, honey! You are aiming for that dark, almost mahogany, crust on the outside where the sesame seeds got nice and toasty. The center, however, should remain cool and dark red—almost raw looking. If you’re timing it for rare, stick strictly to 60 to 90 seconds per side. If you want it medium-rare, maybe push it to a solid 2 minutes per side, but watch closely! Anything more than that turns it grey and chewy, and we definitely don’t want that for our **quick seafood recipe**.
What if I don’t have ginger for the marinade?
Oh, the missing ingredient crisis! Don’t panic. While the ginger really brightens up the marinade with that little bit of spice, you totally can skip it if you’re out. Just make sure you use that full minced clove of garlic because it carries a lot of the flavor punch. If you want to replace the ginger’s brightness, maybe add just a tiny splash—like half a teaspoon—of fresh lemon or lime juice to the soy sauce mixture instead. It won’t be the exact same, but it keeps that marinade lively!
Nutritional Snapshot of This Healthy Dinner
Okay, let’s look at the numbers, friends! One of the main reasons this recipe makes my list of favorites is that after all that flavor and beautiful searing, it’s still such a wonderfully light and **healthy dinner**. We’re getting amazing protein from the tuna, and because we’re not using tons of heavy oil or sugar in the marinade, the fat count stays reasonable. Remember, these are just our estimates based on the ingredients listed, so if you douse yours in extra soy sauce, the sodium might jump up a bit!
Here’s a quick look at what’s packed into one seared ahi tuna steak, based on our recipe quantities:
- Serving Size: 1 steak
- Calories: Around 250
- Protein: A whopping 32 grams!
- Fat: Roughly 12 grams (mostly healthy unsaturated fats!)
- Carbohydrates: Very low, about 4 grams
- Sodium: Approximately 350mg (this depends heavily on your soy sauce choice)
See? It’s perfect when you need something that feels absolutely indulgent but keeps you feeling energized. It’s the kind of **quick seafood recipe** I make when I need dinner on the table almost instantly without compromising on quality.
Share Your Perfect Seared Ahi Tuna Experience
I truly hope this recipe demystifies the world of high-heat searing for you! Honestly, the best part of sharing these meals we bring back from our travels—whether it’s a classic African stew or a simple pan-seared fish like this—is hearing from you. Seeing your successes is what keeps us so excited about filling this space!
Did you manage that perfect crust without overcooking the center? Did the ginger really make a difference in your marinade? Please, don’t be shy! Leave a star rating right below this section—it lets us know we’re hitting the mark with these quick seafood recipes. And if you snapped a picture of that beautiful sliced steak resting on your plate, please tag us on social media! We absolutely love seeing Alex’s methodical technique succeeding in home kitchens all over the place.
If you have any specific questions that weren’t covered in the FAQS, or just want to say hello, you can always reach out directly through our contact page. We read every single note, and your journey in the kitchen matters to us. Happy cooking, friends, and enjoy every perfectly seared bite!
PrintPerfectly Seared Ahi Tuna Steaks
Learn how to quickly sear sushi grade yellowfin tuna to achieve a beautiful crust while keeping the center rare. This Asian tuna recipe makes a healthy dinner.
- Prep Time: 10 min
- Cook Time: 4 min
- Total Time: 14 min
- Yield: 2 servings
- Category: Dinner
- Method: Pan Searing
- Cuisine: Asian-Inspired
- Diet: Low Fat
Ingredients
- 2 (6 ounce) sushi grade ahi tuna steaks
- 1 tablespoon sesame oil
- 1 tablespoon soy sauce or tamari
- 1 teaspoon grated fresh ginger
- 1 clove garlic, minced
- 1/2 teaspoon black pepper
- 1/4 cup sesame seeds (mixed white and black, optional)
Instructions
- Pat the ahi tuna steaks completely dry using paper towels. This step helps create a good sear.
- In a small bowl, whisk together the sesame oil, soy sauce, ginger, and garlic. Brush this mixture evenly over all sides of the tuna steaks.
- If using, spread the sesame seeds on a plate and gently press each side of the tuna into the seeds to coat evenly.
- Heat a heavy-bottomed skillet, such as cast iron, over high heat until it is very hot. You want the pan hot enough that a drop of water sizzles immediately.
- Carefully place the coated tuna steaks into the hot, dry skillet. Do not overcrowd the pan.
- Sear the tuna for 60 to 90 seconds per side for rare, or up to 2 minutes per side for medium-rare. The goal is a dark crust and a cool, deep red center.
- Remove the tuna from the heat immediately.
- Let the seared ahi tuna rest on a cutting board for 5 minutes before slicing against the grain into half-inch thick pieces.
Notes
- For the best results, use high-quality, sushi grade yellowfin tuna.
- If you prefer a stronger flavor, you can substitute the soy sauce with coconut aminos.
- Serve this gourmet tuna immediately with soy sauce, wasabi, or a light drizzle of sriracha for a quick seafood recipe.
Nutrition
- Serving Size: 1 steak
- Calories: 250
- Sugar: 1
- Sodium: 350
- Fat: 12
- Saturated Fat: 2
- Unsaturated Fat: 10
- Trans Fat: 0
- Carbohydrates: 4
- Fiber: 1
- Protein: 32
- Cholesterol: 80