

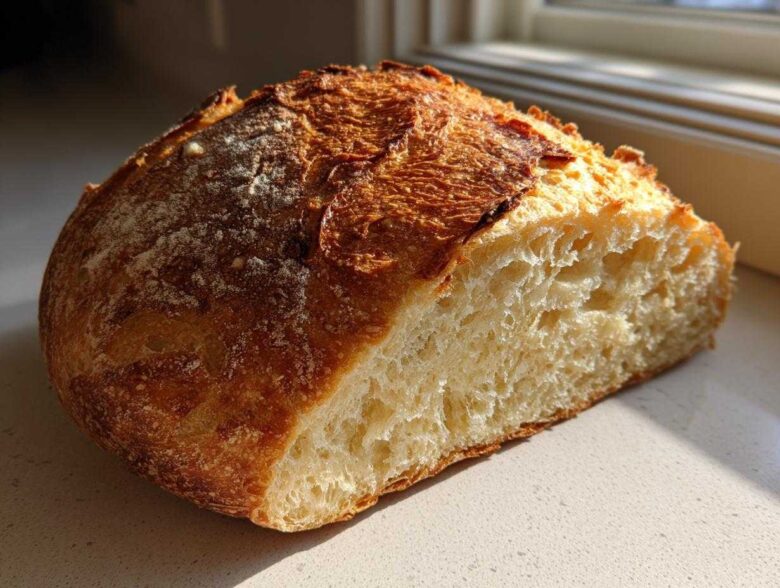
Oh, if there is one smell that can instantly transport me back to those vibrant kitchen scenes, whether it was in Addis Ababa or right here in our U.S. home, it is the smell of bread baking! When that yeast wakes up and starts working its magic, everything else just fades away. Alex is always the one complaining I’m getting too chaotic, smelling up the house before dinner, but honestly, who can resist it? This recipe for homemade **Italian bread** is finally the one that unlocked the secret to that gorgeous, bakery-style crunch for me. Forget those overly gummy grocery store loaves; trust me, you can achieve that deeply golden, crunchy exterior and wonderfully soft, chewy inside using simple pantry staples, and I’m going to show you exactly how, step by delicious step. For more of our kitchen adventures and flavor maps, you can always check out what we’re currently cooking up over at our main blog page!
Why This Homemade Italian Bread Recipe Works for Everyone
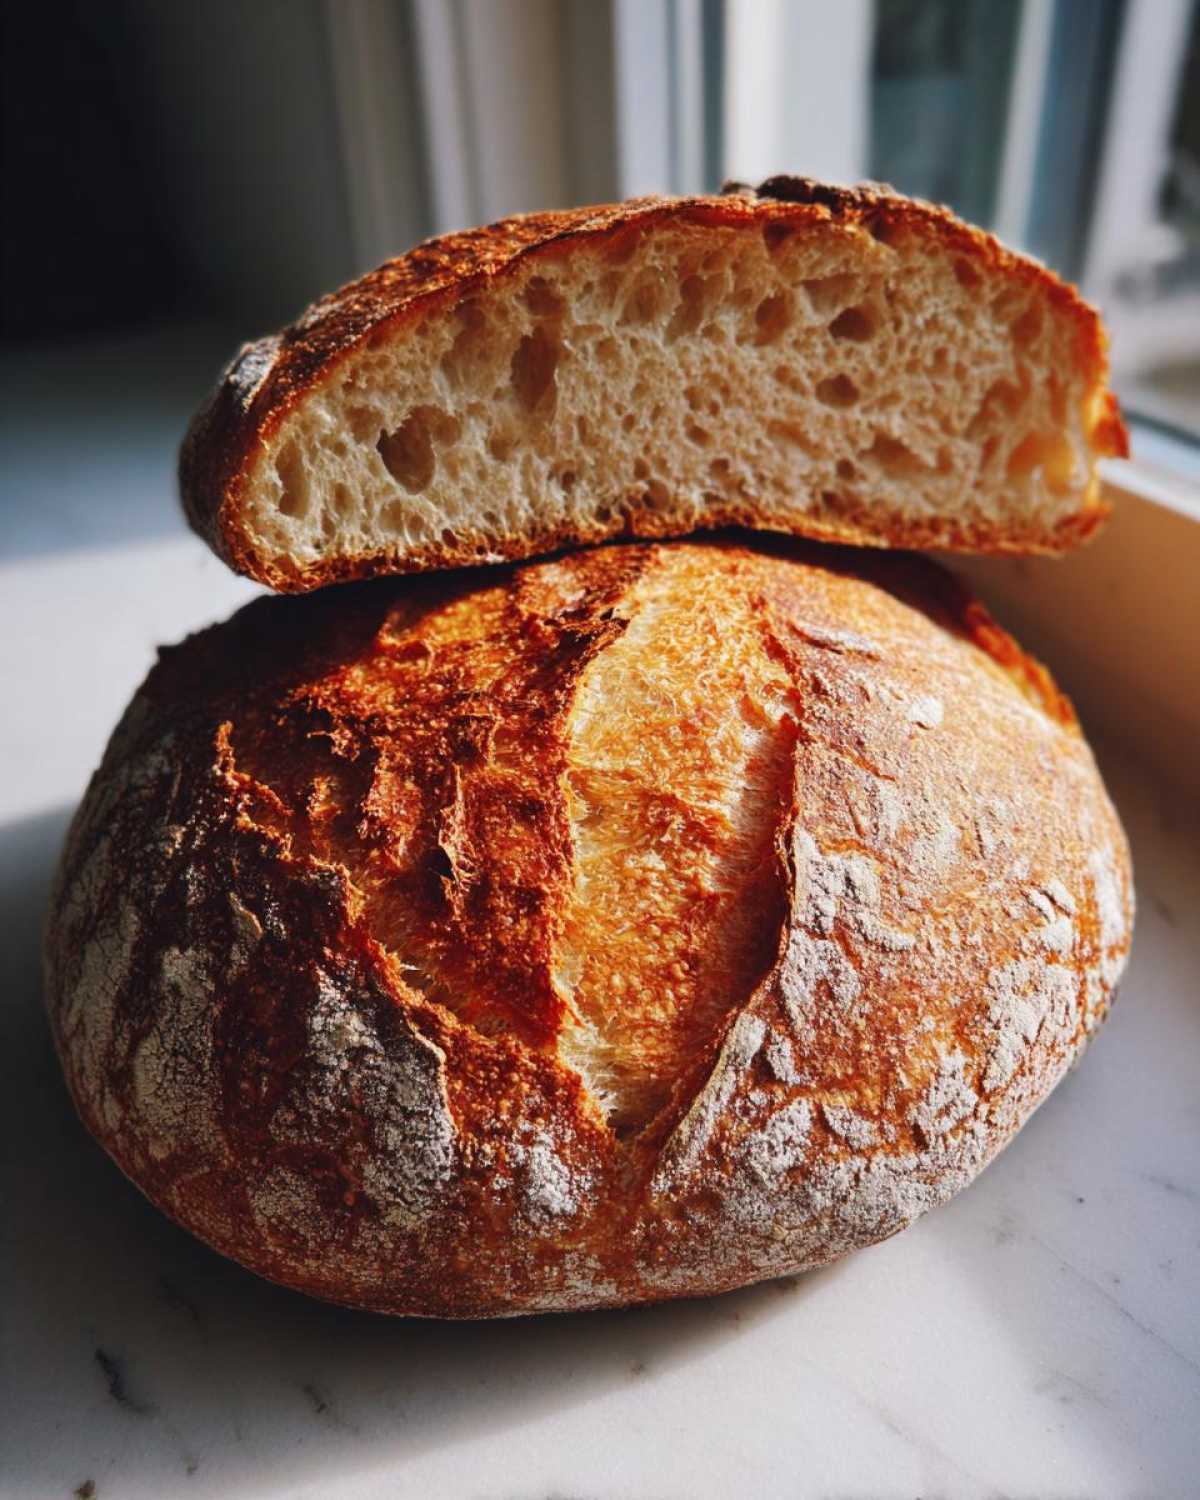
When I first experimented with yeast after coming home from Africa, I often got loaves that were either too dense or melted into pancakes. But this version truly breaks the mold for home bakers. It gives you exactly what you want: that satisfying crackle when you cut into it, and that fluffy, comforting center. If you’ve been searching for an Easy Crusty Bread Baking that delivers genuine results, you’ve found it!
- It’s genuinely beginner-friendly—if you can mix ingredients, you can bake this.
- It relies on basic pantry staples; no fancy flour needed for great results.
- It flawlessly delivers that Soft Inside Crusty Outside Bread texture we all crave.
Achieving the Perfect Golden Brown Crust Bread
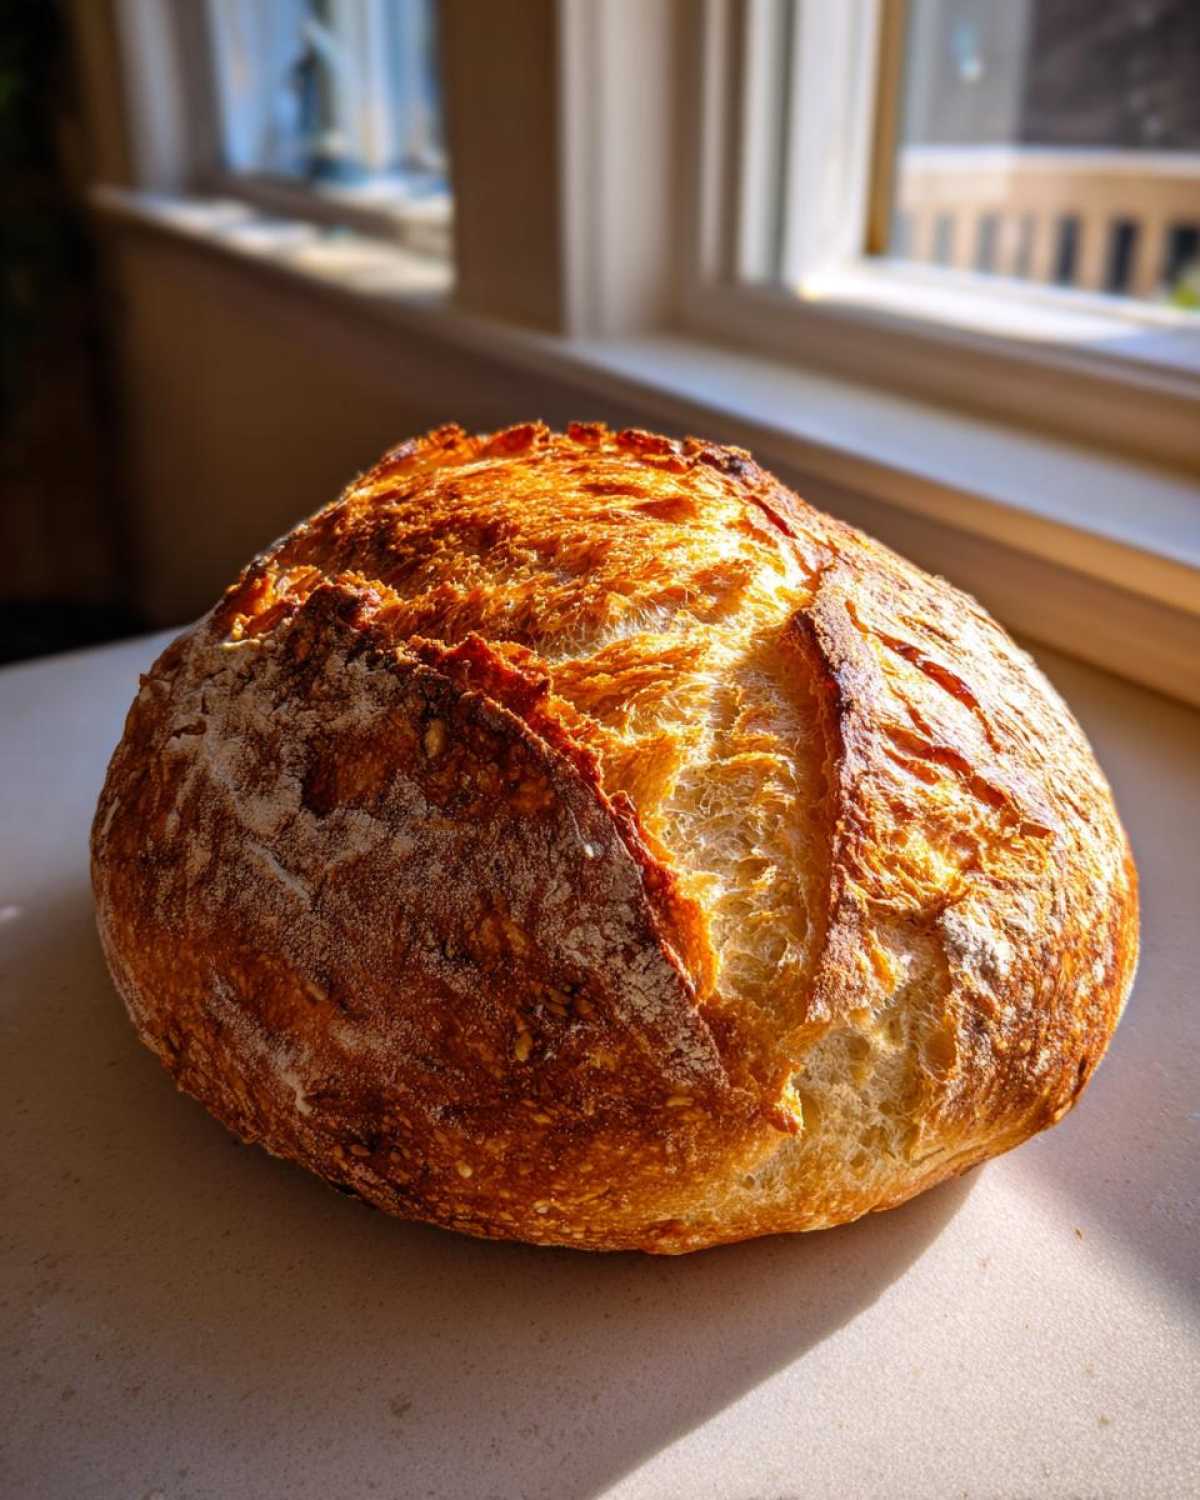
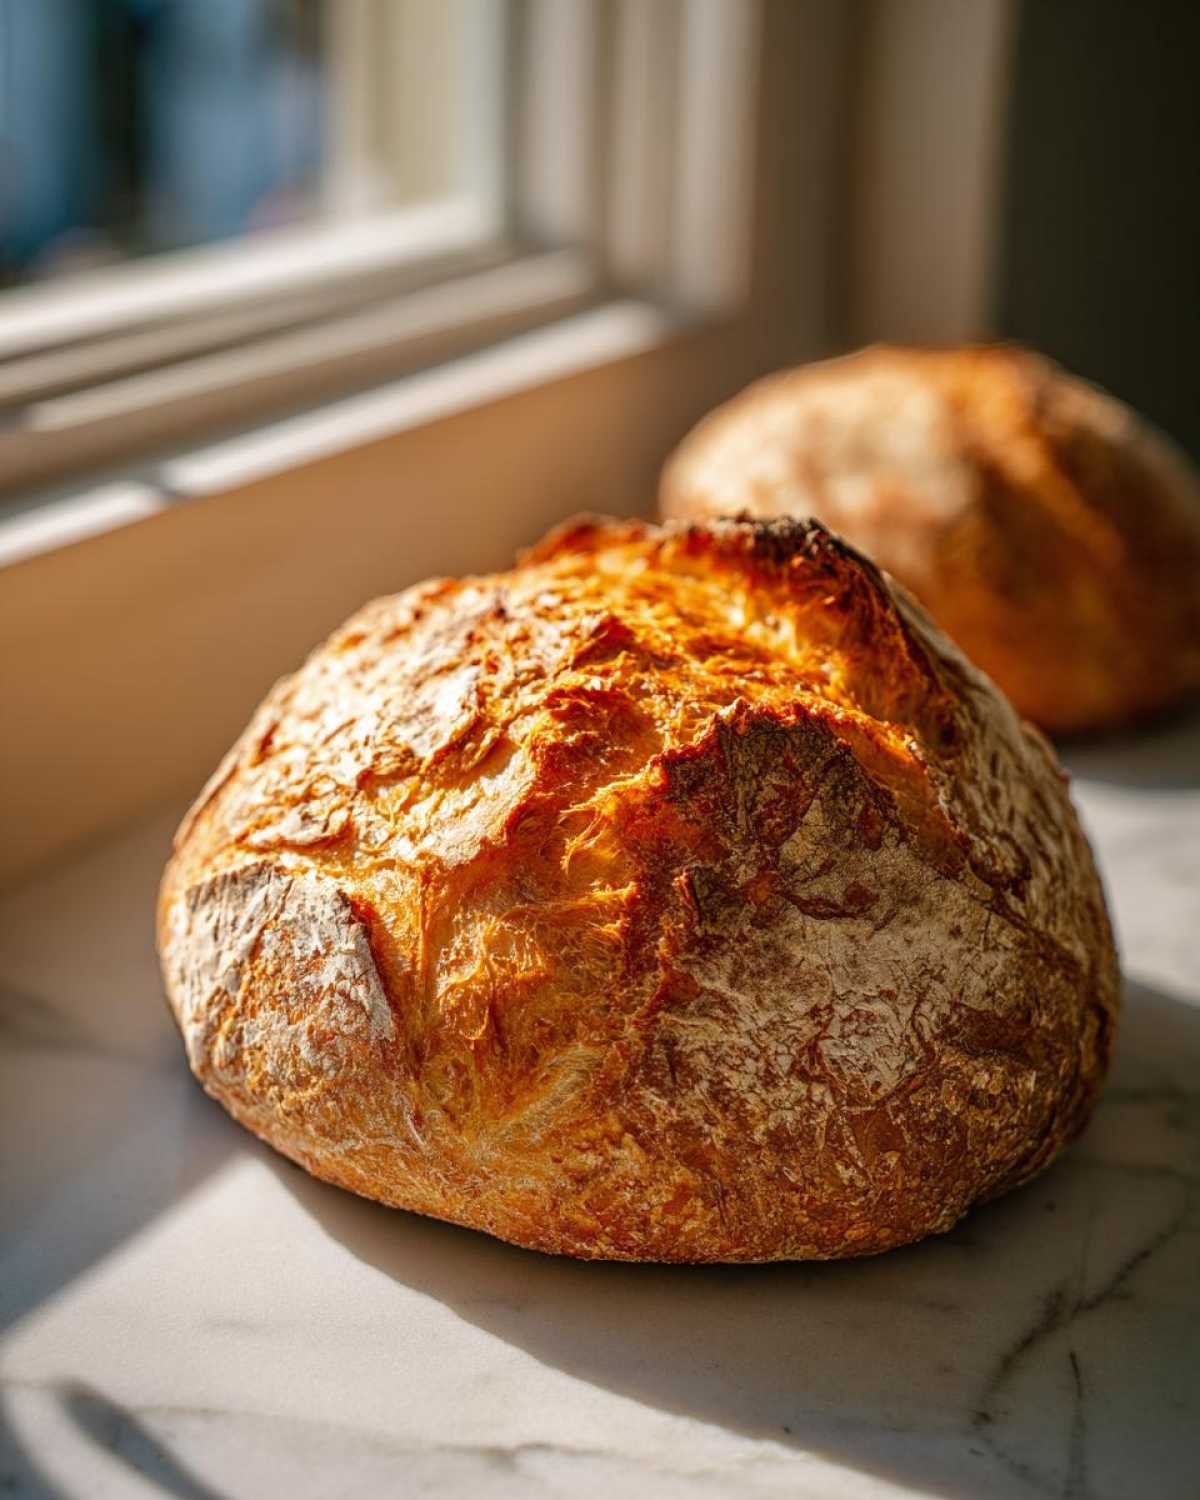
You know that deep, mahogany color you see in the bakeries? That gorgeous, crackly finish isn’t luck; it’s steam! When the bread hits that hot blast of steam in the oven—which we create by pouring water into a hot pan underneath—the crust stays moist just long enough to expand beautifully before hardening. That trapped moisture is what gives you that incredible blistered, crisp exterior. It’s a total game-changer for achieving those artisan results without the hefty price tag. You can see why other bakers swear by this method over at this popular recipe, too!
Essential Ingredients for Your Italian Bread
Okay, the beauty of this recipe, just like so many of the simple meals I learned in Africa, is that it truly relies on foundational ingredients. We aren’t running out to buy fancy things you only use once! You probably have most of this tucked away in your pantry right now. We need 3 1/2 cups of all-purpose flour, 1 1/2 teaspoons of salt, just 1 teaspoon of sugar, and 2 1/4 teaspoons of active dry yeast—which, let’s be honest, is usually just one full packet!
Don’t forget 1 1/2 cups of warm water and about 2 tablespoons of good olive oil. That oil adds just a little richness we love for our focaccia and herby breads, too!
Ingredient Notes and Substitutions for Great Italian Bread
A couple of quick notes here, because temperature matters! When you’re proofing your yeast, that warm water must be between 105°F and 115°F. Too cold and the yeast sleeps; too hot and you wipe it out entirely—Oops! For the flour, all-purpose works perfectly fine for that soft inside/crusty outside balance. But, if you really want that next-level chewy texture, go ahead and swap up to two cups of that for bread flour. It just has a higher protein content to give you a stronger gluten structure.
Step-by-Step Guide to Making Your Bakery Style Italian Loaf
Alright, we’re getting down to the fun part! This whole process feels wonderfully relaxing once you see it laid out—it’s a real Quick Italian Bread Tutorial that doesn’t rush you. Remember, the oven needs time to get screaming hot, so make sure you pop that shallow pan in there to preheat while you’re getting your final rise done. Getting organized means you nail that crust!
Mixing and Kneading Your Italian Bread Dough
First, mix your dry ingredients—flour, salt, sugar—in a big bowl. Whisk it up! Then, pour in your foamy yeast water and the olive oil. Mix it with a sturdy wooden spoon until it gets shaggy, you know, like rough clumps. Then, dump it onto a surface dusted lightly with flour. Now, we knead! You absolutely must work this dough for a good 5 to 7 minutes. When I first started baking, I’d stop when my arms got tired, but that’s when the gluten finally forms! You’ll know it’s working when the dough stops sticking terribly to your fingers and feels smooth and elastic. That chewiness in the final loaf depends on this workout!
The Rises: First and Second Proofing for Perfect Italian Bread
Once you’ve kneaded it, oil up a clean bowl, toss the dough in there, cover it up, and let it double in size in a warm spot. That’s about 1 to 1.5 hours. Don’t peek too much! Once it’s doubled—really puffy—gently punch it down (it’s so satisfying!) and shape it into the tight loaf you want. Now, cover it loosely and let it go through its second rise for another 30 to 45 minutes. This second rise is what stops your final loaf from shrinking in the oven, so this patience is worth it for that beautiful, airy inside you want in an artisan bread at home.
Baking Your Italian Bread with Steam for Crispness
When that second rise is looking puffy, your oven should be at 400°F, and that little pan on the bottom rack should be blazing hot. Right before the loaf goes in, brush the top lightly with water—or use an egg wash if you want a richer color. You can also score the top with a very sharp knife if you want those classic slits. Then, the magic happens: carefully pour about a cup of very hot water into that bottom pan and slam the door shut quick! The steam trapped inside gives you that amazing golden, crackly crust for 30 to 35 minutes. When it sounds hollow when you tap it, it’s done kissing the heat!
Tips for Success When Baking Italian Bread
Baking is often about small tweaks that lead to huge payoffs, right? After all those years figuring out spices in kitchens around the world, I realized the little details truly matter here in the bread-making process, too. These tips ensure you get that beautiful, crunchy exterior every single time you try this recipe.
First, about that crust: if you want it extra, extra crisp—that shatter-when-you-touch-it texture—here is Alex’s favorite trick. During those first 10 minutes of baking, while the steam is working hard, carefully open the oven door and quickly spray the interior walls of the oven with a little water from a clean spray bottle. Just a quick spritz, bam, close the door! It boosts the steam environment instantly.
Also, make sure the bread cools completely on a wire rack before you slice into it. I know, I know, the fresh baked bread aromas are driving you crazy, but slicing hot bread releases steam trapped inside, which ends up robbing you of that lovely chewy crumb. Just think of the cooling time as the final, essential rising period for the flavor structure!
If you’re looking to explore even more exciting ways to create that amazing crust texture outside of just a simple loaf, definitely poke around our section on general artisan baking!
Serving Suggestions for Your Fresh Baked Bread Aromas
Now that your kitchen smells incredible and you have this glorious, crusty loaf cooling—what do you do first? Honestly, back when we were living in Dar es Salaam, sometimes the bread was the entire meal! We didn’t always have access to big cuts of meat or fancy ingredients, but we learned the power of simple, perfectly textured bread. Alex always wanted to tear off a hunka bread and use it to soak up every last drop of spicy sauce from our experimental chili dishes; it was the best cleanup tool ever!
This loaf is truly versatile, making it the perfect Dinner Side Bread Recipes staple to have in your rotation, not just for Italian nights. Think about dunking large pieces of this Italian bread into good quality olive oil mixed with balsamic vinegar—it’s so simple but feels so luxurious. Plus, that sturdy crust holds up perfectly without instantly dissolving!
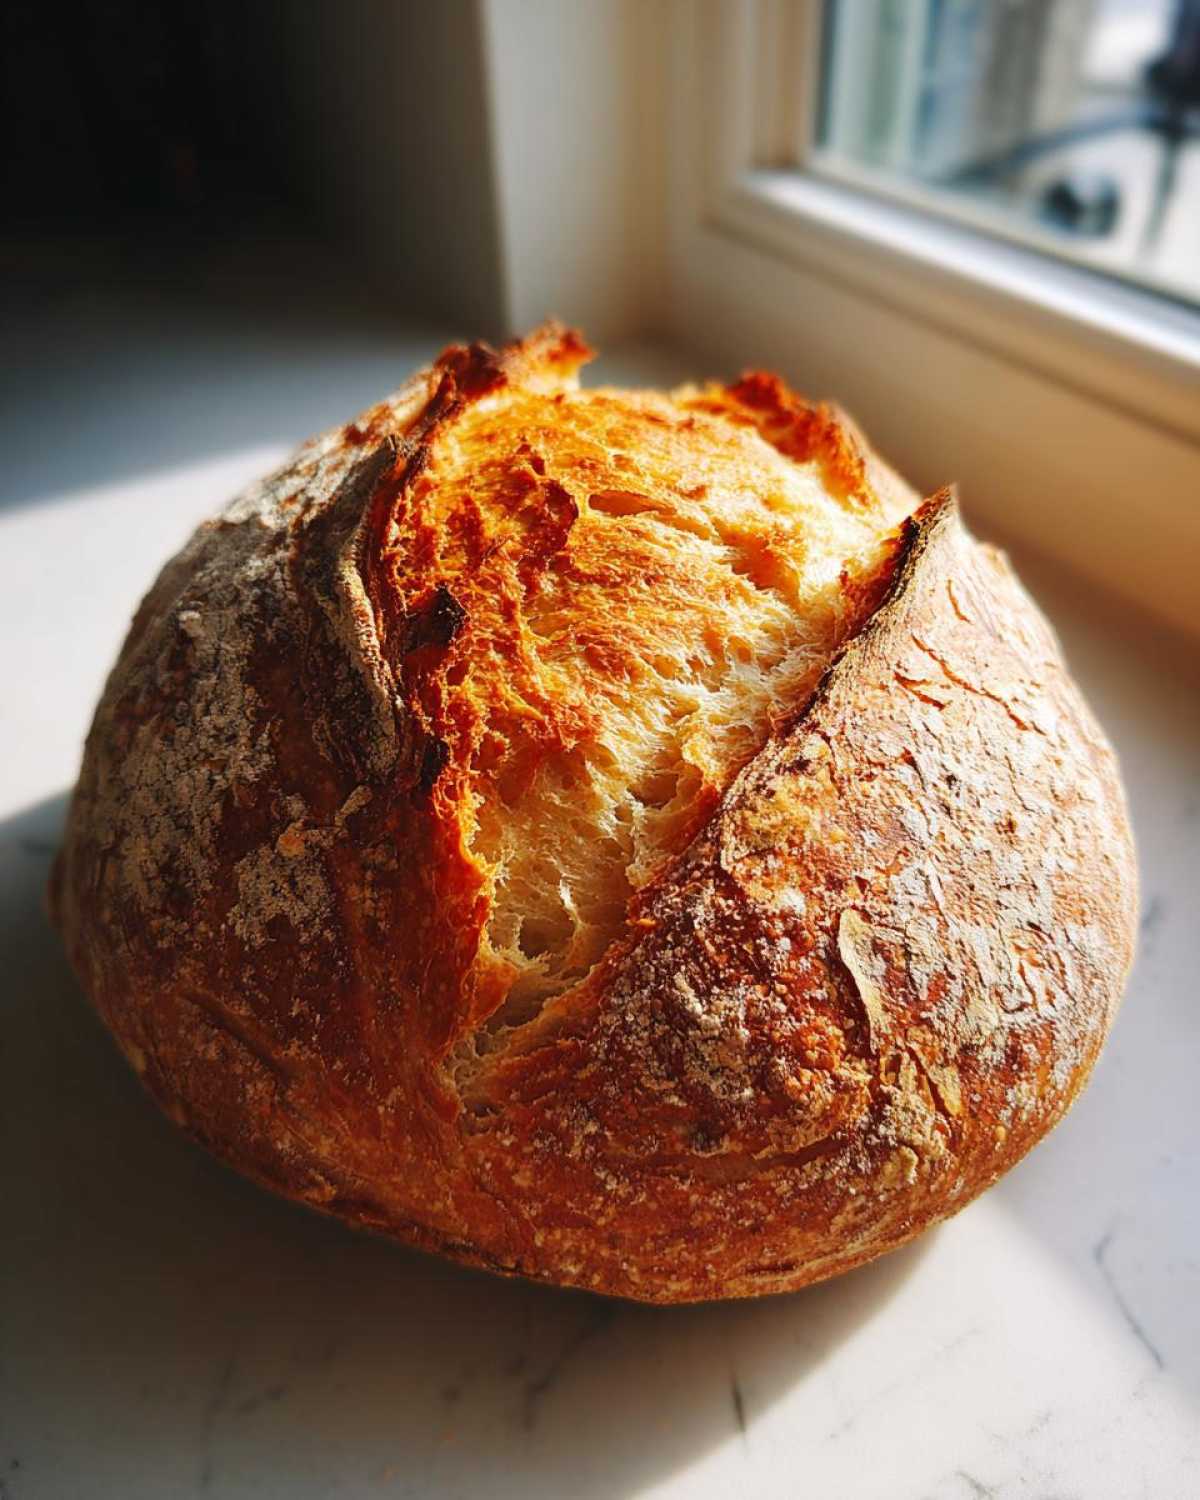
If you’re feeling a little ambitious, this bread is the ultimate base for incredible sandwiches. Forget flimsy white bread; this savory loaf gives you the structure you need for piled-high fillings. Honestly, the leftovers (if you have any!) are best turned into bruschetta or croutons. Speaking of dips, we have an unbelievably creamy recipe for Baked Garlic Bread Dip that absolutely begs for slices of this crusty loaf. If you want more ideas on keeping that crust crisp when serving, be sure to check out what our friends over at Recipes Inspired suggest for presentation!
It’s these simple moments—tearing off a piece of fresh, warm bread—that truly connect us to the joy of cooking, whether we were in a tiny kitchen seven thousand miles away or here at home. Enjoy every crumb!
Storage and Reheating Instructions for Leftover Italian Bread
This is where I have to issue a warning, because keeping the crust perfectly crisp is like protecting fragile parchment paper—it requires the right container! Bread stored improperly goes stale faster than you can shake a chapati at it, and frankly, nobody wants a crumbly, soft-crusted loaf when they were expecting a good crunch.
If you happen to have any bread left over after our dinner feast (which never happens in our house, but I’ll pretend for you!), use a paper bag, not plastic. Plastic traps moisture released by the cooling bread, and that moisture instantly turns your beautiful crust soft and sad. A paper bag lets the bread breathe while keeping it mostly protected. Store it on the counter, not in the fridge—the fridge speeds up staling, which is the worst!
Now, about that slightly stale loaf the next day? Don’t even think about throwing it out, please! We can revive it super quickly. Alex taught me this trick when we were trying to save leftover baguettes in Lagos. Take that slightly stiff loaf, maybe give the outside a quick spritz of water if it feels very dry, and slide it directly onto the oven rack at about 350°F. Give it about 5 to 8 minutes. It will reheat, the moisture will turn back into steam, and that gorgeous crust reappears! It comes out tasting almost like it just came out of the oven!
If you’re making this for sandwiches the next day, the inside will still be soft even if the crust gets a little chewy during storage, so it’s usually fine without reheating, especially if you’re going to pile on lettuce and fillings. But for dipping? Definitely reheat!
Troubleshooting Common Issues with Homemade Italian Bread
Even seasoned bakers like me—who’ve handled mystery spices in three different continents—still run into frustrating dough days! Bread is a living thing, and sometimes it just doesn’t follow the script we leave for it in the recipe card. But don’t panic or throw that dough against the wall; almost every problem has a fix, and usually, it comes down to temperature or timing.
I’ve broken down the two biggest things that trip people up when they are aiming for that perfect, crusty loaf. Pay close attention to these!
Dough Not Rising Enough (Stuck Puffy Stage)
This is usually a yeast issue, but not always! Did you check your water temperature? If the water was too hot when mixing in the yeast, you might have killed the little guys before they could even start working. If the water was lukewarm or cold, they are simply too sluggish. If your kitchen is cold (I know, our house gets chilly when Alex forgets to adjust the thermostat!), the yeast slows right down. The solution? Place your covered bowl somewhere warm—maybe near a sunlit window on a cold day, or even inside a turned-off oven with just the light on. Give it extra time; sometimes, an hour and a half turns into two and a half when the ambient temperature fights you.
Crust Came Out Soft Instead of Crunchy
If you were expecting shatteringly crisp edges but got something closer to a soft dinner roll crust, guess what? You skipped the steam! Remember that hot pan of water we talked about putting on the bottom rack? That’s non-negotiable for that bakery-style exterior on your Italian bread. If you forget the steam, the oven air dries out the dough surface too quickly, preventing that initial puff and preventing a hard crust from forming properly. Also, if you brushed the bread with butter immediately after taking it out of the oven, that will soften the crust right up, which is only okay if you prefer a softer texture!
If you’re looking for other ways to work with dough that gives you trouble, checking out our tips on general artisan bread problems can be super helpful for future bakes!
Frequently Asked Questions About Making Italian Bread
I always get so many questions when people try this recipe for the first time, especially if they are just starting out on their baking journey! Trust me, I remember feeling overwhelmed by yeast charts and hydration levels when I first started experimenting. Don’t sweat it; we are going to demystify this so it feels simple, even if you typically avoid anything that requires active yeast. This whole process is really manageable once you understand what the dough needs. For more in-depth baking theory that makes complicated things feel easy, check out our guide to artisan bread at home!
Can I make this Italian bread recipe without kneading?
That’s a common question when people are looking for super easy recipes! A true no-knead style bread usually relies on a much higher water ratio, resulting in a wetter dough that creates a structure relying on long, slow fermentation rather than mechanical mixing. Because this particular recipe aims for that classic, robust, chewy Italian loaf texture using standard all-purpose flour, you really do need to knead it for those 5 to 7 minutes. That physical action develops the gluten network needed to trap the gases from the yeast. If you skip the kneading, you’ll end up with something much flatter and more cake-like than the classic savory loaf we want. For real beginner bread making success with this specific taste profile, stick to the kneading step!
How long does it take to make Italian bread from start to finish?
If you’re hoping for a thirty-minute fix, this might not be it, but remember what I always say: most of the time is hands-off! Actively, you are only spending maybe 20 minutes mixing, kneading, and shaping. Then, you let the dough do the hard work! The first rise takes about 1.5 hours to double, and the second rise takes around 45 minutes. Add in about 35 minutes for baking, and you are looking at around 2 hours and 45 minutes total time, depending on how warm your kitchen is. If you are aiming for a true artisan bread at home experience, this clock time is actually quite fast! If you want to see how other accomplished bakers break down their timing, check out the timeline details here.
Is it necessary to use olive oil in this recipe?
You know, I always carry a few foundational ingredients from my international cooking with me, and olive oil is definitely one! While technically you could omit it for a leaner, more rustic French-style bread, the oil in this recipe contributes significantly to the final texture we are aiming for—that perfect balance between a golden brown crust bread and a soft interior. It prevents the dough from drying out too rapidly during the initial mix and keeps the crumb tender after it cools. If you absolutely can’t use it, you could try swapping it for softened butter in the exact same measurement, but honestly, the olive oil just tastes right for our favorite dipping bread!
Can I make this dough ahead of time?
Oh, yes, you absolutely can! This is one of my favorite tricks when I know things are going to be hectic the next day. Once you’ve completed the first rise (when it’s doubled), instead of punching it down, just seal that bowl tightly with plastic wrap and stick it right into the refrigerator. This slow, cold fermentation develops the flavor—it gets deeper and slightly tangier, which is delicious! You can leave it there for up to three days. When you are ready to bake, pull it out, let it sit on the counter for an hour or so to warm up slightly, then proceed with punching it down, shaping it, and doing the second rise as normal. It’s a great way to plan ahead for dinner!
We Want to See Your Italian Bread!
Seriously, baking is always more fun when we can share the results, right? When you pull that beautiful loaf out of the oven, snap a picture! I want to see that golden crust and that beautiful chewiness you managed to achieve. Please tag me or drop a comment below and let me know how it turned out. Even better, leave a star rating so others can see how much you loved this simple recipe. Happy baking, friends!
PrintEasy Homemade Crusty Italian Bread Recipe
Bake bakery-style Italian bread at home with this simple, beginner-friendly recipe. You will achieve a golden, crunchy crust and a soft, chewy interior perfect for dipping or sandwiches.
- Prep Time: 20 min
- Cook Time: 35 min
- Total Time: 2 hours 45 min
- Yield: 1 large loaf
- Category: Baking
- Method: Baking
- Cuisine: Italian
- Diet: Vegetarian
Ingredients
- 3 1/2 cups all-purpose flour
- 1 1/2 teaspoons salt
- 1 teaspoon granulated sugar
- 2 1/4 teaspoons active dry yeast (1 packet)
- 1 1/2 cups warm water (about 105-115°F)
- 2 tablespoons olive oil, plus more for greasing
Instructions
- In a large bowl, whisk together the flour, salt, and sugar.
- In a separate small bowl, dissolve the yeast in the warm water and let it sit for 5 minutes until foamy.
- Pour the yeast mixture and the olive oil into the dry ingredients. Mix with a wooden spoon until a shaggy dough forms.
- Turn the dough out onto a lightly floured surface. Knead for 5 to 7 minutes until the dough is smooth and elastic. This develops the gluten for a chewy texture.
- Lightly grease a large bowl with olive oil. Place the dough in the bowl, turning it once to coat. Cover the bowl with plastic wrap or a clean kitchen towel.
- Let the dough rise in a warm place for 1 to 1.5 hours, or until it has doubled in size. This is your first rise.
- Gently punch down the risen dough. Shape it into a tight loaf or two smaller loaves.
- Place the shaped loaf(ves) on a baking sheet lined with parchment paper or in a prepared loaf pan. Cover loosely and let it rise again for 30 to 45 minutes, or until puffy. This is your second rise.
- Preheat your oven to 400°F (200°C). Place a shallow pan on the bottom rack to create steam for a crisp crust.
- Just before baking, lightly brush the top of the loaf with water or an egg wash for extra color. Score the top of the loaf with a sharp knife if desired.
- Carefully pour about 1 cup of hot water into the shallow pan on the bottom rack to create steam, then quickly close the oven door.
- Bake for 30 to 35 minutes, or until the crust is deep golden brown and the internal temperature reaches 200°F (93°C).
- Remove the bread from the oven and transfer it to a wire rack to cool completely before slicing. Enjoy your fresh baked bread aromas!
Notes
- For an extra crunchy crust, spray the inside walls of the oven with water a couple of times during the first 10 minutes of baking.
- If you want a softer crust, skip the steam step and brush the loaf with melted butter immediately after it comes out of the oven.
- This bread is perfect for dipping bread recipes or making simple sandwich bread.
Nutrition
- Serving Size: 1 slice
- Calories: 150
- Sugar: 0.5
- Sodium: 250
- Fat: 2
- Saturated Fat: 0.3
- Unsaturated Fat: 1.7
- Trans Fat: 0
- Carbohydrates: 30
- Fiber: 1.5
- Protein: 5
- Cholesterol: 0