

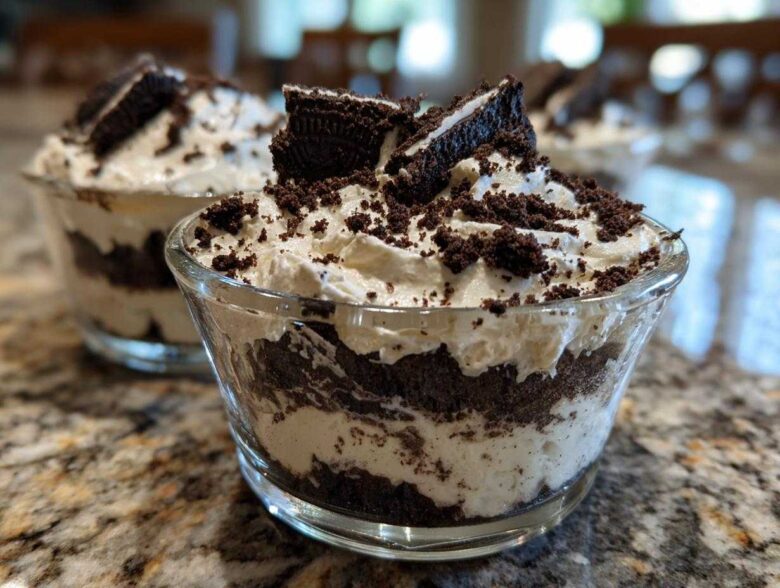
When you just *need* something sweet, but the thought of turning on the oven makes you sweat, I have the ultimate solution! Seriously, these **No-Bake Cookies and Cream Pie Cups** are my go-to when company texts me an hour before they arrive. They are the definition of effortless indulgence because there’s absolutely zero baking involved—just assembly, chill time, and sheer magic. I love that by making them in individual cups, everyone gets that perfect cookie crust-to-creamy-filling ratio every single time. Trust me, these are about to become your favorite **Simple No Bake Treats** for every occasion!
If you’re looking for other super fast treats that don’t need the oven, you have to check out my recipe for easy no-bake 5-ingredient protein bars. Sometimes you need something quick that isn’t technically a dessert!
Why You Will Love These No-Bake Cookies and Cream Pie Cups
- They are incredibly fast to assemble—prep time is less than 20 minutes!
- Portion controlled treats mean easy serving and no messy slicing.
- Perfect flavor—it’s classic, creamy, dreamy Cookies and Cream.
- Absolutely **No Oven Required Sweets**—they chill up perfectly in the fridge.
- They are truly **Party Ready Desserts** because they look fancy but take no effort.
When you need quick dessert ideas that wow a crowd, this is the answer!
Essential Ingredients for No-Bake Cookies and Cream Pie Cups
The absolute best part about these **No-Bake Cookies and Cream Pie Cups** is that you probably have everything you need right now! This isn’t one of those fussy recipes requiring special extracts or obscure items. We are relying on budget-friendly classics here.
For the crust, grab about 24 of those beloved chocolate sandwich cookies—we need 1 1/2 cups of crumbs, plus 1/4 cup of simple melted butter to hold it all together. That’s an amazing base for our easy cream pie! For the creamy filling, you absolutely must start with 8 ounces of cream cheese, and it has to be softened. That’s non-negotiable for smooth mixing!
Next up, we sweeten things with 1 cup of powdered sugar and 1 teaspoon of vanilla extract. The real structure comes from 1 1/2 cups of thawed, frozen whipped topping—this is key for getting that light, fluffy texture without whipping heavy cream yourself. And don’t forget the fun part: 1 cup of extra chopped cookies to fold in and pile on top! Easy, right?
Step-by-Step Instructions for Easy Dessert Assembly of No-Bake Cookies and Cream Pie Cups
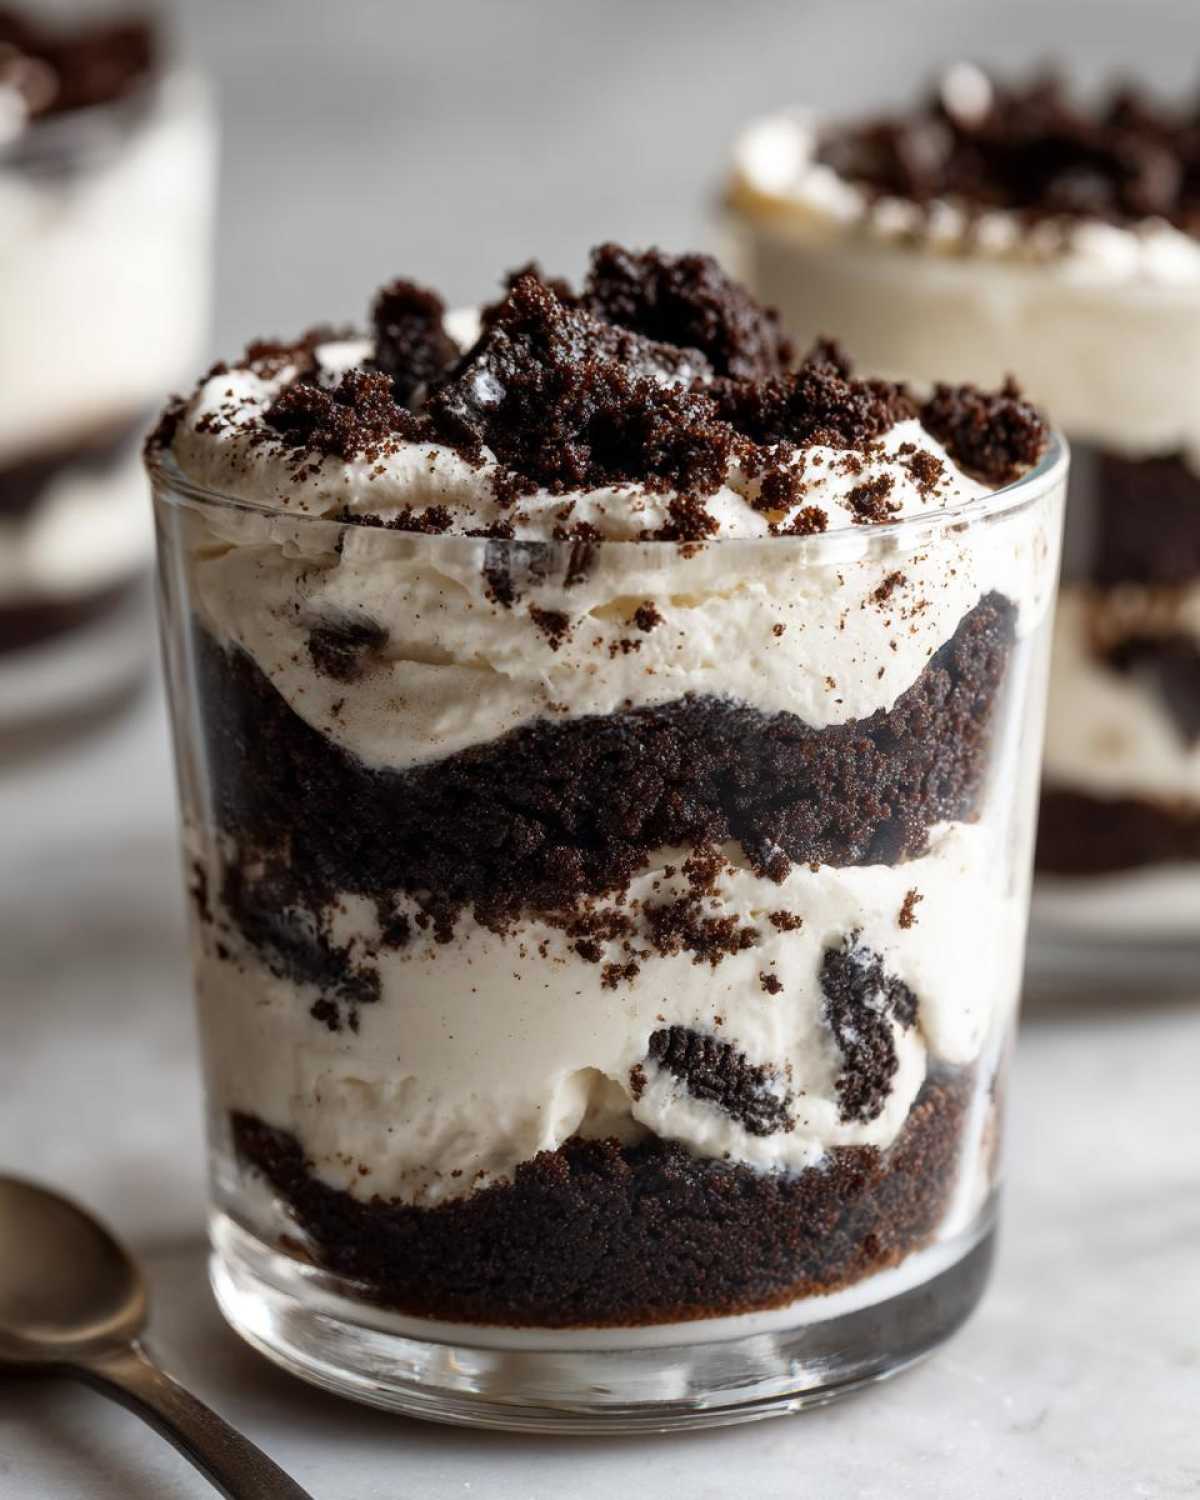
This is where the real fun begins! Because we aren’t baking anything, the success of these **No-Bake Cookies and Cream Pie Cups** relies entirely on smart assembly. Follow these steps closely, especially when it comes to mixing the filling, and you’ll have stunning **Portion Controlled Treats** ready in no time. It’s truly a masterclass in Easy Dessert Assembly!
If you’re looking for other super fast treats that don’t need the oven, you have to check out my recipe for Simple No Bake Treats. Sometimes you need something quick that isn’t technically a dessert!
Preparing the Chocolate Cookie Crust
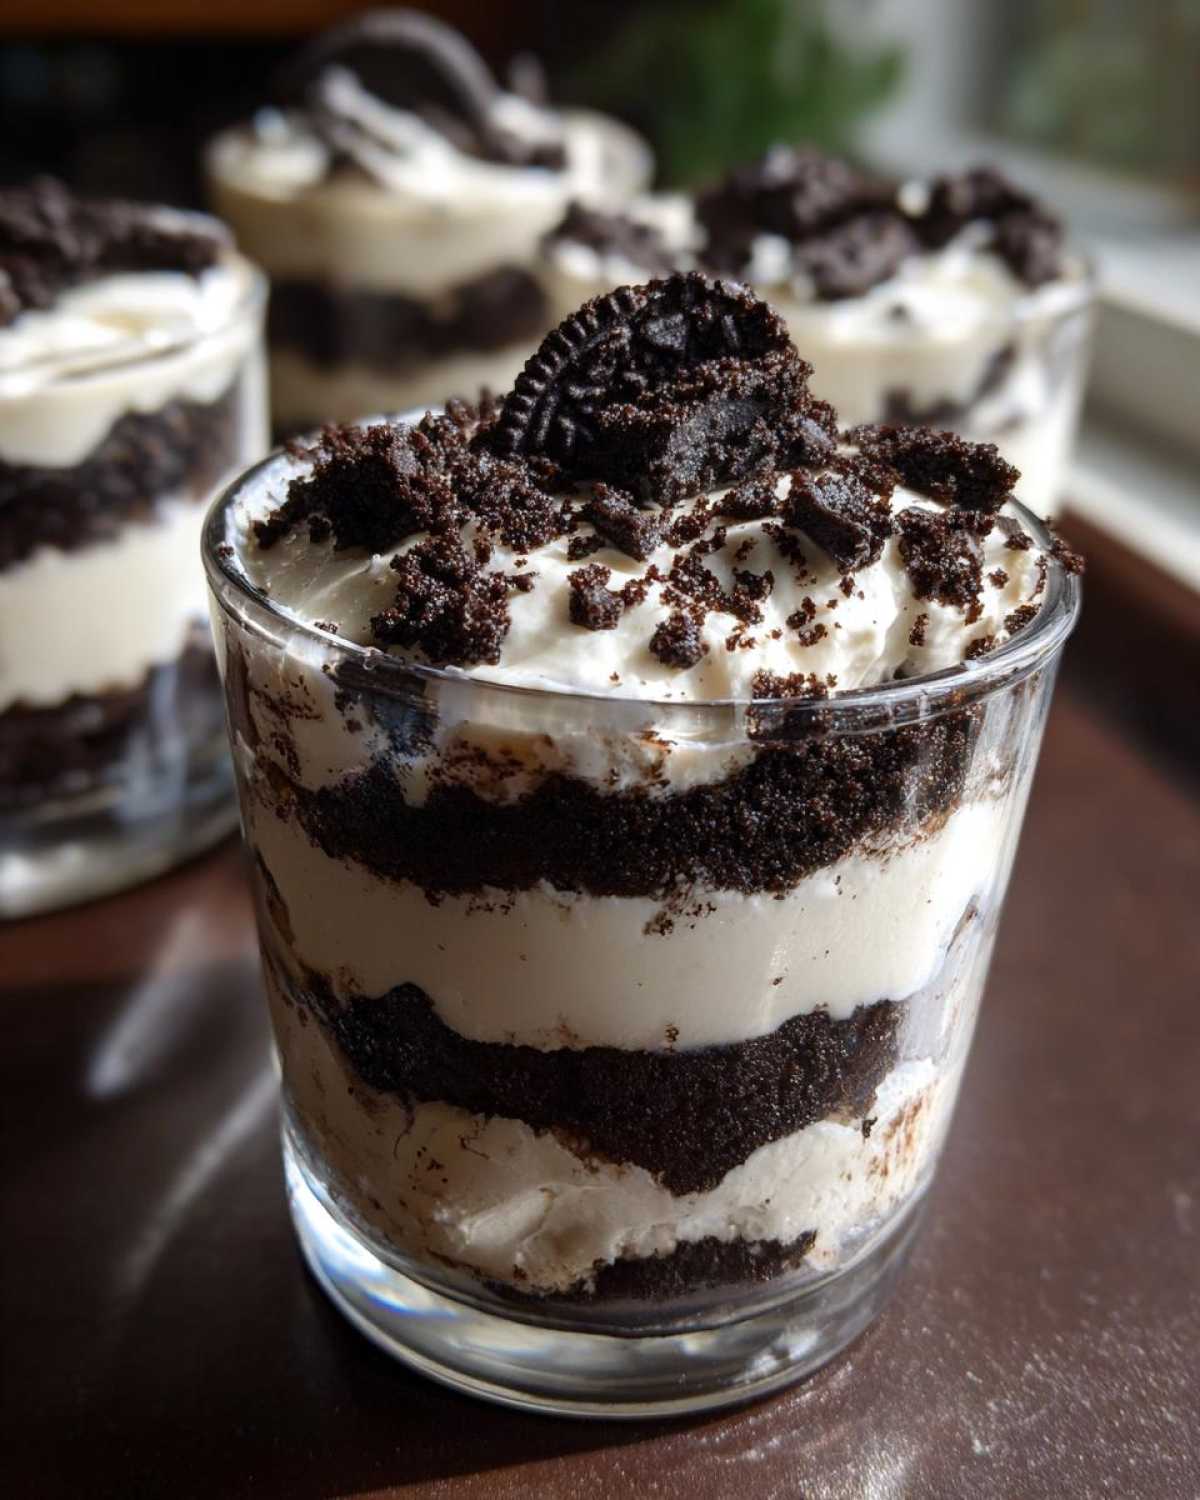
First things first, tackle the crust. In a small bowl, mash those cookie crumbs and the 1/4 cup of melted butter together. You want it looking like wet sand—just moist enough to clump when you press it. Then, take those 6 little individual cups and press about a tablespoon of the mix firmly into the bottom of each one. Pop them into the freezer right away! This very quick chill helps the crust set up hard before we pour the soft filling on top.
Creating the Creamy No Bake Cheesecake Cups Filling
Okay, listen up! This is the most important step for getting that signature smooth texture. Take your softened cream cheese—that means it needs to sit on the counter for at least an hour, don’t even think about microwaving it! Beat it until it’s silky smooth. THEN, add your powdered sugar and vanilla extract and mix until everything is perfectly combined. Once that’s smooth, *gently* fold in the thawed whipped topping. Fold, don’t beat! We want to keep all that airy volume we just worked to create.
Assembling and Chilling the No-Bake Cookies and Cream Pie Cups
Now we mix in the chunky bits! Take the remaining 1/2 cup of chopped cookies and gently fold them right into that beautiful cream filling we just made. Scoop or pipe the filling evenly over your chilled crusts in each cup. Make sure the tops look lovely because that’s the last thing you’ll do before chilling! Sprinkle the rest of those chopped cookies right on top for a nice visual crunch.
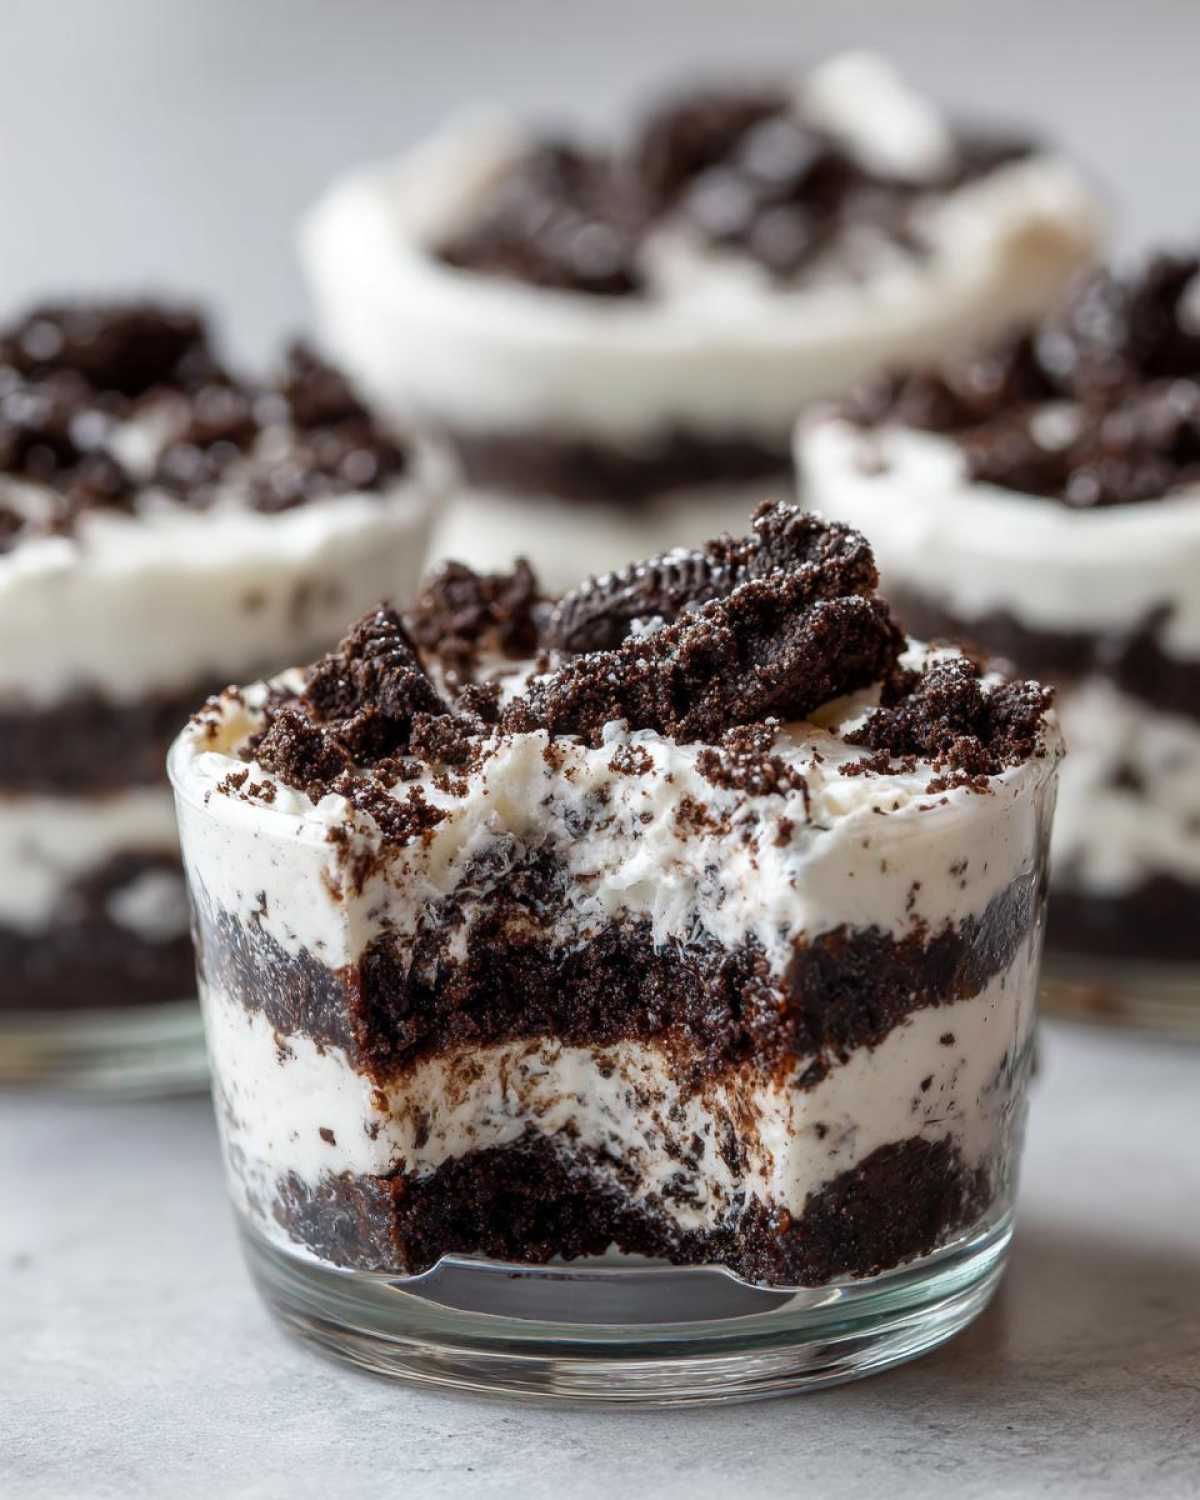
The last, and most essential, step for these **No Bake Desserts** is patience. You absolutely must chill these in the refrigerator for a solid two hours, minimum. That cold time firms up the cream cheese just enough so they hold their shape beautifully when you serve them.
Tips for Perfect No-Bake Cookies and Cream Pie Cups
Even though this recipe is super simple, a couple of little tricks make the difference between good and absolutely amazing **Cookies and Cream Recipes**. My biggest secret revolves around temperature and movement. Remember when I said the cream cheese needs to be softened? You really cannot skip that! If it’s cold, you’ll end up beating it to death trying to smooth it out, and that introduces air you don’t want in the filling.
When you fold that whipped topping in after the sugar is mixed, use a rubber spatula and be gentle—think of it like you’re tucking the topping into bed. If you stir hard, you deflate all the fluffiness, and suddenly, your **No Bake Cheesecake Cups** feel heavy instead of light!
For presentation, if you have one of those cheap little piping bags or even a Ziploc bag with the corner snipped off, use it to dollop the filling into the crusts. This keeps your cups looking super clean and professional. For a fun alternative to just crumbling cookies on top, I sometimes use a small cookie cutter to make perfect little cookie slivers to stand upright in the filling! These amazing no-bake Oreo dessert cups always look best when they are perfectly layered.
Variations for Your No-Bake Cookies and Cream Pie Cups
While the classic black and white cookie combination is perfection, sometimes you just have to switch things up a little! These **No-Bake Cookies and Cream Pie Cups** are fantastic starting points for creativity. You don’t have to reinvent the wheel, just tweak a few easy elements.
First, let’s talk cookies! If you’re craving something different, swap out those chocolate sandwich cookies for peanut butter sandwich cookies! The mix of peanut butter and that sweet cream filling tastes phenomenal. It creates a slightly different, but equally amazing, **Creamy Oreo Dessert** experience.
My next favorite swap is for the coffee lovers among us. When you are beating the cream cheese mixture, add about half a teaspoon of instant coffee powder or a tiny splash of strong brewed coffee. It really deepens the flavor profile without making it taste like a coffee dessert—it just enhances that chocolate background.
Lastly, if you’re out of chocolate cookies for the crust, don’t panic! You can totally use graham crackers or even vanilla wafer crumbs for the bottom layer. Just mix those crumbs with the melted butter the same way, and you’ve got another great base. If you love making fun treats like this, you should definitely check out my recipe for oreo balls next!
Storage and Make-Ahead Tips for No-Bake Cookies and Cream Pie Cups
One of the reasons I adore these **No-Bake Cookies and Cream Pie Cups** so much is because they are amazing make-ahead treats! You can mix these up completely a full day ahead of time. Just make sure they are covered tightly—I usually use plastic wrap pressed gently over the top of the cup inserts so the plastic doesn’t stick into the lovely cookie topping.
They really hold up best in the refrigerator for about three days. If you try to leave them longer, the crust starts to soak up too much moisture from the filling and loses that little bit of structure we worked so hard to create.
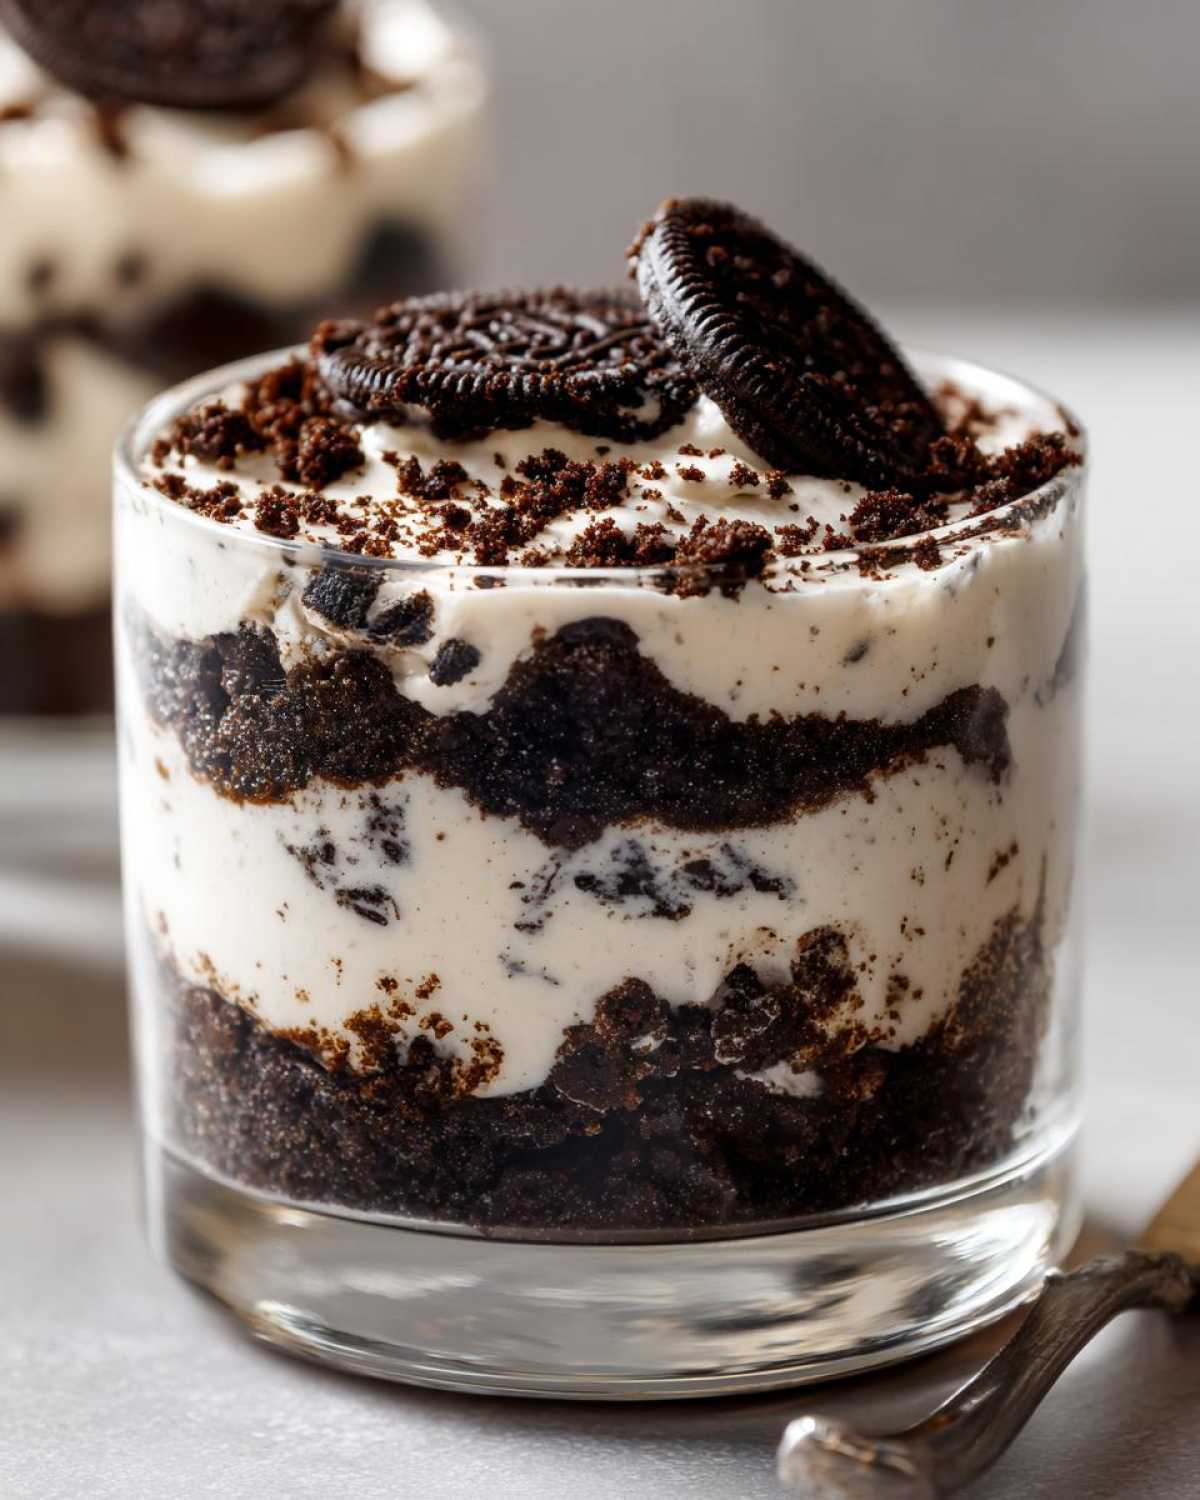
Can you freeze them? Yes, you totally can! If you freeze them, just make sure they are sealed well. They turn into little **No Bake Frozen Desserts**! Remember to pull them out about 20 minutes before you plan to serve them so they thaw just enough to be creamy again. If you like ice cream texture, check out my recipe for the no-bake ultimate Oreo pie!
Frequently Asked Questions About No Bake Desserts
Can I substitute the frozen whipped topping in these individual dessert cups?
That’s a great question about these **No Bake Desserts**! The recipe calls for thawed frozen whipped topping because it’s super stable and holds its shape nicely once cold, giving us that lighter texture we love in these Whipped Cream Dessert Recipes. If you want to use homemade whipped cream, you can! You’ll need to whip about 1 1/2 cups of heavy cream with a little powdered sugar until stiff peaks form, and you must fold that in very gently. For best results with stability, though, I really recommend sticking to the frozen kind or using a stabilized whipped product made specifically for piping!
Do I absolutely have to use chocolate sandwich cookies?
Nope, you don’t have to! While chocolate cookies make these the classic **Cookies and Cream Recipes**, you have total freedom. If you want to try something fun, use Nilla Wafers or even a shortbread cookie for the crust. Just remember to melt the butter and mix it the same way! If you swap the cookie type, you are sliding into my territory of no-bake pumpkin pie territory flavor-wise, which is always a good place to be!
How far ahead can I make these individual dessert cups?
Since these are **Simple No Bake Treats**, they are amazing for planning ahead. You can assemble the entire thing, top it with the cookies, and chill it for up to 24 hours. If you wait much longer than that, the crust starts getting a little softer than I sometimes prefer for my **Mini Pie Cups**. They are best enjoyed the day after you make them!
What if I don’t have individual cups to use?
No problem at all! If you’re out of cute little glasses or ramekins, you can press the crust mixture into the bottom of a regular 9-inch pie plate. Just use about the same amount of crust material to cover the bottom evenly. Then, when you pour the filling in and chill, you just slice it like a traditional pie. It makes delicious **Easy Cream Pie**, though you lose the individual serving benefit!
Serving Suggestions for Your Mini Pie Cups
Once these **No-Bake Cookies and Cream Pie Cups** have chilled and firmed up, it’s time to make them look as incredible as they taste! Presentation is half the fun when you are making **Portion Controlled Treats**.
For a really elegant finish, I love adding just a tiny, perfect swirl of extra whipped topping right in the center of the cookie crumble. You can also dust the whole top lightly with unsweetened cocoa powder—the bitter chocolate really pops against the sweet cream filling!
A single, bright red raspberry placed right on top adds unexpected color if you’re serving these up for guests. Otherwise, these are so perfectly self-contained, they are fantastic as Grab and Go Desserts just as they are!
Estimated Nutritional Data for One No Bake Cookies and Cream Pie Cup
Because these **No-Bake Cookies and Cream Pie Cups** are portion controlled treats, it helps to know what you’re dipping into! Please remember that this data is just an estimate, calculated based on standard product sizes and assumptions. If you use specialized cookies or ingredients, your final numbers might shift a little bit.
For one single cup, here’s what you can generally expect:
- Calories: 450
- Fat: 30g (with 18g of that being Saturated Fat)
- Carbohydrates: 42g
- Protein: 5g
- Sugar: 35g
This is a wonderfully rich little dessert, packed with flavor from the cookies and the creamy base. Enjoy it guilt-free because you totally deserve this amazing treat!
PrintNo-Bake Cookies and Cream Pie Cups
Make individual, no-bake cookies and cream dessert cups using a simple crushed cookie crust and a creamy filling.
- Prep Time: 20 min
- Cook Time: 0 min
- Total Time: 2 hours 20 min
- Yield: 6 servings
- Category: Dessert
- Method: No Bake
- Cuisine: American
- Diet: Vegetarian
Ingredients
- 1 1/2 cups chocolate sandwich cookie crumbs (about 24 cookies)
- 1/4 cup unsalted butter, melted
- 8 ounces cream cheese, softened
- 1 cup powdered sugar
- 1 teaspoon vanilla extract
- 1 1/2 cups frozen whipped topping, thawed
- 1 cup chopped chocolate sandwich cookies (for mixing in and topping)
Instructions
- Combine the cookie crumbs and melted butter in a small bowl. Mix until the crumbs are evenly moistened.
- Press about 1 tablespoon of the crumb mixture into the bottom of 6 small serving cups or ramekins to form the crust. Place the cups in the freezer while you prepare the filling.
- In a medium bowl, beat the softened cream cheese until smooth. Add the powdered sugar and vanilla extract, mixing until fully combined.
- Gently fold the thawed whipped topping into the cream cheese mixture until no streaks remain.
- Fold in 1/2 cup of the chopped chocolate sandwich cookies into the cream filling.
- Spoon or pipe the filling evenly over the chilled crusts in the 6 cups.
- Top each cup with the remaining chopped cookies.
- Chill the cups in the refrigerator for at least 2 hours before serving.
Notes
- You can use any brand of chocolate sandwich cookie for the crust and filling.
- For a firmer texture, freeze the assembled cups for 30 minutes before serving.
- If you do not have individual cups, you can press the crust into the bottom of a 9-inch pie plate and slice after chilling.
Nutrition
- Serving Size: 1 cup
- Calories: 450
- Sugar: 35
- Sodium: 320
- Fat: 30
- Saturated Fat: 18
- Unsaturated Fat: 12
- Trans Fat: 0.5
- Carbohydrates: 42
- Fiber: 1
- Protein: 5
- Cholesterol: 65