

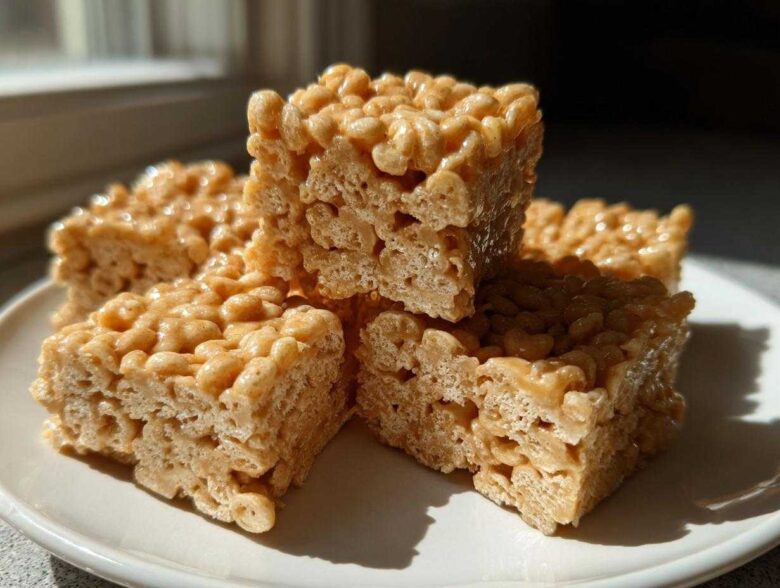
Oh my goodness, are you having one of those weeks when you desperately need a treat but the thought of turning on the oven makes you sweat? I totally get it! When that craving hits—usually around 8 PM when I really should be cleaning up dinner—I bypass the stove entirely and head straight for these No-Bake Peanut Butter Rice Cereal Bars. Seriously, these are my secret weapon for surprise guests or those nights when my sweet tooth is screaming for something rich but fast.
We’re talking maximum peanut butter payoff with zero baking time! They come together on the stovetop in about five minutes. You just melt, mix, and chill. This recipe is gloriously simple, incredibly sticky (in the best way possible!), and results in the most satisfying, classic American dessert bar you can imagine. If you need more ridiculously easy recipes, you should check out the main hub over at my recipe index. Trust me, once you try these bars, they’ll become a staple in your quick snack rotation.
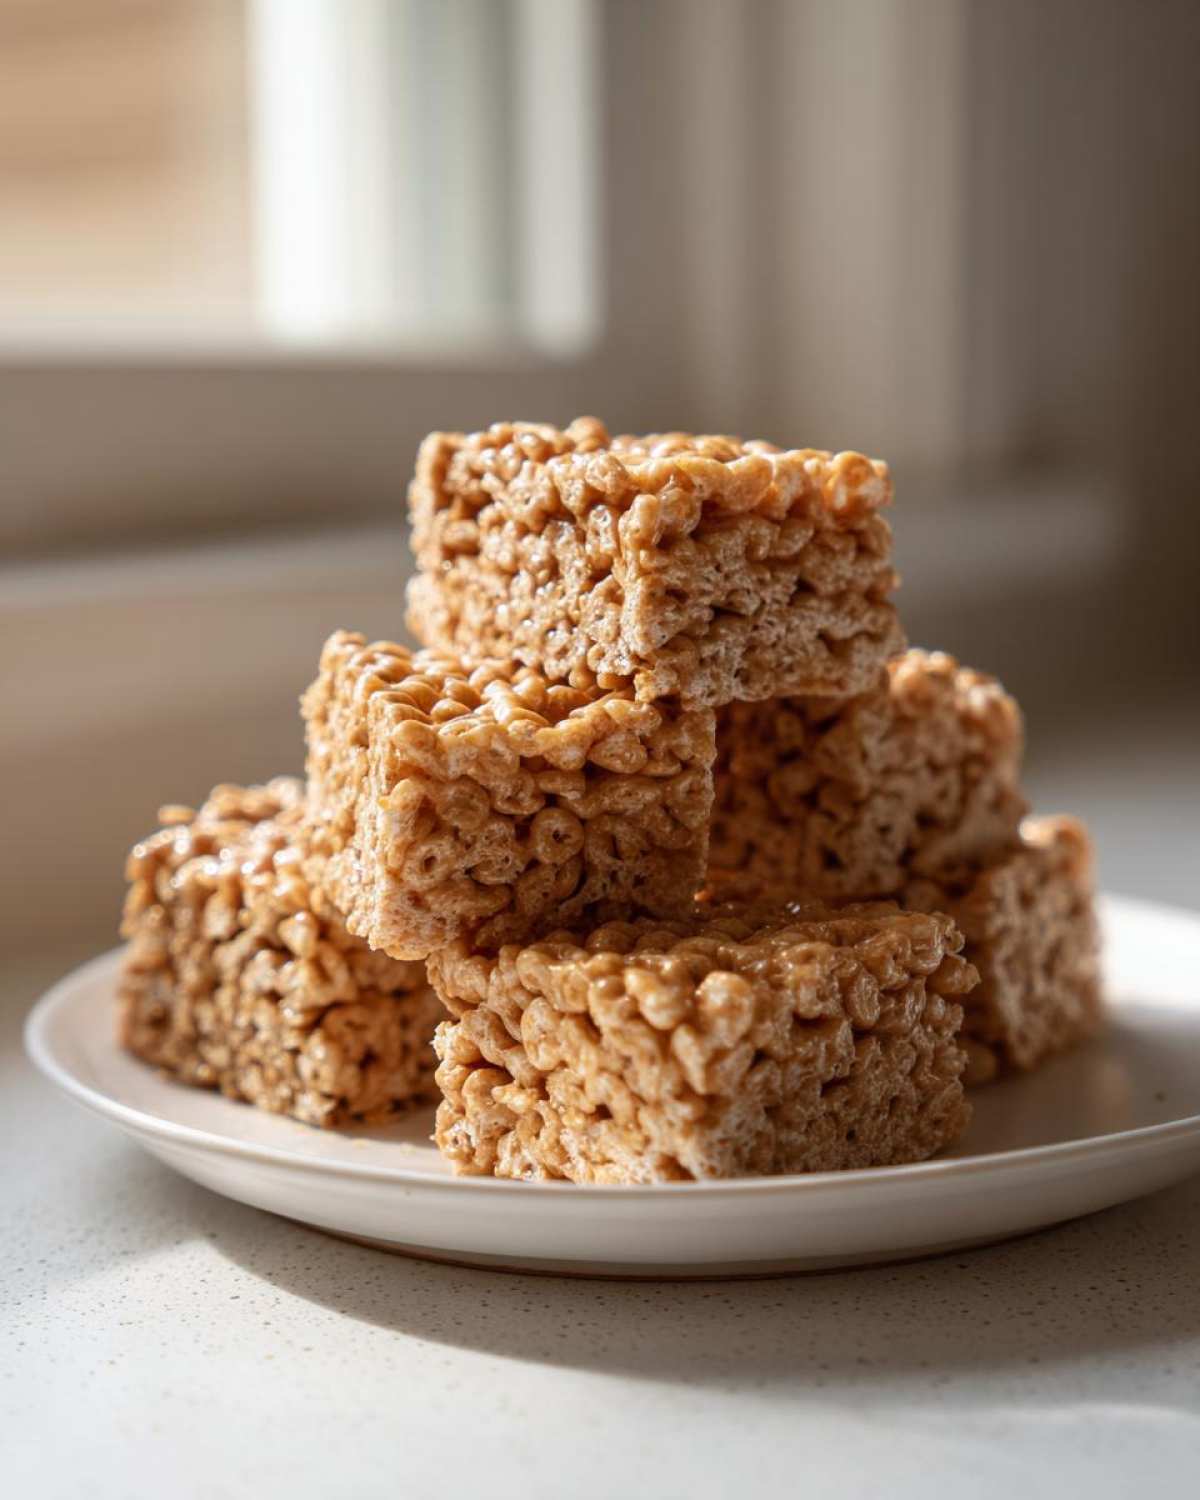
Why You Will Love These No-Bake Peanut Butter Rice Cereal Bars
I often tell people that these are the easiest things I make all year, and honestly, it’s true! When you need something fast for a lunchbox filler or a last-minute bake-sale contribution, these fit the bill perfectly. You won’t believe how much flavor we pack into such a short time.
- They are genuinely lightning fast! We’re talking less than 15 minutes of active prep time before they head for the fridge. Say goodbye to waiting for that oven to preheat!
- Total comfort food! These taste exactly like the classic peanut butter squares you remember from childhood, but just a bit richer. They are the best peanut butter rice crispy recipe, hands down.
- No fancy equipment needed. Just a saucepan, a bowl, and an 8×8 pan. I’ve even made a batch when my stand mixer was in the dishwasher!
- They double wonderfully! If you’re making these for a party, just grab a 9×13 pan and increase everything proportionally. These easy peanut butter squares disappear fast.
- Perfect for kids to help with (once the mixture cools slightly, of course!). They are excellent child-friendly no-bake snacks. I always send extras for lunchbox fillers.
- If you need even more speedy treats, check out my guide on no-bake protein bars—but these cereal bars are definitely the superior flavor option!
Essential Ingredients for Perfect No-Bake Peanut Butter Rice Cereal Bars
Okay, this is where we lay the groundwork for greatness. Since these are No-Bake Peanut Butter Rice Cereal Bars, the quality of what you put in really matters because there’s no oven magic to hide behind! You only need a handful of things, but make sure they are the right kind. This list gives you exactly what you need for 16 perfect squares.
- 1 cup creamy peanut butter (Don’t skimp here!)
- 1 cup granulated sugar (The good, plain white stuff works best for structure.)
- 1/2 cup butter or margarine (I prefer real butter for the flavor, but margarine works in a pinch.)
- 1 teaspoon vanilla extract (Make sure it’s real vanilla, please!)
- 6 cups puffed rice cereal (That’s your standard Rice Krispies cereal equivalent.)
That’s it! See? Less than five things that aren’t cereal! It’s proof that the best No Bake Peanut Butter Bars require the least amount of fuss. Make sure your peanut butter jar is stirred up well before measuring!
Ingredient Notes and Simple Substitutions
A few quick tips so you don’t accidentally end up with a gooey mess or a crumbly disaster. Remember, a little expertise goes a long way, even in a five-minute treat!
Texture is everything, right? If you absolutely prefer texture over the smooth quality of traditional Quick Rice Krispie Squares, you can absolutely swap the creamy peanut butter for crunchy. Just know that the crunchy bits might make pressing them into the pan a little harder, so press firmly!
Also, about the fat: while I love the flavor that real butter brings, if you need a slightly firmer bar that holds up better on a hot day, using margarine or shortening in place of butter is totally acceptable. It affects the texture slightly, making it a touch less rich, but it certainly helps keep these Easy Peanut Butter Squares stable!
Step-by-Step Instructions for Making Simple Peanut Butter Cereal Bars
Alright, now we move into the assembly phase! This is so easy, you’ll wonder why you ever bothered with the oven. We are making Simple Peanut Butter Cereal Bars here, and speed is our friend, but just remember a couple of key warnings—we don’t want scorched peanut butter glue!
Preparing the Pan and Melting the Base
First things first, we need our vessel ready. Grab that 8×8 inch pan and line it completely with parchment paper. Make sure you leave flaps hanging over the sides! These are your handles later, saving you from having to pry a sticky bar out later—trust me, you’ll thank me for this trick! Next up, get a medium saucepan going over medium heat. Combine your peanut butter, sugar, and butter. Stir this mixture constantly until everything melts together into a smooth, shiny bath. Here’s the big rule: Do not let it boil! If it starts bubbling rapidly, pull it off the heat immediately; burnt sugar is just sad.
Coating the Cereal and Setting the No-Bake Peanut Butter Bars
Once that glorious peanut butter base is smooth, take it completely off the heat source. Stir in your vanilla extract—that little drop adds so much warmth! Now, put those 6 cups of puffed rice cereal into a really big bowl. Pour your hot, sticky mixture right over the top. Use a sturdy spatula to *gently* fold everything together. You want the cereal evenly coated, but you don’t want to crush those air pockets that make the cereal light! If you want to try another amazing no-bake recipe later, check out my no-bake chocolate peanut butter cups for when you need something fudgier.
Once coated, scrape the whole thing into your prepared pan. This is where you need some muscle—press the No-Bake Peanut Butter Rice Cereal Bars down firmly and evenly. We need them dense! Then, they go into the fridge for at least an hour until they are completely firm. When they are set, use those parchment paper handles to lift them out and slice away!
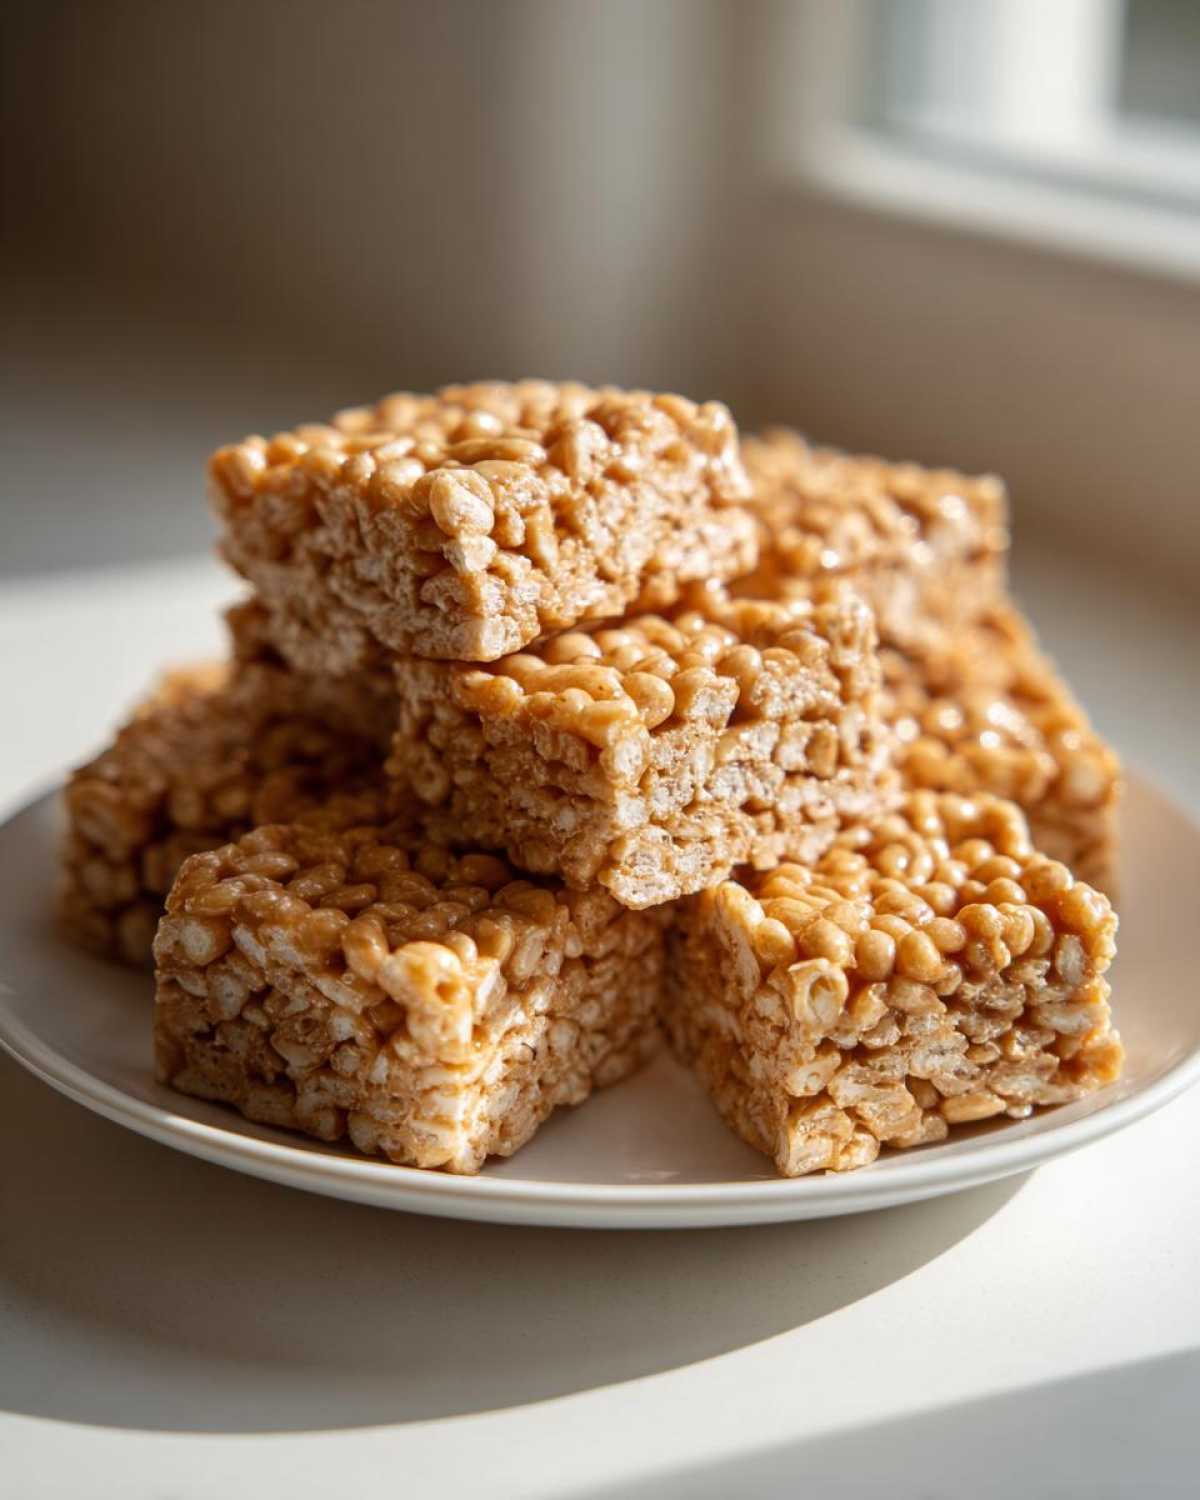
Tips for Success with Your No-Bake Peanut Butter Rice Cereal Bars
Even though these are incredibly simple, everyone runs into one little snag sometimes, usually involving stickiness! My biggest piece of advice is to work quickly once the melted mixture is off the heat—it starts setting up fast, which is great for chilling but tricky for mixing.
If the mixture seems too sticky to handle when you’re pressing it into the pan, lightly wet your hands with cool water before you start evening it out. That thin film of water stops the peanut butter glue from clinging to you. Alternatively, you can use a piece of plastic wrap placed right over the top of the batter, then press down. This guarantees that perfect, dense press every time, making sure your bars don’t crumble when you slice them.
If you ever want to tackle a completely different kind of cereal treat, one involving marshmallows, you should check out how I make homemade marshmallows! But for these bars, remember: firm press, cold fridge, happy snacking.
Variations for Your Homemade Cereal Snack Bars
Part of the fun with simple recipes like these is that they are practically begging you to try something new! Once you’ve mastered the base recipe and can whip up these Homemade Cereal Snack Bars in your sleep, you might want to switch things up. I know I do!
My absolute favorite upgrade, especially if I’m feeling decadent, involves chocolate. Remember the note I included? You definitely want to try the chocolate topping. It takes these bars from a chewy, salty-sweet snack to a genuine dessert bar. It’s so easy—just melt one cup of semi-sweet chocolate chips with about a tablespoon of shortening. The shortening is crucial because it makes the chocolate set up beautifully smooth and shiny, not dull and streaky.
Spread that melted chocolate evenly over the bars once they are totally chilled and firm. Then, pop them back in the fridge for about 20 minutes just to set the chocolate layer before you slice them. Wow! Instant upgrade.
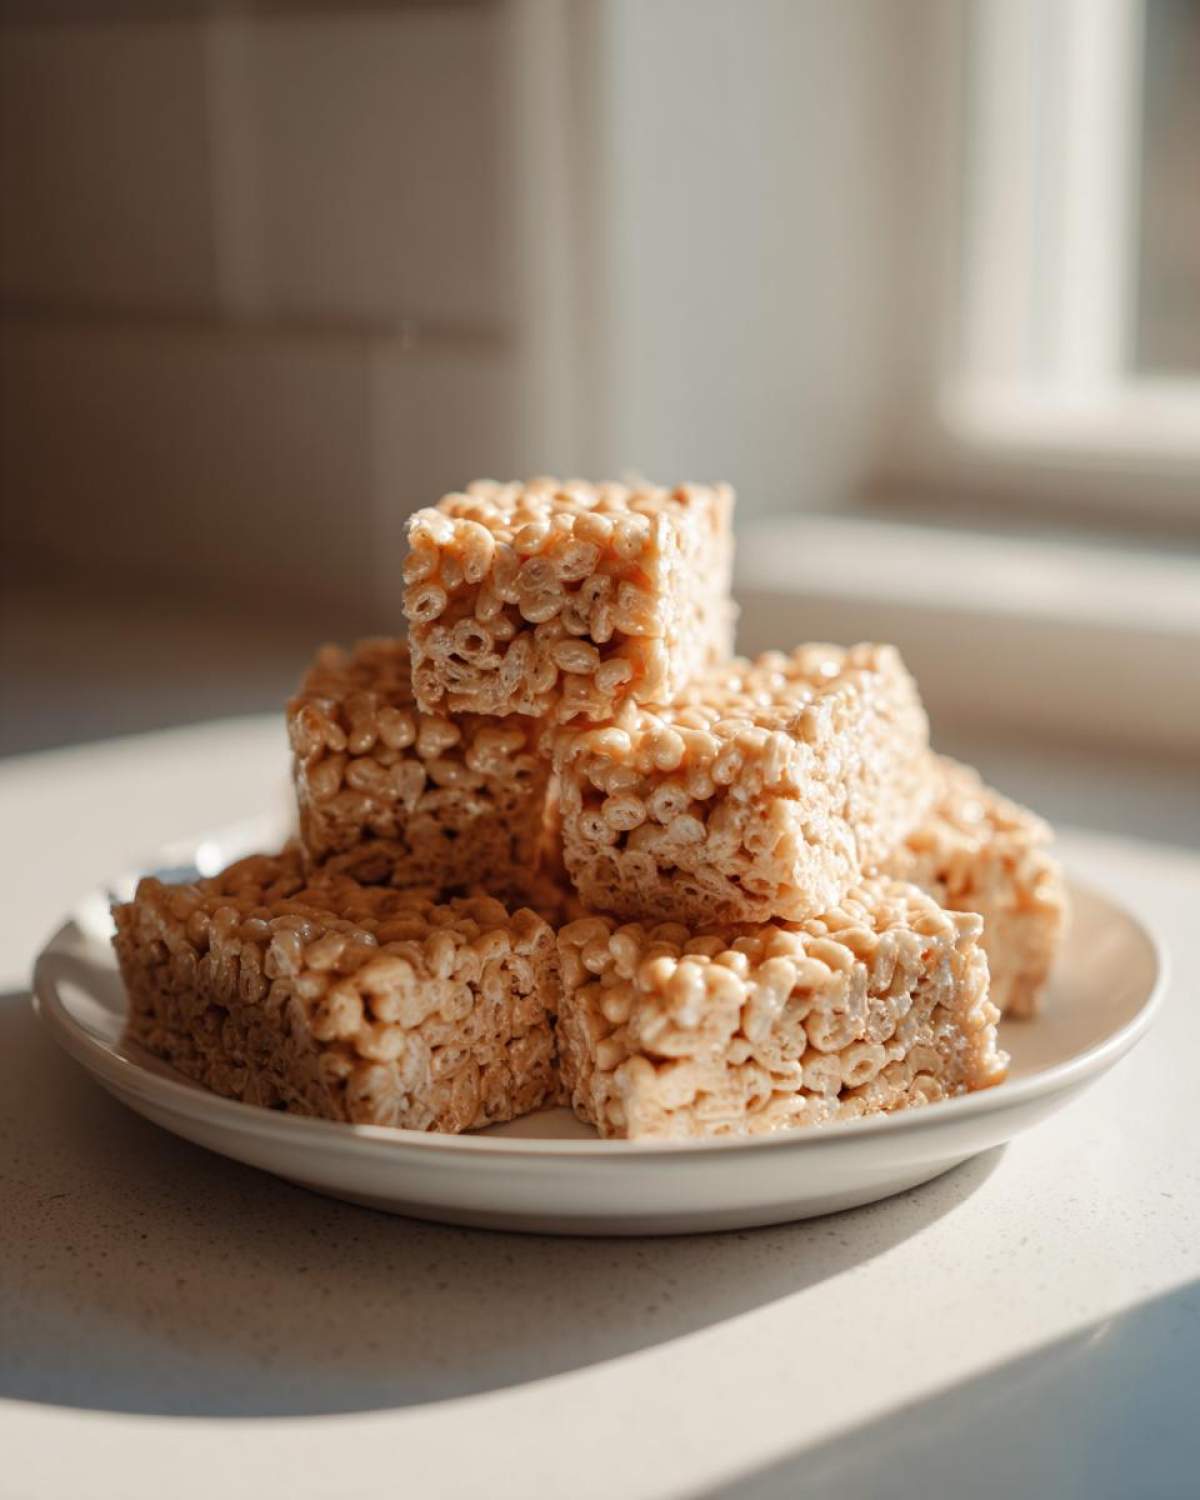
If you prefer mix-ins *inside* the bar rather than on top, I have a couple of tried-and-true additions:
- Mini Marshmallows: Fold in about 1 cup of mini marshmallows right at the end when you add the cereal. They get soft and chewy without melting completely into goo!
- Crushed Pretzels: Want a sweet-and-salty kick? Fold in about 1 cup of crushed pretzels for a major texture boost. It perfectly complements the rich peanut butter.
- Peanut Butter Chips: If you really, really love peanut butter (and who doesn’t?), fold in 1/2 cup of peanut butter chips along with the cereal for extra pockets of gooey goodness.
These bars are just as good when you try turning them into something completely different, like a peanut butter buckeye treat! If you want a fun, no-bake challenge that uses similar flavor profiles, you simply must check out my recipe for buckeye graham crackers. But for now, go ahead and add that chocolate top—you won’t regret it!
Storage and Make-Ahead Tips for No Bake Peanut Butter Bars
One of the huge benefits of making these amazing No Bake Peanut Butter Bars is that they are absolutely fantastic for making ahead of time! Honestly, I think they taste even better on day two, once all those peanut butter, sugar, and vanilla flavors have really settled into the crispy cereal.
When it comes to storage, we have to keep them cold because of the higher butter and peanut butter content—we want them firm, not melting into a puddle on your counter! The key is an airtight container. When I cut mine into squares, I always put down a layer of wax paper or parchment paper between the layers of bars. This stops them from sticking together into one gigantic, sticky peanut butter brick.
You can safely store these in the refrigerator for up to one full week. Don’t panic if they seem rock hard when you first pull them out! Just let them sit on the counter for about ten to fifteen minutes before serving. That little bit of ‘sweat time’ softens them up to that perfect chewy texture we are aiming for. This makes them totally prime for having ready to go for any last-minute plans—they are the definition of Quick Snack Recipes No Oven!
If you need to keep them longer than a week, they actually freeze really well, too! Just make sure they are tightly wrapped—maybe wrap the whole container in plastic wrap and foil. They keep beautifully for about two months in the freezer. I often double the recipe just so I can stash half away for a rainy day, or, you know, a Tuesday afternoon when the craving strikes hard! For other excellent refrigerated make-ahead desserts, you have to look at how I do my brownie refrigerator cake—it’s totally different but just as easy to store!
Frequently Asked Questions About No-Bake Peanut Butter Rice Cereal Bars
I always get asked the same few things when people first try this recipe, so I figured I’d head off those common roadblocks right here! These questions cover everything from substitutions to making sure your bars aren’t too crumbly because nobody wants a sad, falling-apart square!
Can I use natural, oily peanut butter instead of creamy?
That’s a great question, especially since so many of us keep natural peanut butter on hand now. If you use natural peanut butter—the kind where the oil separates—you need to be careful! When you melt it with the sugar and butter, the mixture might seem thin or separate more easily. My advice? If you use it, stir it *extra* well before measuring to incorporate as much of the solids as you can. However, for the best texture and stability in these No Oven Dessert Recipes, especially when pressing them into the pan, creamy is usually more reliable. Stick to creamy or stir your natural PB incredibly well!
Is there a way to make these without granulated sugar?
This recipe relies on sugar not just for sweetness; it acts as a binder when melted with the fat and peanut butter. When hot, it coats the cereal and then hardens perfectly upon chilling. Skipping it entirely means you lose that essential glue, making them fall apart. You absolutely need a binding sugar component here. If you are trying to lower refined sugar, you could maybe try substituting a sugary syrup like agave or honey, but you’d have to drastically reduce the amount and accept that the final texture will be much stickier and softer—more like a chewy granola bar than a firm square.
How do I stop my bars from getting too hard in the fridge?
This usually happens if one of two things occurred: either you cooked the mixture too long, causing the sugar to reach a higher, harder stage, or you accidentally used too much cereal. To keep them chewy and perfect for little hands—seriously the best Child Friendly No Bake Snacks—make sure you only heat the mixture until the butter and sugar are just combined and smooth. As soon as you pull it from the heat, throw in the vanilla and mix it with the cereal. Don’t let it cool down! If you still find them too hard, simply let them sit on the counter for about 15 minutes before serving, just like I mentioned in the storage tips. That little bit of warming softens them right up!
Can I use other kinds of cereal if I don’t have puffed rice cereal?
You certainly can experiment! I haven’t tested a ton of others, but I know people have used Chex cereal successfully. If you use Chex, you might want to slightly crush it first so it packs together better. Anything super light and crispy works well. If you substitute something denser, like oats, you might need to increase your liquid base slightly or let the mixture sit for a tiny bit longer after mixing before pressing, as oats absorb moisture slower than puffed rice. If this inspires you to try something completely different, you might enjoy my very simple sushi bake casserole recipe next, even though it’s cooked!
Nutritional Estimates for No-Bake Peanut Butter Rice Cereal Bars
Now, before you dive in headfirst—and trust me, I usually do—it’s good to keep some perspective on what we’re eating, even if these are totally easy treats! Since these No-Bake Peanut Butter Rice Cereal Bars are made with pure ingredients like sugar and butter, they definitely lean toward indulgence, which is perfect for an occasional snack!
I pulled all the estimates directly from the recipe builder I use, so take these numbers with a little grain of salt. Every brand of peanut butter or cereal you use is going to change things up just a tiny bit. But for our standard batch of 16 squares, here’s what we’re looking at per serving:
- Serving Size: 1 square
- Calories: Roughly 220
- Sugar: About 18g (Yes, they are sweet, that’s the point!)
- Total Fat: Around 12g
- Protein: About 5g
- Carbohydrates: Roughly 27g
- Cholesterol: Around 10mg
See, a solid five grams of protein from that peanut butter is kind of awesome for a dessert bar, right? It makes me feel just *slightly* less guilty when I sneak two squares after my evening cup of tea. If you’re watching sodium, keep an eye on the salt content in your peanut butter, as that can swing the numbers a bit. But honestly, for a five-minute no-oven dessert recipes classic, those numbers aren’t bad at all!
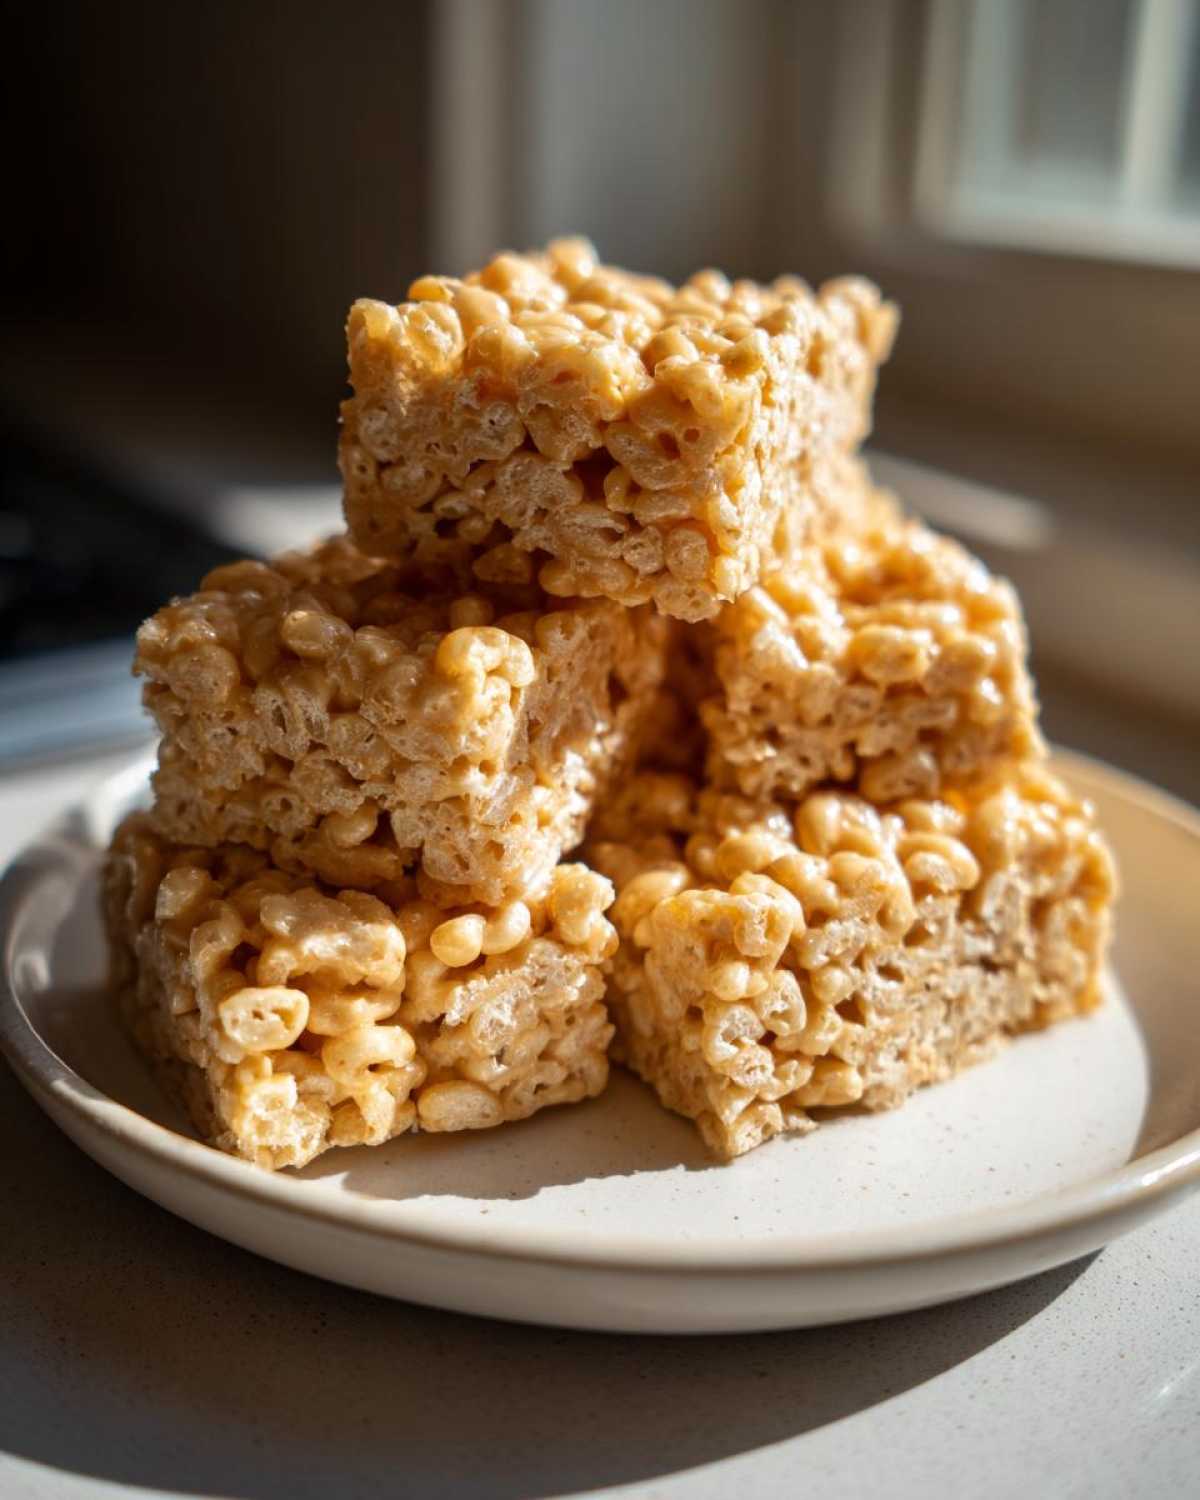
Share Your Experience Making These No-Bake Peanut Butter Rice Cereal Bars
I truly hope you enjoyed making these incredibly speedy and delicious No-Bake Peanut Butter Rice Cereal Bars! Honestly, the best part of sharing family favorites like this is hearing how *you* put your own spin on them.
So, don’t be shy! I really want to hear all about it. Did you go for the chocolate topping? Did you use crunchy peanut butter like I mentioned as an option? Did you sneak in any extra mix-ins?
Please take a moment to leave your rating right down below in the comments section. Stars are great for quick feedback, but if you can spare a sentence or two describing your results, that helps everyone else who’s nervous about trying their first batch of Easy Peanut Butter Squares!
And if you snapped a picture of your finished bars—maybe they are sitting next to your coffee or packed perfectly in a lunchbox—please tag me on social media! Seeing those perfectly shaped, sticky, wonderful squares makes my whole day. It’s such a thrill to know this classic recipe is living on in your kitchens, too. If you need anything at all while you’re here, including recipe questions or collaboration ideas, don’t hesitate to reach out via my contact page. Happy snacking!
PrintNo-Bake Peanut Butter Rice Cereal Bars
Make quick, easy peanut butter bars using puffed rice cereal without turning on your oven.
- Prep Time: 10 min
- Cook Time: 5 min
- Total Time: 75 min
- Yield: 16 squares
- Category: Dessert
- Method: No-Bake
- Cuisine: American
- Diet: Vegetarian
Ingredients
- 1 cup creamy peanut butter
- 1 cup granulated sugar
- 1/2 cup butter or margarine
- 1 teaspoon vanilla extract
- 6 cups puffed rice cereal
Instructions
- Line an 8×8 inch baking pan with parchment paper, leaving an overhang for easy removal.
- In a medium saucepan over medium heat, combine the peanut butter, sugar, and butter. Stir constantly until the mixture is completely melted and smooth. Do not let it boil.
- Remove the saucepan from the heat. Stir in the vanilla extract.
- Pour the melted mixture over the puffed rice cereal in a large bowl. Stir gently until the cereal is evenly coated.
- Press the mixture firmly and evenly into the prepared baking pan.
- Refrigerate for at least 1 hour, or until firm.
- Lift the bars out of the pan using the parchment paper overhang and cut into squares before serving.
Notes
- For a chocolate topping, melt 1 cup of semi-sweet chocolate chips with 1 tablespoon of shortening and spread over the chilled bars before cutting.
- Store leftovers in an airtight container in the refrigerator for up to one week.
- You can substitute crunchy peanut butter for creamy if you prefer texture.
Nutrition
- Serving Size: 1 square
- Calories: 220
- Sugar: 18
- Sodium: 150
- Fat: 12
- Saturated Fat: 4
- Unsaturated Fat: 8
- Trans Fat: 0
- Carbohydrates: 27
- Fiber: 1
- Protein: 5
- Cholesterol: 10