

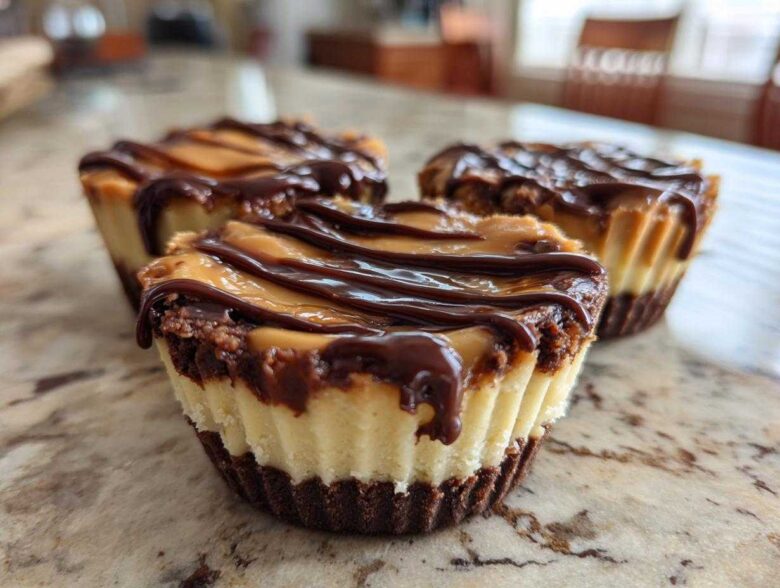
Okay, so sometimes you just need something decadent *right now*, but the thought of turning on the oven when it’s already too hot outside makes you sweat? I totally get it! That’s why I’m obsessed with this recipe, and I think you will be too. Forget complicated steps; these No-Bake Chocolate Peanut Butter Cheesecake Cups are my new secret weapon for instant gratification. We’re talking rich, tangy cheesecake, layered with creamy peanut butter and rich chocolate, all tucked into little single-serving cups. It’s seriously indulgent without any of the waiting time!
Honestly, I keep these on hand when I have friends drop by unexpectedly. They look fancy, but I just whipped them up after dinner the night before. If you’re looking for the ultimate quick, dirt-easy dessert that tastes way better than it should, you absolutely have to try these. I even sometimes sneak in a little coffee flavor if I’m feeling extra cozy—see that idea over here in my no-bake protein bar guide for quick sweet ideas that require zero heat!
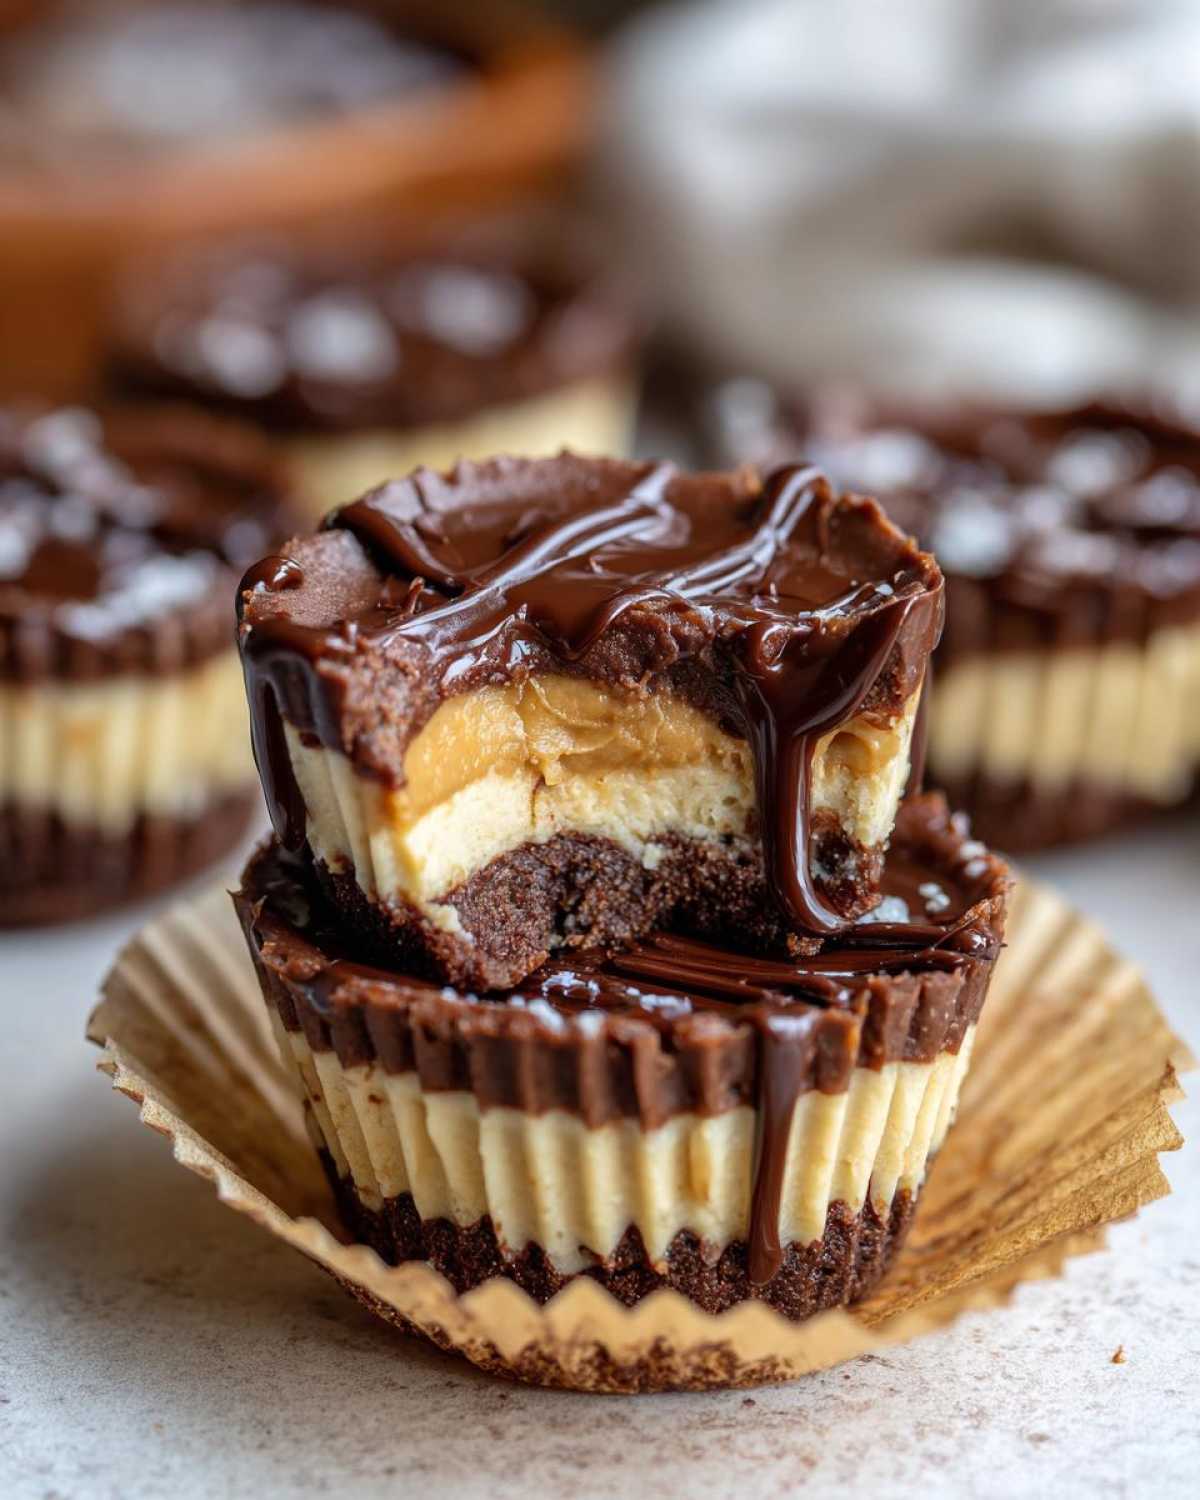
Why You Will Love These No-Bake Chocolate Peanut Butter Cheesecake Cups
Seriously, what’s not to adore about a dessert that skips the oven entirely? These tiny treats check every box for a perfect easy dessert:
- They take almost no time to mix up! You’ll be amazed how fast these Quick No Bake Sweets come together.
- Because they are in cups, they are the ultimate Portion Control Desserts—but don’t worry, I always end up eating two!
- The two-layer flavor combo of salty peanut butter and dark chocolate cheesecake is pure magic. You can see how much I love peanut butter treats over in my ideas for easy no-bake Oreo balls, too!
Essential Ingredients for Creamy No Bake Cheesecake
When you’re not baking, you want ingredients that cooperate, right? That’s the beauty here! We’re using full-fat ingredients because, hey, this indulgent treat deserves it. Make sure your cream cheese is good and soft, or you’ll end up whipping forever trying to get rid of the lumps. If you want more tips on working with cream cheese, you should check out my absolute favorite frosting recipe for inspiration!
The best part is that everything mixes right in one or two bowls. Since we aren’t baking, the flavor really comes from the quality of your peanut butter and the deep cocoa powder, so don’t skimp!
Crust Components
- 1 1/2 cups graham cracker crumbs (I use my food processor to get them super fine!)
- 1/4 cup granulated sugar
- 6 tablespoons unsalted butter, melted
Rich Chocolate Peanut Butter Filling Ingredients
- 8 ounces cream cheese, softened—must be room temperature, trust me!
- 1/2 cup creamy peanut butter (Skippy or Jif works great, nothing natural/oily here!)
- 1/2 cup powdered sugar
- 1 teaspoon vanilla extract
- 1/2 cup heavy whipping cream
- 1/4 cup unsweetened cocoa powder (Dutch process gives a darker chocolate kick)
Oh, and you’ll need just a tiny bit of chocolate for the drizzle on top, maybe 1/4 cup of melted chocolate chips or a simple ganache you whip up quickly. If you’re a peanut butter fanatic, maybe sneak a peek at my ideas for crispy peanut butter cookies for other ways to enjoy the flavor!
Tips for Perfect No-Bake Chocolate Peanut Butter Cheesecake Cups
Getting that dreamy, luxurious texture in a Creamy No Bake Cheesecake is all about technique, not heat! Since we aren’t using eggs or flour for structure, the air we whip in is super important. Do not rush the softening step for your cream cheese—if it’s cold, you’ll get little hard lumps staring back at you, and nobody wants that. Resist dipping your spoon in too early!
When I was testing these out, I found that using the mixer on medium-high really pumps the volume into the cream cheese and peanut butter base, making it fluffy before we fold in the whipped cream. It’s the secret to a lighter cup, rather than one that feels too heavy.
Achieving Smooth Cheesecake Filling
My number one rule for avoiding lumps is to beat the cream cheese, peanut butter, powdered sugar, and vanilla until it looks completely uniform—think silken, not grainy. Take your time here before even thinking about the whipped cream. If you’re worried about your stand mixer not quite reaching the bottom corners, stop it every minute or so and give it a really good manual scrape down with a rubber spatula.
Also, whipping your heavy cream separately to stiff peaks is non-negotiable! That light, airy whipped cream is what gives these Chocolate Peanut Butter Treats that signature ‘cheesecake’ fluff when chilled. If you want tips on getting the ultimate soft texture in baked goods, you can see my suggestions in this cookie guide; the principles of incorporating air are similar!
Layering and Setting the No Bake Dessert Cups
Once you have your two fluffy layers ready—the initial light peanut butter layer and the richer chocolate layer—go slow when spooning them on top of the crust. You want distinct layers, not a muddy swirl! Use the back of a small spoon to gently level each layer before moving on to the next.
Chilling is your oven! You absolutely have to let these sit for the full four hours. If you try pulling them out after two, they will be sloppy, and trying to serve these Mini Cheesecakes No Oven will result in a mess. Trust me on this one; patience yields delicious, perfectly structured Single Serving Desserts!
Step-by-Step Instructions for No-Bake Chocolate Peanut Butter Cheesecake Cups
Okay, now for the easy part! This is where we bring everything together. Since we aren’t messing with heat, precision comes from how well you mix and how long you let everything chill and set up. Don’t worry if it seems like a lot of steps; each one is super quick. If you want to see how I make amazing homemade chocolate sauce for topping things like this—check out my pudding recipe for a quick drizzle idea!
Preparing the Crust Base
First things first, let’s make the base! Grab a medium bowl and mix your graham cracker crumbs, the 1/4 cup of sugar, and those 6 tablespoons of melted butter. Get it all nicely combined until it looks like wet sand. Divide this mixture up and press about a tablespoon of it firmly into the bottom of 8 muffin cups that you’ve already lined with paper liners. You need a good, flat base! Pop the whole tin into the freezer while you get the filling ready—this keeps the crust totally set.
Making the Peanut Butter Layer
Now for the glorious middle part. In your big mixing bowl, start beating that softened cream cheese until it’s looking lonely and smooth. Add your peanut butter, the powdered sugar, and the vanilla extract. Once that’s perfectly smooth—no clumps at all, remember?—it’s time for the whipped cream. Whip your heavy cream in a separate bowl until you have stiff peaks, then gently fold that air into the peanut butter mixture. Gently! We want light, not flat!
Creating the Chocolate Layer and Assembling
Take about half of that heavenly peanut butter filling and spoon it evenly over the crusts in your muffin cups. Take the remaining filling, gently fold in your 1/4 cup of cocoa powder until you have a dark, beautiful chocolate layer. Then, use a small spoon or piping bag (if you’re feeling fancy) to carefully layer the chocolate filling right on top of the peanut butter layer. Keep those layers distinct!
Chilling and Final Topping for No-Bake Chocolate Peanut Butter Cheesecake Cups
This is the hard part: waiting! Cover that muffin tray (I usually just use plastic wrap lightly tented over the top) and get these into the fridge. They absolutely need at least 4 hours to firm up completely. Resist the urge to peek early! Once they are totally set, you can pull them out. Melt your extra chocolate chips or drizzle on some ganache right before serving. They look stunning!
Serving Suggestions for these Single Serving Desserts
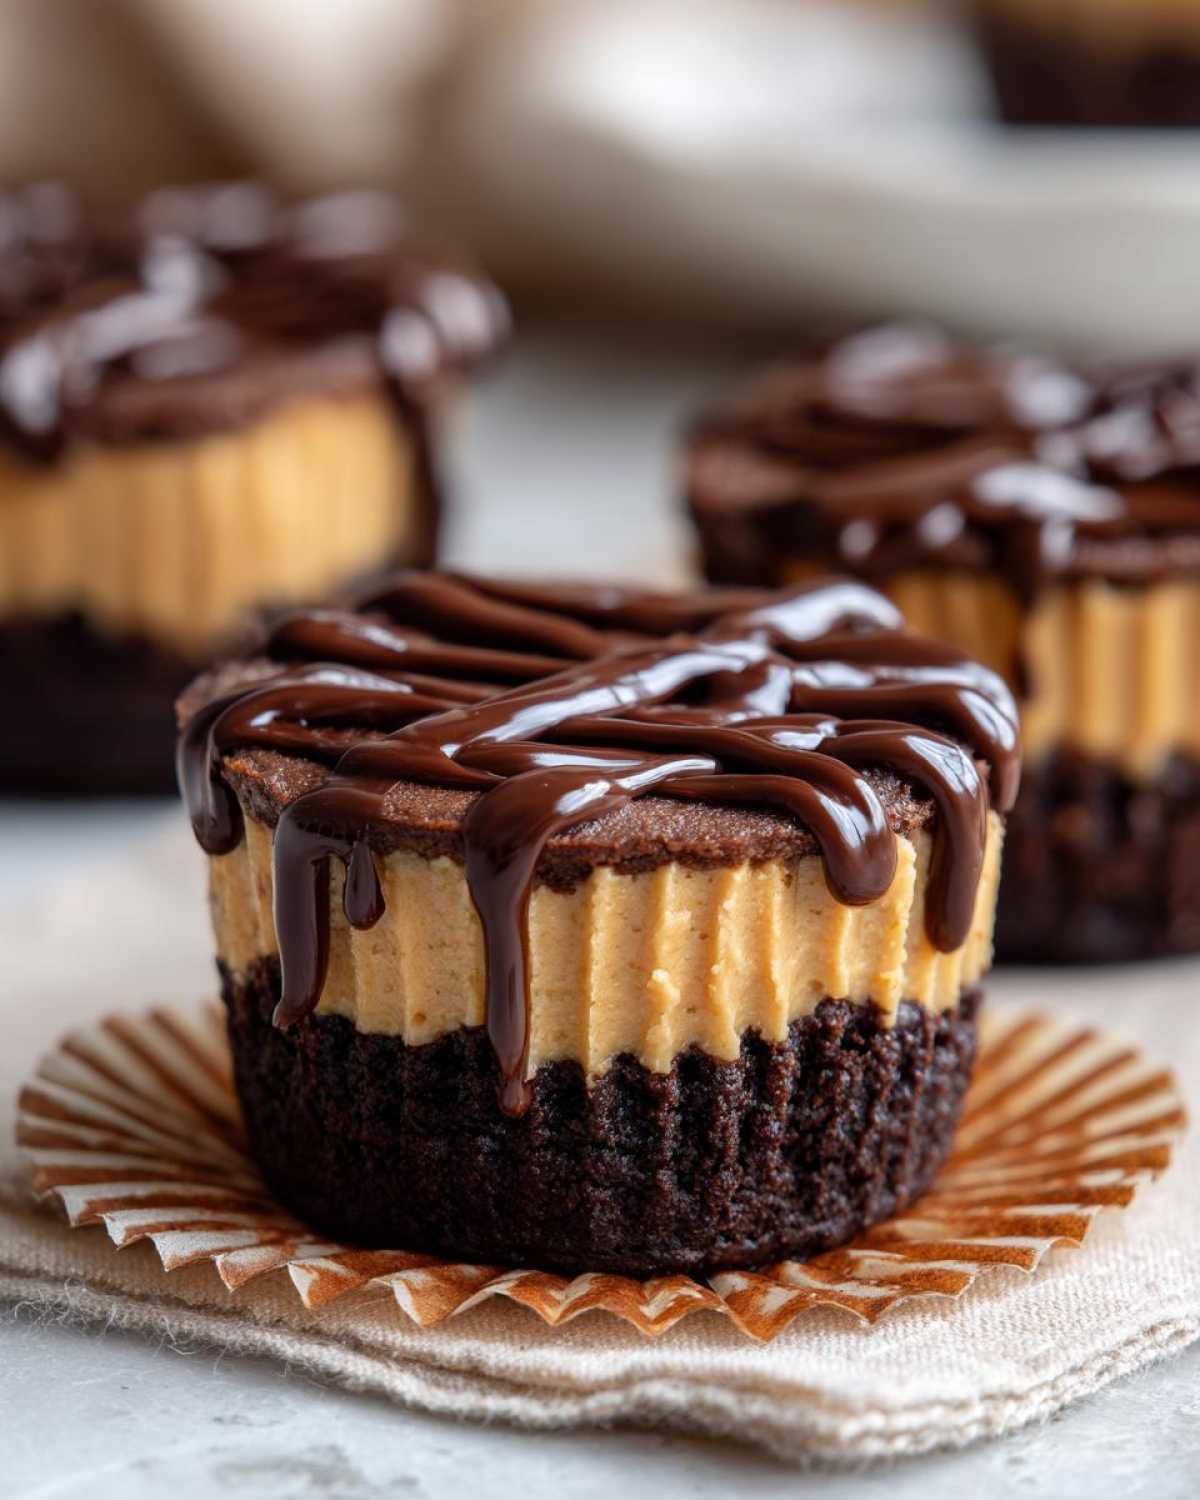
Presentation really elevates these little treats, even though they are ridiculously easy! I usually lift them out of the muffin tin after they’ve set, peel the paper liner back just a tiny bit right before serving, and arrange them on a cool white platter. They look super chic like this, offering perfect Single Serving Desserts.
For a little extra flair, try topping them with chopped peanuts or a sprinkle of flaky sea salt right after you drizzle that chocolate on top—it really makes the chocolate and peanut butter flavors pop! They pair perfectly with a strong afternoon coffee, or if you’re feeling nostalgic, a big, frosty glass of homemade chocolate milk is a fantastic, cozy match for these creamy cups.
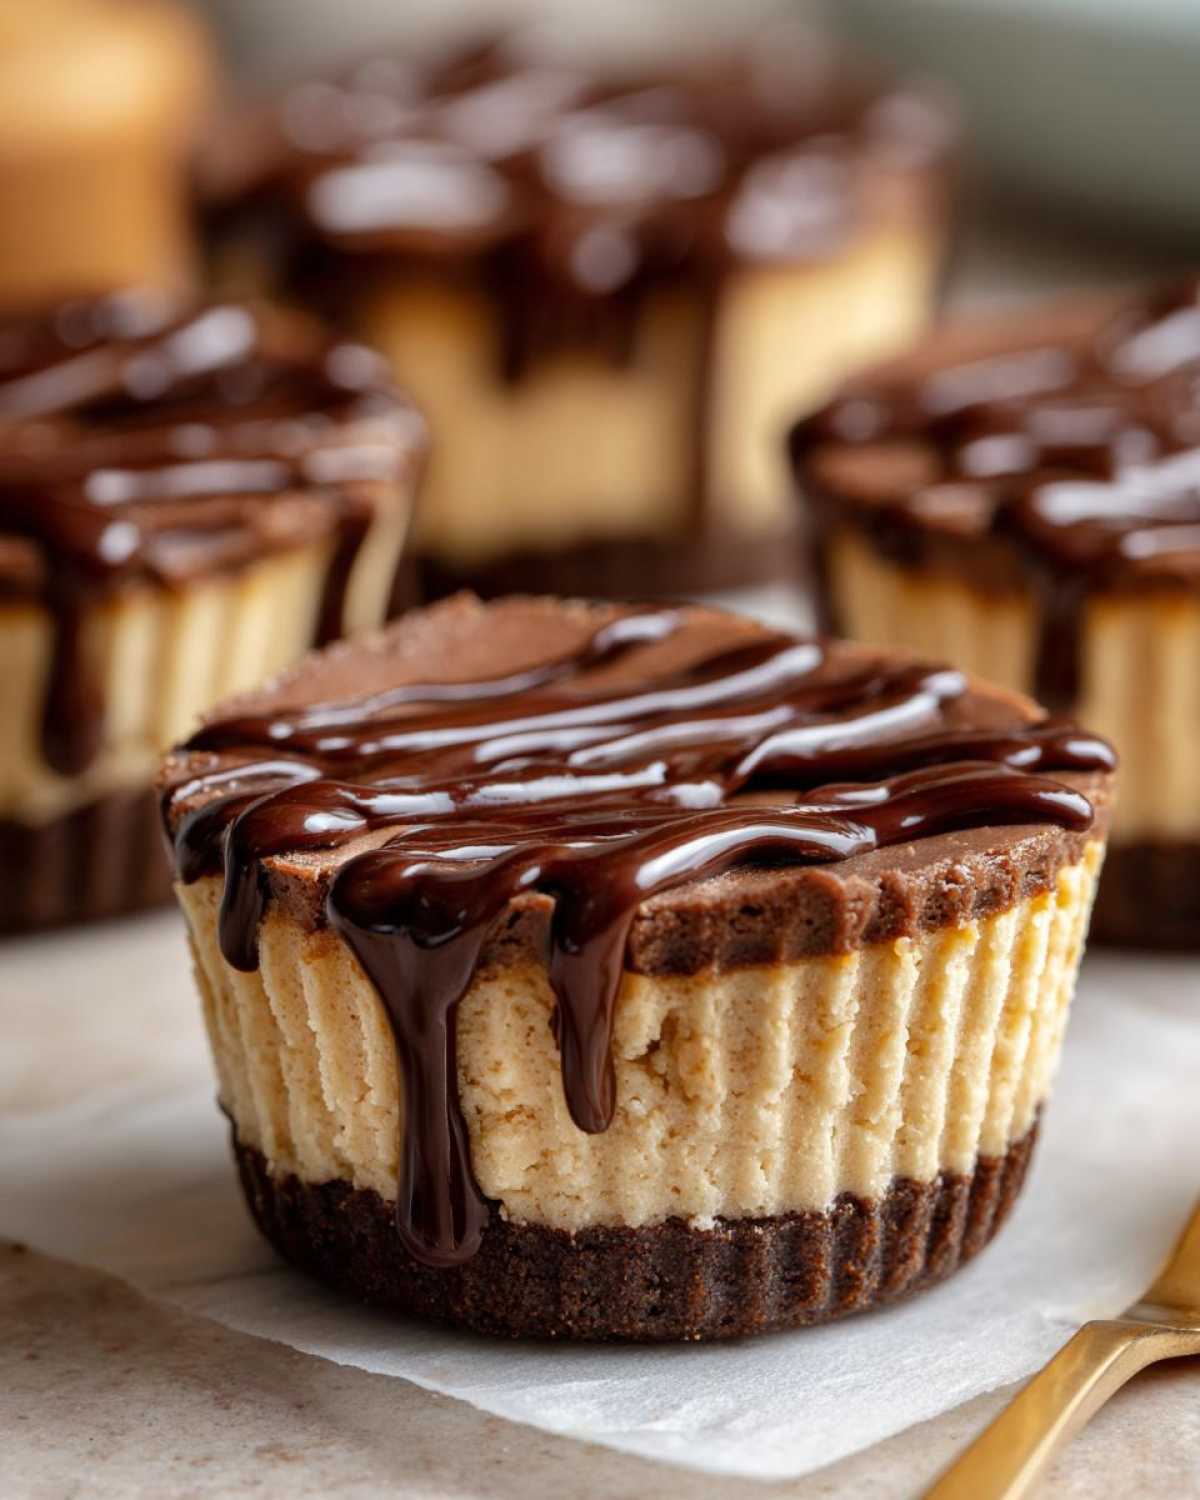
Storage and Make Ahead Dessert Tips for No-Bake Chocolate Peanut Butter Cheesecake Cups
This is where these cups really shine as a baker’s secret weapon! They are practically built for Make Ahead Dessert Shooters because they need chilling time anyway. You absolutely want to make these a day ahead of any party or craving attack. In the refrigerator, covered tightly with plastic wrap or an airtight lid, they stay perfectly creamy and delicious for up to four days. Don’t worry; the graham cracker crust won’t get soggy if they are well-covered.
If you really need them to last, you can freeze them! Wrap each individual cup tightly in plastic wrap, and then stack them in a freezer-safe container. They take about 30 to 40 minutes on the counter to thaw enough to eat, but they’ll still be very cold and firm, which is fantastic. If you struggle with removing liners from sticky desserts, you know how frustrating that can be! My trick, which I use for everything from these cups to my no-bake Oreo dirt cake, is to ensure they are rock solid from the fridge or freezer before you even try to peel the paper away.
Troubleshooting Common Issues with No-Bake Cheesecake
Even though these are “no-bake,” things can still go a little sideways if you aren’t careful! The number one headache I hear about is the filling just refusing to firm up. Usually—and I mean *usually*—that means you got a little too enthusiastic with the heavy cream or maybe didn’t let it chill for the full four hours. Seriously, that chilling time is non-negotiable for setting these Rich Chocolate Peanut Butter treats!
If your crust seems too crumbly when you press it down, the melted butter wasn’t quite enough, or you baked goodies instead of resting them in the freezer! Next time, try adding just another teaspoon of that melted butter to help bind everything until it’s frozen solid. If you are looking for other easy, handheld ideas, my pizza muffin recipe is a great non-dessert handheld option!
Frequently Asked Questions about No Bake Dessert Cups
You know, when I first started making these, I had a million questions swirling around, too! It’s a little different when you aren’t using the oven for that structure, so I totally get wanting to double-check things before you start. Here are some of the things folks ask me most often about whipping up these Mini Cheesecakes No Oven!
Can I substitute the graham cracker crust for something else in these No-Bake Chocolate Peanut Butter Cheesecake Cups?
Absolutely, you can get creative here! If you’re not feeling graham crackers, you have tons of options. My personal favorite swap is using crushed Oreo cookies—that extra chocolate layer just amps everything up. Chocolate wafer cookies also work beautifully for a very dark, rich base. Just remember the ratio: keep the crumbs to sugar to melted butter the same, roughly 1.5 cups crumbs to 1/4 cup sugar to 6 tablespoons butter. This is easily adaptable for any Easy Cheesecake Recipe base!
How long do these individual cheesecake cups need to set before serving?
The minimum time I list is four hours for refrigeration, but I’m going to tell you a secret: if you can wait overnight, do it! The longer these sit, the firmer and cleaner your layers will be. If you try to serve them too soon, you’ll end up with a beautiful, delicious, but very messy spoonful instead of the perfect cup. If you’re really stuck for time, you *can* speed things up in the freezer, but keep an eye on them so they don’t freeze solid!
Is it possible to make these Chocolate Peanut Butter Treats vegan?
I haven’t personally tested a fully vegan version yet, but it is totally possible with a few swaps! You’d need to look for a good quality vegan cream cheese alternative that whips up nicely, and use a plant-based stick margarine or coconut oil instead of butter for the crust. For the whipped cream, canned coconut cream that has been chilled overnight in the fridge works wonders—you scoop out the solid cream part and whip that up until stiff. If you try it, let me know how it goes!
If you managed to make these without turning on the heat, definitely check out my tips for fluffy vanilla cupcakes—sometimes you just need that oven in your life, too!
Estimated Nutritional Data for No-Bake Chocolate Peanut Butter Cheesecake Cups
Okay, listen up, because these are rich, indulgent little numbers, so we have to be honest about what’s going into them! While these Rich Chocolate Peanut Butter Desserts are ridiculously tasty, remember that these are just estimates based on the standard ingredients listed. I mean, if you use extra thick peanut butter or heavier toppings, things change, right?
For one Portion Control Dessert cup, you’re looking at rough estimates like this:
- Calories: About 350
- Fat: Around 24 grams
- Carbohydrates: Roughly 30 grams
- Protein: About 7 grams
- Sugar: Guessing about 25 grams
I always try to pair treats like this with something healthier, maybe a vibrant smoothie like my protein-packed banana smoothie recipe just to balance things out! You have to enjoy the process, and that includes knowing what’s in your amazing, easy, no-bake creation!
Share Your Experience Making These Rich Chocolate Peanut Butter Desserts
Now that you’ve made these ridiculously easy No-Bake Chocolate Peanut Butter Cheesecake Cups, I really, truly want to know what you thought! Did you keep them plain peanut butter, or did you sneak in some espresso powder like I mentioned? I love seeing how everyone puts their own stamp on things. Don’t be shy!
Take a picture of your beautiful set cups—especially if you nailed that chocolate drizzle—and tag me on social media! Seeing my readers enjoy instant, oven-free desserts is what keeps me experimenting in the kitchen.
- Did you find this an easy cheesecake recipe to master? Let me know in the comments below!
- Did you try any wild crust swaps? Tell me if the shortbread worked for you!
- If you’re looking for other quick crowd-pleasers, you have to check out my favorites for ultimate homemade chili—sometimes you need a comforting savory dish after all that chocolate!
Drop your ratings, your thoughts, and any brilliant ideas you had down below. Happy scooping!
PrintNo-Bake Chocolate Peanut Butter Cheesecake Cups
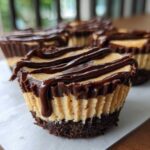
Make these simple, single-serving cheesecake cups featuring rich chocolate and creamy peanut butter. This no-bake recipe requires no oven time and sets quickly.
- Prep Time: 20 min
- Cook Time: 0 min
- Total Time: 4 hr 20 min
- Yield: 8 servings
- Category: Dessert
- Method: Chilling
- Cuisine: American
- Diet: Vegetarian
Ingredients
- 1 1/2 cups graham cracker crumbs
- 1/4 cup granulated sugar
- 6 tablespoons unsalted butter, melted
- 8 ounces cream cheese, softened
- 1/2 cup creamy peanut butter
- 1/2 cup powdered sugar
- 1 teaspoon vanilla extract
- 1/2 cup heavy whipping cream
- 1/4 cup unsweetened cocoa powder
- For topping: 1/4 cup melted chocolate chips or chocolate ganache
Instructions
- Combine graham cracker crumbs, 1/4 cup granulated sugar, and melted butter in a bowl. Mix until the crumbs are evenly moistened.
- Press about 1 tablespoon of the crumb mixture into the bottom of 8 standard muffin cups lined with paper liners. Place the cups in the freezer while you prepare the filling.
- In a large bowl, beat the softened cream cheese, peanut butter, powdered sugar, and vanilla extract until smooth and creamy.
- In a separate bowl, whip the heavy cream until stiff peaks form. Gently fold the whipped cream into the cream cheese mixture.
- Divide half of the cheesecake filling evenly over the crusts in the muffin cups.
- In the remaining half of the filling, gently fold in the cocoa powder until the mixture is uniformly chocolate colored. Spoon the chocolate filling over the peanut butter layer in the cups.
- Cover the muffin tin and refrigerate for at least 4 hours, or until firm.
- Once set, drizzle the tops of the cheesecake cups with melted chocolate or ganache before serving.
Notes
- Use a food processor to make fine graham cracker crumbs quickly.
- For easier removal, chill the cups thoroughly before peeling off the paper liners.
- You can substitute chocolate wafer crumbs for graham crackers if desired.
Nutrition
- Serving Size: 1 cup
- Calories: 350
- Sugar: 25
- Sodium: 180
- Fat: 24
- Saturated Fat: 12
- Unsaturated Fat: 12
- Trans Fat: 0
- Carbohydrates: 30
- Fiber: 1
- Protein: 7
- Cholesterol: 55