

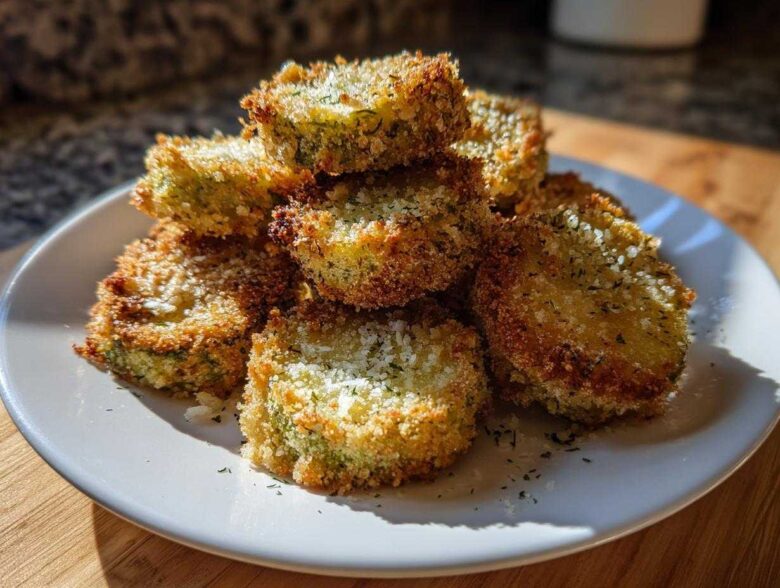
I don’t know about you, but sometimes I just need that salty, aggressively flavored, unmistakable crunch in my life, right? Forget the greasy feeling of deep frying; we’ve moved totally past that mess. I spent probably a month messing around with temperatures and breading mixes before I nailed the absolute best way to get that satisfying snap, and trust me, drying those pickles is half the battle! You’ll want to check out my skillet potatoes sometime for another crunchy fix, but for now, these are king. If you’ve been searching for the ultimate afternoon snack or the perfect topping for a sandwich, you’ve found it. These Air Fryer Crispy Garlic Dill Pickles are the real deal. They come out perfectly golden and shatteringly crisp every single time, packed with that punchy garlic and dill flavor we all crave. You’ve got to try this batch!
Why You Will Love This Air Fryer Crispy Garlic Dill Pickles Recipe
Honestly, I’m obsessed with how these turn out compared to the deep-fried versions. They hit all the right notes without feeling heavy, and they’re so speedy. You can whip up a batch faster than ordering takeout! Check out why these are going straight into your regular rotation:
- Actual Crispiness: We aren’t messing around with a floppy coating here! Thanks to the drying technique and the Panko, these are truly crunchy pickles without frying.
- Intense Flavor Bomb: The garlic powder and fresh dill are perfectly balanced in the breading. It’s that signature, savory punch you expect from the best dill pickles.
- Speedy Snack Time: Seriously, the prep is quick, and the air fryer does its magic in under 10 minutes. Perfect for those urgent snack cravings!
- Low Oil, High Satisfaction: You get all the satisfaction of a fried appetizer, but we are using just a light oil spray. It’s a much healthier way to enjoy your favorite side dish.
- Perfect Sidekick: These make an incredible side dish for burgers or sandwiches, or they just eat perfectly on their own as a killer appetizer.
Essential Ingredients for Air Fryer Crispy Garlic Dill Pickles
Okay, let’s talk basics. For the Best Air Fryer Pickle Chips, you need quality components, especially in that breading mix! Trust me, gathering these few simple things is all you need to get started. The most important thing, and I can’t stress this enough, is making sure those pickle chips are bone-dry before they ever see any flour. I usually lay them out between a few layers of paper towels and blot them until they stop looking wet. Seriously, don’t underestimate how crucial drying them is for truly crunchy pickles without frying!
Here is exactly what you need for the ingredients:
- 1 jar (16 ounces) dill pickle chips, drained well
- 1 large egg
- 1/4 cup all-purpose flour
- 1/2 cup panko breadcrumbs
- 1 tablespoon dried dill weed
- 1 teaspoon garlic powder
- 1/2 teaspoon onion powder
- 1/4 teaspoon black pepper
- Cooking spray (oil-based)
When you mix up that seasoning, you’ll see that gorgeous green dill mixing with the intense garlic powder—it smells amazing even before it hits the basket! This mix is what guarantees that great flavor in every single bite of these Homemade Crispy Pickles.
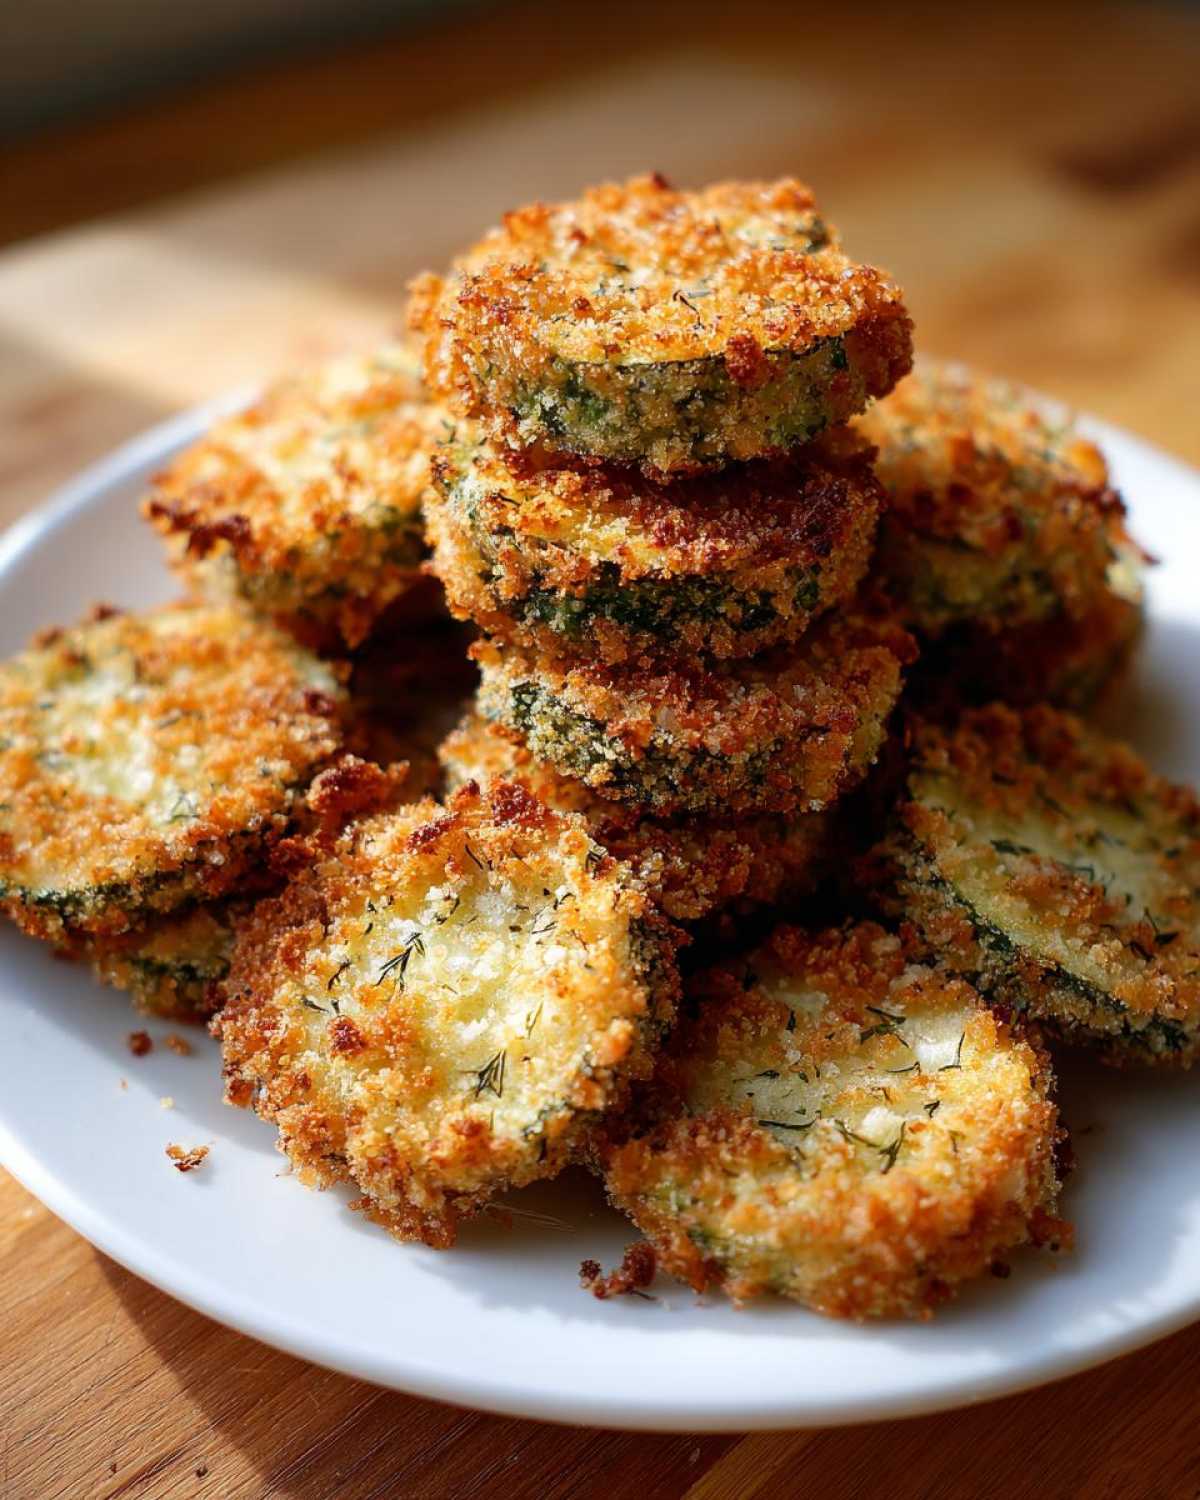
Ingredient Notes and Substitution Tips for Crispy Dill Pickles Air Fryer
I know not everyone has the exact pantry setup, so let’s chat substitutions for our Garlic Pickle Air Fryer Cooking recipe. The most important thing to remember is that you need textural components to keep things crisp. We rely on Panko breadcrumbs here because they are lighter and flakier than regular bread crumbs, which helps them crisp up fast in the air flow, giving you that amazing crunch.
If you need to make this a gluten-free air fryer snack, you can definitely swap out the all-purpose flour and Panko for gluten-free versions. They might brown a tiny bit differently, but the flavor profile stays true! Remember, though, the flour helps the egg cling, so make sure your substitutions handle moisture well.
Choosing the Right Pickles
When I’m shopping for the perfect base for my Best Air Fryer Pickle Chips, I always look for the thickest dill chips I can find. Thin, floppy chips get mushy faster, even if you dry them perfectly. Look for chips that feel substantial, almost like small cucumber coins! Also, make sure they are dill pickles; sweet or bread-and-butter chips will give you a totally different, often soggy, result when cooking.
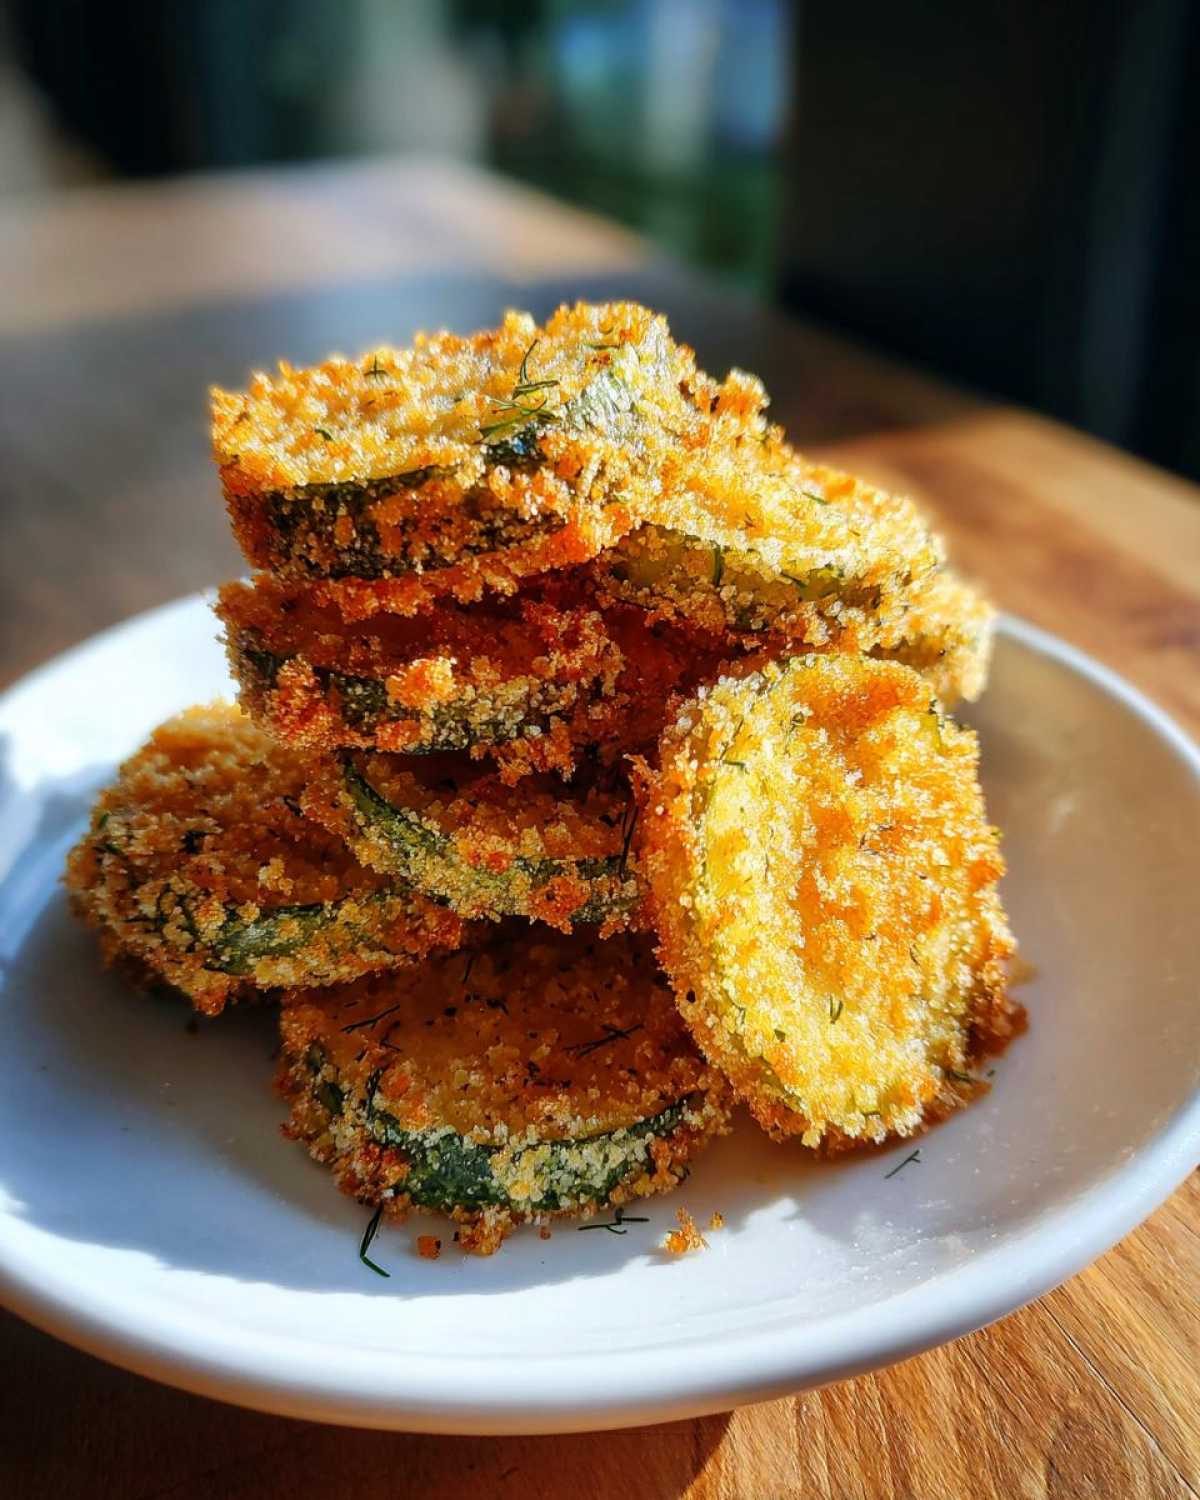
Dill and Garlic Intensity
We use dried dill, but if you happen to have fresh dill on hand, go for it! Just chop it really finely, and you’ll need about three times the amount because the fresh stuff loses some volume when cooked. For the garlic? You can absolutely substitute the garlic powder with one clove of fresh garlic grated finely into your egg wash—wow, that ups the power! Just make sure you whisk it really well so you don’t get clumps.
Oil Spray Matters
For the coating to brown nicely and achieve that Low Oil Pickle Recipe status, you need an oil spray. Olive oil or avocado oil sprays work best. If you just sprinkle oil over them, it tends to pool and you end up with damp spots rather than a uniform crisp exterior. The spray ensures that beautiful, even golden crust we are after!
Step-by-Step Instructions for Your Air Fryer Crispy Garlic Dill Pickles
Alright, this is where the magic happens! Honestly, watching these breaded chips go from floppy to golden is my favorite part of making these Air Fryer Pickles Recipe. The entire process is pretty quick, taking maybe 15 minutes of hands-on time, but you have to respect the layering. It’s all about defense against sogginess, which means we are tackling moisture at every single turn! If you need some extra help with the actual breading process, I put together a quick guide on how to make breaded pickles in air fryer that covers the dredging station setup in depth.
Preparation: Drying and Setting Up the Dredging Station
First things first: grab those drained pickles and press them! You need to blot every last bit of excess brine off them with paper towels until they feel tacky rather than wet. Moisture is the absolute enemy of crispiness, so don’t rush this part! Once they are dry, set up your three stations. Bowl one gets your flour. Bowl two is for that whisked egg. And Bowl three—this is the flavor powerhouse—where you combine the Panko, dill weed, garlic powder, onion powder, and pepper. You want everything right there and ready to go before you touch the first pickle.
The Perfect Breading Technique for Garlic Pickle Air Fryer Cooking
Now we build the crust! Take one dry pickle chip and gently toss it in the flour, making sure it gets fully coated, and then shake off any huge clumps. Next, dip it completely into the egg wash—let the extra drip off back into the bowl. Finally, drop it straight into your seasoned Panko mix. This last step is important: really press that Panko onto the pickle chip! You want a nice, thick, uneven coating because that’s what puffs up and gets crunchy in the hot air.
Air Frying for Maximum Crunch
Time to preheat! Get your air fryer warmed up to 380°F (195°C) for at least five minutes—an already hot basket makes a huge difference. Spray your basket lightly with cooking spray and lay the breaded pickles down in a single layer. They absolutely cannot touch! If they overlap, they steam instead of crisp. Lightly spray the tops of the coated chips with your cooking spray too, for even browning. Cook them for 8 to 10 minutes total, but remember to flip them halfway through so both sides get that beautiful golden-brown finish!
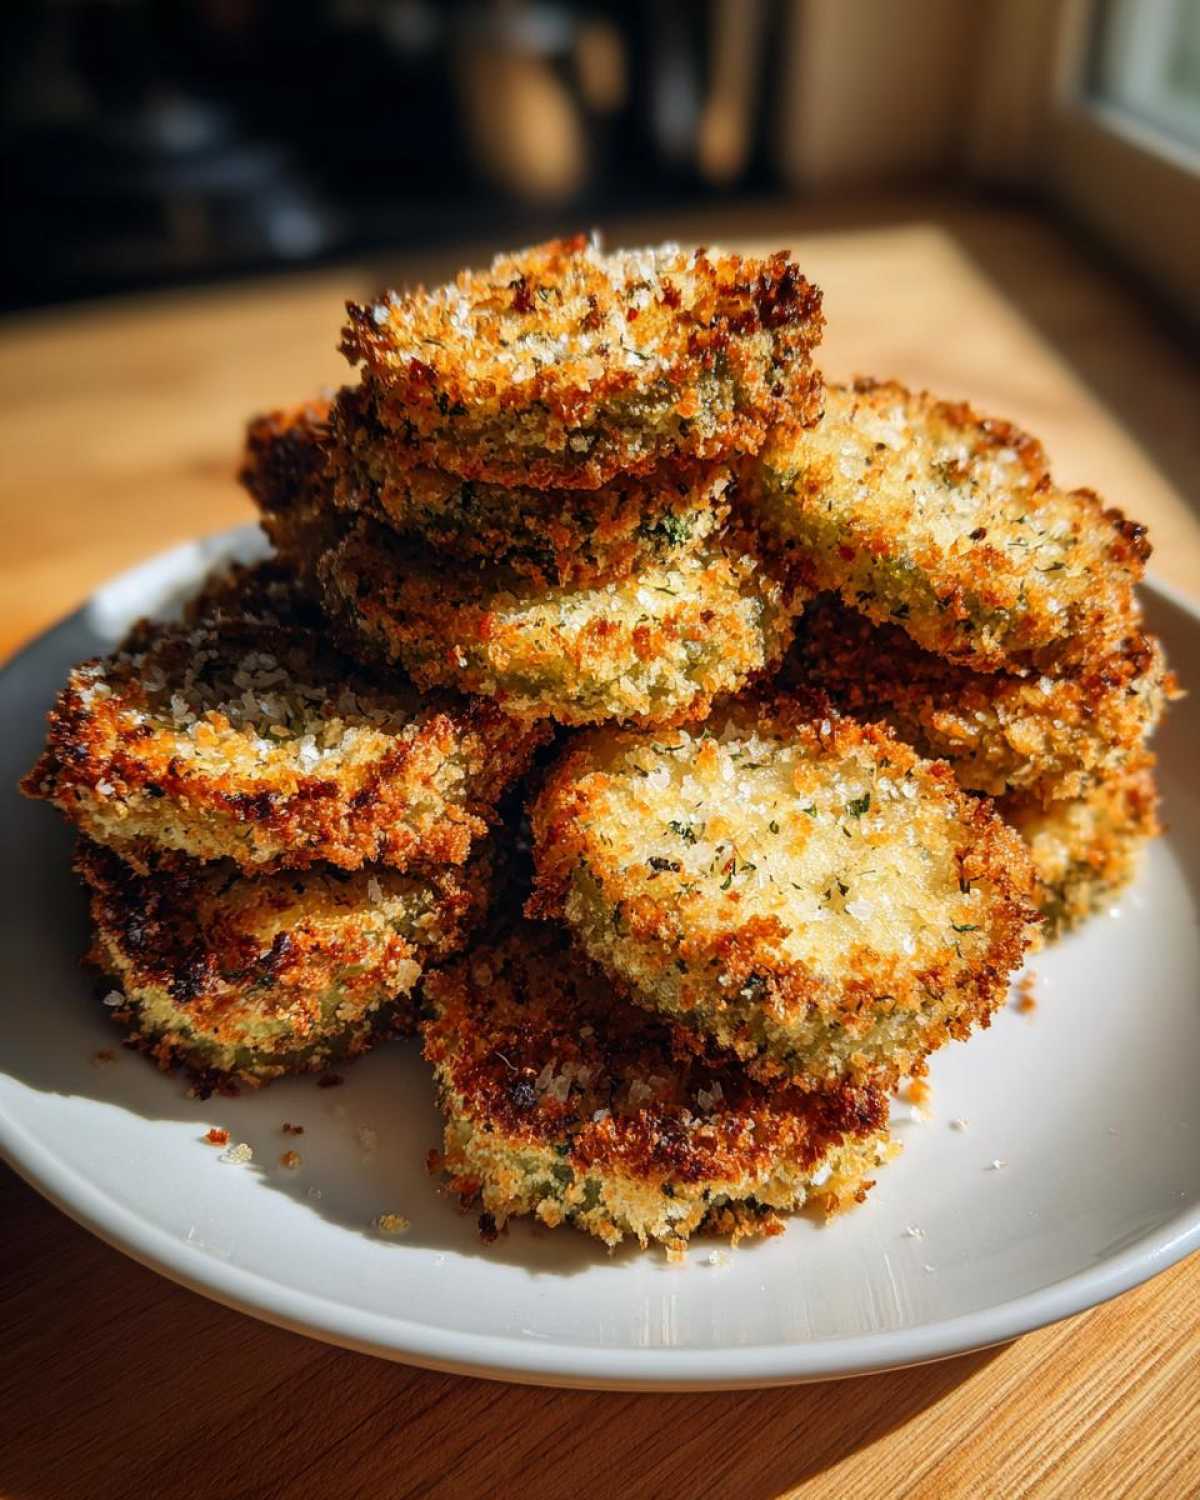
Expert Tips for Achieving the Best Air Fryer Pickles Recipe
Okay, friends, you’ve followed the steps, but if you want these to go from ‘good’ to ‘wait, are these deep-fried?!’ you need to pay attention to these final tips. Since we are aiming for that perfect, satisfying crunch—that goal of Crunchy Pickles Without Frying—it’s all about managing the heat and preventing steam. I learned that rushing right from breading to air frying sometimes leaves the coating a little soft.
So, here is the secret weapon I discovered: chilling! If you have 15 extra minutes, place your fully breaded chips on a wire rack set over a baking sheet and pop them in the fridge. That slight chill helps set the moisture in the egg wash before the heat hits it, making the payoff way crispier.
And remember that overcrowding issue we talked about? It bears repeating! If you stack them, you trap humidity, and humidity equals soggy pickles. It’s better to cook in two smaller batches than one giant, steaming mess. If you’re looking for even more ideas beyond these garlic dill beauties, check out my ultimate crispy fried pickle guide for other inspirations!
Serving Suggestions for Your Dill Pickle Appetizer Air Fryer
So, you’ve got a basket of these intensely flavored, perfectly crunchy Dill Pickle Appetizer Air Fryer wonders just sitting there. What do you serve them with? Honestly, they’re great alone, but dipping takes them to a whole other level of snack perfection. My absolute favorite thing to pair them with is something cool and creamy to cut through that tangy dill and rich garlic!
You cannot go wrong with a classic, super-chilled, homemade ranch dressing. If you’re feeling a little spicy—and I often am—a quick, creamy chili mayo is fantastic. You just mix mayo with a dash of your favorite hot sauce, maybe a tiny squeeze of lime, and you are gold! I even have a recipe for a fantastic creamy sauce that you should check out, the Outback Bloomin’ Onion copycat; it’s amazing with these pickles.
The Ultimate Air Fryer Sandwich Side Dish
Forget boring potato chips! These crispy garlic dill chips make the most unexpected and wonderful sidekick to almost any sandwich or wrap. They add texture and that salty, vinegary pop that balances out richer fillings. I love serving them alongside a grilled cheese sandwich when I want something comforting but elevated, or alongside pulled pork sliders.
If you’re making a massive platter for game day, arrange them around a big bowl of sliders or little chicken sandwiches. Seriously, they disappear instantly when you use them this way. They transform your regular lunch plate into something totally special!
Pairing with Lighter Fare
Don’t limit these to just heavy meals! Because they are much lower in oil than traditional fried versions, they work great alongside lighter meals too. Try serving a few chips sprinkled right over the top of a simple green salad for an incredible crunch boost—it’s like a savory crouton! Or, if you’re whipping up some light chicken skewers, these make a fantastic, vibrant snack on the side tray.
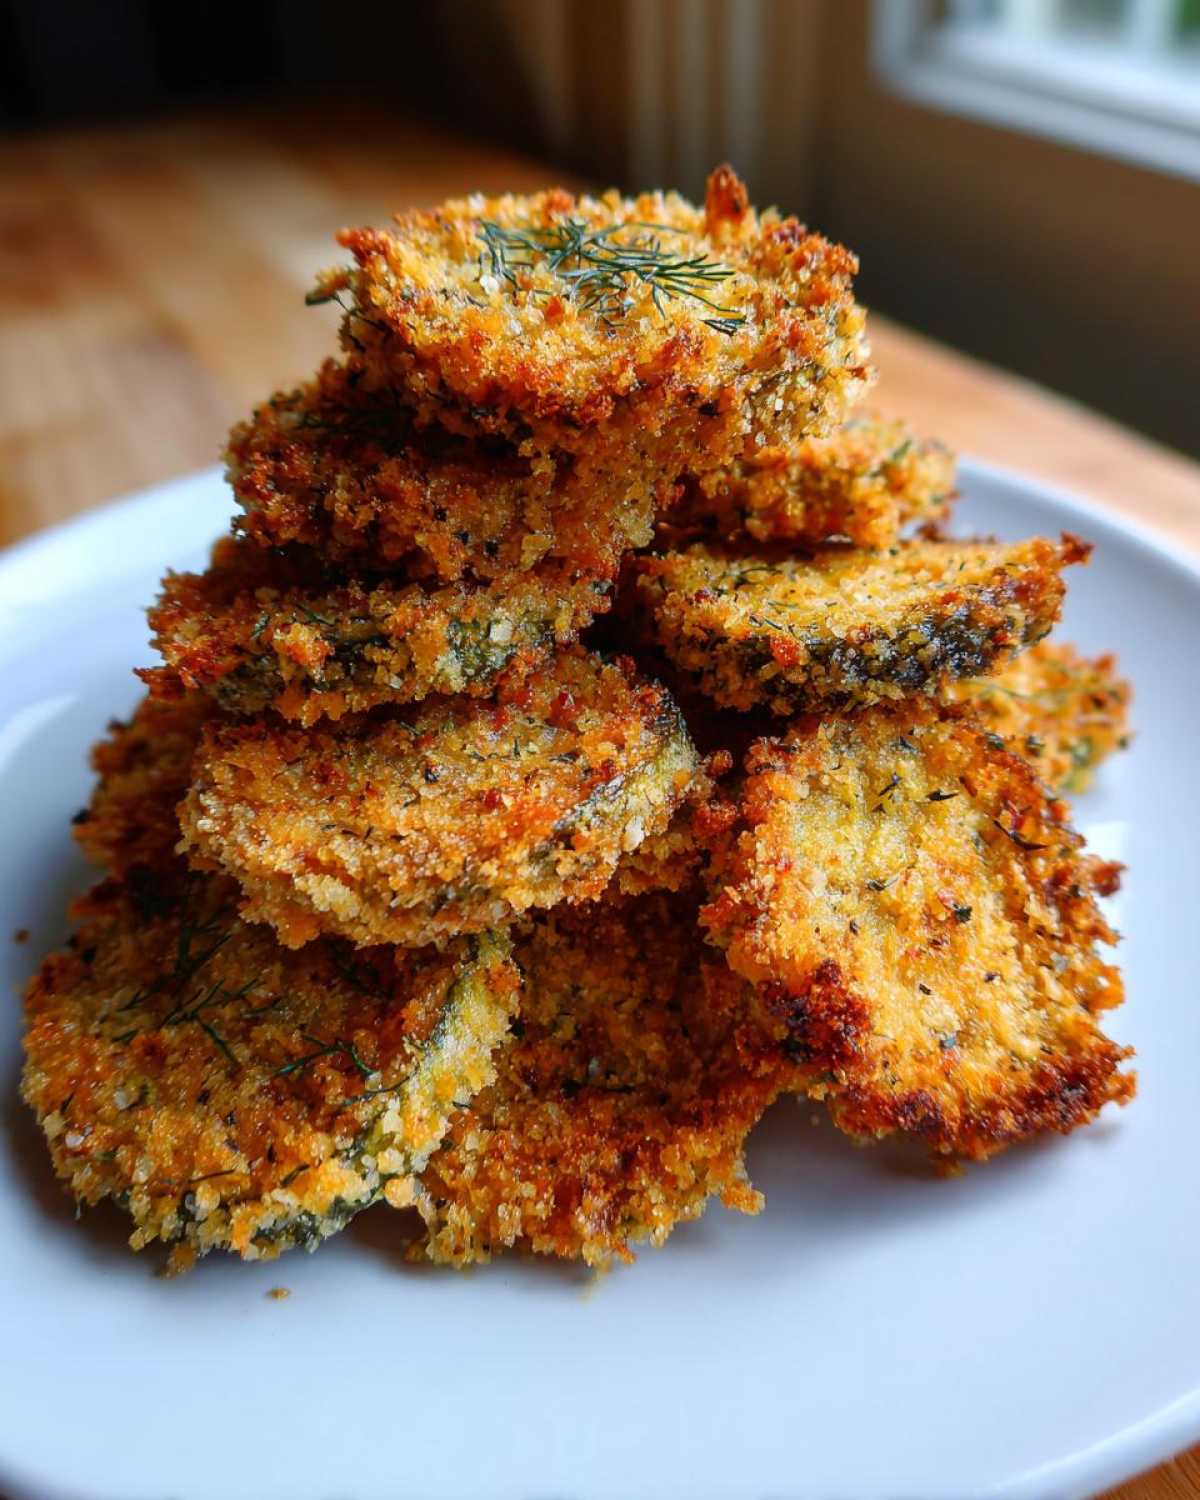
Just remember, like any good crunchy snack, they really do need to be eaten shortly after coming out of the air fryer basket to appreciate that glorious, loud crunch. Happy dipping!
Storage and Reheating Instructions for Homemade Crispy Pickles
Now, this is where we have to be honest with each other: if you want the absolute best, most satisfying crunch from your Air Fryer Crispy Garlic Dill Pickles, you need to eat them immediately! The second they cool down, breading tends to soften up a bit, even with the Panko doing its best work in the air fryer. They are truly at their peak right out of the basket.
But hey, sometimes we make too many, or maybe you wanted leftovers for lunch the next day! I totally get it. The good news is that these reheat like a dream, provided you skip the microwave entirely. The microwave is the enemy of crispiness; it heats the moisture trapped inside the breading and makes everything limp instantly. Don’t do it!
Storing Your Leftovers Safely
If you absolutely have leftovers from your Low Oil Pickle Recipe batch, the trick is to store them so they don’t steam themselves. Don’t put them in a sealed plastic container right away. You want air circulation! I take a paper towel, lay it flat on the bottom of a glass container, place the pickles on top in a single layer if possible, and then put another paper towel layer on top before covering loosely.
They should be fine in the fridge for about two days tops. Seriously, after that, the texture starts to degrade whether you store them well or not. If you want that fresh crunch back, you have to reheat them properly.
How to Restore Crunch When Reheating
The air fryer is your best friend for bring-back duty! For the best results, pop your cooled pickles back into the air fryer basket. Make sure they are in a single layer again—no piling them up! Set the temperature to about 360°F (180°C).
You only need a quick blast, usually about 3 to 4 minutes. Watch them closely because the coating is already cooked, so you’re just refreshing the crispness and warming them through. As soon as you hear them start to sizzle faintly and you see the color deepen just a touch, pull them out! They should be perfectly crunchy again and ready to dip. It’s amazing how you can revive them with just a few minutes back in the heat!
If you’re planning ahead, you could make a batch of these wonderful dill pickles and then try my refrigerator pickles recipe for a non-crispy, tangy snack later in the week. It’s good to have both options!
Frequently Asked Questions About Air Fryer Crispy Garlic Dill Pickles
I get so many messages after people try this recipe, which is wonderful! It seems like everyone has one or two quick questions about getting that perfect texture. Since we’re aiming high for the best crunch possible, let’s clear up the most common issues on the spot so your Air Fryer Pickles Recipe turns out stellar!
How do I prevent my Air Fryer Pickles Recipe from getting soggy?
Oh, this is the big one! Look, the absolute non-negotiable key to success here is twofold. First, you have to pat the pickles ridiculously dry. I mean, blot them until you feel like you’re wasting paper towels—it’s worth it! Second, never overcrowd the basket. If they are touching, they steam instead of air fry, and steam is sogginess’s best friend. Cook in batches if you have to; that single layer commitment ensures you get those Crispy Dill Pickles Air Fryer results!
Can I skip the flour in this Crispy Dill Pickles Air Fryer method?
I really, really wouldn’t recommend it when you’re aiming for that classic, thick crunch. Think of the flour as the primer on a wall! It’s what helps the egg wash stick evenly to the slick pickle surface. If you skip it, your Panko breading won’t adhere properly, and you’ll end up with a lot of loose crumbs in the bottom of your basket and a naked, soft pickle! Stick to the three-step dredge if you want the best outcome for your Garlic Pickle Air Fryer Cooking.
Is this a Keto Air Fryer Snack option?
In this exact form? No, because both the flour and the Panko breadcrumbs are high in carbs. But don’t throw in the towel yet! You can absolutely adapt this! If you’re looking for a delicious easy air fryer snack idea that fits keto, just swap the flour for almond flour and use crushed pork rinds instead of Panko. It gives an incredible crunch and keeps the delicious garlic dill flavor!
Nutritional Estimate for Air Fryer Crispy Garlic Dill Pickles
Now, I want to be super clear about this part, okay? Because we are talking about estimates here! The exact nutritional breakdown of your batch of Air Fryer Crispy Garlic Dill Pickles is going to depend on the type of oil you use for spraying and the exact brands of pickles and breadcrumbs you grab off the shelf. These numbers are calculated based strictly on the ingredients listed in the recipe above, using standard proportions, so take them as a fantastic starting point rather than gospel.
If you’re tracking macros or keeping an eye on things like sodium (and trust me, pickles are salty!), this gives you a good benchmark for what you are consuming. It’s still way better than a deep-fried snack, but the salt content is something to be aware of!
For reference, here is the estimate based on four servings (about 10 chips per person):
- Serving Size: 10 chips
- Calories: 150
- Sugar: 2g
- Sodium: 650mg
- Fat: 6g
- Saturated Fat: 1g
- Unsaturated Fat: 5g
- Trans Fat: 0g
- Carbohydrates: 20g
- Fiber: 1g
- Protein: 5g
- Cholesterol: 55mg
I always find it helpful to compare this to the store-bought, deep-fried versions—you’ll see a real difference in the fat department! If you are looking for other fantastic, lighter snack ideas you can make in that air fryer, you absolutely have to check out the recipe for low-carb veggie frittata bites; they’re dense, flavorful, and super easy!
PrintAir Fryer Crispy Garlic Dill Pickles
Make crunchy, flavorful garlic dill pickles using your air fryer. This recipe delivers a satisfying crisp without deep frying.
- Prep Time: 15 min
- Cook Time: 10 min
- Total Time: 25 min
- Yield: 4 servings
- Category: Appetizer
- Method: Air Frying
- Cuisine: American
- Diet: Vegetarian
Ingredients
- 1 jar (16 ounces) dill pickle chips, drained well
- 1 large egg
- 1/4 cup all-purpose flour
- 1/2 cup panko breadcrumbs
- 1 tablespoon dried dill weed
- 1 teaspoon garlic powder
- 1/2 teaspoon onion powder
- 1/4 teaspoon black pepper
- Cooking spray (oil-based)
Instructions
- Drain the pickle chips thoroughly and pat them completely dry using paper towels. This step is key for crispiness.
- Set up a dredging station: Place flour in one shallow bowl, whisk the egg in a second bowl, and mix the panko breadcrumbs, dried dill, garlic powder, onion powder, and pepper in a third bowl.
- Dredge each pickle chip first in the flour, shaking off excess.
- Dip the floured chip into the egg mixture, letting excess drip off.
- Coat the chip completely in the seasoned panko breadcrumbs, pressing gently to adhere.
- Preheat your air fryer to 380°F (195°C) for 5 minutes.
- Lightly spray the air fryer basket with cooking spray. Arrange the breaded pickles in a single layer, ensuring they do not touch.
- Spray the tops of the pickles lightly with cooking spray.
- Air fry for 8 to 10 minutes, flipping halfway through, until the coating is golden brown and crisp.
- Serve immediately.
Notes
- For extra crispiness, chill the breaded pickles on a wire rack for 15 minutes before air frying.
- Do not overcrowd the air fryer basket; cook in batches if necessary to maintain crisp texture.
- Use pickle spears instead of chips if preferred, adjusting cook time slightly.
Nutrition
- Serving Size: 10 chips
- Calories: 150
- Sugar: 2
- Sodium: 650
- Fat: 6
- Saturated Fat: 1
- Unsaturated Fat: 5
- Trans Fat: 0
- Carbohydrates: 20
- Fiber: 1
- Protein: 5
- Cholesterol: 55