

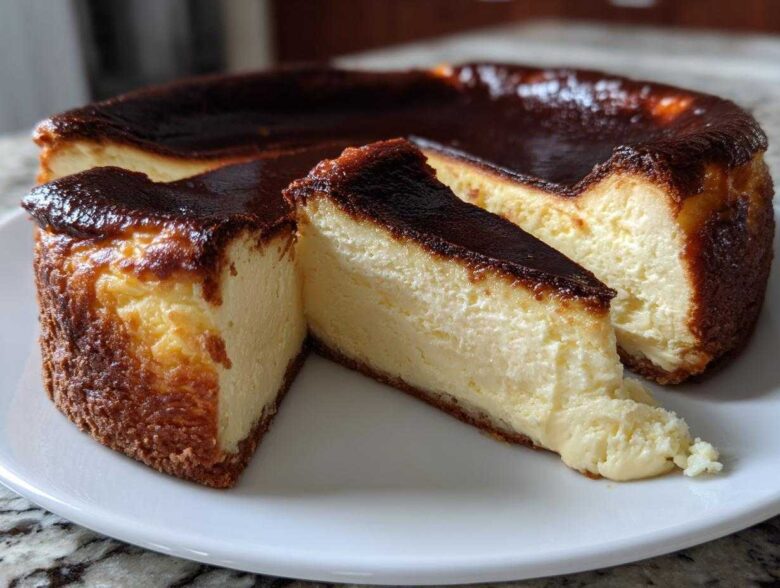
Okay, let’s talk about the dessert that has literally taken over every single feed online, right? I tried ignoring the craze for a while, but honestly, you just can’t resist that gorgeous, deep, almost-black top. I finally dove in and I have cracked the code for the absolute *best* basque burnt cheesecake you will ever make at home. Forget everything you think you know about fussy baking; this Spanish gem is pure magic. It’s famous for that unbelievable contrast: a deeply caramelized, almost bitter top hiding the most luscious, creamy center imaginable. Best of all? I’ve tested this dozens of times, and you absolutely do not need a finicky water bath. Trust me, this recipe delivers on the hype while keeping things blessedly simple.
Why This is the Best Basque Burnt Cheesecake Recipe
When you’re looking for the ultimate basque burnt cheesecake, you need drama, but you don’t need complication. This recipe nails the viral look without all the stress. Seriously, it’s foolproof!
- No water bath—ever! We let the high heat do all the heavy lifting.
- It uses minimal ingredients, mostly just dairy, sugar, and eggs.
- The final texture is outrageously light—it’s practically mousse!
Achieving the Signature Creamy Cheesecake Center
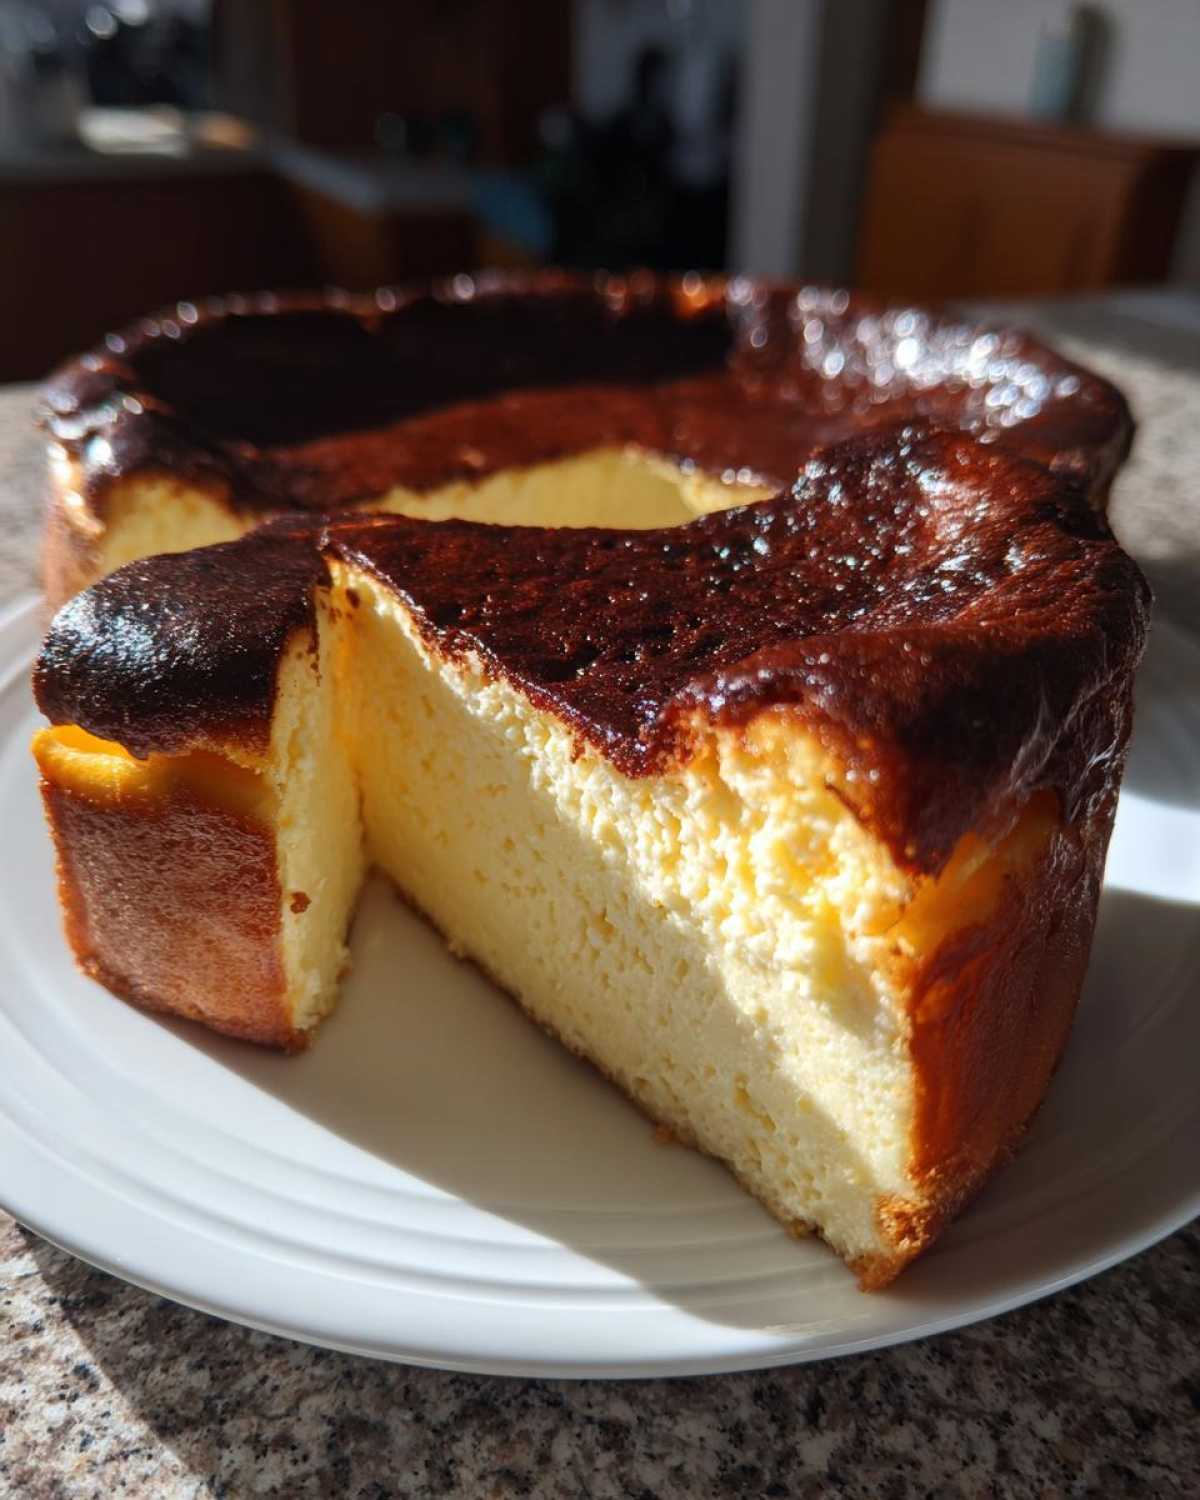
The reason this creamy cheesecake is so beloved is all about temperature control, even though it seems scary. We blast it hot and fast! That intense heat sets the outside quickly while keeping the middle barely set—like thick custard. You absolutely cannot overbake it if you want that non-negotiable, dreamy, velvety center. It’s about trusting what you see, not just the clock.
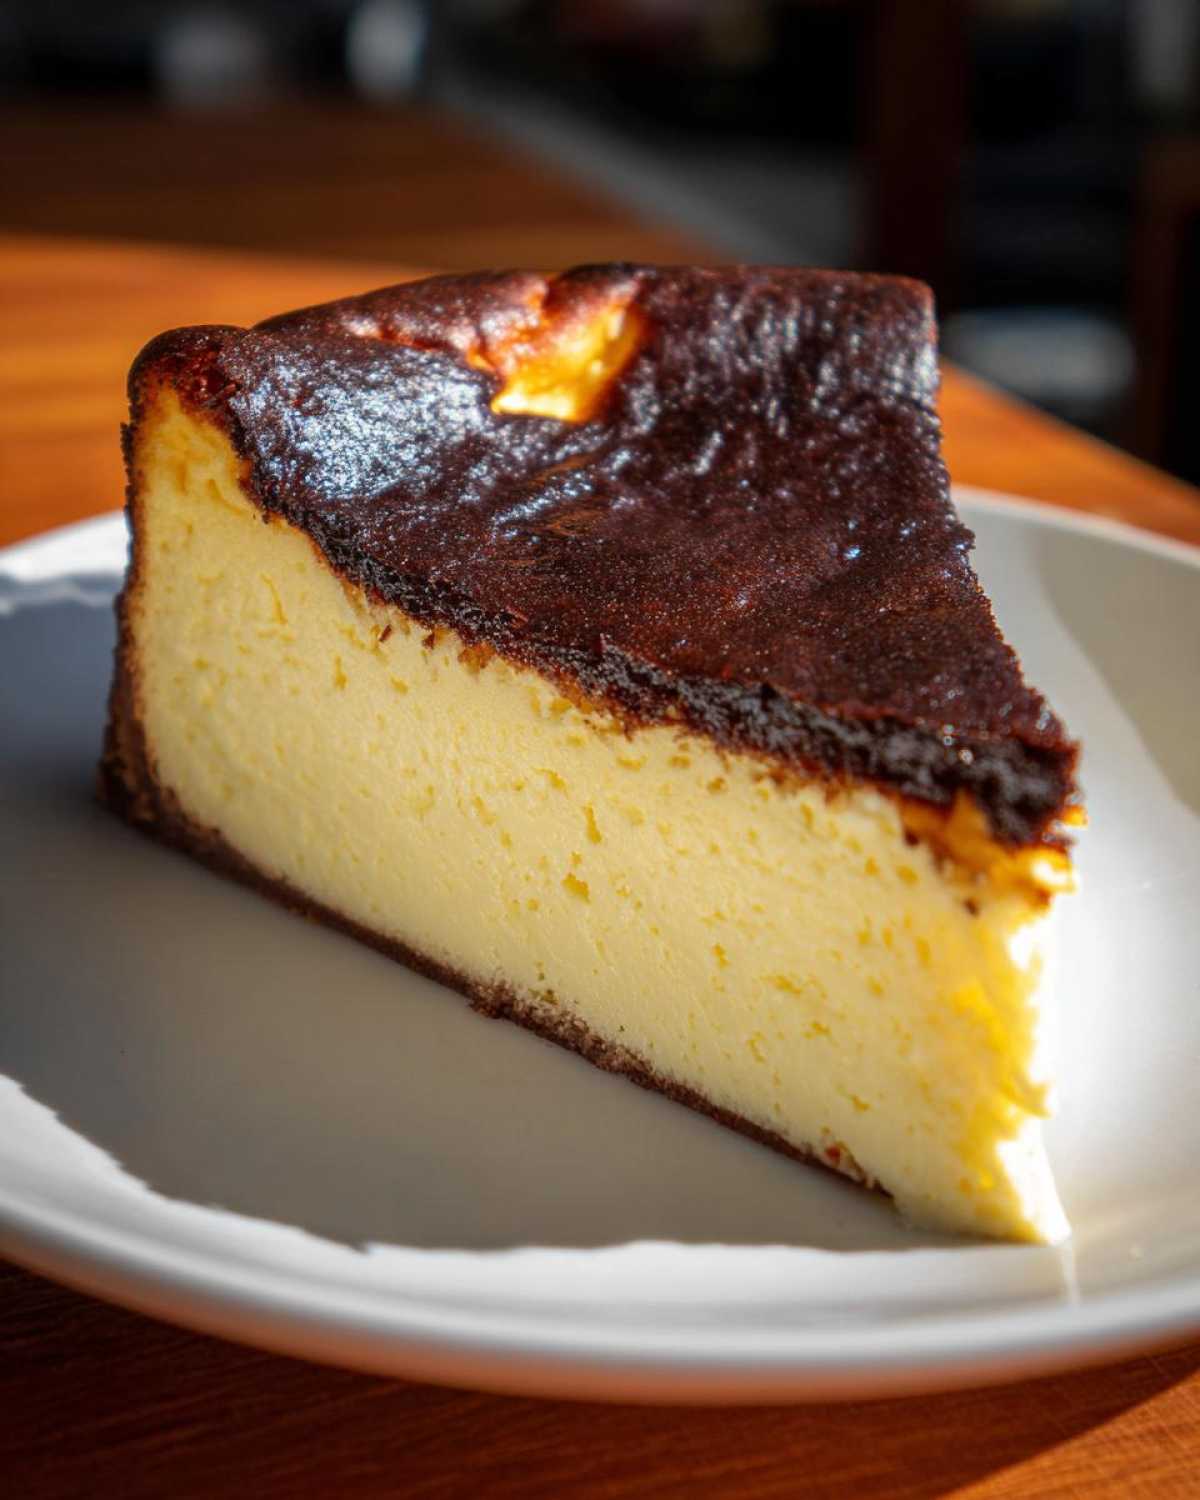
The Simple Secret to a Perfect Caramelized Cheesecake Top
Everyone worries about the ‘burnt’ part, thinking they need to manipulate the oven. Nope! That gorgeous, almost black caramelized cheesecake top is totally natural. Crank that oven up high. The high temperature caramelizes the sugar on the surface rapidly, creating that signature bittersweet crust. It’s so simple; high heat equals perfection here. No mess, no fuss!
Essential Ingredients for Your Basque Burnt Cheesecake
Honestly, when I first pulled up the ingredients list for this Basque Cheesecake Recipe, I almost laughed. That’s how few things you need! We are keeping this super straightforward because specialty ingredients do not belong here. We’re relying on high-quality staples to do all the heavy lifting for this burnt cheesecake treat.
Here is exactly what you need for a 9-inch pan:
- 900 grams full-fat cream cheese, you must let this get soft!
- 300 grams granulated sugar
- 6 large eggs—yes, six! They provide structure without flour.
- 600 ml heavy cream (the heavy stuff, around 35% fat content)
- 1 teaspoon vanilla extract
- 1/2 teaspoon salt
- 30 grams all-purpose flour (just a little bit for insurance)
Ingredient Notes and Substitutions
Pay attention to the dairy here; it makes or breaks the texture. The cream cheese has to be truly full-fat and softened to room temperature—if it’s cold, you’ll get lumps, and lumps do not equal that smooth, rich cream cheese dessert we’re aiming for. Seriously, leave it out for at least two hours!
Also, make sure you use heavy cream, not half-and-half or light cream, because we need that high fat content to achieve the incredible richness and help stabilize the batter when we bake it hot. That little bit of flour we add? It’s just enough to stop the wobbling from becoming total soupiness in the center. Don’t try to sneak in low-fat versions—this cake deserves the real deal!
Step-by-Step Instructions for Easy Basque Cheesecake
Okay, let’s get this thing baking! This part is actually so straightforward, which is why I keep coming back to this basque burnt cheesecake recipe. We’re not doing any fancy layering or struggling with soggy bottoms here. Grab your air fryer baked potato time, because the oven is going to be running hot and fast for the crust, but the prep is quick!
Preparing the Pan and Oven for Perfect Baking
First things first: Oven temperature check! You need it screaming hot—we’re talking 200 degrees Celsius, which is 400 Fahrenheit. Now, the pan prep is the fun part. Grab a 9-inch springform pan and line it with two sheets of parchment paper. Don’t try to make it neat; intentionally crinkle and scrunch the paper so it bursts up over the sides. These messy edges are what create that gorgeous, rustic look that makes this an easy Basque Cheesecake.
Mixing the Batter: Avoiding Overmixing
Once your cheese is soft, we beat it until it’s smooth—seriously beautiful and creamy. Then, add your sugar, but stop mixing as soon as it disappears. When you add the eggs one by one, mix gently until they’re just incorporated. Remember, we want that gorgeous light structure for our final velvety center dessert. Finish by gently folding in the flour by hand with a spatula. That’s it! Don’t churn it like you’re making bread!
Baking Time and Checking for the Wobble
Pour that thin batter into your crinkly pan and slide it into that hot oven. You’re looking at 50 to 60 minutes. When it’s done, the edges will look set, and the top will be super dark brown—almost black, don’t panic here! The absolute most important test for a successful basque burnt cheesecake? Stick a toothpick near the edge, and the center should still have a significant, jiggly wobble. If it’s firm, you’ve gone too far!
Cooling and Chilling: The Final Steps for Your Crustless Cheesecake
This is where patience pays off, and I learned this the hard way! Remember how I said we want that wobble in the middle? Well, if you rush it straight into the fridge, it will get angry and crack on you. We have to coax this gorgeous, crustless cheesecake into setting slowly. First, pull it out of the oven and just let it sit on the counter for a good, solid three hours. It will deflate dramatically, don’t sweat it—that’s normal!
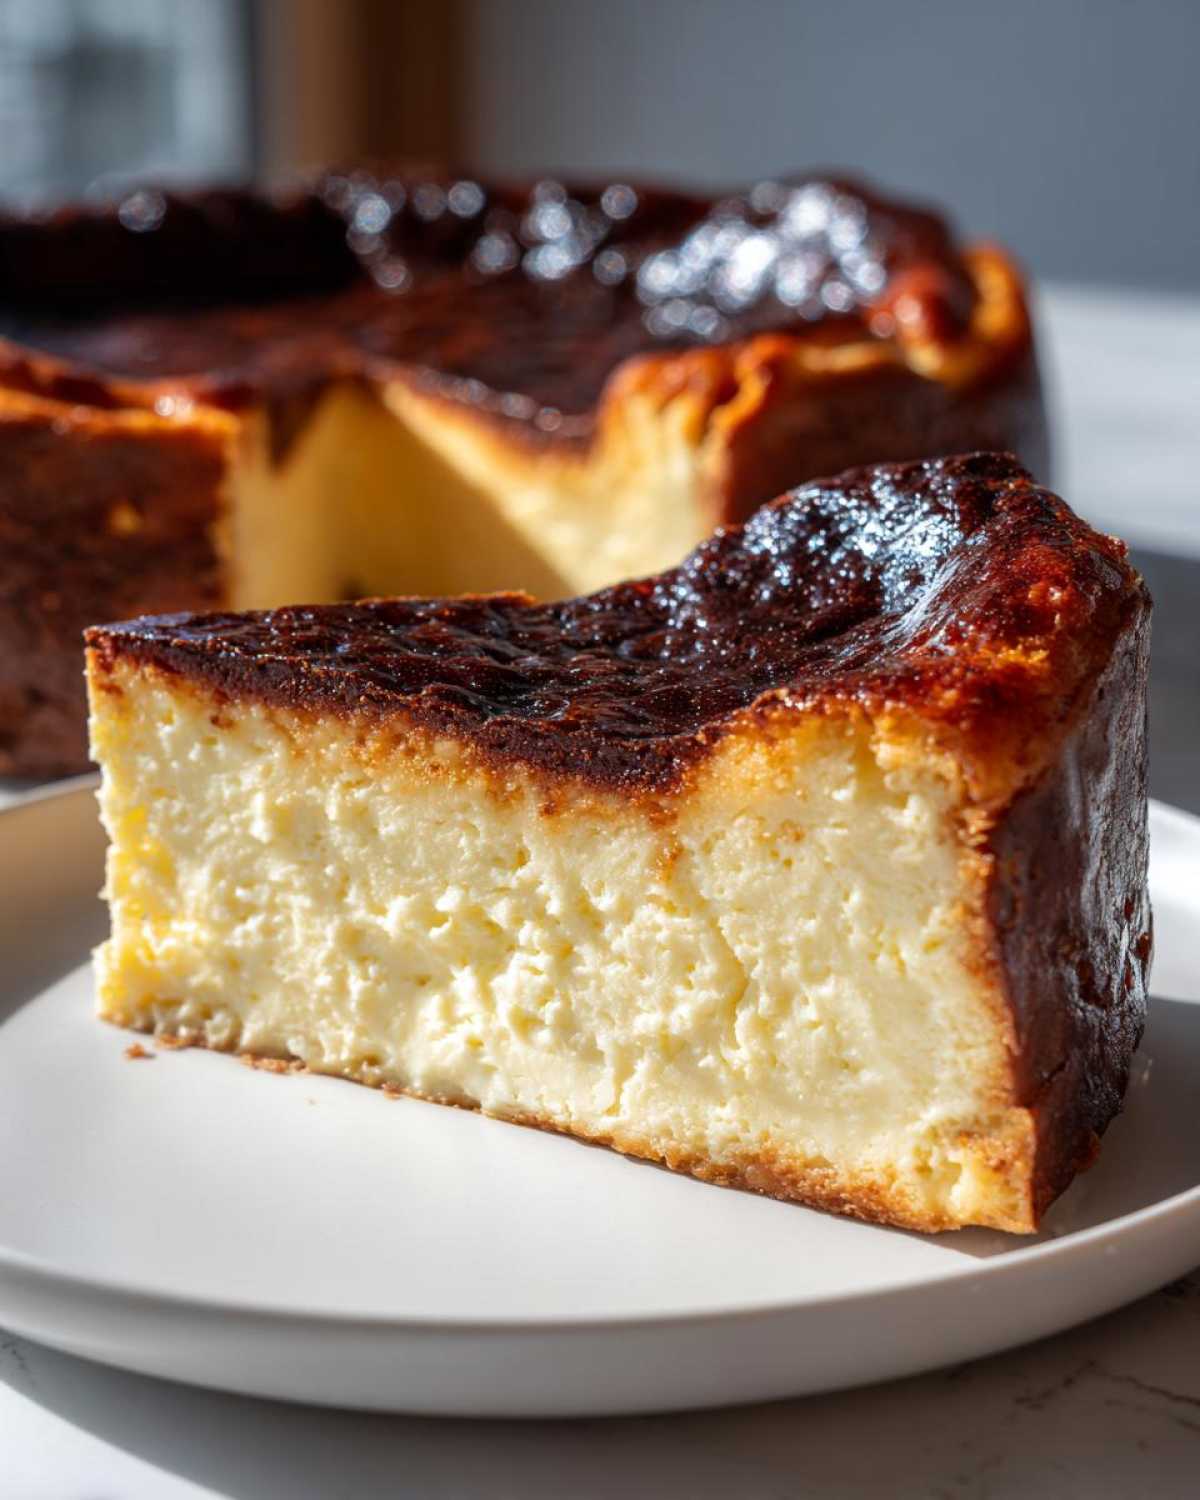
I remember the first time I made this Spanish Cheesecake; I was so excited by the dark top, I stuck it in the fridge after only an hour of cooling. Big mistake! The next morning, I had a beautiful perimeter but a slight hairline fracture right across the middle. So now, I always wait until it’s fully room temperature, then cover it loosely and let it chill for at least six hours, but honestly, overnight is best. That long, cold nap is what transforms that wobbly middle into the incredibly dense, velvety center dessert we are aiming for. You can find some other great cooking adventures over at my other recipe posts.
Tips for Success with Your Burnt Cheesecake
Even though this is the *easiest* recipe, a few little tricks can make sure you get that totally impressive result every single time you make this burnt cheesecake. The number one issue people run into happens during the bake, especially if their oven runs hot. If you notice the top is getting too dark too fast, don’t panic! Just drop the rack down one spot, or quickly lower the temperature by 25 degrees for the last 10 minutes of baking. Honestly, most home ovens are a little quirky, so watching it closely is key.
Another thing that really helps cement this as a homemade gourmet dessert is thinking outside the round pan. If you’re having a small gathering or just want to bake a smaller batch, you can totally use a loaf pan! Just take an 8×4 inch loaf pan and line it with parchment paper, letting it hang out over the edges like a sling. You’ll need to reduce the baking time by about 10 or 15 minutes, so start checking for that famous wobble a bit earlier. That little tip really comes in handy when you don’t need a giant decadent dessert sitting around all week. Speaking of shortcuts, have you checked out my recipe for crockpot steak bites yet? Totally different vibe, but just as easy!
Finally, remember this: ambient temperature matters. If your kitchen is super humid, the baking time might shift slightly. Just keep focusing on that pudding-like wobble in the center, and you can’t go wrong. That’s the secret handshake for a perfect Basque Burnt Cheesecake!
Serving Suggestions for This Decadent Dessert
This basque burnt cheesecake is so incredibly rich on its own that you really don’t need to fiddle with it too much, which is just another reason I love it. It stands up beautifully all by itself! When I serve this decadent dessert at parties, I usually keep the toppings super light so the caramelized flavor really shines through. Think fresh fruit—really bright, tart berries work wonders.
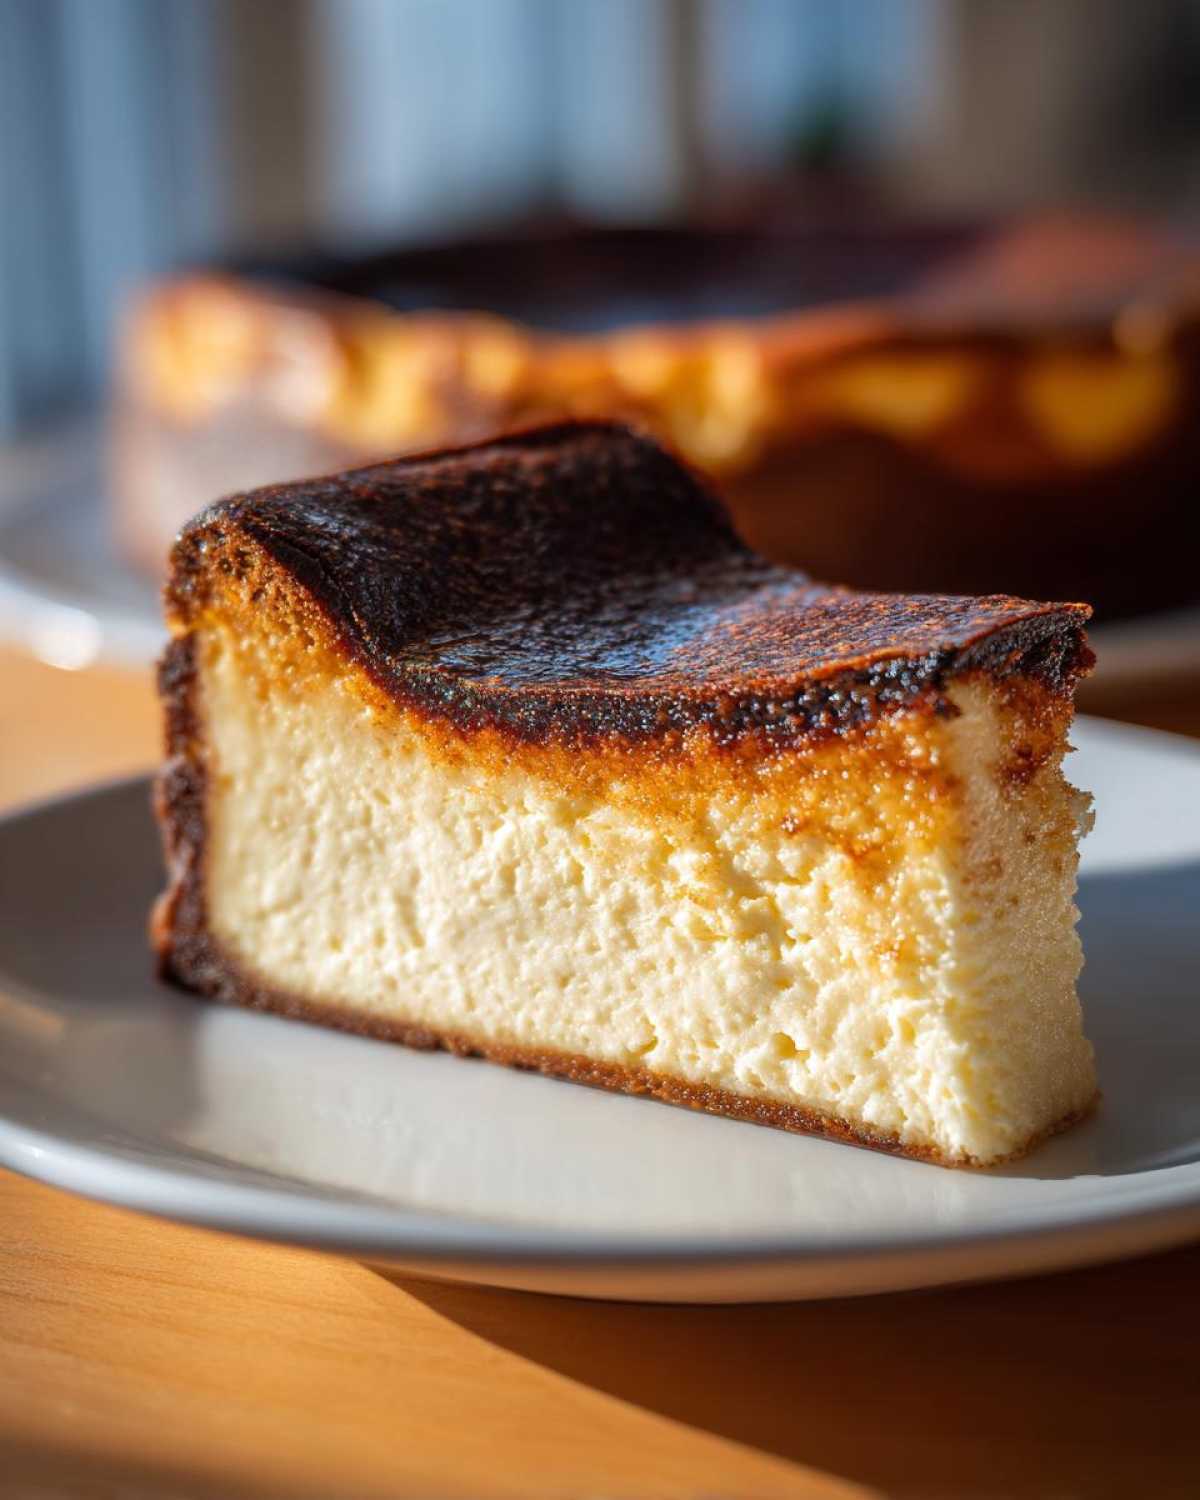
A handful of fresh raspberries or maybe some thinly sliced strawberries cut through that intense richness perfectly. If you must add something creamy, a very light drizzle of slightly thinned crème fraîche is divine. Seriously, try serving it with just a tiny dollop you prepare after checking out my crockpot chili recipe for inspiration on speed! It keeps the focus right where it should be: on that amazing, velvety texture.
Storage and Reheating Instructions for Your Basque Cheesecake Recipe
When you manage to have leftovers of this incredible Basque Cheesecake Recipe—which, let’s be honest, is tough—storage is simple but important. You must keep it covered tightly in the refrigerator. Because it’s so high in fat and moisture, it keeps beautifully, usually for about four or five days. I always look forward to eating the next day’s slice because it firms up just a tiny bit more when cold!
Now here’s the good news about reheating: you don’t! This Spanish Cheesecake really isn’t designed to be served warm. It’s at its absolute peak when it’s deeply chilled, letting that texture firm up into that dense, almost fudgy slice. If you take it straight from the fridge, just let it sit on the counter for about 20 minutes before slicing. It warms up slightly, letting that velvety center soften just enough. For more baking tips, you should peek at what I do with my vanilla cupcakes!
Frequently Asked Questions About Basque Burnt Cheesecake
I get so many messages about this spectacular dessert, and honestly, I love hearing how everyone’s basque burnt cheesecake turned out! There are always a few questions that keep popping up, so let’s tackle the big ones right here. I want to save you any last-minute panics!
Can I use a different size pan for this Basque Burnt Cheesecake?
That’s a great question for anyone scaling up or downsizing! If you decide to try this in a smaller springform, say 7-inch, you absolutely must increase your baking time because the batter is deeper. Like I mentioned in the tips section, if you switch to a loaf pan, you’ll probably shave about 10 to 15 minutes off the baking time. Always watch for that wobble, not just the clock! You can see how I handle pan sizing when tackling my blueberry banana bread recipes, where adjustments are key.
Why is my cheesecake center still liquid after baking?
This is my favorite question because the answer means you did it right! If the center is still liquid, it means you achieved the perfect texture for a rich cream cheese dessert. Remember, we are not baking this until it’s firm in the middle; that’s the secret to the creamy factor. That wobble you see in the oven is critical! It will look like thick pudding, but trust me, the long chill time in the fridge is what sets the final structure. If you chill it overnight, that liquid center transforms into utter velvet!
Share Your Homemade Gourmet Dessert Experience
Now that you’ve made this show-stopping, easy Spanish Cheesecake, I absolutely need to hear about it! Seriously, the best part of sharing these treasured recipes with you all is seeing your creations popping up online. Did your edges get perfectly crinkly? Did you manage to resist cutting into it for the full six hours? I hope so!
When you post photos of your finished homemade gourmet dessert, please tag me! I love nothing more than seeing your beautiful, dark-topped cheesecake babies on the counter. And if you found this recipe helpful, please take a quick second to rate it below. Your feedback helps other home bakers feel brave enough to try this seemingly intimidating—but secretly super easy—dessert! It makes my day to know I’ve helped you create something unbelievably decadent. If you’re looking for another easy baking win, you should definitely check out my notes on whipping up some soft whole wheat bread next!
PrintThe Easiest Creamy Basque Burnt Cheesecake Recipe (No Water Bath)
Make a rich, creamy Basque Burnt Cheesecake with a deeply caramelized top. This simple recipe requires few ingredients and no water bath for a velvety center.
- Prep Time: 15 min
- Cook Time: 60 min
- Total Time: 7 hours 15 min
- Yield: 10 servings
- Category: Dessert
- Method: Baking
- Cuisine: Spanish
- Diet: Vegetarian
Ingredients
- 900 grams full-fat cream cheese, softened
- 300 grams granulated sugar
- 6 large eggs
- 600 ml heavy cream (35% fat)
- 1 teaspoon vanilla extract
- 1/2 teaspoon salt
- 30 grams all-purpose flour
Instructions
- Preheat your oven to 200 degrees Celsius (400 degrees Fahrenheit). Line a 9-inch springform pan with two large sheets of parchment paper, allowing the paper to overhang significantly on all sides. Do not worry about neatness; the crinkled edges help create the signature look.
- In a large bowl, beat the softened cream cheese with an electric mixer until smooth. Scrape down the sides of the bowl.
- Add the sugar and beat until just combined. Do not overmix.
- Add the eggs one at a time, mixing briefly after each addition until incorporated.
- Slowly mix in the heavy cream, vanilla extract, and salt until the batter is uniform.
- Sift the flour over the batter and gently fold it in using a spatula until no streaks of flour remain. The batter will be thin.
- Pour the batter into the prepared pan.
- Bake for 50 to 60 minutes. The top should be very dark brown, almost black, and the edges should look set. The center should still wobble significantly, like thick pudding.
- Remove the cheesecake from the oven. It will deflate as it cools. Let it cool completely at room temperature for at least 3 hours.
- Chill the cheesecake in the refrigerator for at least 6 hours, preferably overnight, before serving.
Notes
- For a loaf pan variation, use an 8×4 inch loaf pan lined with parchment paper and reduce the baking time by approximately 10 to 15 minutes.
- The high heat creates the burnt top and the creamy, velvety center. Do not try to bake it until the center is firm.
- Use room temperature ingredients for the smoothest batter.
Nutrition
- Serving Size: 1 slice
- Calories: 450
- Sugar: 35
- Sodium: 250
- Fat: 35
- Saturated Fat: 22
- Unsaturated Fat: 10
- Trans Fat: 0.5
- Carbohydrates: 28
- Fiber: 0
- Protein: 8
- Cholesterol: 180