

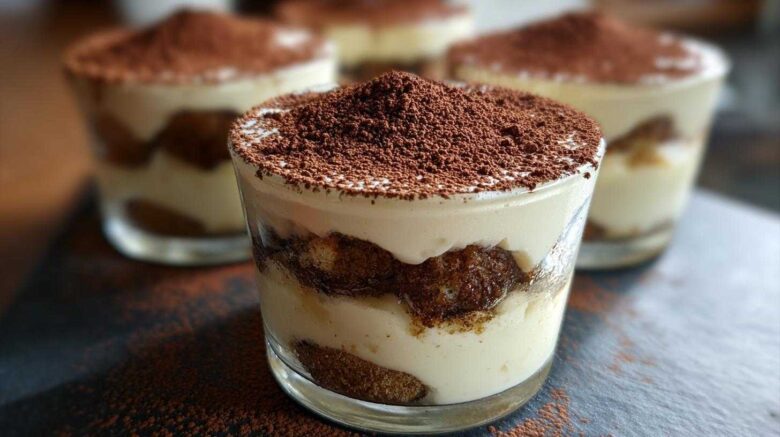
Sometimes, the simplest desserts tell the biggest stories. After years exploring the vibrant coffee culture of Ethiopia, I learned that a good cup of coffee is more than a drink. It’s a moment. It’s a shared experience. That’s exactly what these Cappuccino Tiramisu Cups capture. They’re a little taste of Italy, right in your own kitchen. No oven needed! I remember Alex and I trying to recreate a taste of home in Dar es Salaam. We longed for familiar flavors. These individual cups are perfect for those moments. They bring people together, just like a warm market chat. This no-bake treat is elegant yet easy. It’s a culinary hug.
The Allure of Cappuccino Tiramisu Cups
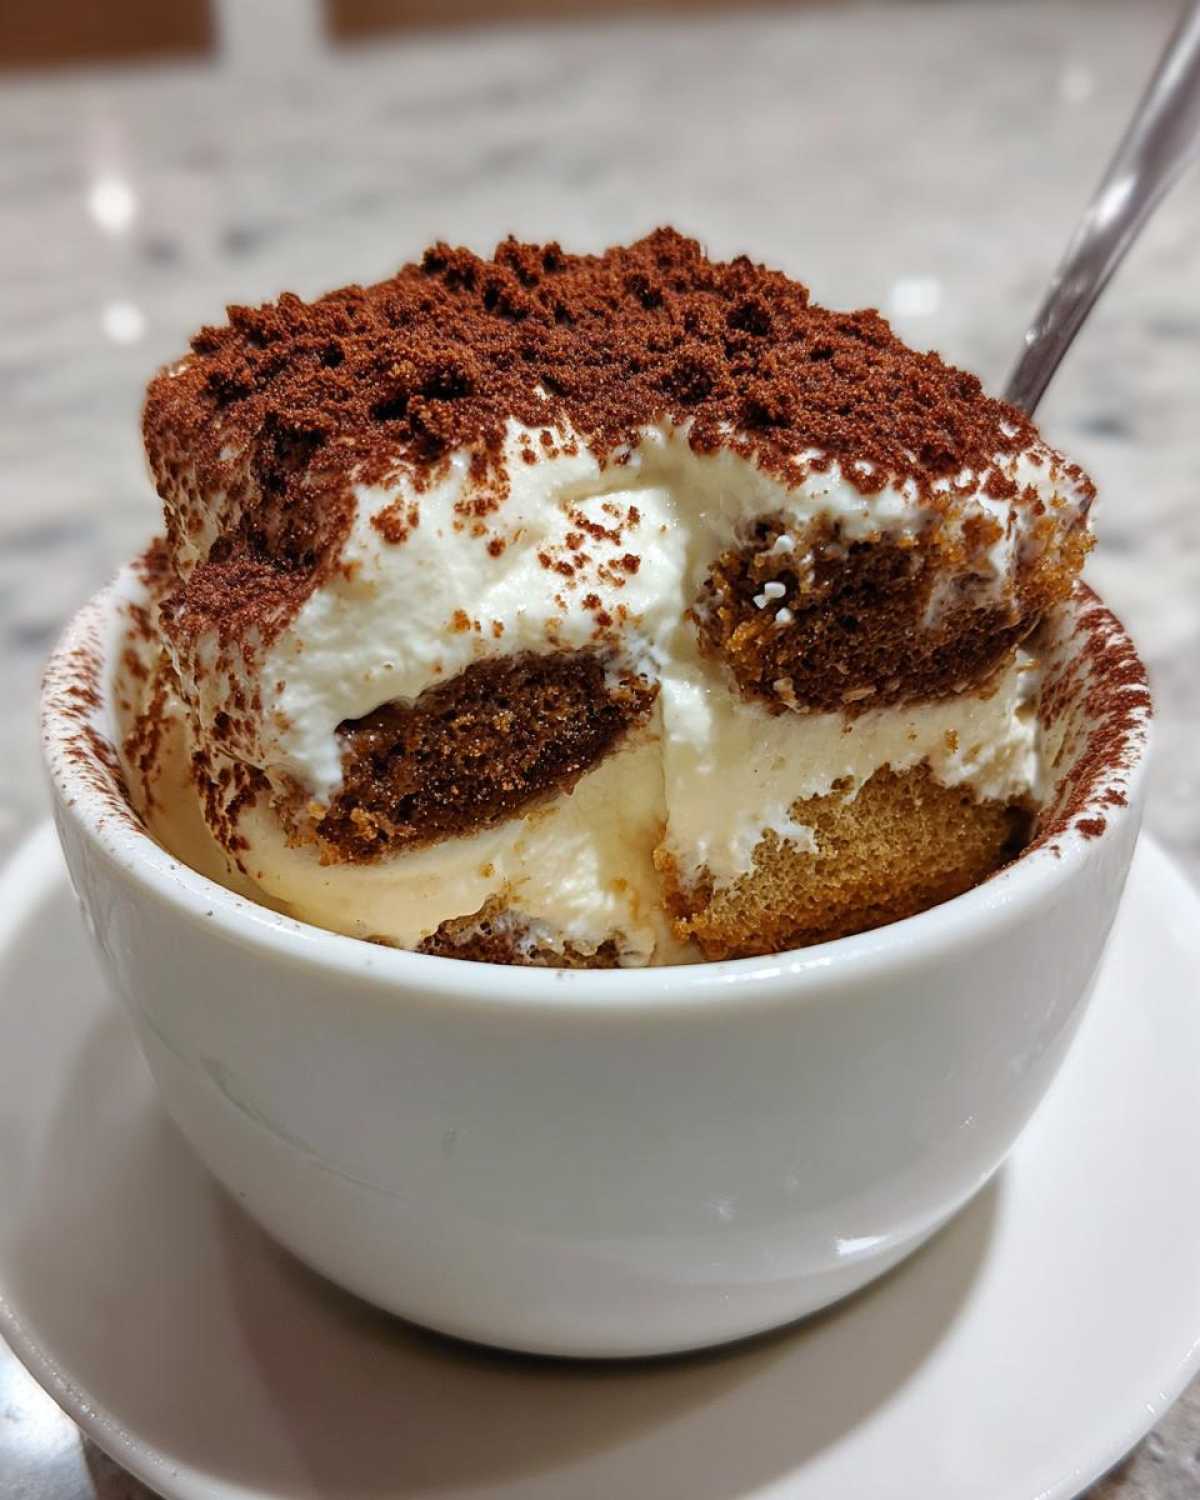
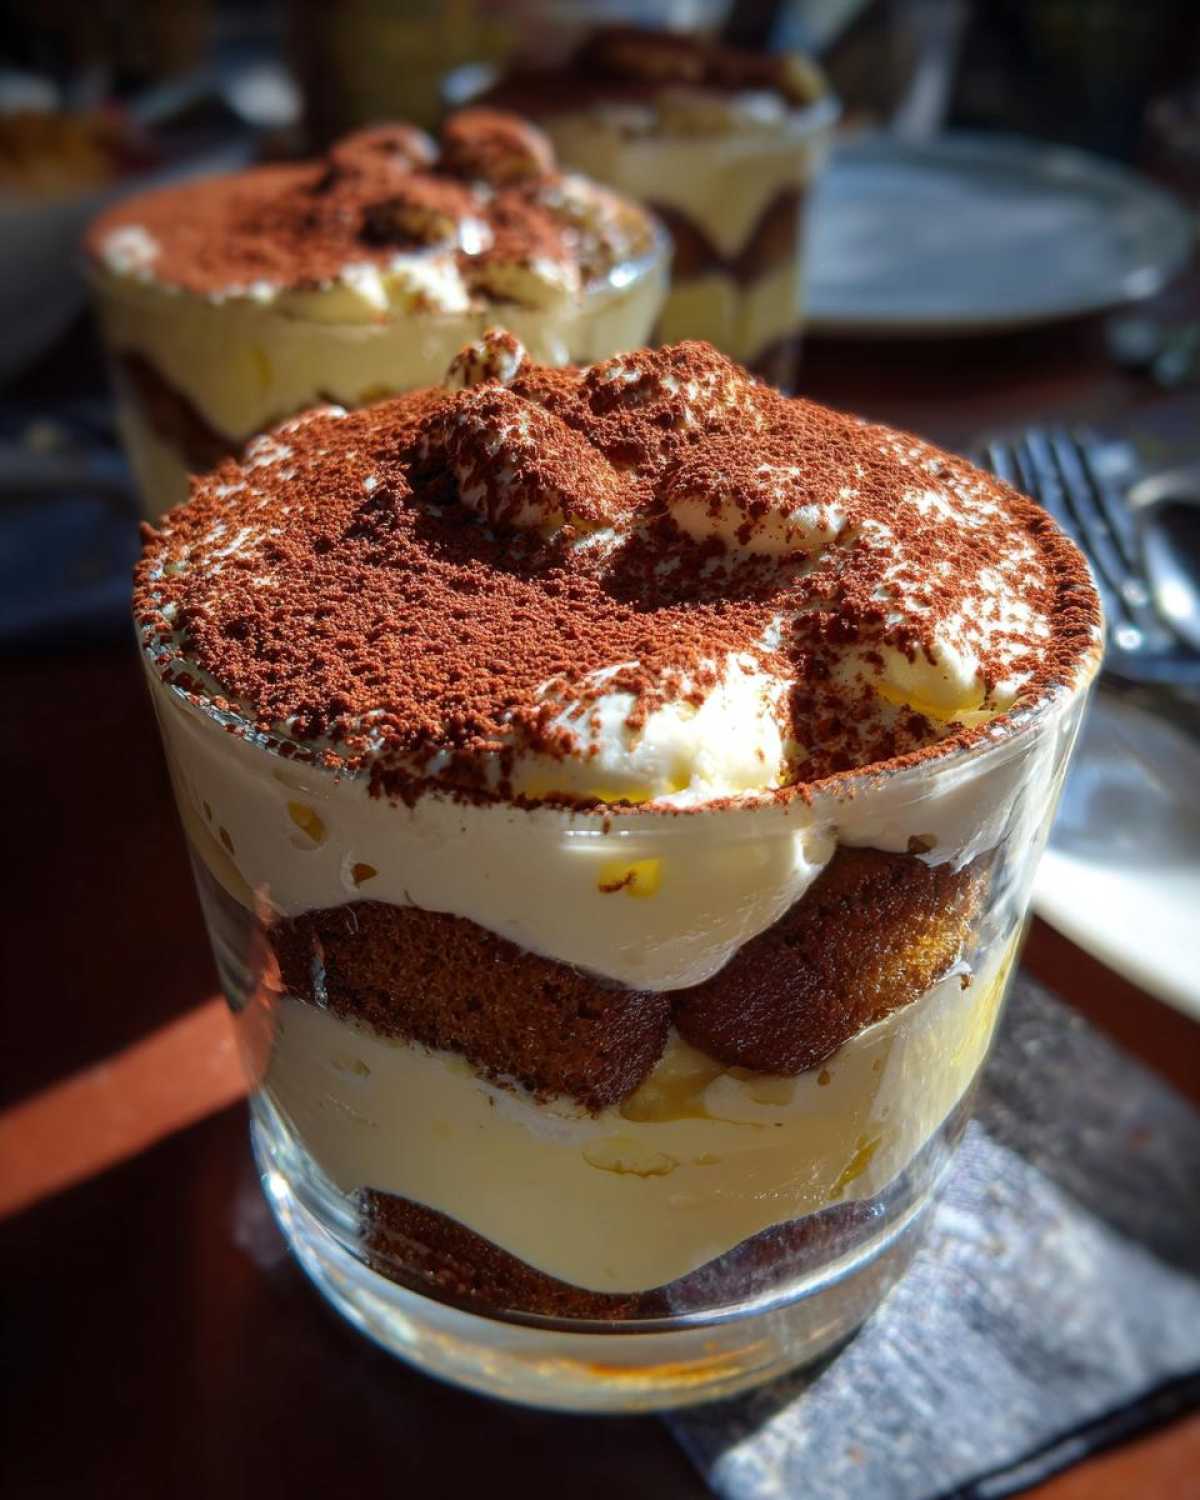
There’s something truly special about a dessert that feels both classic and incredibly easy. That’s where our Cappuccino Tiramisu Cups shine. They offer that iconic Italian tiramisu experience without any fuss. You get those lovely layers of coffee-kissed ladyfingers and rich, creamy mascarpone filling. It’s a taste of pure comfort. I love that these are served in individual cups.
Gathering Your Cappuccino Tiramisu Cups Ingredients
To create these delightful Cappuccino Tiramisu Cups, you’ll need a few key players. Think of it like gathering spices from a bustling market. Each ingredient brings its own unique flavor. Getting them ready is half the fun. It’s like preparing for a special meal, which, in a way, it is! We’re building a dessert that’s both elegant and incredibly satisfying. Let’s make sure we have everything we need for this no-bake Italian escape.
Essential Ingredients for Cappuccino Tiramisu Cups
- 1 cup heavy cream, chilled
- 8 ounces mascarpone cheese, softened to room temperature
- 1/2 cup powdered sugar, sifted
- 1 teaspoon pure vanilla extract
- 1/4 cup strong brewed espresso, cooled completely
- 12 crisp ladyfingers
- Unsweetened cocoa powder, for dusting
Ingredient Notes and Potential Substitutions
The quality of your ingredients really makes a difference here. Make sure your mascarpone cheese is nice and soft. This helps it blend smoothly with the sugar and vanilla. It stops those little lumps from forming. Also, don’t let your espresso be hot! It needs to be cool. Otherwise, it can make the ladyfingers too soggy. If you can’t find ladyfingers, crisp shortbread cookies can work in a pinch. They offer a nice crunch. You could also use a strong coffee instead of espresso. Just brew it extra strong! For more information on ingredient sourcing and quality, you might find our about us page helpful.
Crafting Your Cappuccino Tiramisu Cups: Step-by-Step
Now for the fun part! Putting together these Cappuccino Tiramisu Cups is like painting a delicious picture. It’s a process that’s both rewarding and simple. I love how each step builds on the last. It creates something truly special. Remember our days in small kitchens, making do with what we had? This recipe is perfect for that spirit. It’s about creating magic, one layer at a time.
Preparing the Creamy Mascarpone Filling
First, let’s make that dreamy mascarpone filling. In a medium bowl, whip the heavy cream. You want stiff peaks. This means when you lift the beater, the cream holds its shape. It shouldn’t droop. In another bowl, beat the softened mascarpone cheese. Add the powdered sugar and vanilla extract. Beat until it’s super smooth and creamy. It should look like velvet. Now, gently fold the whipped cream into the mascarpone mixture. Do this carefully. You want to keep that airy texture. Mix until it’s all combined. Don’t overmix it!
Assembling the Cappuccino Tiramisu Cups
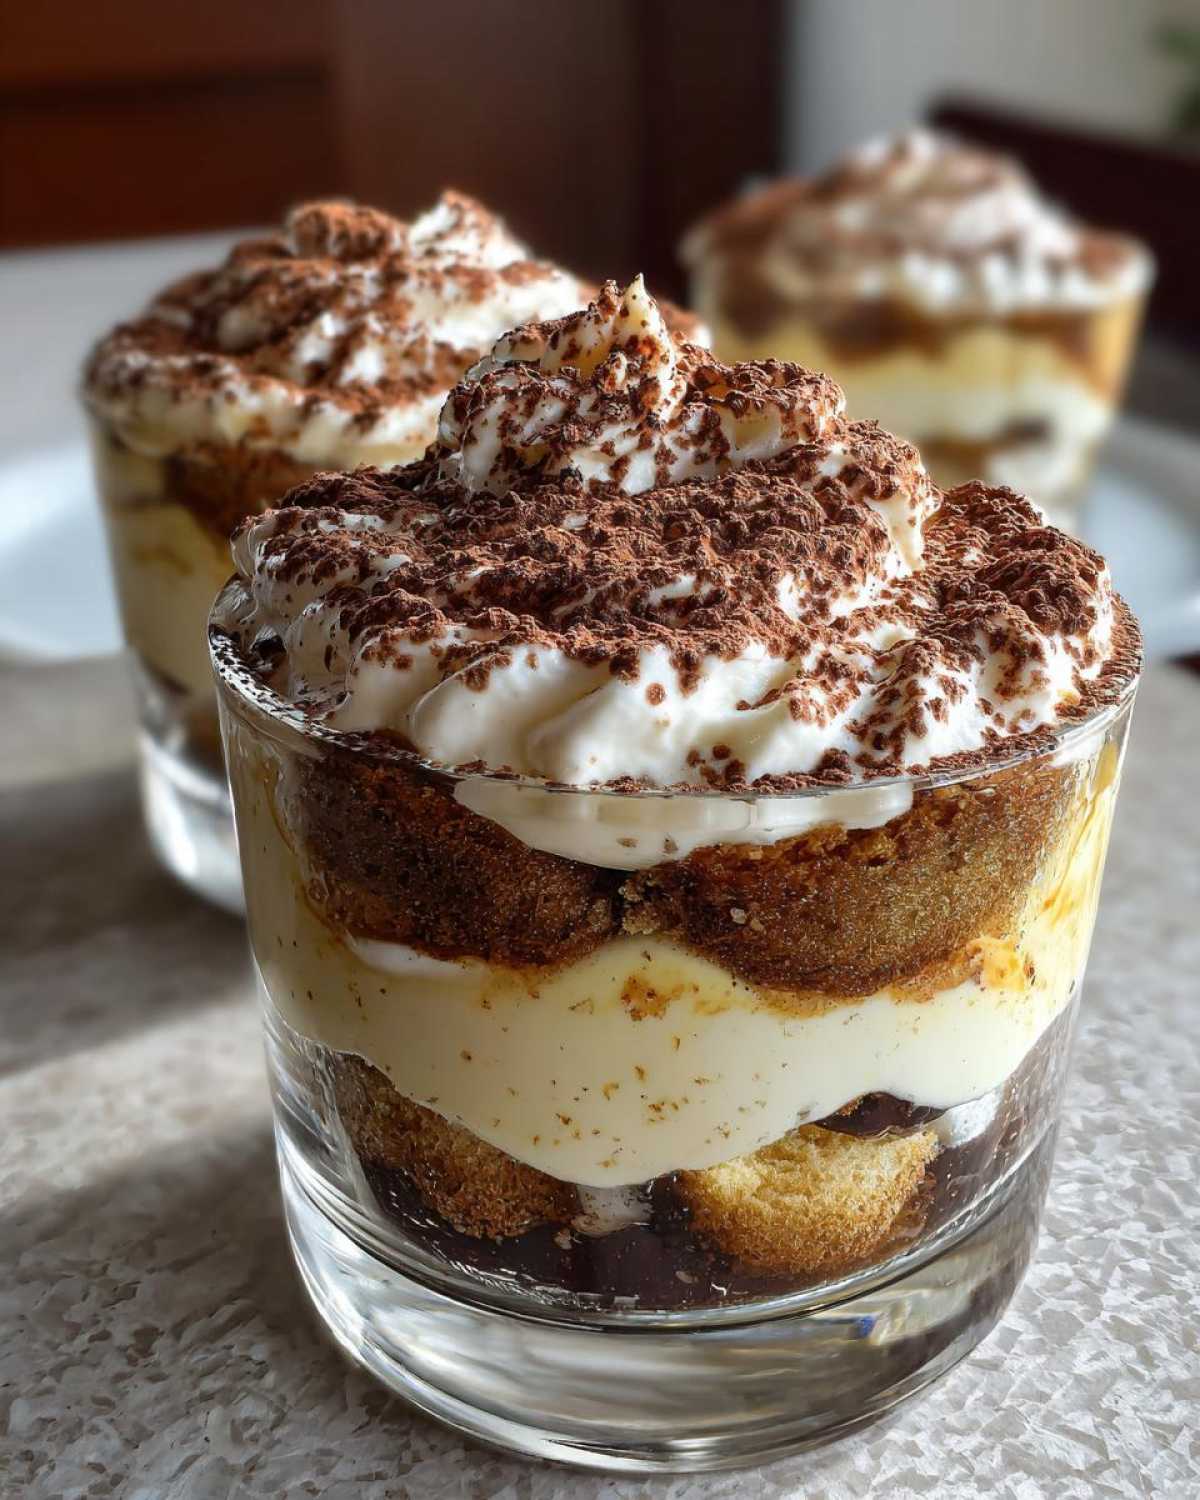
Time to build our cups. Grab your cooled espresso. Quickly dip each ladyfinger into the espresso. Just a quick dunk. You want them moist, not swimming. Soggy ladyfingers will ruin the texture. They’ll turn to mush. Arrange a layer of these coffee-soaked ladyfingers at the bottom of your dessert cups. Next, spoon a generous layer of the mascarpone cream over the ladyfingers. Repeat the layers. Another layer of ladyfingers. Then, more creamy goodness. Finish with a final layer of cream. Make it look pretty on top.
Chilling and Finishing Your Cappuccino Tiramisu Cups
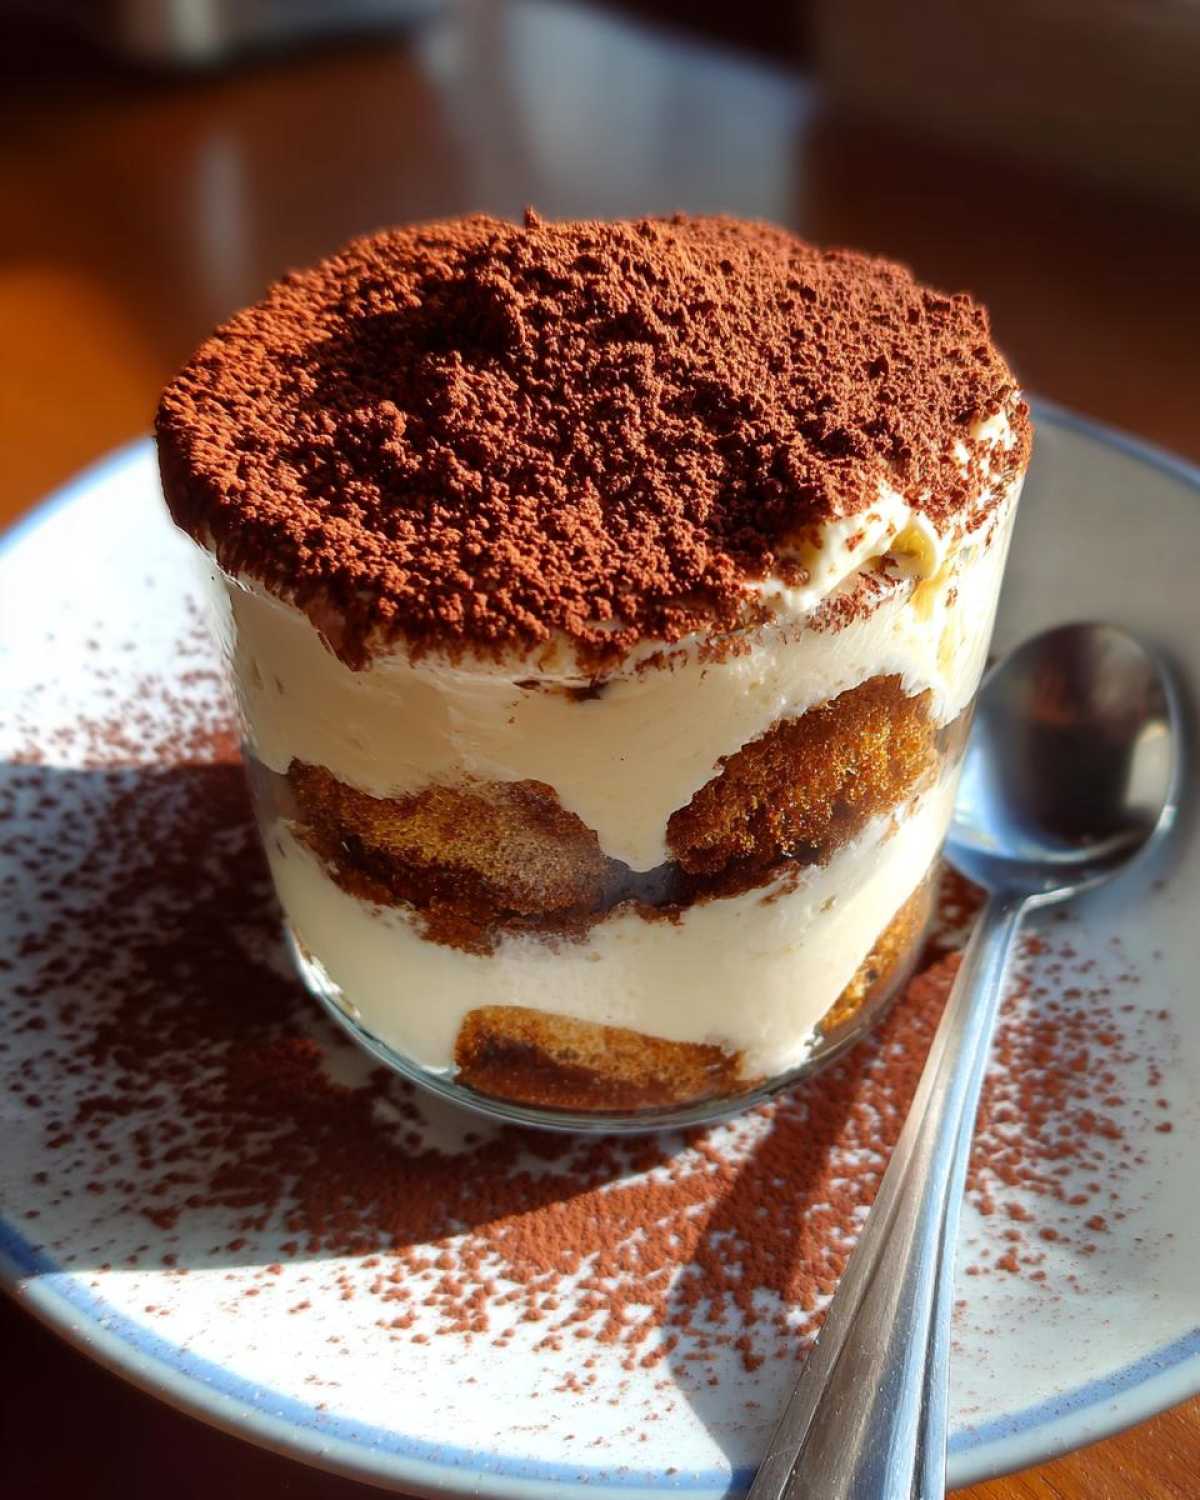
These cups need a little time to chill. Cover them tightly. Pop them in the refrigerator. Let them chill for at least 2 hours. This lets all those flavors meld together. It also helps the dessert set nicely. It firms up the cream. Before serving, the final touch awaits. Dust the tops generously with cocoa powder. It looks so elegant. It adds a lovely bitter contrast. It’s the perfect finishing flourish for your Cappuccino Tiramisu Cups!
Tips for Perfect Cappuccino Tiramisu Cups Every Time
Creating these delightful Cappuccino Tiramisu Cups is a breeze, but a few tricks make them even better. Remember how I mentioned not over-soaking the ladyfingers? That’s crucial! A quick dip is all they need. Too much espresso, and they get mushy. We want a tender bite, not a soggy mess. Also, for that beautifully smooth mascarpone cream, ensure your mascarpone cheese is truly softened. It makes a world of difference. If your cream isn’t whipping up to stiff peaks, don’t panic. Make sure your bowl and whisk are clean and cold. A little patience goes a long way for perfect results. If you’re concerned about food safety and handling, our disclaimer might offer some general guidance.
Serving and Storing Your Cappuccino Tiramisu Cups
These beautiful Cappuccino Tiramisu Cups are best served chilled. The flavors really deepen after a few hours in the fridge. I love to serve them in their individual cups. It makes for such an elegant presentation. A final dusting of cocoa powder right before serving is key. It adds that touch of sophistication. If you happen to have any leftovers, which is rare in our house, they store wonderfully. Just cover the cups tightly with plastic wrap. Pop them back into the refrigerator. They’ll stay delicious for up to two days. We never need to reheat them, as they are a no-bake treat. Enjoy every spoonful!
Frequently Asked Questions About Cappuccino Tiramisu Cups
Got questions about our Cappuccino Tiramisu Cups? I totally get it! We’ve all been there, wondering about the little details. Let me share some insights based on our kitchen adventures.
Can I make Cappuccino Tiramisu Cups ahead of time?
Oh, absolutely! Making these no-bake tiramisu cups ahead is actually a great idea. I often prepare them the day before. This gives the flavors time to really meld together beautifully. They just get even better! Just keep them covered and chilled in the fridge.
What can I use instead of ladyfingers for this no-bake tiramisu?
If you can’t find traditional ladyfingers, don’t worry! I’ve had success using crisp shortbread cookies. They add a lovely buttery crunch. Savoiardi biscuits are also a perfect substitute. Just ensure they are crisp so they don’t get too soggy when dipped in the espresso.
How long do Cappuccino Tiramisu Cups last in the refrigerator?
These individual tiramisu cups are best enjoyed within 2-3 days. After that, the ladyfingers can start to get a bit too soft. Always keep them covered tightly with plastic wrap to maintain freshness and prevent them from absorbing other fridge odors. For more on data privacy, you can review our privacy policy.
Can I add alcohol to my Cappuccino Tiramisu Cups?
Yes, you can! For a more adult twist, a tablespoon or two of Marsala wine, dark rum, or coffee liqueur like Kahlúa can be added to the espresso. Just mix it in before dipping your ladyfingers. It adds a wonderful depth of flavor!
Nutritional Estimate for Cappuccino Tiramisu Cups
Let’s talk numbers for our delicious Cappuccino Tiramisu Cups. While exact figures can vary, here’s a general idea of what you’re getting per serving. Each cup typically contains around 350-400 calories. You can expect about 25-30g of fat and 25-30g of carbohydrates. Protein is usually in the 5-7g range. Remember, these are estimates! They depend on the specific brands and ingredients you use. It’s always good to keep that in mind! If you have further questions, feel free to contact us.
PrintMarvelous Cappuccino Tiramisu Cups

Enjoy these delightful no-bake Cappuccino Tiramisu Cups, perfect for a single serving of Italian dessert. Layers of espresso-soaked ladyfingers and creamy mascarpone filling are assembled in individual cups for a sophisticated treat.
- Prep Time: 20 minutes
- Cook Time: 0 minutes
- Total Time: 2 hours 20 minutes
- Yield: 4 servings
- Category: Dessert
- Method: No-Bake
- Cuisine: Italian
- Diet: Vegetarian
Ingredients
- 1 cup heavy cream
- 8 ounces mascarpone cheese, softened
- 1/2 cup powdered sugar
- 1 teaspoon vanilla extract
- 1/4 cup strong brewed espresso, cooled
- 12 ladyfingers
- Cocoa powder, for dusting
Instructions
- In a medium bowl, whip the heavy cream until stiff peaks form.
- In a separate bowl, beat the softened mascarpone cheese with the powdered sugar and vanilla extract until smooth and creamy.
- Gently fold the whipped cream into the mascarpone mixture until well combined.
- Quickly dip each ladyfinger into the cooled espresso, ensuring they are moistened but not soggy.
- Arrange a layer of espresso-soaked ladyfingers at the bottom of four dessert cups.
- Spoon a layer of the mascarpone cream mixture over the ladyfingers.
- Repeat the layers: ladyfingers, then cream.
- Finish with a final layer of cream.
- Cover the cups and refrigerate for at least 2 hours, or until the dessert is set.
- Before serving, dust the tops generously with cocoa powder.
Notes
- Ensure your mascarpone cheese is at room temperature for easier mixing.
- Do not over-soak the ladyfingers, or they will become mushy.
- For a stronger coffee flavor, you can add a teaspoon of espresso powder to the mascarpone cream.
Nutrition
- Serving Size: 1 cup
- Calories: Approximately 350-400
- Sugar: Approximately 20-25g
- Sodium: Approximately 50-70mg
- Fat: Approximately 25-30g
- Saturated Fat: Approximately 15-20g
- Unsaturated Fat: Approximately 10-15g
- Trans Fat: 0g
- Carbohydrates: Approximately 25-30g
- Fiber: Approximately 1-2g
- Protein: Approximately 5-7g
- Cholesterol: Approximately 70-90mg