

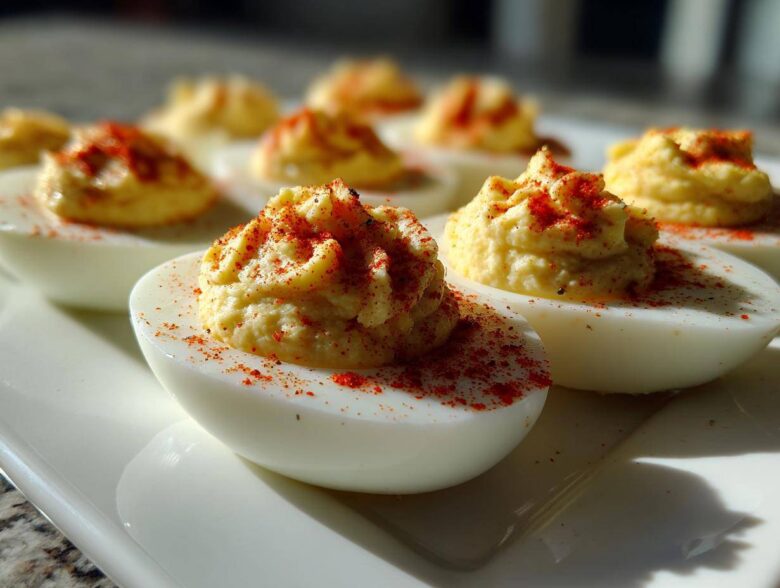
Oh my gosh, you know how much I love a good appetizer, right? If there’s a party, a cookout, or even just a Tuesday, I need something bite-sized and irresistible. Forget those complicated little hors d’oeuvres that need toothpicks and tweezers! For me, nothing beats the showstopper that is the humble egg, transformed. I’m talking about the ultimate **classic deviled eggs**. Forget the dry, crumbly fillings you’ve endured!
My goal here is simple: the creamiest, tangiest filling you’ve ever piped into an egg white, every single time, without fail. Honestly, it took me years to nail the hard-boil process so the shells practically jumped off the eggs, but once I mastered that, the rest was pure joy. This is the recipe that disappears first off the platter, trust me!
Why You Need This Recipe for Classic Deviled Eggs
If you’re hosting even five people, you need to bookmark this version right now. This isn’t some fussy, complicated platter; this is pure, satisfying comfort food that happens to look fancy. I promise you’ll want this recipe for:
- Foolproof creaminess—no grainy texture here!
- That perfect, nostalgic, tangy flavor profile.
- It’s genuinely easy, even for beginner cooks.
These are your new favorite **best deviled eggs appetizer** for any holiday or potluck gathering!
Ingredients for the Ultimate Creamy Deviled Eggs Filling
Okay, so for the filling, we keep things super straightforward because when you have good eggs, you don’t need to hide them under a ton of fancy stuff. The texture—that glorious, **creamy deviled eggs** texture—comes from using exactly the right ratios here. Don’t even think about grabbing those tiny eggs; we need size for stability!
You’ll start with a dozen good quality, large eggs, obviously. For the richness, we rely on a half cup of creamy mayonnaise—use the good stuff! The tanginess comes from exactly two tablespoons of bright yellow mustard, not that fancy Dijon; we’re keeping this traditional. Finally, we balance it all out with a tablespoon of sharp white vinegar, plus just a quarter teaspoon of salt and a pinch of pepper. Honestly, if the filling tastes amazing straight from the bowl, it’s going to be mind-blowing once it’s nestled in that white cup!
Perfect Hard-Boiled Eggs: The Secret to Easy-Peel Classic Deviled Eggs
You know what ruins a perfectly good batch of **classic deviled eggs** faster than anything? Trying to peel a rock-hard egg only to tear up half the white! No thank you! This is where we make sure we nail the foundation before we even think about the filling. My method guarantees smooth whites and zero yucky green-grey rings around that beautiful yellow center. It’s all about heat management, folks!
We start by bringing the water to a full, rolling boil right over high heat. Then, the crucial step: once it’s boiling, you immediately kill the heat, slap the lid on tight, and just let those eggs stand there for exactly 12 minutes. That standing time is magic; it cooks them through without overcooking. Then, and this is NON-NEGOTIABLE, you plunge them straight into an ice bath! That dramatic temperature drop is one of the best **perfect hard boiled eggs tips** there is; it makes the egg contract away from the inner membrane. Check out my tips on cooking eggs—the same principles apply!
How to Peel Eggs Without Frustration
Once they’re totally chilled, it’s time to get those shells off. Don’t bother trying to pick at one tiny corner. Instead, gently tap the entire egg all over on a hard surface until it looks like it’s covered in tiny cracks, like shattered glass. Then, start peeling under cool running water. Seriously!
That running water gets under the shell and lifts it right off the egg white cleanly. You’ll be amazed! Since you cooled them properly, the shell should just slide away, leaving you with perfect, pristine egg white halves ready for stuffing. If you skip the ice bath, trust me, you’ll be cursing my name!
Step-by-Step Instructions for Creamy Deviled Eggs Filling
Now that we have our perfect empty egg white boats ready, it’s time for the main event: making the filling! This is where we turn those dry yolks into something magnificent and spreadable. Remember, if you want those **creamy deviled eggs** everyone raves about, you have to mash those yolks until they are absolutely fine and dust-like before you add anything else creamy in there.
First things first, take those yolks you scooped out and mash them in your medium bowl with a fork. Don’t stop when they look chunky; keep going until there are no lumps at all! Once you have that fine powder, toss in the mayonnaise, the yellow mustard, the vinegar, salt, and pepper. Mix it all up until it’s just completely smooth and looks beautifully pale yellow. Then, you just spoon the mixture right back into those egg white halves. If you’re feeling fancy, grab a Ziploc bag or a pastry bag, snip the corner, and pipe it in! It looks so much better, and you can find my pointers for getting easy deviled eggs presentation tips elsewhere!
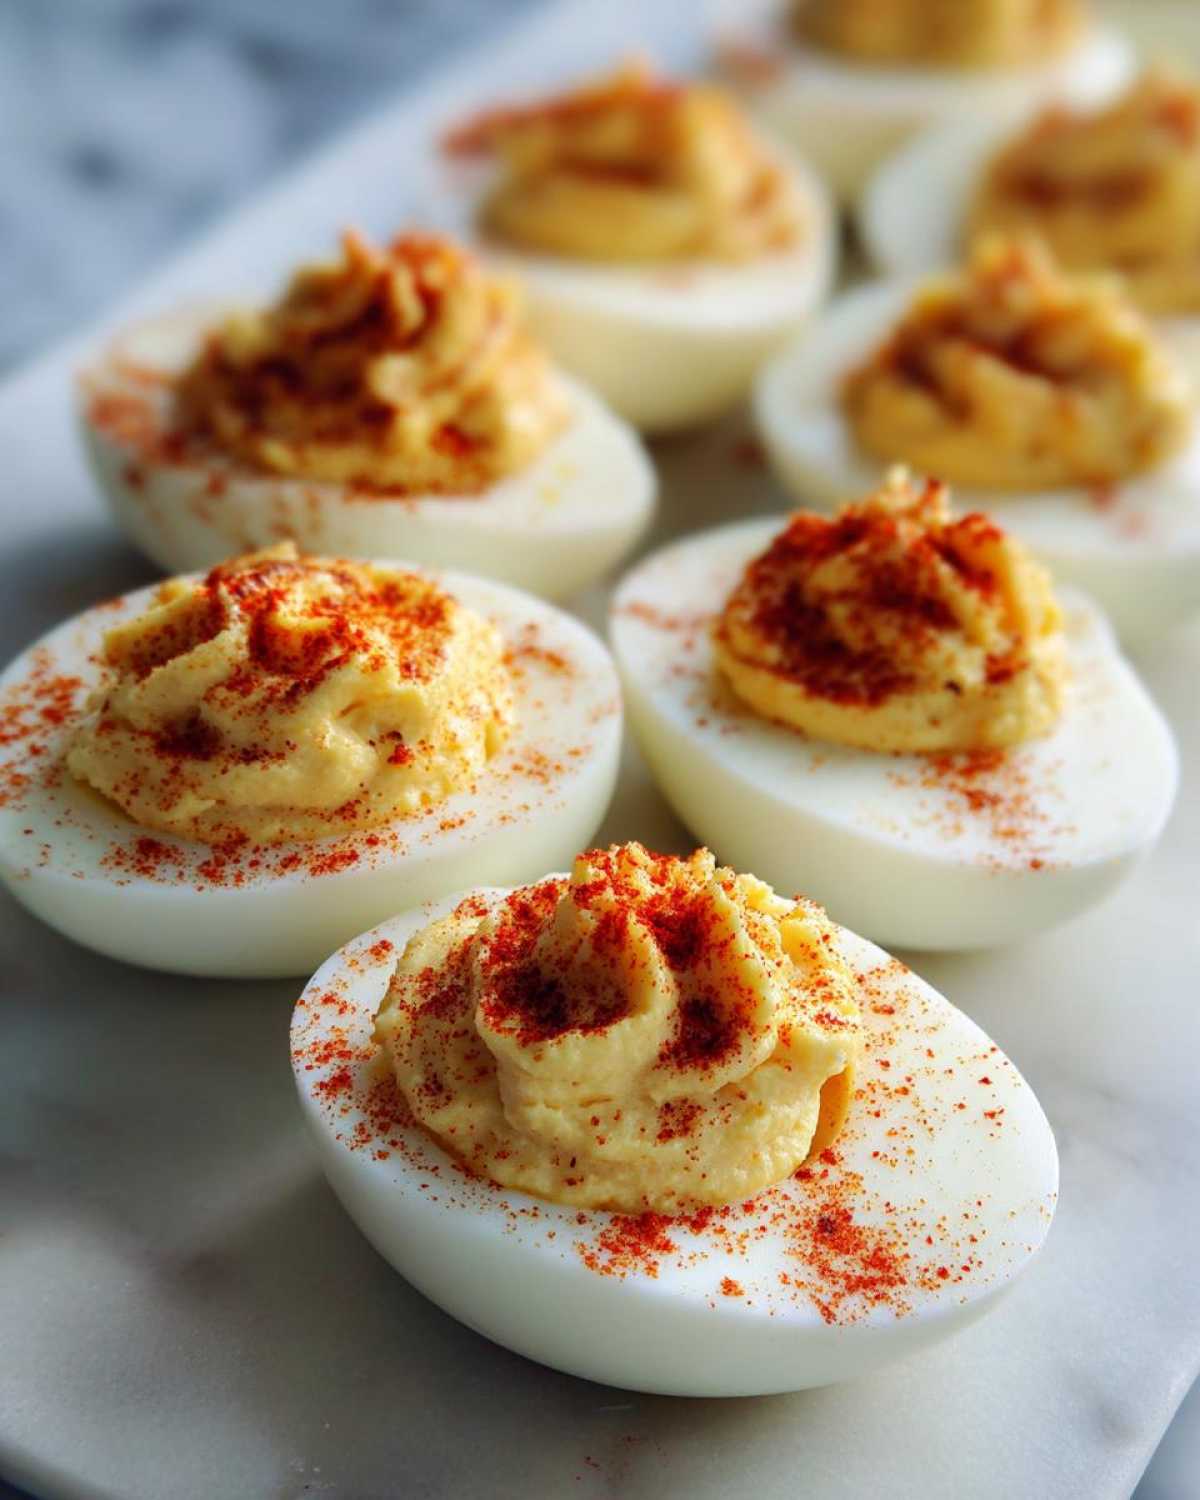
Achieving the Ideal Tangy Deviled Eggs Filling
Listen to me, this is the part that separates the okay deviled eggs from the *best* deviled eggs. Once everything is fully mixed, you absolutely must taste it. Don’t just assume your measurements are perfect for your palette! Grab a clean little spoon and take a tiny dip.
Does it need a little more zing? Add a tiny splash more vinegar. Need a little more pop? A tiny dash more salt or even a whisper more pepper. Since we designed this to be a **tangy deviled eggs filling**, you want that brightness. Feel free to adjust those last few seasonings until it sings to you. That small taste test is my promise to you that every single bite will be perfectly seasoned.
Tips for the Best Deviled Eggs Appetizer Presentation
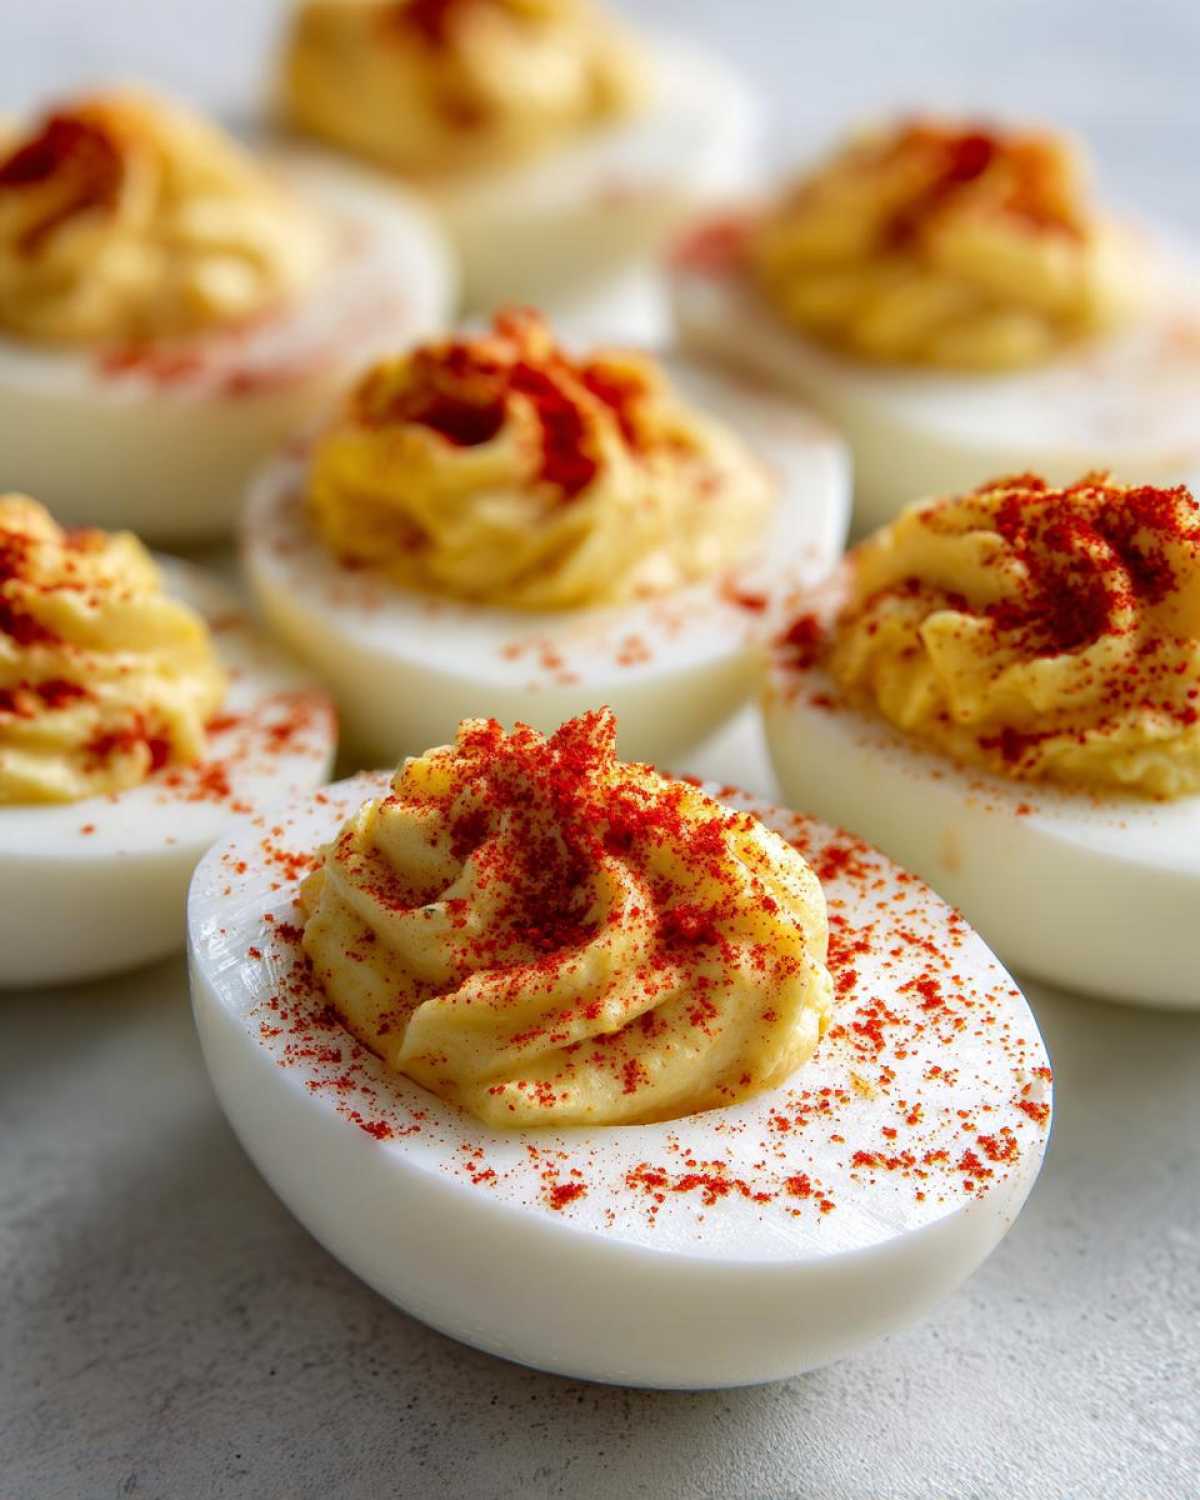
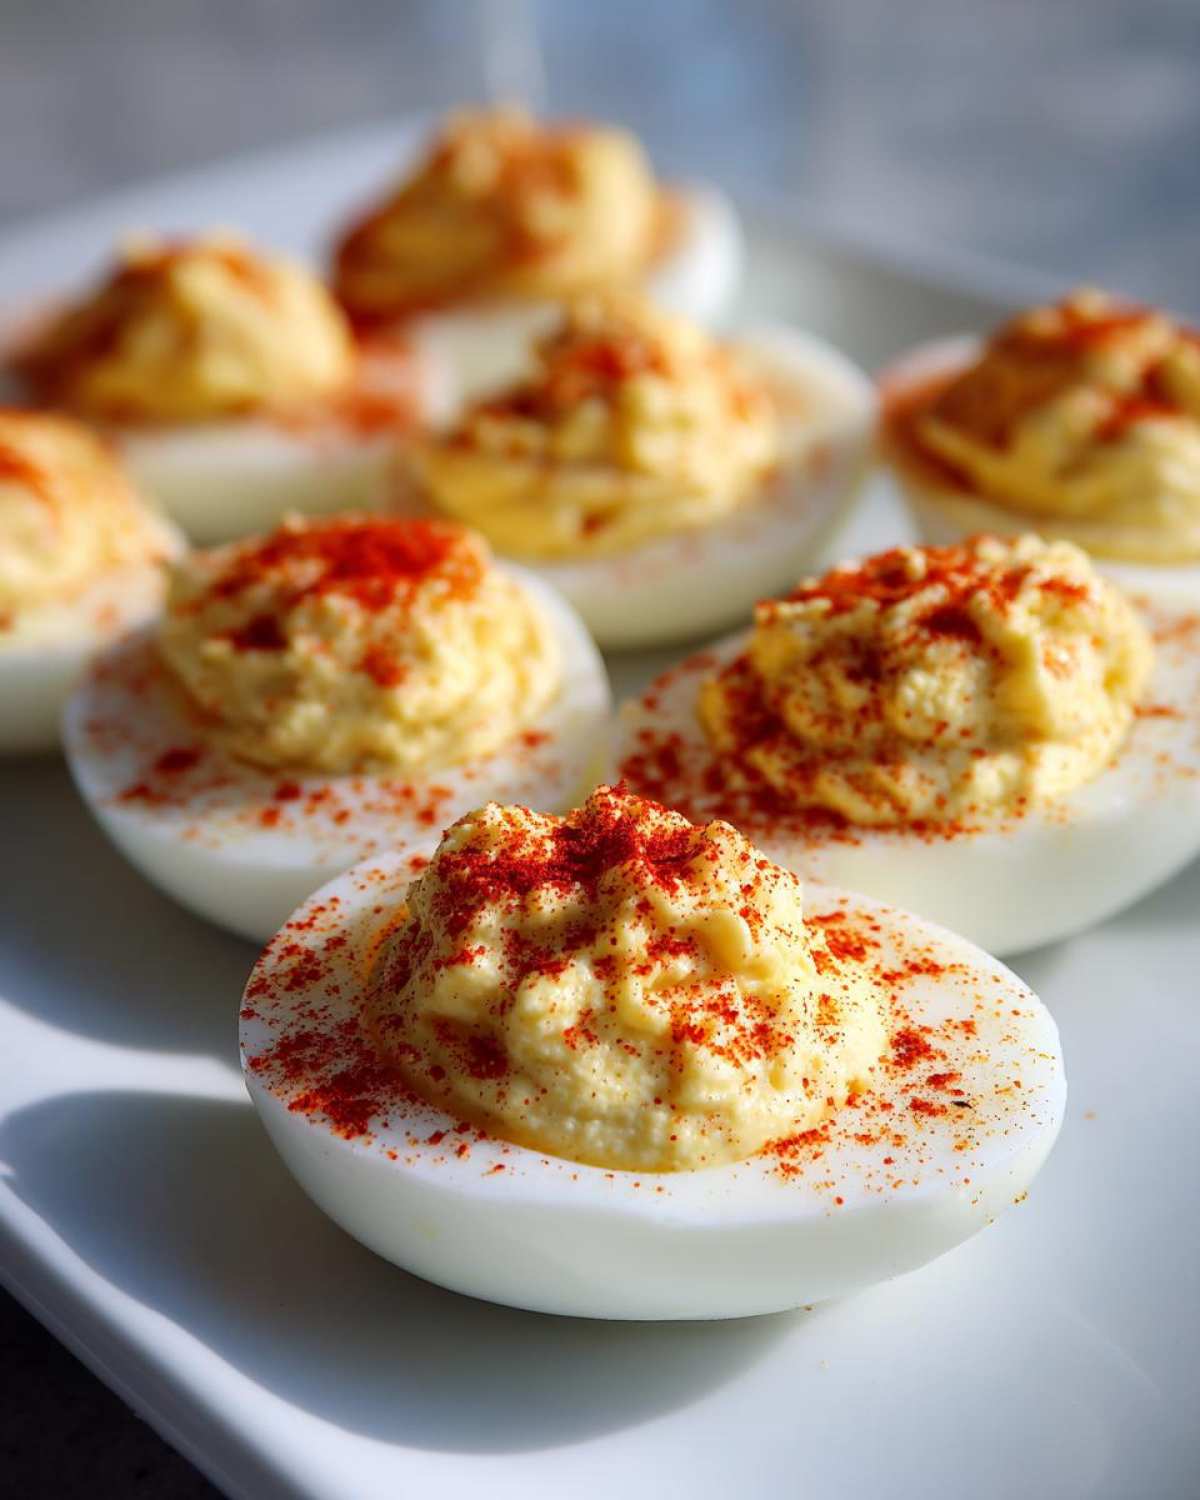
Presentation is EVERYTHING when you are serving up **classic deviled eggs**—they might be simple, but we want them to look like the star of the show! Once your shells are filled to the brim with that beautiful, creamy filling, the garnish is the final flourish that signals everyone that this is not just any snack; this is a truly **crowd pleasing party food**.
The traditional choice, paprika, is beautiful because it gives that little pop of color contrast against the pale yellow filling. You don’t want to dump it on like snow, though! I carefully use a small shaker and dust it very evenly over the top of each half. If you want an extra visual trick for your **best deviled eggs appetizer** spread, try arranging them artfully on a platter—maybe in a circle with the points facing inward, or lined up neatly in rows. Make sure every egg is sitting securely in its little cradle so none of that gorgeous filling shifts before it hits the hungry crowd!
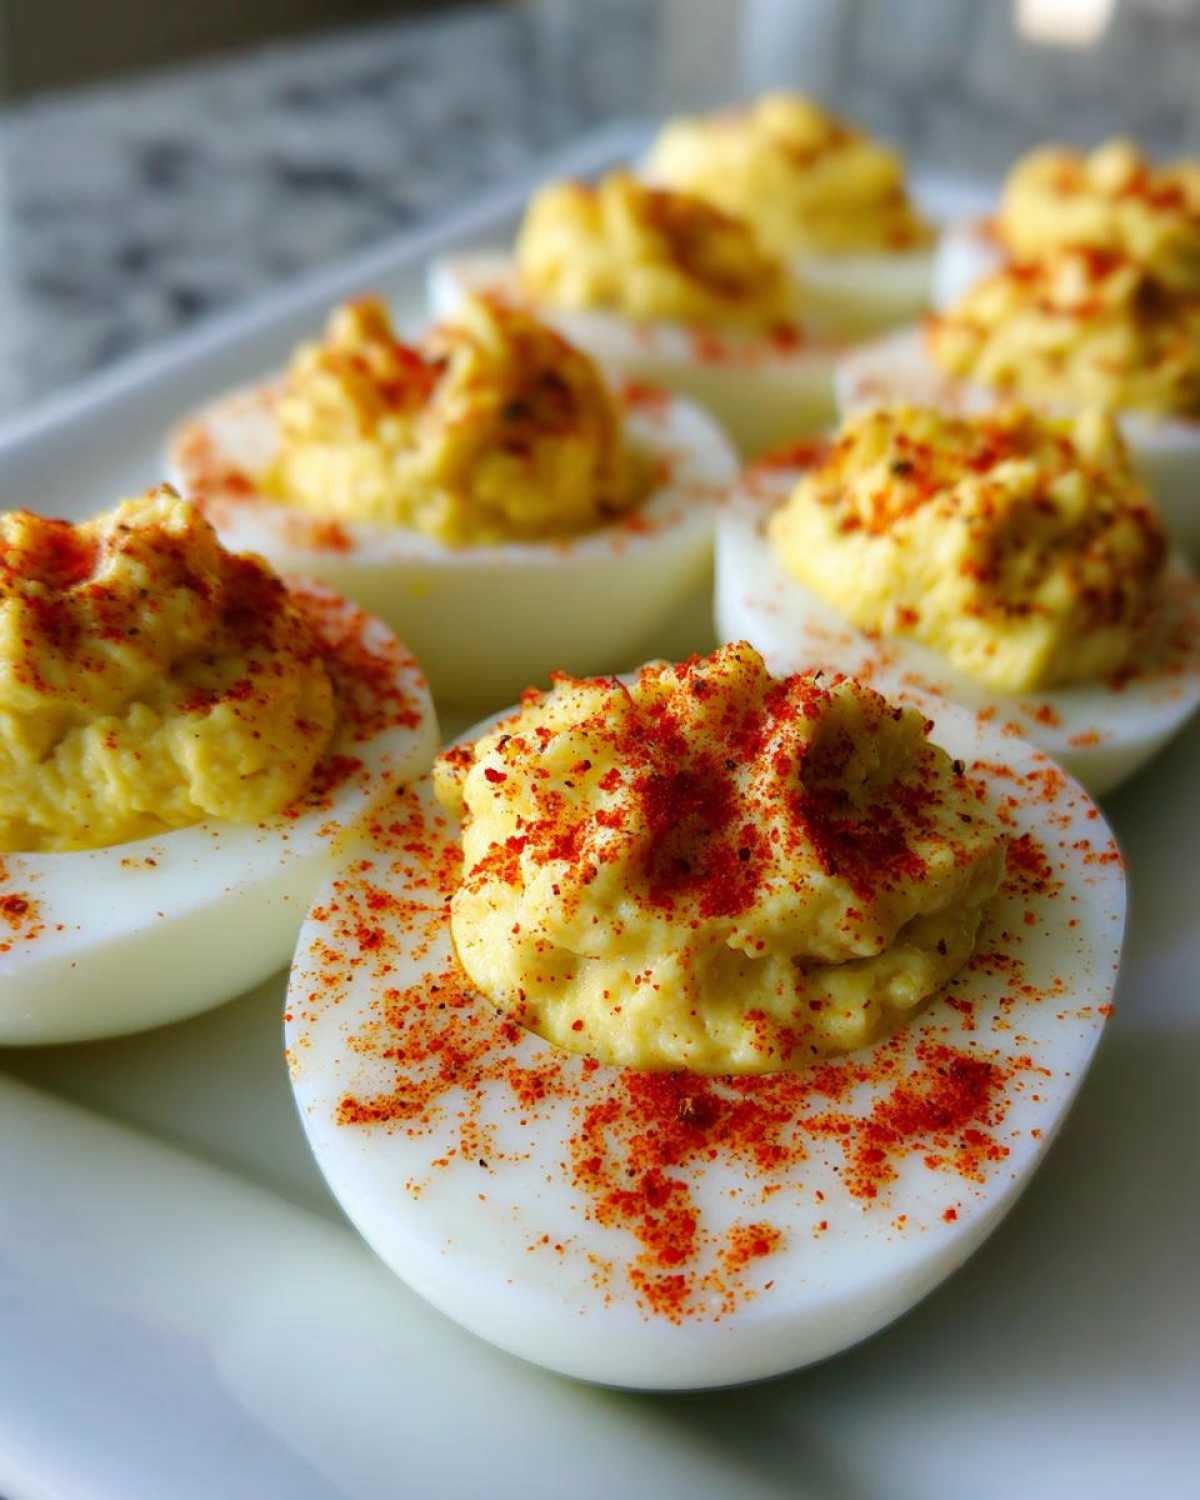
Make Ahead and Storage for Your Classic Deviled Eggs
Because deviled eggs are such a fantastic **make ahead appetizer**, knowing how to schedule your cooking is a serious game-changer. The absolute best way to stay sane before a big event is to break this process up!
Here’s my secret: you can absolutely boil, peel, and slice all your eggs a full day early. Store those empty white halves and the mixed, creamy filling separately. Keep the whites tucked into an airtight container, and the filling should be sealed tight in its bowl in the fridge. Seriously, the filling keeps wonderfully!
But here’s the non-negotiable rule for the best texture: Do NOT fill the egg whites until you are ready to serve them, or at least within a few hours. If the filling sits in the white for too long, that vinegar starts to break down the egg white slightly, and they get watery. Keep them covered, keep them chilled, and stuff them right before guests arrive for maximum deliciousness!
Variations on Traditional Deviled Eggs
Now, I know I keep calling this THE recipe for **traditional deviled eggs**, and honestly, it is! But sometimes you just want to spice things up a tiny bit without turning them into something totally unrecognizable, right? Luckily, these eggs are like little blank canvases just waiting for a tiny splash of personality.
If you like a bit of heat, just sneak in a dash or two of your favorite hot sauce right along with the mustard. Don’t go crazy if you’re serving a crowd who prefers mild flavor! You could also swap out that yellow mustard for a spoonful of whole-grain mustard if you want a little texture pop instead of pure creaminess. Or, for a true Southern twist that I occasionally sneak in, I’ll finely mince up a couple of sweet pickle chips and fold those in—they add a little sweetness that pairs wonderfully with the vinegar tang. Check out some of my other favorite ways to elevate these at Southern-style preparations!
Frequently Asked Questions About Classic Deviled Eggs
I get so many questions every time I serve these up at family dinners! It’s funny how something so simple always leads to the most specific chatter. Here are the main things people ask me about making these the star of the show, especially when aiming for that perfect batch of **classic deviled eggs**.
Can I use pre-cooked eggs for my classic deviled eggs recipe?
Oh, please don’t! I know it’s tempting when you’re in a hurry, but using eggs that aren’t freshly hard-boiled throws off the whole texture game. The yolks of day-old eggs tend to be drier and more crumbly, and they just don’t mix up as smoothly into that creamy filling we’re aiming for. We need those yolks fresh from boiling and icing to get the best results possible, hands down.
What is the secret to making the filling extra tangy?
That tang is earned! We already use a full tablespoon of white vinegar in the basic recipe, and that does a lot of heavy lifting to cut through the richness of the mayo. If you truly want that extra sharp kick that makes people ask for your secret, try this: instead of plain water when you make your filling, use a tiny splash—maybe a teaspoon—of the juice from a jar of sweet pickles. It adds tanginess plus a hint of sweetness that is just addictive. You can learn more about all my little tricks for preparing how to make deviled eggs right here!
Here are a few other things folks often wonder about!
How do you keep the filling from turning weak or watery?
That’s usually one of two things going on. First, make sure your yolks are absolutely mashed dry before you add the mayo and vinegar. If you have wet clumps in your yolk base, the final filling will be looser. Second, remember what I said about making them ahead: don’t combine the filling and the whites until just before serving! If the acidic filling sits in the white too long, it starts to leech moisture out. Keep them separate and you’ll avoid any runny mess.
Why do I sometimes get green rings around my yolk—and how can I avoid them?
That gross grey-green ring is just a chemical reaction between the sulfur in the egg white and the iron in the yolk, usually caused by overcooking! Time is everything here. That’s why we only let the eggs stand for exactly 12 minutes, and then we shock them immediately in an ice bath. That rapid cooling stops the cooking process instantly and keeps the yolks bright yellow and happy. It’s the best way to ensure the filling for your **classic deviled eggs** looks as good as it tastes!
Nutritional Estimates for Classic Deviled Eggs
Okay, I know some of you, like me, are balancing the joy of eating delicious food with keeping track of what goes into our bodies, even when it comes to appetizers! Since these **classic deviled eggs** are such a guaranteed hit, I wanted to give you the rundown on what you’re snacking on.
Keep in mind, these numbers are just an estimate based on the standard ingredients, how much mayo you use, and the size of your eggs. I always tell people, recipes are meant to be tweaked, so your exact count might vary a little bit, especially if you load up on extra mustard or paprika!
For a standard serving size of **two egg halves**, here’s the rough breakdown based on the recipe:
- Calories: About 80
- Total Fat: Around 7 grams (this is where the mayo and yolk really shine!)
- Protein: A solid 3 grams
- Carbohydrates: Very low, usually under 1 gram
We aren’t looking at much sugar or fiber here, which is typical for simple egg appetizers. If you’re bringing these to a party, remember they are largely protein and fat, making them one of the most satisfying things on the snack table! For more details on how these estimations are calculated, you can always check out the full nutritional disclaimer on the site.
PrintClassic Creamy Deviled Eggs
A simple recipe for traditional deviled eggs with a creamy, tangy filling, perfect as an appetizer.
- Prep Time: 20 min
- Cook Time: 12 min
- Total Time: 32 min
- Yield: 24 halves
- Category: Appetizer
- Method: Boiling and Mixing
- Cuisine: American
- Diet: Vegetarian
Ingredients
- 12 large eggs
- 1/2 cup mayonnaise
- 2 tablespoons yellow mustard
- 1 tablespoon white vinegar
- 1/4 teaspoon salt
- 1/8 teaspoon black pepper
- Paprika, for garnish
Instructions
- Place eggs in a large saucepan and cover with cold water by one inch. Bring water to a rolling boil over high heat.
- Remove the pan from the heat, cover it, and let the eggs stand for exactly 12 minutes.
- Immediately drain the hot water and cover the eggs with ice water to stop the cooking process. Let them cool completely, about 10 minutes.
- Peel the cooled eggs carefully. Slice each egg in half lengthwise.
- Gently scoop the yolks into a medium bowl. Place the empty egg white halves on a serving platter.
- Mash the yolks thoroughly with a fork until fine.
- Add the mayonnaise, mustard, vinegar, salt, and pepper to the mashed yolks. Mix until the filling is completely smooth and creamy.
- Spoon or pipe the yolk mixture back into the egg white halves.
- Sprinkle paprika lightly over the top of each filled egg half before serving.
Notes
- To prevent grey rings around the yolks, cool the eggs quickly in ice water immediately after boiling.
- For easier peeling, gently tap the cooled eggs all over to crack the shell, then peel under running cool water.
- You can make the filling up to one day ahead and store it covered in the refrigerator. Fill the egg whites just before serving.
Nutrition
- Serving Size: 2 halves
- Calories: 80
- Sugar: 0.5
- Sodium: 110
- Fat: 7
- Saturated Fat: 2
- Unsaturated Fat: 5
- Trans Fat: 0
- Carbohydrates: 0.5
- Fiber: 0
- Protein: 3
- Cholesterol: 100