

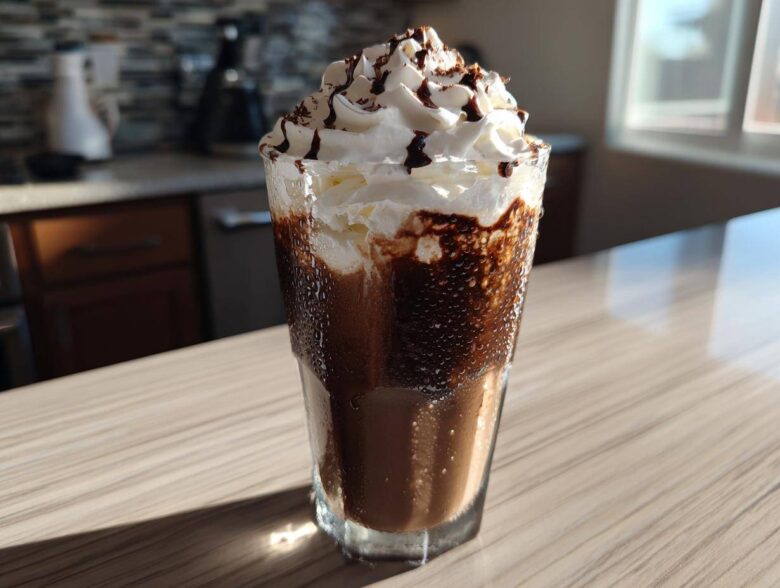
You know those days when you just *need* that coffee shop vibe, but paying eight dollars for a drink feels like actual robbery? Yeah, me too! That’s why I’ve spent way too much time perfecting my in-house barista skills, and nothing beats nailing that perfect, refreshing beverage right in my own kitchen. Seriously, forget those watery, weak attempts you’ve made before. Today, we are mastering the homemade **Iced Coconut Mocha with Cold Foam**. The tricky part, I found, was getting that creamy coconut flavor to sing with the dark chocolate without tasting like sunscreen, am I right? Trust me, after tinkering with flavors until my fridge was overflowing, I cracked the code on the perfect homemade coconut syrup. This recipe is my absolute pride and joy for summer afternoons, delivering that rich, tropical kick you crave, topped with the dreamiest vanilla cloud.
You can sneak a peek at my whole coffee journey over on my full blog archives if you want more tips on turning your kitchen into a bustling café!
Why This Iced Coconut Mocha with Cold Foam Recipe Works
This isn’t just another iced coffee; it’s a game-changer designed for maximum flavor with minimal fuss. Trust me, you’ll be making this all the time!
- The secret is the rich, deeply flavorful **Rich coconut syrup recipe for coffee** we make from scratch—no artificial tastes here!
- We nail that tropical vibe perfectly, balancing the coconut flavor without overwhelming the deep chocolate notes.
- You get that glorious coffee shop texture thanks to the super easy **Homemade cold foam coffee** topping that whips up in minutes.
- It’s incredibly fast to assemble, making it one of the best DIY coffee shop beverages you can whip up on a hot afternoon.
If you ever need a break from coffee and want something sweet, check out my favorite moist banana bread recipe for a snack!
Ingredients for Your Iced Coconut Mocha with Cold Foam
Listen, when you are making something this special—your very own **Iced Coconut Mocha with Cold Foam**—you gotta treat the ingredients right. Don’t substitute the basics, especially for the syrup! I always lay everything out before I start so I don’t have to fumble around mid-cook. I’ve broken this down into the three main stars of the show you’ll need for one glorious drink.
First up is the homemade syrup. This is where all the amazing coconut flavor comes from, so keep that shredded coconut handy:
- 1/4 cup water
- 1/4 cup granulated sugar
- 1/4 cup unsweetened shredded coconut
- 1/2 teaspoon coconut extract (this is key!)
Next, we build the mocha base for your Iced Chocolate Coconut Latte. If you make your own chocolate syrup, even better—you can check out my rich cocoa powder syrup guide!
- 1/2 cup strong brewed coffee or 2 shots espresso (super important!)
- 1/2 cup milk of choice (I love switching this up!)
- 2 tablespoons chocolate syrup or melted dark chocolate
- Ice cubes
Finally, the crowning glory: the cold foam. It’s shockingly simple to make your own delicious **Sweet cream cold foam tutorial** topping!
- For Cold Foam: 1/4 cup heavy cream
- For Cold Foam: 1 tablespoon milk of choice
- For Cold Foam: 1 teaspoon powdered sugar
- For Cold Foam: 1/4 teaspoon vanilla extract
Step 1: Crafting the Rich Coconut Syrup for Your Iced Coconut Mocha
Look, if you want a truly amazing **Iced Coconut Mocha with Cold Foam**, we have to ditch the store-bought coconut syrup. That stuff is usually just sugar water! We are building real flavor foundation here, which means making a phenomenal, rich syrup. This is hands-down the most important part of achieving that perfect tropical mocha profile. Don’t skip the steeping time; it’s not optional!
Get a small saucepan and combine your water, granulated sugar, and that lovely unsweetened shredded coconut. Pop it over medium heat. You need to stir constantly until that sugar just disappears; we aren’t trying to caramelize it, just dissolve it smoothly. Once it’s dissolved, let it simmer gently for two full minutes. This cooks the coconut flavor right into the sugar structure.
Now, remove it from the heat immediately. This is the magic moment: stir in that little dash of coconut extract. That extract boosts the flavor so much! Then, walk away for ten whole minutes. Let that mixture steep, allowing the coconut oils and flavor to really infuse the syrup.
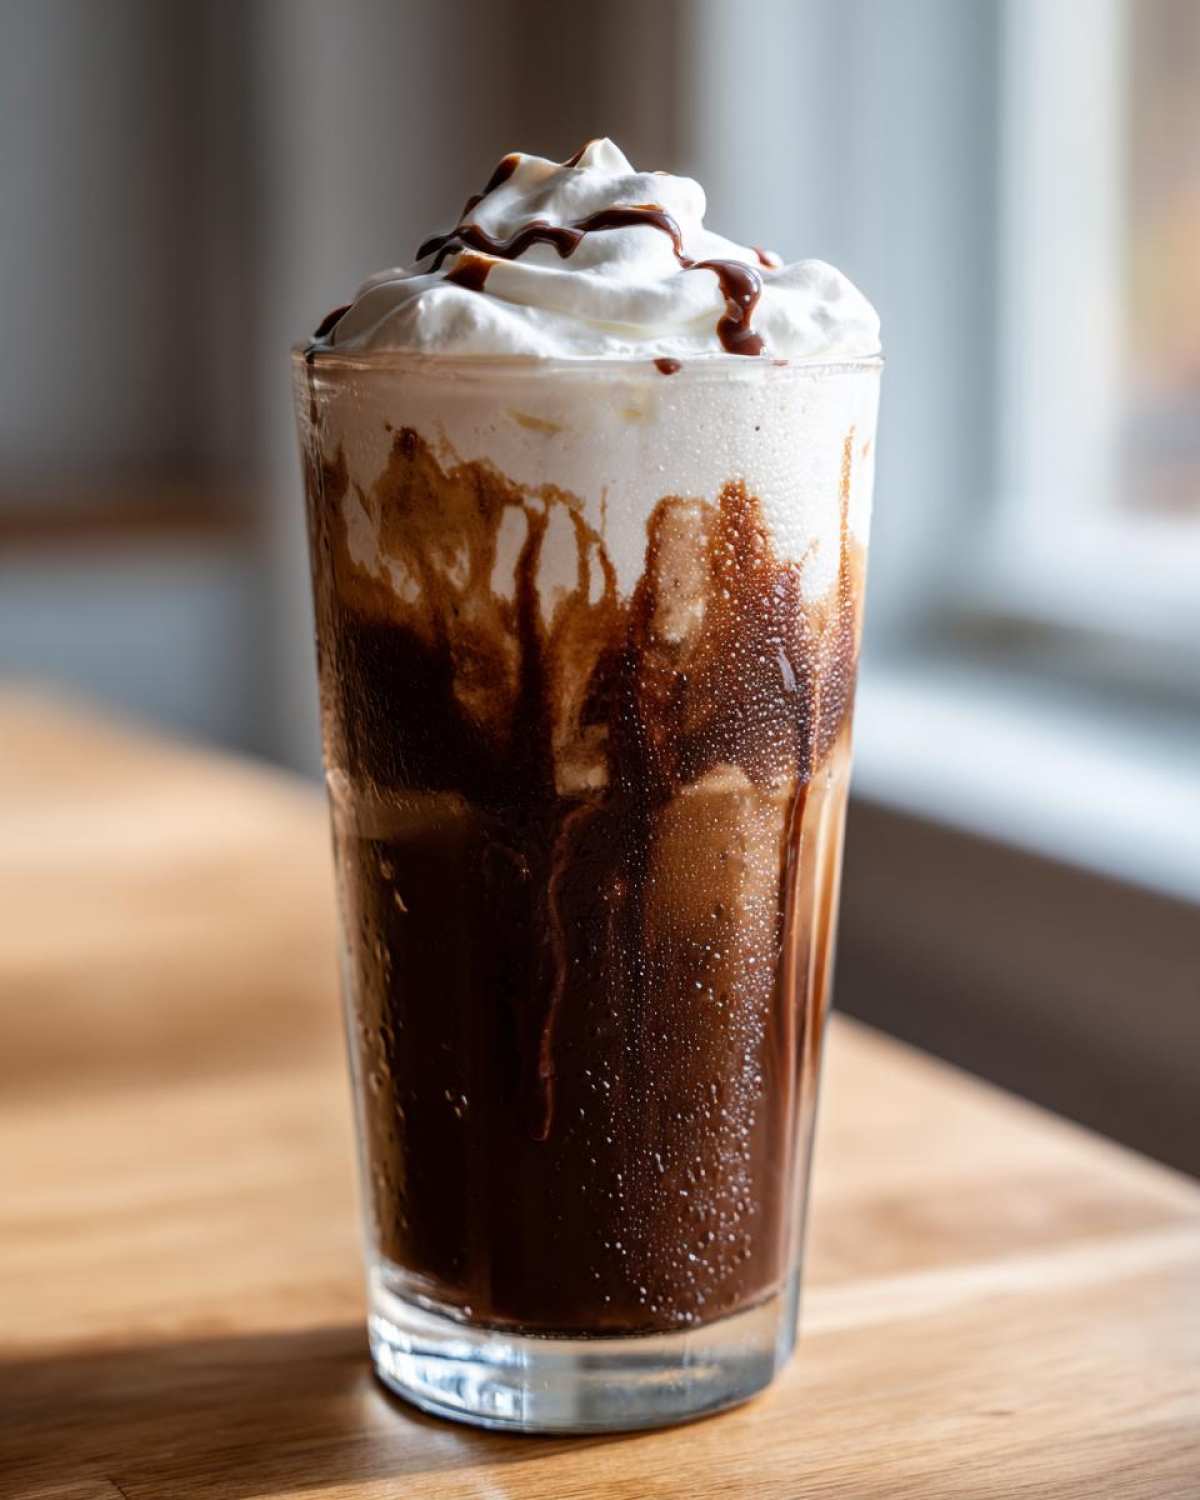
When the time is up, strain it. My pro tip? Don’t just let it drip. Use the back of a spoon or a rubber spatula to press down on the mushy coconut bits in the sieve. You want every single drop of that flavorful liquid! Discard the solids, and voilà—you have a truly Rich coconut syrup recipe for coffee that will transform your drink.
You can find my dedicated guide on making it even richer for other needs right here!
Step 2: Assembling the Iced Chocolate Coconut Latte Base
Okay, we have our gorgeous, homemade coconut syrup simmering away—or maybe you already strained it and are ready to go. Now we build the actual mocha! This is where everything comes together into that delicious, dark, and tropical sip. It needs to be mixed *before* we introduce the ice and milk so everything dissolves nicely.
Grab your favorite tall glass—this is the vessel for greatness! Into the bottom, pour about 2 tablespoons of that incredible coconut syrup we just made. Next, you’ll add your chocolate. I usually go with a nice, thick chocolate syrup because it melts instantly, but you can use a teaspoon of melted dark chocolate if you’re feeling fancy. Give those two things a little stir just to marry the chocolate and coconut.
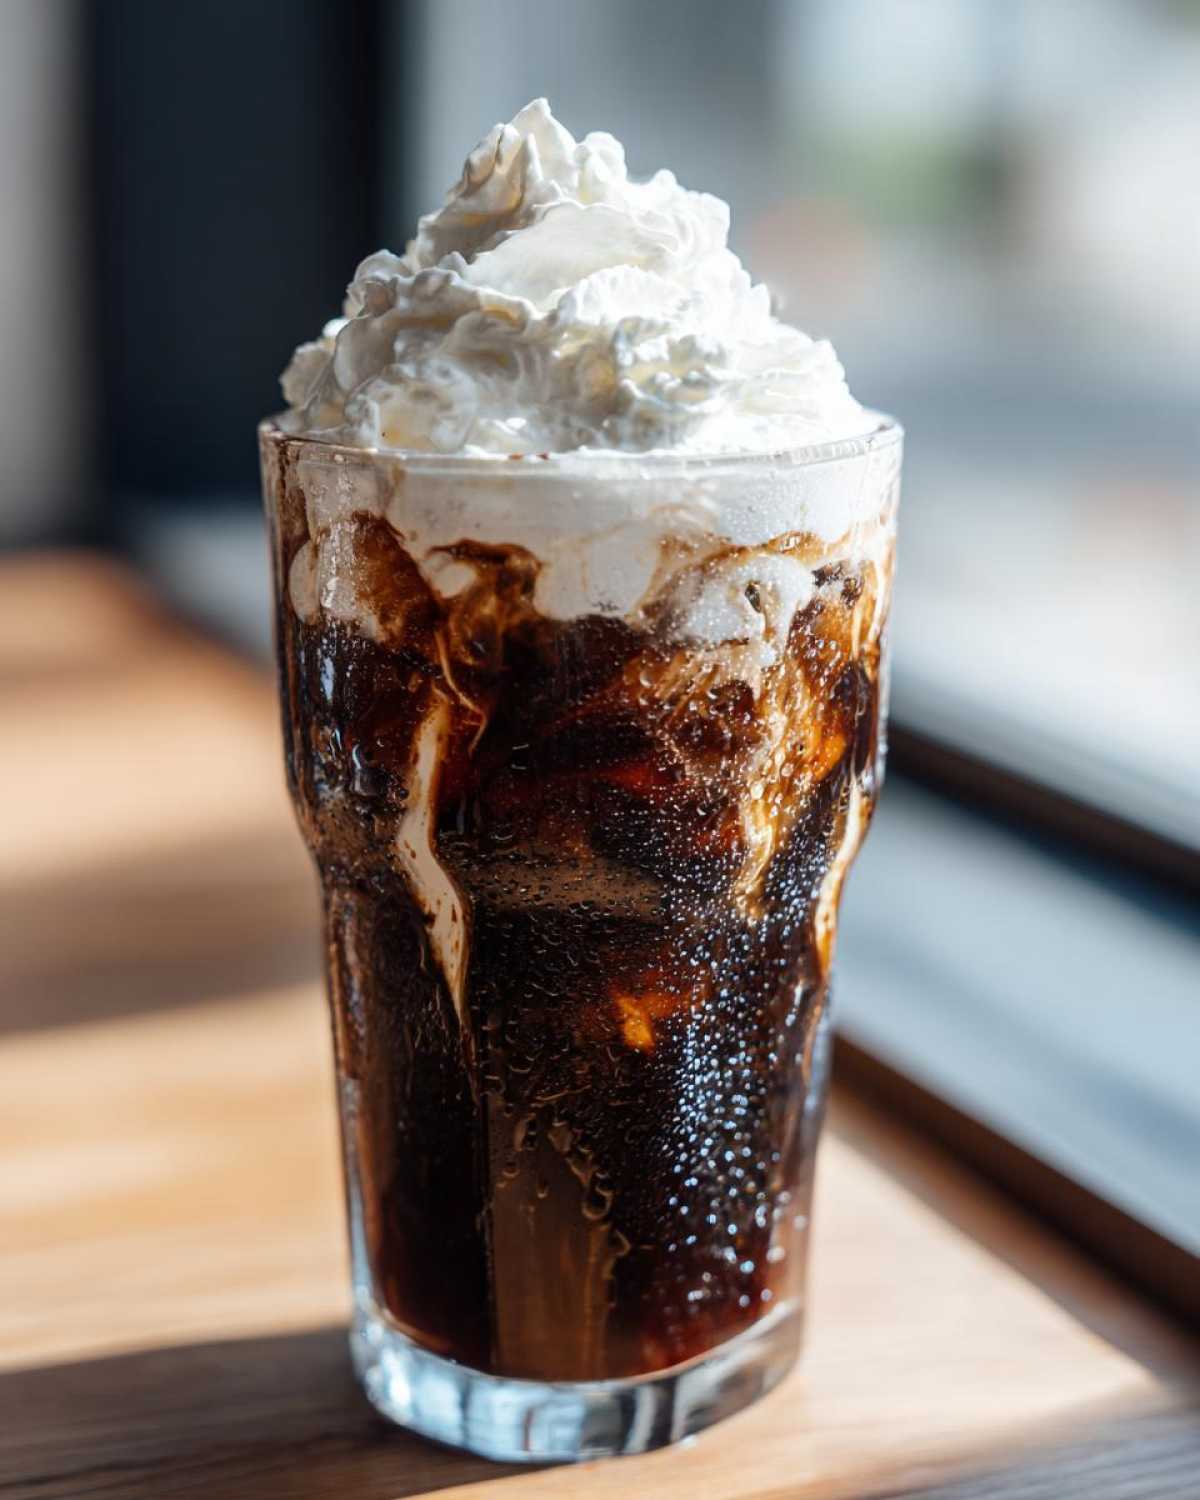
Now for the coffee! You absolutely do not need a fancy espresso machine for an amazing **Easy coconut coffee drink**. If you used espresso shots, great! If you didn’t, that’s fine too. Just make sure you have coffee concentrate or very, very strong brewed coffee—we need that intensity to cut through the sweetness. Add your 1/2 cup of strong coffee or espresso to the syrup mixture and stir it hard until it looks uniform. That’s your potent flavor bomb!
I’ve got a whole guide on making that strong coffee concentrate if you need a refresher on building the best easy coconut coffee drink base!
Step 3: Mastering the Homemade Cold Foam Coffee Topping
Okay, this is the part that makes people think they need to drop hundreds on a frother! Absolutely not! We are going to achieve that luxurious, thick topping for our **Iced Coconut Mocha with Cold Foam** using just elbow grease and a jar—or honestly, a small whisk works great too. This is how you learn **How to make cold foam at home** like a pro. Forget specialized equipment; we are using pure grit!
Grab a small, narrow bowl or a sturdy jar with a tight lid. Pour in your heavy cream, that tiny splash of milk, the powdered sugar for that essential sweetness, and the vanilla extract. Don’t overdo the vanilla, we want the sweet cream flavor to shine, not taste like French vanilla creamer!
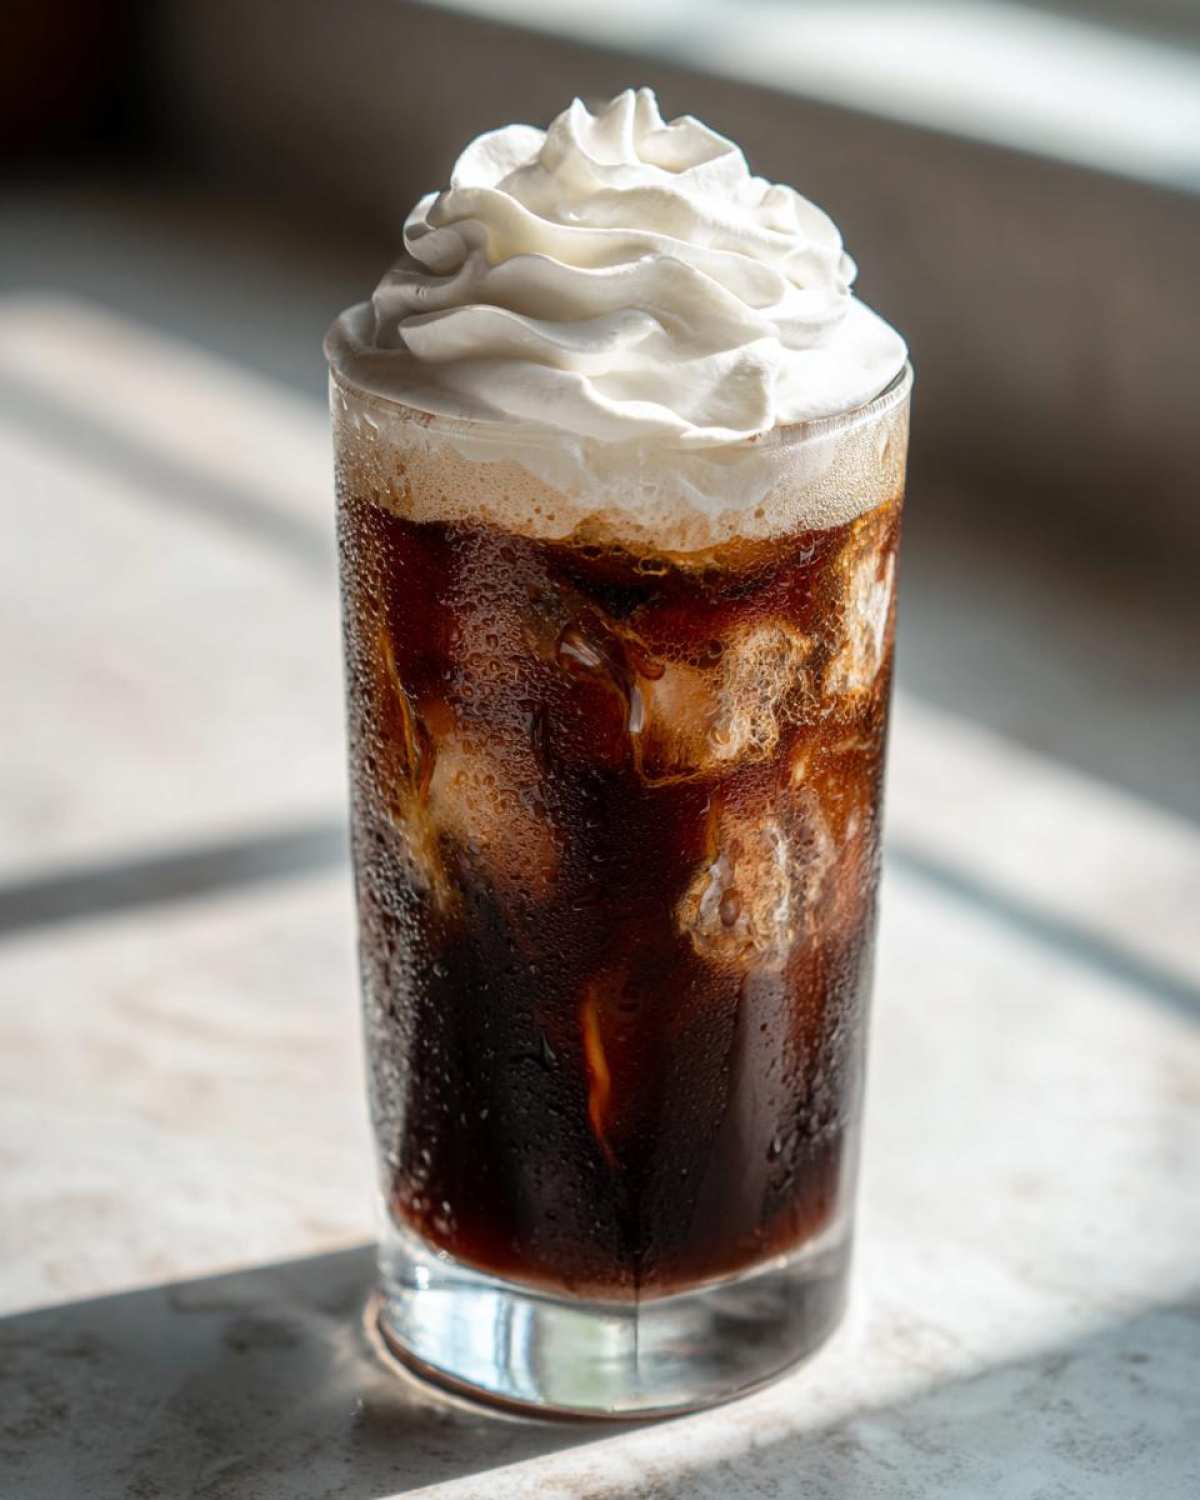
Now, whisk like you mean it! If you’re using a handheld whisk, you’ll need about two minutes of really aggressive whisking to get air incorporated. You are looking for soft, billowy peaks—think of the texture that just barely holds its shape when you lift the whisk. If you shake it in a sealed jar, it can take 60 seconds, but you have to shake HARD! Stop just before it turns into actual whipped cream. That density is crucial for it to float gloriously!
I always keep a note handy for my non-dairy friends who still want that gorgeous topping. If you’re avoiding dairy, save that thick, solidified coconut cream from the top of a chilled can of full-fat coconut milk. Whip that up with your sweetener and vanilla! It works like a charm, making this the most versatile **Sweet cream cold foam tutorial** out there. Make sure to check out my deep dive on making the best sweet cream cold foam tutorial for even more secrets!
Finalizing Your Iced Coconut Mocha with Cold Foam Presentation
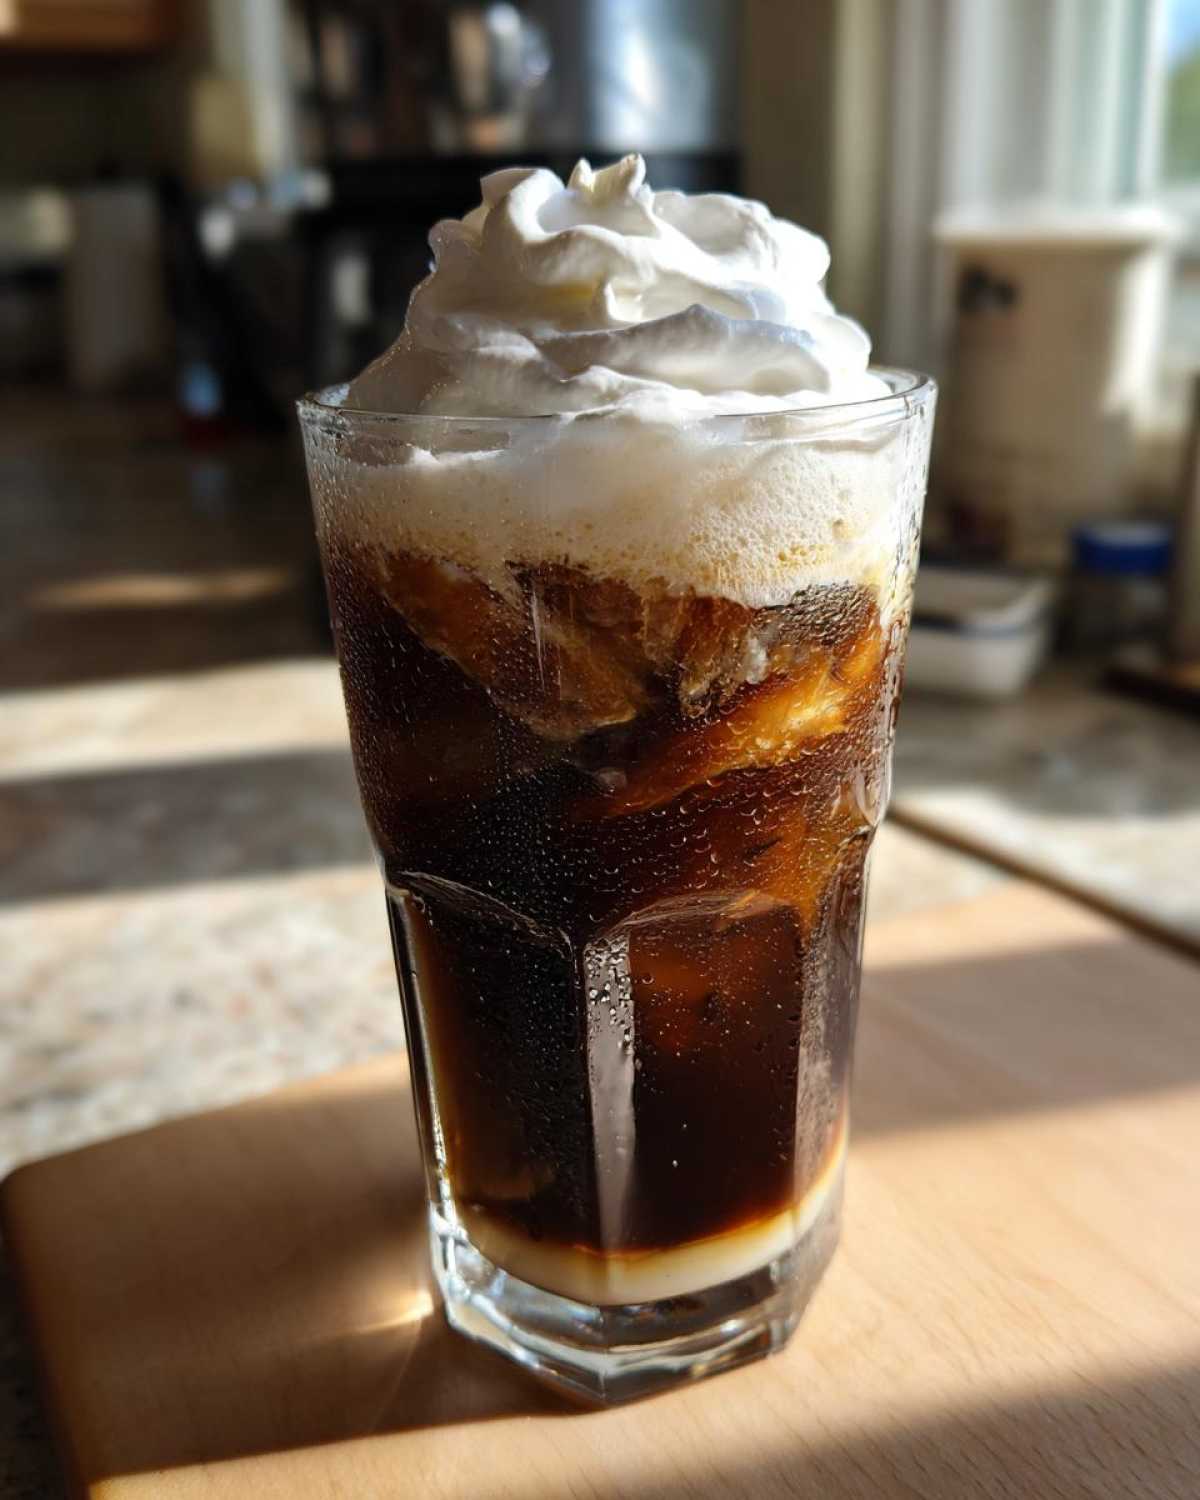
This is the grand finale! We’ve done the hard work; now we make it look as incredible as it tastes. Take that tall glass, already holding your potent mocha base, and fill it right up to the top edge with plenty of crunchy ice cubes. Then, gently pour in your milk of choice—always pour it slowly so it mixes without disturbing the syrup layer too much at the bottom. You want a gorgeous, blended color.
Now, for the moment of truth: the cold foam. Don’t try to pour it like milk! Use a large spoon and carefully dollop that heavenly vanilla sweet cream right on top of the iced drink. You want it sitting proudly on the surface. The whole beauty of this **Iced Coconut Mocha with Cold Foam** is that contrast in texture, so serve it instantly! If you wait too long, the foam starts melting, and nobody wants a sad, watery foam topping for their tropical mocha.
Tips for the Best Tropical Iced Mocha Experience
To make this the absolute pinnacle of your summer drinks—the ultimate tropical iced mocha experience—a few small choices make a huge difference. Honestly, treat this recipe like baking; the quality of your starting materials really shines through when you’re making something simple like this!
When it comes to the coffee itself, if you’re using strong brewed coffee instead of espresso, go for a dark roast bean. Those robust, slightly smoky notes are fantastic because they keep the coffee flavor from getting totally lost under the sweet coconut and chocolate.
For your milk choice in the base, if you want maximum creaminess without making dairy-free cold foam, reach for the canned coconut milk—just the thick, creamy part from the top of an unopened can! It blends perfectly. You can read more about how I use different milks in my coffee recipes with coconut milk.
Finally, taste your mocha base *before* you add the foam. If you used a slightly milder chocolate, add another half-teaspoon of chocolate syrup right then. This lets you control the deep, bitter chocolate kick to perfectly balance the sweet coconut syrup!
Storage and Reheating Instructions for Your Iced Coconut Mocha
So, the actual mixed drink—the layered **Iced Coconut Mocha with Cold Foam**—is definitely a one-time deal. Do not try to save it for later! The melted ice waters down everything, and the foam? Forget about it; it’ll have dissolved back into regular milk, which is just sad.
However, you are in luck with the components! The star, that gorgeous homemade coconut syrup, keeps perfectly in an airtight jar in the fridge for at least two weeks. It’s fantastic to make a big batch!
The only thing you absolutely must make fresh every single time is that fluffy vanilla **Homemade cold foam coffee**. It deflates super fast, so whip it up right when you’re ready to serve!
Frequently Asked Questions About This Iced Coconut Mocha Recipe
I totally get it—when you’re recreating a coffee shop favorite like the **Iced Coconut Mocha with Cold Foam**, you have questions! I’ve compiled the most common things people ask me when they are trying to nail that perfect texture and flavor right here. You want that rich, tropical experience, and I want you to have it!
If you are aiming for that official café taste, you might want to check out how I tackle my Starbucks copycat iced mocha—many of the principles are the same!
Can I make this Iced Coconut Mocha with Cold Foam ahead of time?
This is a big one! The answer is yes and no. You should absolutely make a big batch of that incredible homemade coconut syrup whenever you have five minutes free; it keeps great! Also, if you are serving a crowd, you can mix your coffee, chocolate, and syrup together ahead of time—just keep it chilling in the fridge. However, you *must* assemble the drink with ice right before serving. And please, for the love of good coffee, make that luxurious **Homemade cold foam coffee** topping fresh whenever you plan to drink it! It’s just not the same if it sits around melting.
What is the best non-dairy milk for this recipe?
Oh, I love this question because the right milk makes such a difference! If you are using dairy, a 2% or whole milk works beautifully and gives you a great texture. But for non-dairy superheroes? You want the thickest option you can find. I strongly recommend either a barista-blend oat milk, which foams up nicely on its own if you heat it, or the best option that mimics cream: the thick, solidified cream scooped from the top of a chilled can of full-fat coconut milk. Using plain carton coconut milk is often too watery for this rich drink.
How do I make the cold foam if I don’t have heavy cream?
Don’t sweat it if you’re out of heavy cream! If you are dedicated to staying dairy-free, refer back to that amazing substitution I mentioned—use the thick coconut cream from the top of a can of full-fat coconut milk. If you aren’t dairy-free but just ran out of heavy cream, whole milk can sometimes work in a pinch, but you have to whisk it *much* longer and harder, aiming for very stiff peaks. You might need to add an extra little dusting of powdered sugar to help stabilize it while you whisk like crazy!
PrintIced Coconut Mocha with Cold Foam
Make a refreshing, coffee-shop style Iced Coconut Mocha at home, complete with a simple homemade vanilla sweet cream cold foam topping.
- Prep Time: 10 min
- Cook Time: 5 min
- Total Time: 15 min
- Yield: 1 serving
- Category: Beverage
- Method: Mixing
- Cuisine: American
- Diet: Vegetarian
Ingredients
- 1/4 cup water
- 1/4 cup granulated sugar
- 1/4 cup unsweetened shredded coconut
- 1/2 teaspoon coconut extract
- 1/2 cup strong brewed coffee or 2 shots espresso
- 1/2 cup milk of choice (dairy or non-dairy)
- 2 tablespoons chocolate syrup or melted dark chocolate
- Ice cubes
- For Cold Foam: 1/4 cup heavy cream
- For Cold Foam: 1 tablespoon milk of choice
- For Cold Foam: 1 teaspoon powdered sugar
- For Cold Foam: 1/4 teaspoon vanilla extract
Instructions
- Make the coconut syrup: Combine water, granulated sugar, and shredded coconut in a small saucepan. Heat over medium heat, stirring until sugar dissolves completely. Simmer for 2 minutes. Remove from heat, stir in coconut extract, and let it steep for 10 minutes. Strain the syrup through a fine-mesh sieve, pressing on the solids to extract all liquid. Discard solids.
- Prepare the mocha base: In a glass, combine 2 tablespoons of the prepared coconut syrup, chocolate syrup, and brewed coffee or espresso. Stir well.
- Fill a tall glass with ice cubes. Pour the coffee mixture over the ice.
- Add 1/2 cup of your chosen milk to the glass and stir gently.
- Make the cold foam: In a small bowl or jar, combine the heavy cream, 1 tablespoon milk, powdered sugar, and vanilla extract.
- Whisk vigorously or use a handheld milk frother until the mixture thickens and holds soft peaks. This takes about 1 to 2 minutes of active whisking.
- Gently spoon the vanilla sweet cream cold foam over the top of the iced mocha. Serve immediately.
Notes
- If you do not have espresso, use very strong cold brew concentrate for the coffee base.
- For a dairy-free cold foam, substitute the heavy cream with a high-fat canned coconut cream (the thick part from the top of a chilled can) and use non-dairy milk.
- Adjust the amount of coconut syrup to control the sweetness and coconut intensity.
Nutrition
- Serving Size: 1 drink
- Calories: 350
- Sugar: 35
- Sodium: 45
- Fat: 18
- Saturated Fat: 11
- Unsaturated Fat: 7
- Trans Fat: 0
- Carbohydrates: 45
- Fiber: 2
- Protein: 5
- Cholesterol: 60