

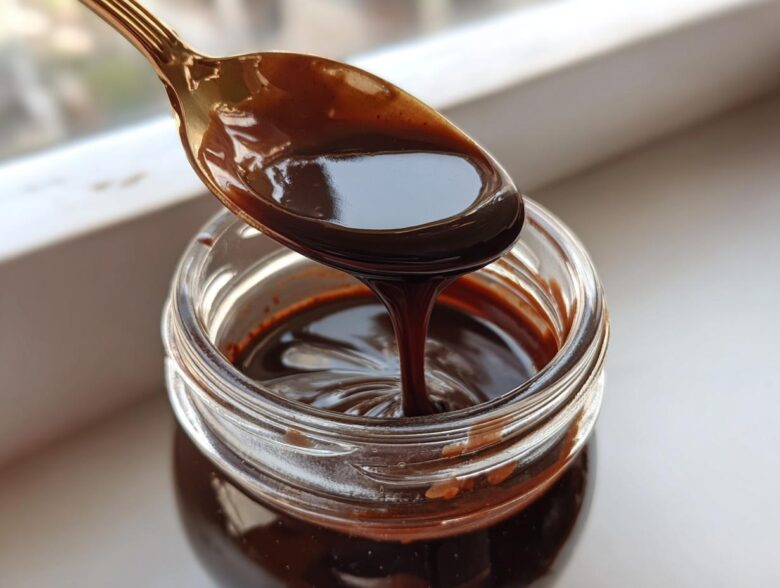
Listen, I’m going to be totally honest with you: if you’re still dripping that thick, slightly weird-tasting stuff from a plastic bottle onto your ice cream, we need to talk. You deserve better! My mission is to get you hooked on making your own chocolate syrup from scratch because it’s shocking how fast you can do it. Seriously, we’re talking about a rich, fudgy flavor that tastes like actual dessert, and it takes about ten minutes. That’s it! This is my ultimate 10-minute homemade chocolate syrup recipe, and the secret weapon is just good old unsweetened cocoa powder. Trust me, once you taste this, you’ll never go back to the grocery store can lineup again.
Why This Homemade Chocolate Syrup Beats Store-Bought Versions
Oh, the difference is night and day! Store-bought syrup often uses high fructose corn syrup, and you can just taste that strange, flat sweetness, right? When you make this homemade chocolate syrup, you’re in total control. I get to use real sugar, which gives it that amazing depth of flavor you just can’t find in a bottle. It’s so much better than anything pre-made!
The real magic I found making this is in the texture. We aren’t aiming for that gelatinous goo; we are going for a truly silky smooth chocolate sauce. Because we use water and sugar as the base, we avoid all those artificial thickeners and stabilizers often found in commercial products. It drizzles perfectly off the spoon, unlike some of the sauces I’ve tried blending for other recipes, like my homemade alfredo sauce!
If you’re trying to keep things cleaner, using this recipe means you get true no corn syrup chocolate sauce. It’s the best way to ensure the rich, dark flavor of the cocoa powder shines through. I love drizzling this over a bowl of ice cream—it solidifies just slightly when hitting the cold, creating this amazing, almost fudgy crust. You’ve got to try it!
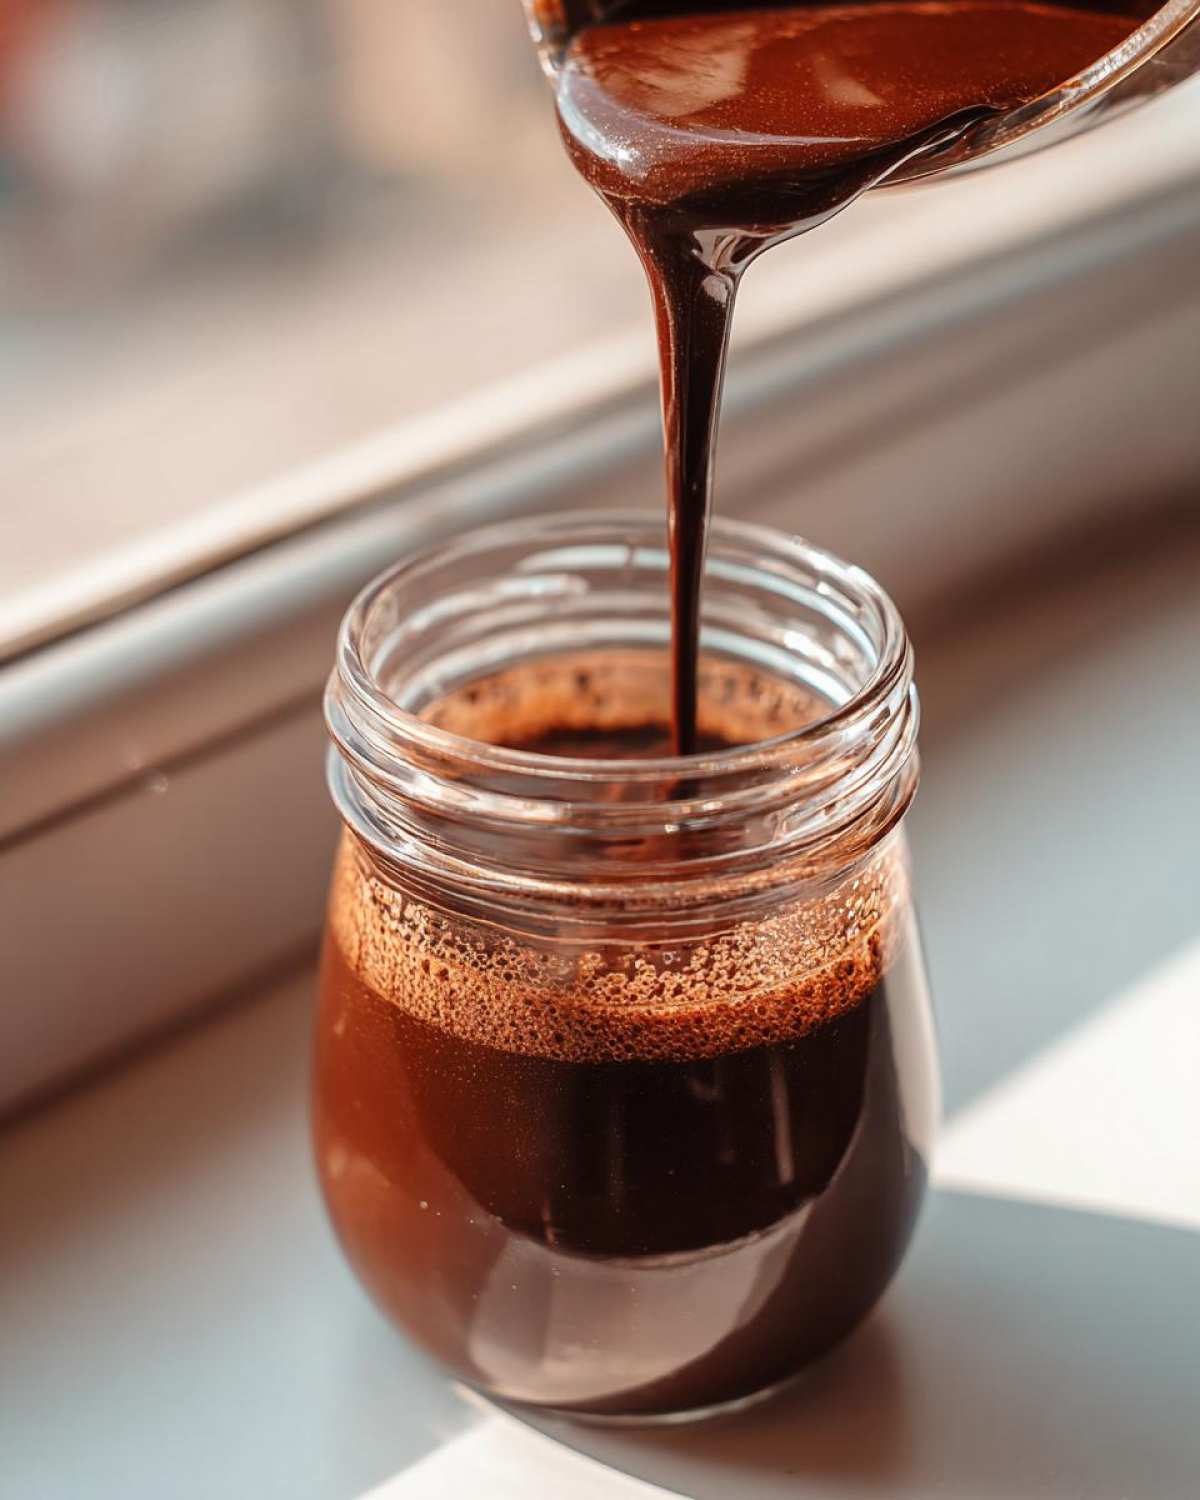
Ingredients Needed for Rich Chocolate Syrup
Okay, the supply list for this amazing cocoa powder chocolate syrup is tiny, which is why I love it for those last-minute dessert emergencies! You probably have everything sitting in your pantry right now. We’re making about 1 1/2 cups of this deliciousness, so double the recipe if you know you’ll be making a lot of chocolate milk!
Here is exactly what you need:
- 1 cup granulated sugar
- 1 cup water
- 1/2 cup unsweetened cocoa powder (Use the regular kind—no Dutch process unless you know what you’re doing!)
- 1/4 teaspoon salt (Don’t skip this! It makes the chocolate flavor *pop*.)
- 1 teaspoon vanilla extract
See? Simple. Just make sure your cocoa powder is fresh, not clumpy. Having smooth, quality ingredients is half the battle for a gourmet chocolate topping like this.
Ingredient Notes and Substitutions for Your Chocolate Syrup
While the recipe above is the classic gold standard, sometimes we tinker, right? If you want a slightly deeper, almost caramel undertone to your simple pantry syrup recipe, you can absolutely swap out the regular granulated sugar for the exact same amount of dark brown sugar. It’s delicious! I also sometimes add a tiny pinch of espresso powder if I’m making a batch specifically for my morning coffee to deepen that mocha flavor.
For those watching their sugar intake, you can try experimenting with your favorite 1:1 granulated sugar replacement, but be mindful—it might change the final thickness slightly since the sugar does a lot of the structural work here!
How to Prepare the Ultimate 10-Minute Chocolate Syrup
This is the incredibly fast part! Seriously, set a timer because this whole process, from zero to delicious, takes only ten minutes total. We’re using the stovetop, and the key here is constant movement—we need to make sure everything dissolves nicely so you don’t end up with gritty syrup.
Grab a small saucepan and throw in your sugar, water, cocoa powder, and salt. Whisk it together right there in the pan before you even turn on the heat! Trust me on this—pre-mixing prevents that awful cocoa powder cloud, and you won’t have to whisk for ages later.
- Put that saucepan over medium heat. Keep whisking everything together until you see the sugar completely dissolve and the mixture starts to bubble gently and look smooth.
- Once it hits that simmer, immediately drop the heat down low. We only want a gentle bubble—reduce the heat and let it go like that for just about 1 minute, stirring now and then. Don’t let it boil hard or you’ll lose too much water!
- Time’s up! Take that pan right off the stove. Now stir in your vanilla extract. That’s what wakes up the chocolate flavor!
- Here’s the crucial step: Let it cool down on the counter for a bit. It thickens up dramatically as it gets warmer, so don’t panic if it looks too thin right after you pull it off the heat.
- Once it’s cooled off slightly, pour that gorgeous chocolate syrup into a storage jar. If you are making delicious chocolate milk recipe at home right now, you can use it warm, but for drizzling, you need to let it cool completely.
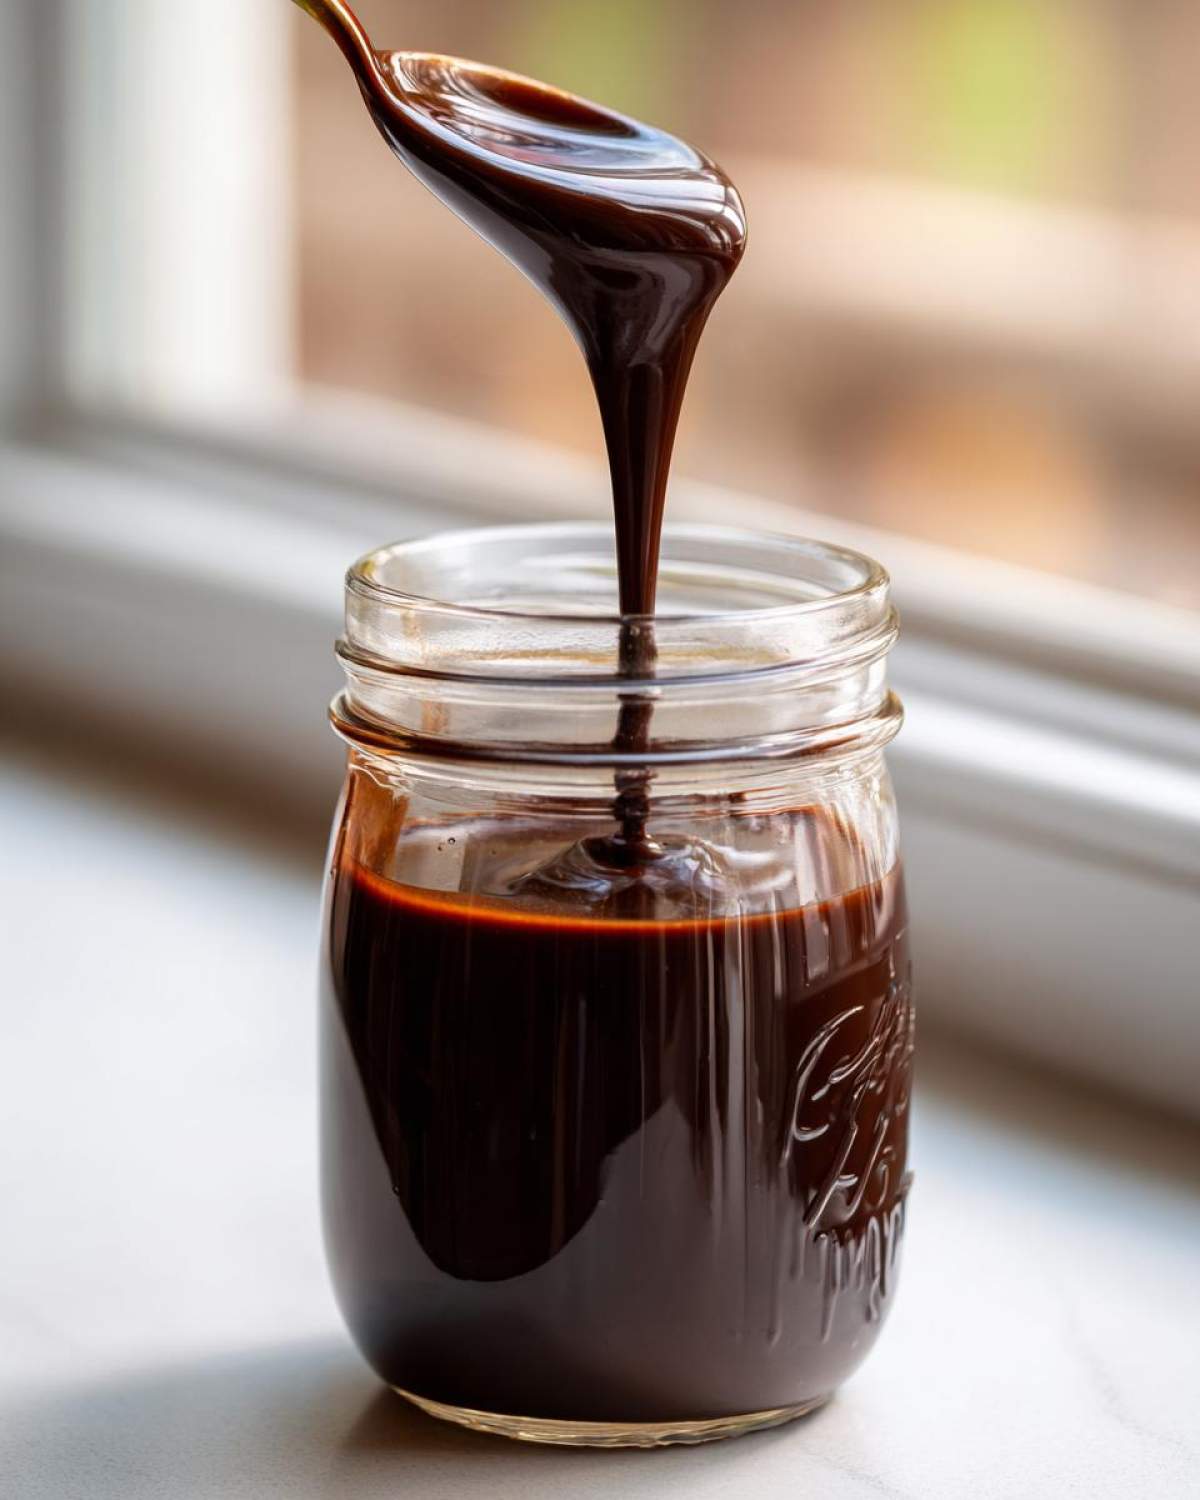
Tips for Achieving Silky Smooth Chocolate Syrup Texture
If you’re worried about lumps, sift your cocoa powder right over the sugar before you even start heating—it’s the best trick for smooth results! Remember, the cooling process is when this syrup gains its body. Don’t rush it! If it’s still too thin after chilling for an hour, just pop it back on the stove for two minutes and simmer it gently again. That always fixes it for me!
Using Your Homemade Chocolate Syrup: Serving Suggestions
Okay, now that you have this liquid gold, what are we going to do with it? Since this recipe cooks up so fast, it’s my go-to quick dessert topping for spontaneous cravings. Seriously, don’t limit yourself to just one use!
First, the obvious: ice cream. Forget those commercial brands; nothing beats pouring this rich, warm sauce over a scoop of vanilla. It instantly turns into a perfect homemade ice cream topping. It spreads so much better than the stuff that comes out gritty.
But you have to try this on breakfast, too! I love making a batch late Sunday afternoon so it’s perfectly chilled by Monday morning. Drizzle it generously over my fluffy almond flour pancakes—it’s like having dessert for breakfast, which is just acceptable when you made the syrup yourself, right?
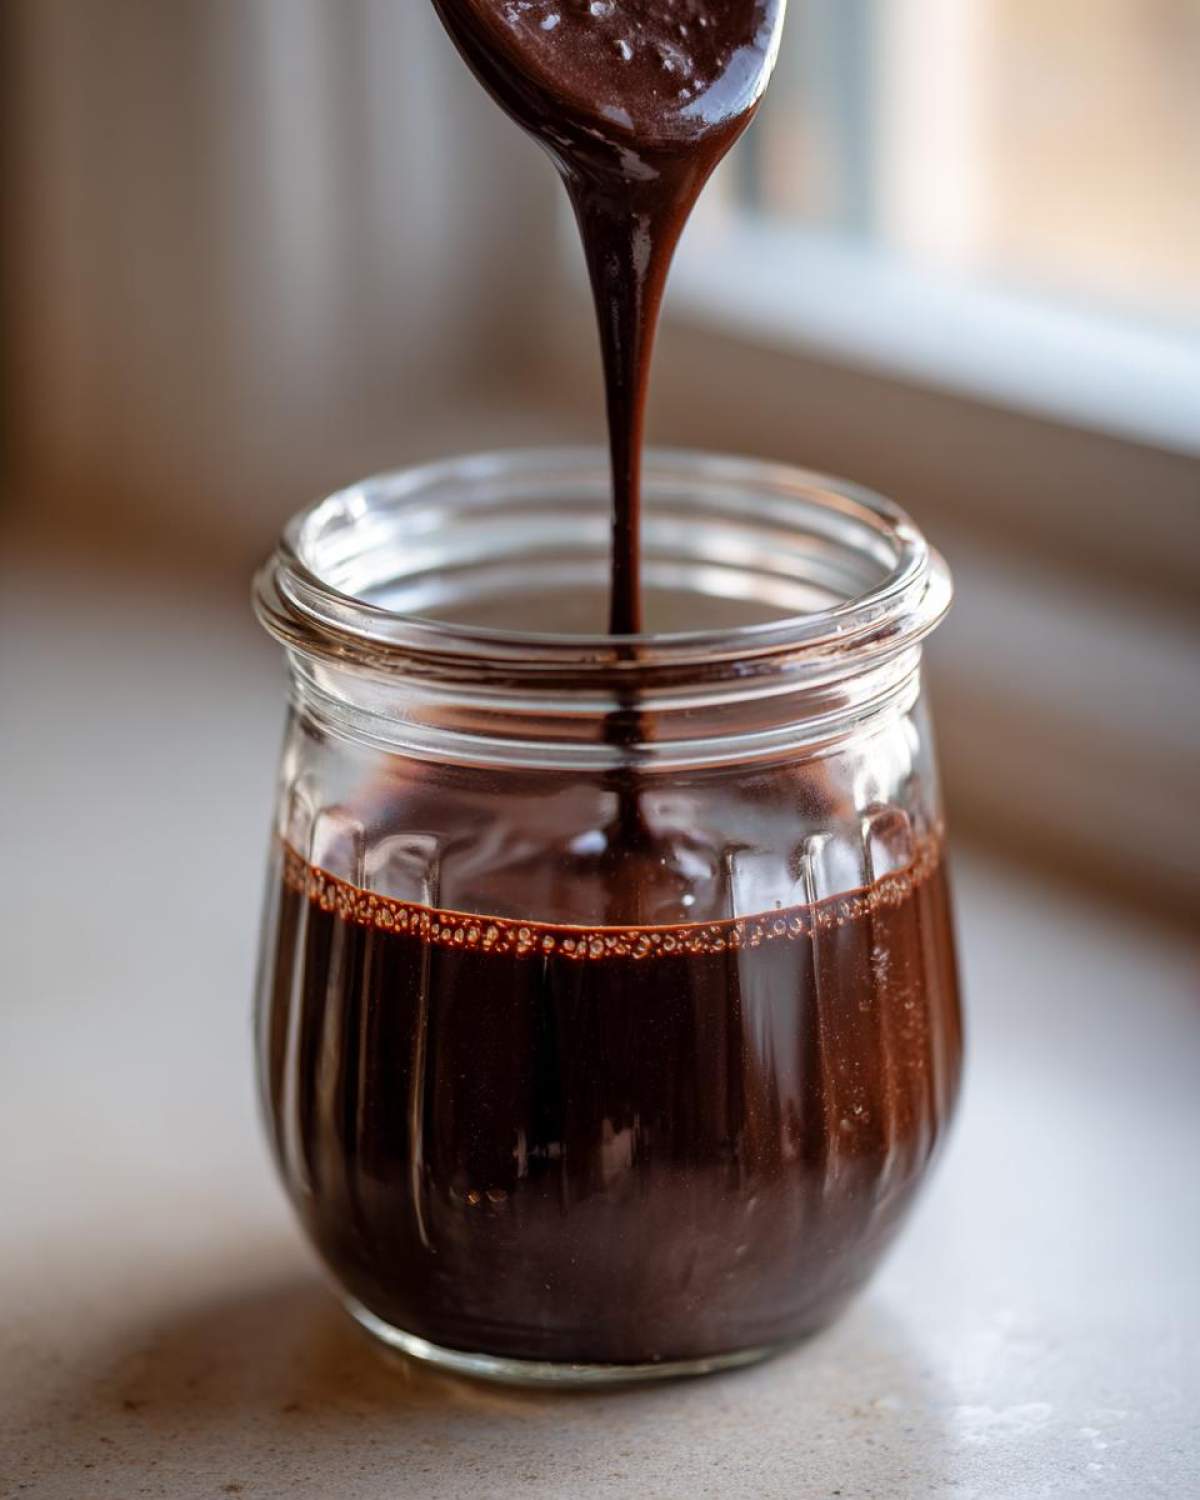
And, of course, we have to talk about chocolate milk. Making a true chocolate milk recipe at home is incredibly simple with this syrup. Just take two big spoonfuls of the cooled syrup and stir it vigorously into a cup of cold milk. It dissolves instantly, giving you that deep, pure chocolate flavor without any grainy sugar bits settling at the bottom. It’s a game-changer, especially if you’re feeling lazy and don’t want to heat up milk for my big batch hot cocoa mix.
If you’re feeling fancy, try using it as a drizzle on cheesecake or stirring it into your cold brew coffee for an instant mocha—it’s endless!
Variations for Your Cocoa Powder Chocolate Syrup
This foundational recipe is amazing on its own, but if you’re like me and love tweaking things just a bit, we can easily turn this into a few other fantastic treats. Since we’re aiming for that natural chocolate syrup vibe, feel free to experiment!
If you want to move away from refined white sugar, you can substitute it with an equal amount of maple syrup or honey, although I find maple gives it this beautiful, slightly woodsy flavor that pairs perfectly with the cocoa. If you do this, reduce the cooking time slightly; high-value liquid sweeteners don’t need as much simmering!
For a fun party twist, I sometimes add a heavy pinch of cinnamon and just the tiniest pinch of cayenne pepper right along with the cocoa powder. It creates this incredible Mexican-inspired chocolate flavor—kind of spicy, super warm, and so good drizzled over vanilla bean ice cream. Keep it simple, or go totally gourmet with these small additions!
Storage and Reheating Instructions for Homemade Chocolate Syrup
Because this syrup is so fresh and natural, we have to treat it right, unlike those shelf-stable bottles. Don’t worry, though; it’s still super easy to keep on hand for whenever you need a drizzle! The best place for this homemade chocolate syrup is the refrigerator, tucked away in an airtight glass jar or container. Because we didn’t use any weird stabilizers, it should stay perfectly delicious for about two weeks.
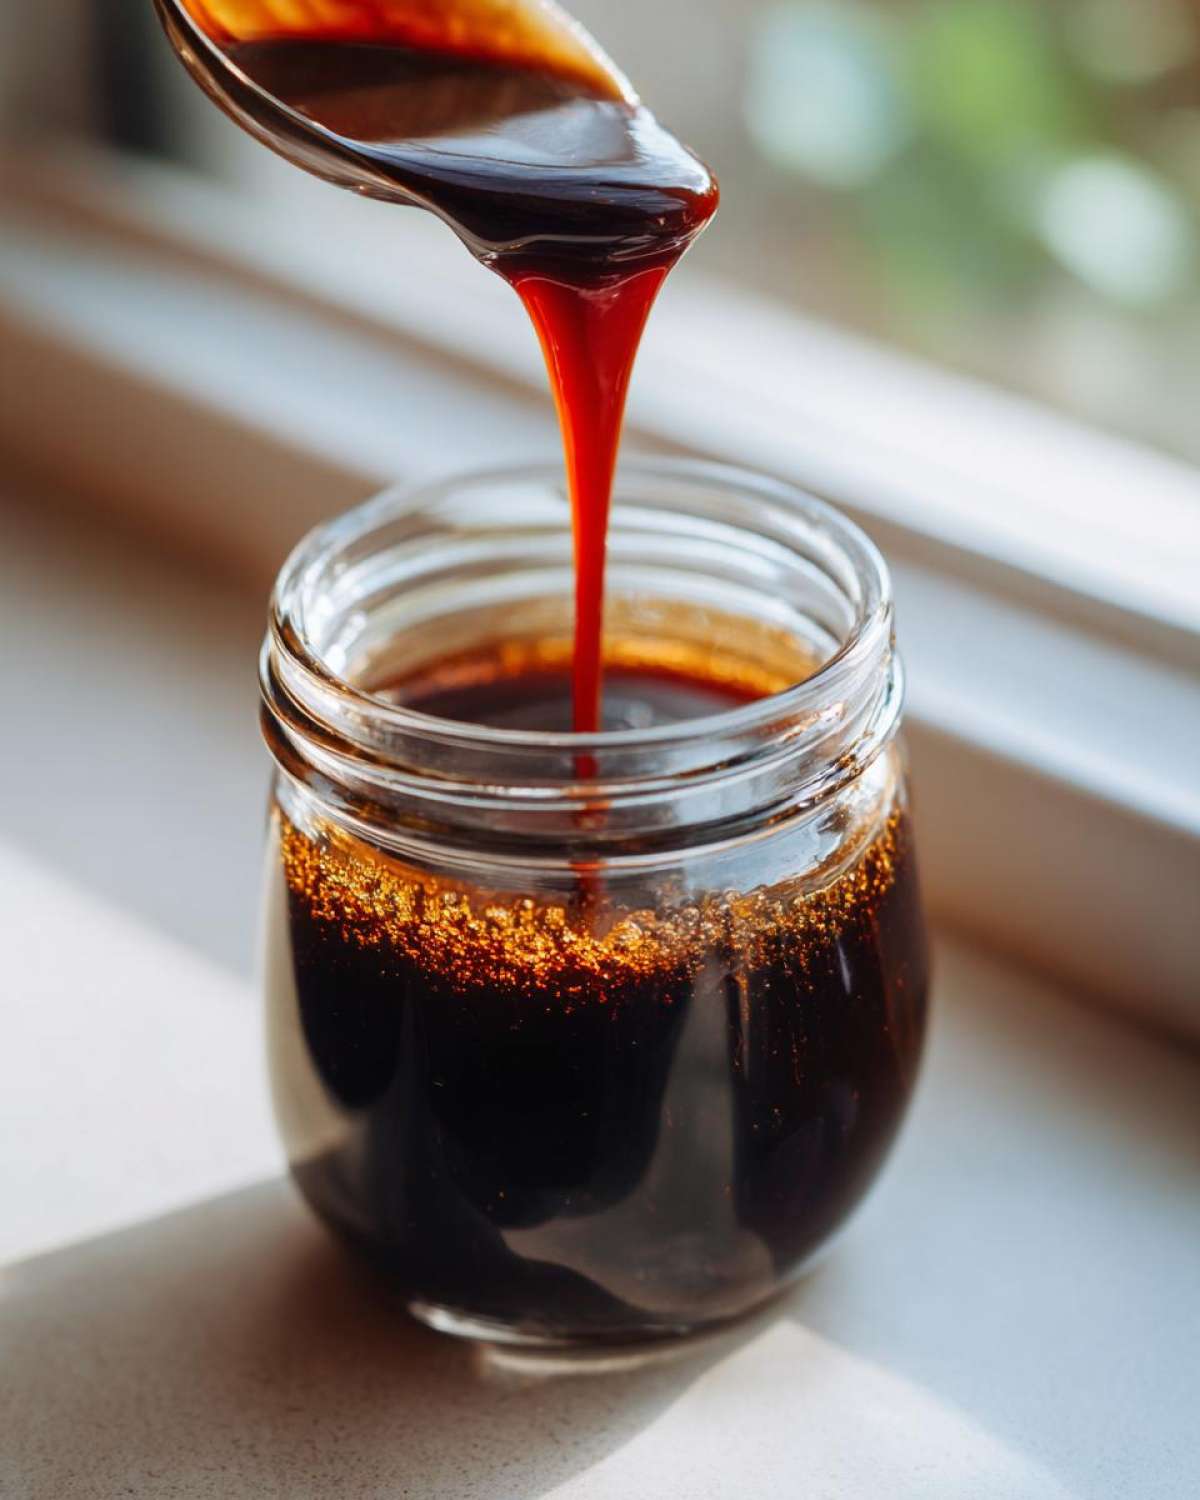
Now, here’s the funny thing about syrup made with real sugar and water: it gets thick in the fridge! I mean, really thick. It goes from a pourable ribbon to something closer to fudge topping. This is actually a good sign—it means you made it right! If you find it’s too stiff for drizzling over ice cream, don’t panic or try to water it down.
Just scoop out what you need and pop it in a small microwave-safe bowl. Give it a gentle zap for about 10 to 15 seconds. Stir it up, and boom—it goes right back to that perfect, runny consistency. It’s the perfect texture for stirring into a glass of milk to make that amazing, rich homemade chocolate pudding later, or just for pouring over your favorite dessert.
Keeping it tucked away means you always have a first-class dessert topping ready to go without ever having to run to the store. I keep mine right next to the vanilla because they’re best friends!
Frequently Asked Questions About Making Chocolate Syrup
I always get questions when people try this recipe for the first time! It’s so simple, but those tiny details make all the difference between good syrup and truly great syrup. Here are the things I hear most often when readers try to whip up their own natural chocolate syrup.
How do I make this chocolate syrup thicker or thinner?
This is the question I get asked the most! If you want it thicker, you need to simmer it longer! Remember when we took it off the heat after just one minute? If you want super thick syrup, let it gently simmer for an extra two or three minutes after the sugar dissolves. That evaporates a little more water, which concentrates the sugar and cocoa mixture. If it’s too thick after it chills, just stir in a tiny splash of warm water at a time until it loosens up to your liking. Easy peasy!
Can I use Dutch-process cocoa powder in this chocolate syrup recipe?
Great question about the cocoa! I always call for standard unsweetened cocoa powder because it has natural acidity, which helps balance the sweetness of the sugar perfectly. Dutch-process cocoa powder is alkalized, making it less acidic and giving it a darker, smoother look, but it can sometimes mute the chocolate intensity here. If you do use it, you might want to add a touch more salt or maybe even a tiny drop of vinegar (don’t worry, you won’t taste it!) to help balance the flavors a bit. But honestly? Stick to the natural stuff for the best results in this simple recipe.
What is the best way to use this as a chocolate milk recipe at home?
This is what I use it for most often! If you are making a chocolate milk recipe at home with this syrup, you want to make sure the milk is cold. I found the perfect ratio, remember? Just start with about two tablespoons of the cooled syrup per one cup of cold milk. Stir it really well—I use a little milk frother sometimes to get it totally incorporated quickly. It pulls apart so much better than the powdery stuff and tastes way richer!
If you want to step it up and make a rich mocha, just stir a tablespoon of this into your espresso shot before adding the steamed milk. It works perfectly for a rich chocolate mocha syrup base!
Nutritional Estimates for This Chocolate Syrup
So, while we are all here basically for the pure joy and fudgy texture this chocolate syrup delivers, I know some of you are curious about the fuel intake aspect! I always want to be upfront about what’s in my recipes, even the easy ones. Please remember that these numbers are just estimates. They depend heavily on the exact sugar and cocoa you use, but this gives you a good baseline for what you’re getting.
These figures are based on a serving size of just two tablespoons, which is a decent drizzle over your ice cream or pancakes. You’ll find that this simple pantry syrup recipe uses straightforward ingredients, so the breakdown is pretty clean!
Here’s a general guide:
- Serving Size: 2 tablespoons
- Calories: 85
- Sugar: 18g (Yes, it’s a treat!)
- Sodium: 15mg
- Fat: 0.5g
- Protein: 0.5g
There’s almost no fat or protein here—it’s mostly sweetness and chocolate flavor, which is exactly what we want in a quick dessert topping. Enjoy it guilt-free, knowing you made it yourself with ingredients you trust!
Share Your Homemade Chocolate Syrup Creations
Whew! Now that you have your very own stash of this incredible, easy-to-make chocolate syrup, I’m dying to know what you’re going to put it on. Seriously, don’t hold back!
I really hope you love making this as much as I love making a fresh batch every other week. It’s one of those recipes that just makes me feel accomplished, you know? Tell me in the comments below—did you use it on breakfast, dessert, or did you make the best chocolate milk recipe at home ever?
If you tried out the little spicy kick or swapped the sugar for brown sugar, please leave a comment and let everyone know how that turned out! I always love hearing about your twists and turns. And if you took a picture of your towering ice cream sundae or your perfectly drizzled pancakes, tag me over on the blog! I want to see all that rich, fudgy goodness in action!
Happy drizzling, everyone!
PrintThe Ultimate 10-Minute Homemade Chocolate Syrup
Make a rich, smooth chocolate syrup from scratch in under ten minutes using simple pantry ingredients like cocoa powder.
- Prep Time: 5 min
- Cook Time: 5 min
- Total Time: 10 min
- Yield: About 1 1/2 cups
- Category: Dessert Topping
- Method: Stovetop Cooking
- Cuisine: American
- Diet: Vegetarian
Ingredients
- 1 cup granulated sugar
- 1 cup water
- 1/2 cup unsweetened cocoa powder
- 1/4 teaspoon salt
- 1 teaspoon vanilla extract
Instructions
- Combine the sugar, water, cocoa powder, and salt in a small saucepan.
- Place the saucepan over medium heat. Whisk the mixture constantly until the sugar dissolves and the mixture begins to simmer.
- Reduce the heat to low and let it simmer gently for about 1 minute, stirring occasionally. Do not boil rapidly.
- Remove the saucepan from the heat. Stir in the vanilla extract.
- Allow the syrup to cool slightly. It will thicken as it cools.
- Pour the finished syrup into an airtight container for storage.
Notes
- For a thicker syrup, simmer the mixture for an extra 2-3 minutes after the sugar dissolves.
- Store this syrup in the refrigerator for up to two weeks.
- Use this syrup to make chocolate milk by mixing 2 tablespoons into 1 cup of cold milk.
- Substitute the granulated sugar with an equal amount of brown sugar for a deeper molasses flavor.
Nutrition
- Serving Size: 2 tablespoons
- Calories: 85
- Sugar: 18g
- Sodium: 15mg
- Fat: 0.5g
- Saturated Fat: 0.3g
- Unsaturated Fat: 0.2g
- Trans Fat: 0g
- Carbohydrates: 21g
- Fiber: 1g
- Protein: 0.5g
- Cholesterol: 0mg