

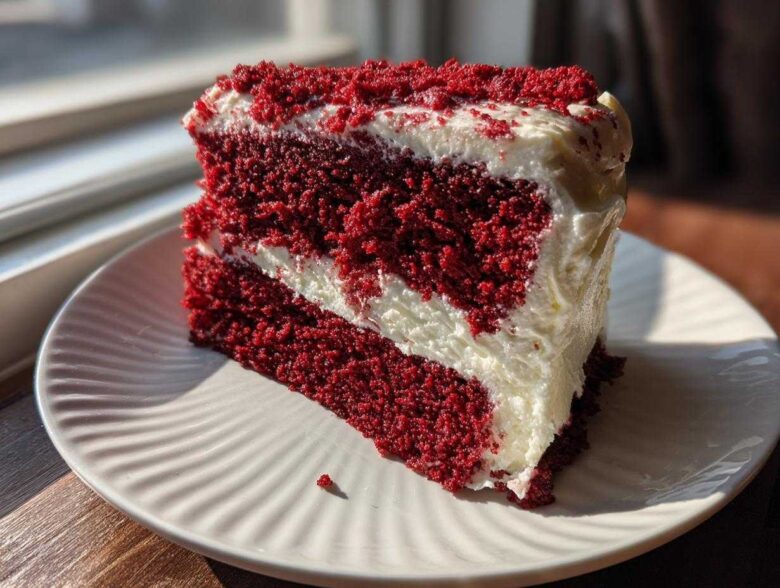
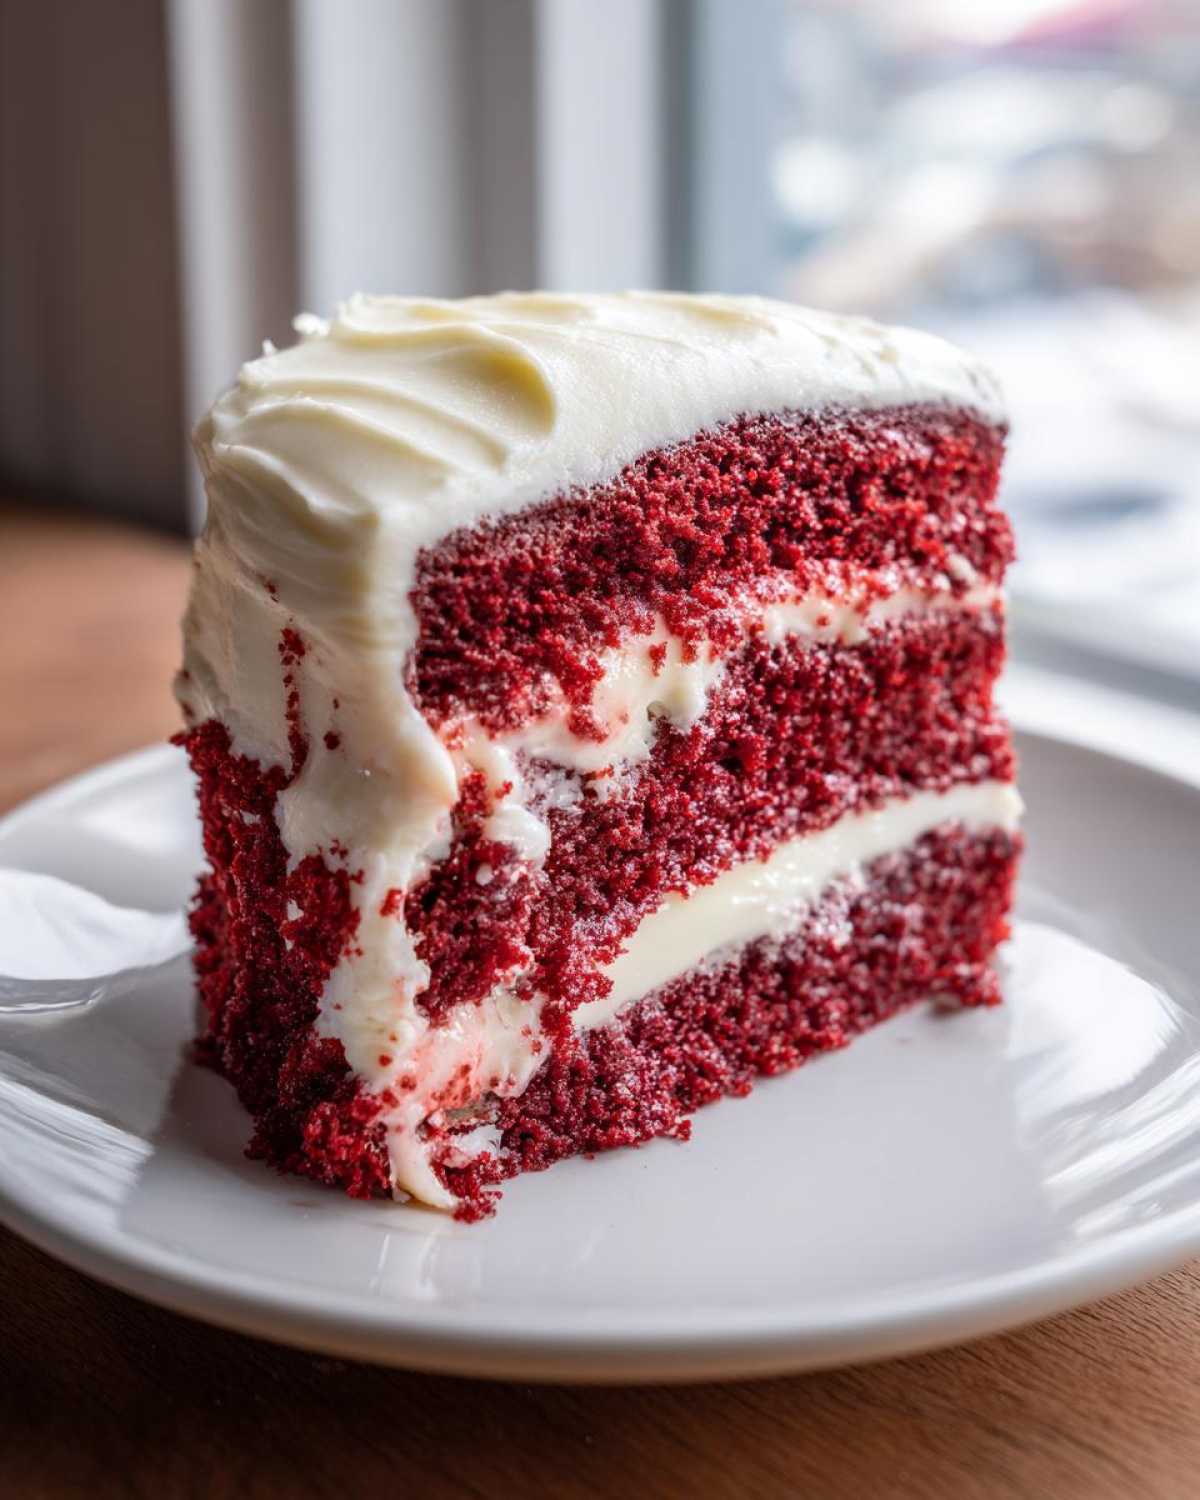
You know those times when you need a dessert that looks impressive but honestly, you just don’t have time for scratch baking? Me too! That’s why I swear by this **red velvet poke cake**. Forget dry, sad sheet cakes; this recipe is my go-to secret weapon for parties, especially when Valentine’s Day rolls around. Honestly, I tried this recipe dozens of times just to make sure the texture was absolutely perfect. Seriously, I poked and soaked until my hands were stained red just verifying the absolute maximum moisture this cake can handle! Using a good cake mix is our shortcut here, but the magic comes in the soaking part. Trust me, once you get that sweet moisture deep into the cake, it becomes ultra-moist and totally velvety. You won’t believe how easy this comes together. Check out my guide to other easy poke cake recipes if you love this style too!
Why This Red Velvet Poke Cake Recipe is a Must-Try
This isn’t just another cake; it’s my definition of a dessert hero when company comes over. We’re skipping the fussy layers and going straight for maximum payoff with minimal fuss. If you are looking for a show-stopping **Moist Red Velvet Dessert** that practically makes itself, you’ve found it!
Unbeatable Moisture Factor
That sweetened condensed milk soak, poured over the warm cake, locks in moisture like nothing else. It seeps down through those little holes, ensuring every single bite is perfectly tender and velvety, not dry at all. It’s liquid velvet!
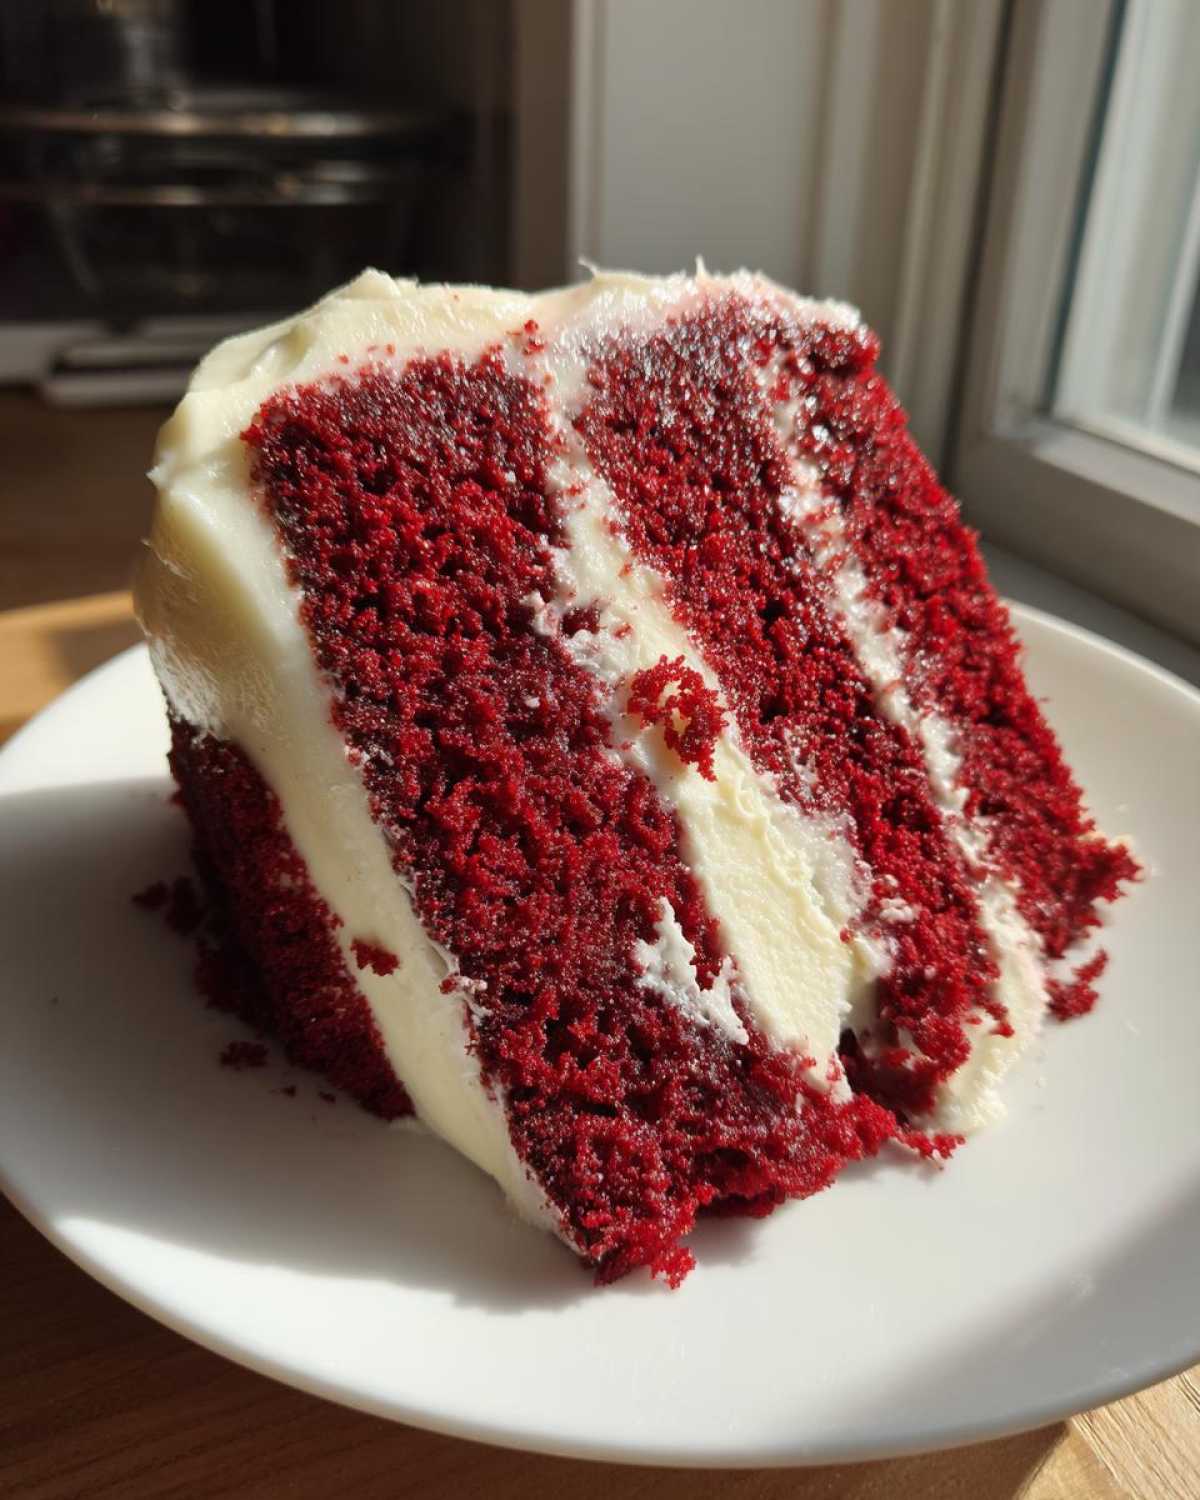
Simple Assembly for a Velvety Cake Recipe
Because we start with a box mix, you’ve already knocked out half the hard work. This is truly an **Easy Poke Cake**. You bake it, poke it, pour the soak, and frost it. That’s it! You can find my guide for a more involved scratch version if you ever feel like leveling up here, but this simple route wins every time.
Gathering Ingredients for Your Red Velvet Poke Cake
Listen, the best part about this recipe being so simple is that it mostly relies on pantry staples and one required item: that beautiful red velvet mix. I’ve laid out exactly what you need below, broken down by what it’s actually doing in the cake. Remember, for the frosting, the butter and cream cheese absolutely have to be soft—not melted, just soft enough to smoosh easily with your finger. If they’re cold, you’ll end up with lumpy frosting, and we want smooth sailing!
For the Red Velvet Poke Cake Base
- 1 box (15.25 oz) red velvet cake mix
- The ingredients called for on the box (usually eggs, oil, and water). If you want extra moisture, swap some of the box-required water for buttermilk!
The Essential Sweetened Condensed Milk Cake Soak
This is where the magic lives! Don’t skimp here.
- 1 can (14 oz) sweetened condensed milk
- 1/4 cup water (just a touch to thin it out slightly)
For the Classic Cream Cheese Frosting Cake Topping
This frosting is non-negotiable for the classic flavor profile. I can’t stress enough: make sure your dairy is room temperature!
- 8 oz cream cheese, softened (I mean really soft!)
- 1/2 cup (1 stick) unsalted butter, softened
- 3 cups powdered sugar (sifted if yours is clumpy)
- 1 teaspoon vanilla extract
- 1/4 cup milk or heavy cream (we’ll add this slowly to get it perfect)
- 1 tub (8 oz) frozen whipped topping like Cool Whip, thawed (optional, but adds lightness)
If you want the absolute best frosting recipe tips, check out my friend’s amazing deep dive on Cream Cheese Frosting Cake techniques!
Step-by-Step Instructions for the Red Velvet Poke Cake
Okay, here is where we turn those simple ingredients into an unbelievably moist masterpiece. This is a Quick Sheet Cake Recipe disguised as a fancy dessert, I promise! Follow these steps closely, especially around the poking and soaking, and you will have the best cake on the block. Don’t rush the cooling time; I learned that lesson the hard way!
Baking the Red Velvet Poke Cake
First things first, get your oven heated up to 350 degrees Fahrenheit—that’s 175 Celsius for my international friends. Grease and flour that 9×13 pan until it shines. Now, mix up your red velvet cake batter following the box directions. This is where you can cheat a little for extra moisture: if the box calls for one cup of water, try using 1 cup of milk instead, or even better, swap the water for buttermilk. Once it’s mixed up, pour it into your pan and bake until a toothpick comes out clean when you stick it in the center. Let that cake sit in the pan for about 15 minutes before we do the fun part.
Creating the Soak and Poking the Cake
While the cake is cooling its heels for those 15 minutes, grab a small bowl. Whisk together that entire can of sweetened condensed milk with just 1/4 cup of plain water. Keep it ready! Now, take a wooden spoon handle—or a sturdy fork—and start poking holes all over that warm cake. I mean it, poke deep! You want holes spaced about an inch apart, going almost down to the bottom of the pan. Slowly, steadily, pour that sweet soak over the entire surface. Watch it disappear into the holes! You need to let the cake cool completely now, maybe an hour or two, so all that goodness sinks in totally before you even *think* about frosting it.
Preparing and Applying the Frosting
Once the cake is totally cool—seriously, totally cool—we make the frosting. In a big bowl, beat that softened cream cheese and softened butter together until they are completely smooth and creamy. Start adding the powdered sugar a cup at a time until it’s blended. Then toss in the vanilla and the milk, beating until it’s light and fluffy. If you’re using the optional whipped topping, gently fold that in at the very end. Use an offset spatula to spread this amazing topping evenly over your soaked cake. Pop it in the fridge for at least an hour to firm up, and here’s another spot where you can see how crucial soaking is in other recipes!
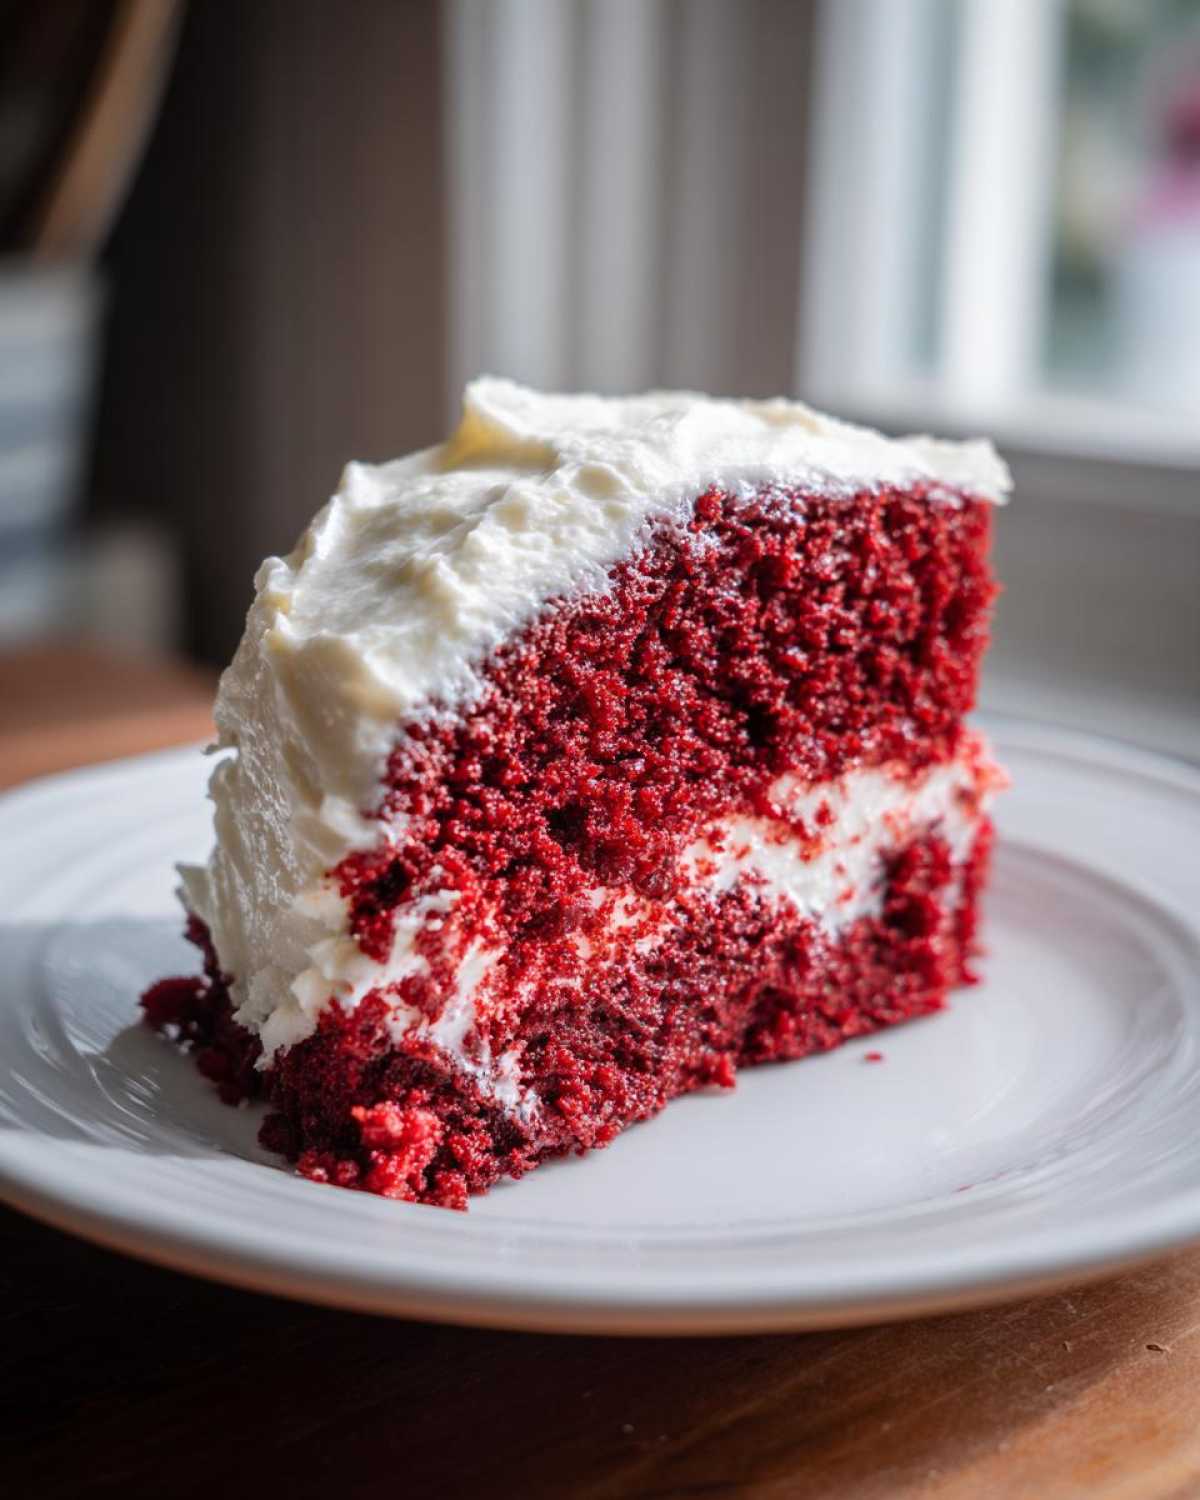
Tips for the Best Moist Red Velvet Dessert
Even though this is a super simple recipe, a few little secrets will make sure this turns out to be the absolute best and most **Moist Red Velvet Dessert** you’ve ever made. These little tricks are what separate a good cake from an amazing one, even for us **Beginner Friendly Cakes** folks!
Achieving Perfect Cream Cheese Frosting Consistency
When you’re beating your frosting together after the sugar is in, the milk or cream is what makes or breaks the texture. Don’t just dump it all in! Add that 1/4 cup of milk or cream a tablespoon at a time. You want the frosting fluffy but still stiff enough to hold its shape when you spread it. If it starts looking thin or runny before you add all the sugar, stop right there. It’s better to be slightly stiff than sloppy. For more on perfecting swirls, I love reading tips on frosting techniques.
Maximizing Flavor in Your **Red Velvet Poke Cake**
Remember when I mentioned buttermilk instead of water in the batter? If you can do that one swap, please do! Buttermilk adds a tiny bit of acidity that really wakes up that classic red velvet flavor profile and reacts slightly with the cocoa powder, making the color richer too. It doesn’t change the texture negatively at all, but that flavor boost is huge! It’s one of those tiny steps that makes this feel fancy even though it’s from a box!
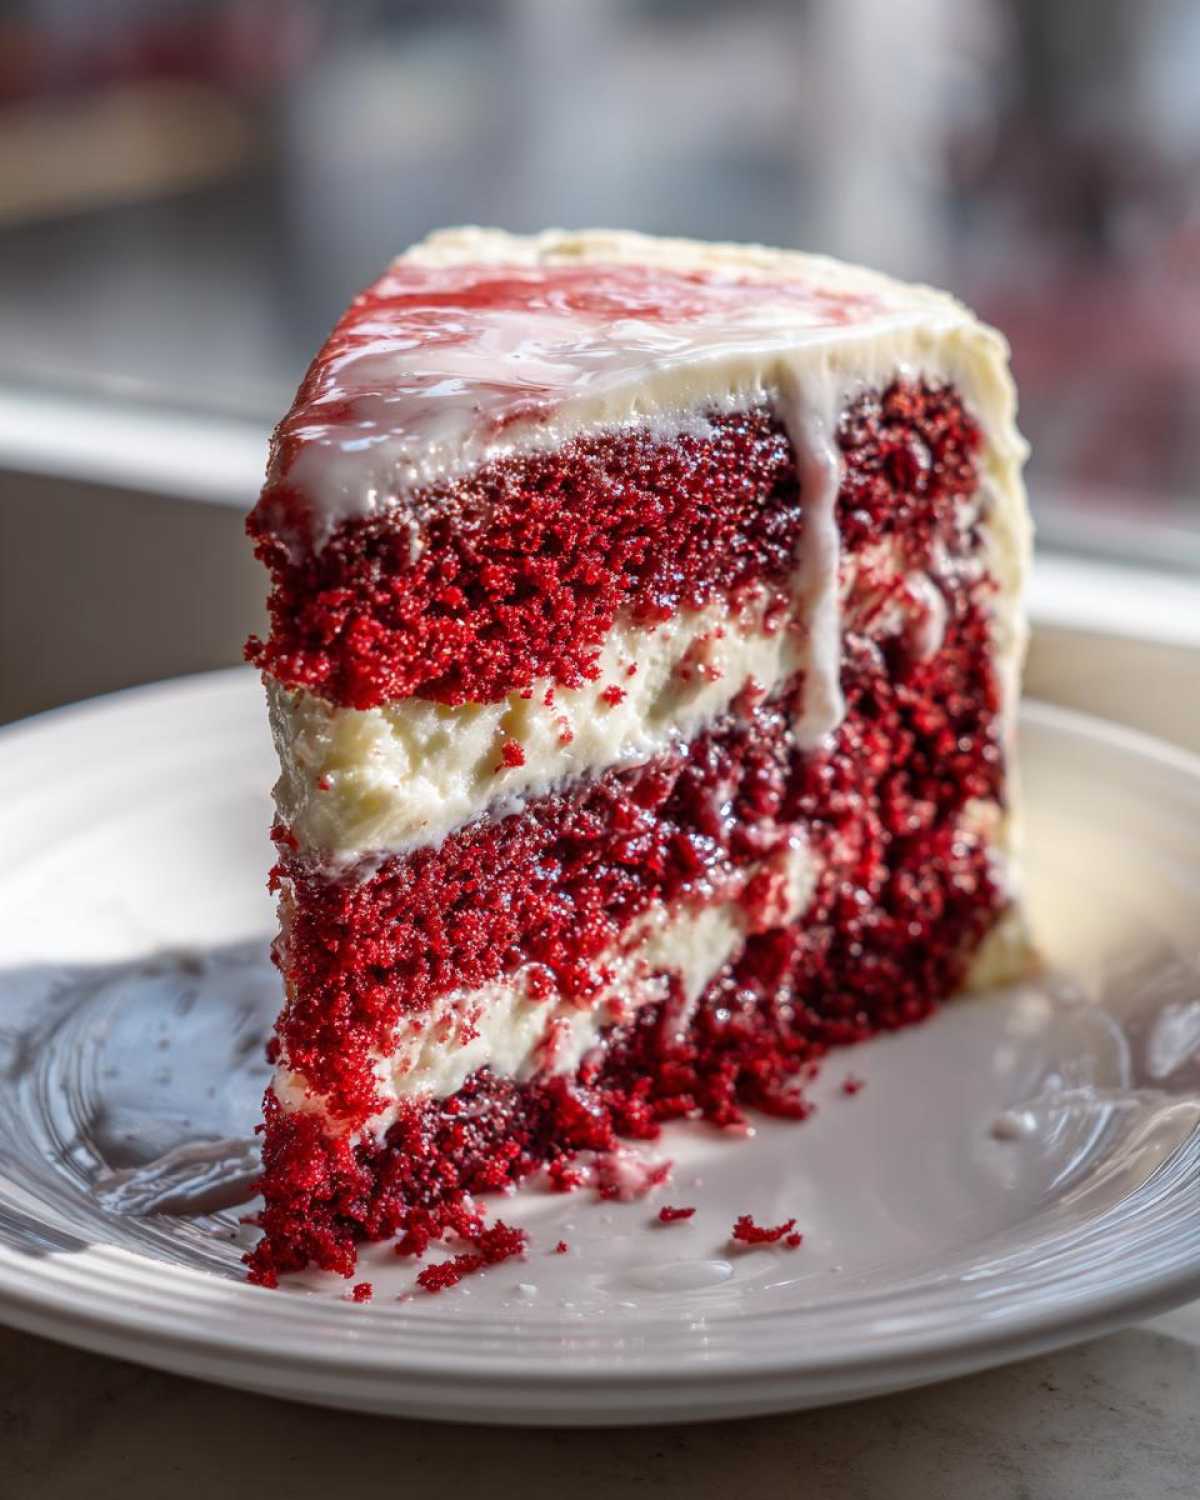
Storage and Reheating Instructions for Your Red Velvet Poke Cake
Because this cake has that gorgeous, creamy **Cream Cheese Frosting Cake** topping, and because it’s soaked through with that rich, milky goodness, you can’t just leave it on the counter. Nope! This **red velvet poke cake** absolutely needs to be covered tightly and stashed in the fridge. Honestly, it tastes even better the next day once all those flavors have really settled in together!
It stays super moist and perfect in the refrigerator for about three days. Don’t even think about reheating it, though! This cake is meant to be served cold or maybe just slightly cool from the fridge. Trying to warm it up will just melt that beautiful frosting into a sugary puddle. Trust me on this one; just serve it chilled for the best experience!
Variations and Poke Cake Ideas
So, you crushed the basic recipe! Fantastic! Now that you know how easy it is to get that signature moisture, we can start having some real fun with this **red velvet poke cake**. This recipe is super adaptable, which is why I love it so much for making quick Poke Cake Ideas for last-minute gatherings. You aren’t tied down to just the cream cheese frosting, even though it’s heavenly.
Topping Swaps for Your Holiday Poke Cake
If you want something a little richer or unexpected—maybe for a big Holiday Poke Cake gathering—try swapping out part of the soak or topping. After you pour in your condensed milk soak, you can gently spoon in a layer of vanilla or even cheesecake-flavored instant pudding while the cake is still warm. Let that set up before you blanket it with the cream cheese frosting. Oh, and if you have some Oreos lying around? Crush them up—the plain kind, not the sandwich kind—and press them right into the frosting surface. It adds a fun, chocolatey crunch!
Making a Christmas Red Velvet Version
When it’s time to make this a true Christmas Red Velvet centerpiece, presentation is everything! After you spread the cream cheese frosting, you need a little festive pop. I always keep a jar of green and red sprinkles ready for this exact moment. Sprinkle those generously right over the top. Another trick I love is shaving some good-quality white chocolate over it. The white chocolate looks like snow against that red, and the flavor pairs amazingly well with the slight tang of the frosting. If you’ve been looking for ways to use up that cake mix, check out my recipe for Red Velvet Cake Mix Cookies!
Serving Suggestions for This Dessert for Parties
This **Dessert for Parties** is so rich and creamy on its own, it kind of steals the show! But you know me, I love a good pairing. When I serve this fluffy red cake, I usually keep the sides simple so the red velvet flavor really shines through. A tall, cold glass of milk is always a winner—it cools off the sweetness perfectly.
If I’m serving it after dinner, I love having a fresh, lighter element nearby to cut through that beautiful cream cheese frosting. A small bowl of fresh raspberries or sliced strawberries works wonders. Honestly, though, my favorite evening pairing is a hot cup of strong black coffee. If you need a warm beverage inspiration, check out my absolute favorite big-batch hot cocoa recipe!
Frequently Asked Questions About the Red Velvet Poke Cake Recipe
I know sometimes after trying a new recipe, you just have a few lingering questions floating around. That’s totally normal! I’ve rounded up some of the things I get asked most often about this amazing, super moist cake. Hopefully, one of these helps you out so you can get baking faster!
Can I use a different frosting on my Easy Poke Cake?
Oh yes, you absolutely can! While the cream cheese frosting is the classic dream combo, if you need a change, go for it. If you want something lighter, you can use stabilized whipped cream—just make sure you whip it stiffly because that condensed milk soaker makes the cake heavy! For those chocolate lovers, a simple dark chocolate ganache poured over the top is divine, though I still insist you let the cake chill completely first so that soak doesn’t run everywhere!
How long does the **red velvet poke cake** need to chill?
This is important for structure! You should let your cake chill for at least one full hour in the refrigerator after you frost it, even if you’re tempted to cut into it right away. That hour helps the frosting firm up so it doesn’t slide right off when you slice it. Plus, chilling really lets that sweet soak settle into the crumb, making it even softer!
What is the best way to poke holes in the cake?
Forget those tiny cocktail skewers; they don’t cut it for this recipe! You need something sturdy that creates a nice big tunnel for the liquid. My favorite tool is actually the rounded end of a wooden spoon handle—it makes perfect, deep, evenly spaced holes. A large, sturdy serving fork works too, but you have to press pretty firmly. Remember, you want those holes deep down to the bottom of the pan!
If you’re looking for more tips on achieving that perfect texture, you might want to check out my favorite cookie adaptation using the same flavor profile!
Nutritional Estimate for This Velvety Cake Recipe
Okay, let’s talk numbers for a second, because while this **Velvety Cake Recipe** tastes like pure indulgence, it’s good to have a general idea of what we’re eating! Remember, this is just an estimate, because how much icing *I* pile on versus how much you pile on is going to change things drastically, right?
These numbers are based on dividing the recipe into 12 generous slices. If you cut it smaller—which I never do, let’s be honest—the numbers will be lower. These figures reflect the cake, the soak, and the cream cheese frosting combination, so keep that in mind when you see the sugar content!
- Serving Size: 1 slice
- Calories: Roughly 450 (It’s a party cake, folks!)
- Fat: About 20g total fat
- Saturated Fat: Around 10g (Thank you, butter and cream cheese!)
- Sugar: This clocks in high, around 65g, which is expected with the condensed milk and frosting.
- Carbohydrates: About 68g
- Protein: About 5g
- Cholesterol: Around 45mg
I always say, if you’re making something this delicious for a gathering, enjoy it! We only live once, and a little bit of sugar makes everything better, especially when it comes in this wonderfully moist **Red Velvet Poke Cake** form!
PrintThe Ultimate Ultra-Moist Red Velvet Poke Cake with Cream Cheese Frosting
Make this easy, ultra-moist red velvet poke cake using a box mix, soaked in sweetened condensed milk, and topped with classic cream cheese frosting.
- Prep Time: 20 min
- Cook Time: 35 min
- Total Time: 55 min
- Yield: 12 servings
- Category: Dessert
- Method: Baking
- Cuisine: American
- Diet: Vegetarian
Ingredients
- 1 box (15.25 oz) red velvet cake mix
- Ingredients called for on cake mix box (usually eggs, oil, water)
- 1 can (14 oz) sweetened condensed milk
- 1/4 cup water
- 8 oz cream cheese, softened
- 1/2 cup (1 stick) unsalted butter, softened
- 3 cups powdered sugar
- 1 teaspoon vanilla extract
- 1/4 cup milk or heavy cream
- 1 tub (8 oz) frozen whipped topping (like Cool Whip), thawed (optional for topping)
Instructions
- Prepare the cake: Preheat your oven to 350 degrees Fahrenheit (175 degrees Celsius). Grease and flour a 9×13 inch baking pan. Prepare the red velvet cake mix according to the package directions, substituting the liquid amount with 1 cup of water and 1 cup of milk if you want extra moisture, or follow the box exactly. Bake until a toothpick inserted into the center comes out clean. Let the cake cool in the pan for 15 minutes.
- Prepare the soak: While the cake is cooling slightly, whisk together the sweetened condensed milk and 1/4 cup of water in a small bowl.
- Poke the cake: Use the handle end of a wooden spoon or a large fork to poke holes all over the warm cake, spacing them about 1 inch apart. Poke deep holes, almost reaching the bottom of the pan.
- Soak the cake: Slowly pour the condensed milk mixture evenly over the entire surface of the cake, allowing the liquid to seep into the holes. Let the cake cool completely at room temperature, about 1 to 2 hours, allowing the liquid to absorb fully.
- Make the frosting: In a large bowl, beat the softened cream cheese and softened butter together until smooth. Gradually add the powdered sugar, beating until combined. Mix in the vanilla extract and milk or cream until the frosting is light and fluffy.
- Frost the cake: Spread the cream cheese frosting evenly over the cooled, soaked cake. If desired, gently spread the thawed whipped topping over the cream cheese layer for a lighter finish.
- Chill: Refrigerate the cake for at least 1 hour before slicing and serving.
Notes
- For a richer flavor, substitute the water in the cake batter with an equal amount of buttermilk.
- If you prefer a simpler topping, skip the cream cheese frosting and use a tub of vanilla or cream cheese flavored whipped topping directly over the soaked cake.
- You can add a few drops of red food coloring to the condensed milk soak for a deeper color throughout the cake.
Nutrition
- Serving Size: 1 slice
- Calories: 450
- Sugar: 65
- Sodium: 350
- Fat: 20
- Saturated Fat: 10
- Unsaturated Fat: 10
- Trans Fat: 0
- Carbohydrates: 68
- Fiber: 1
- Protein: 5
- Cholesterol: 45