

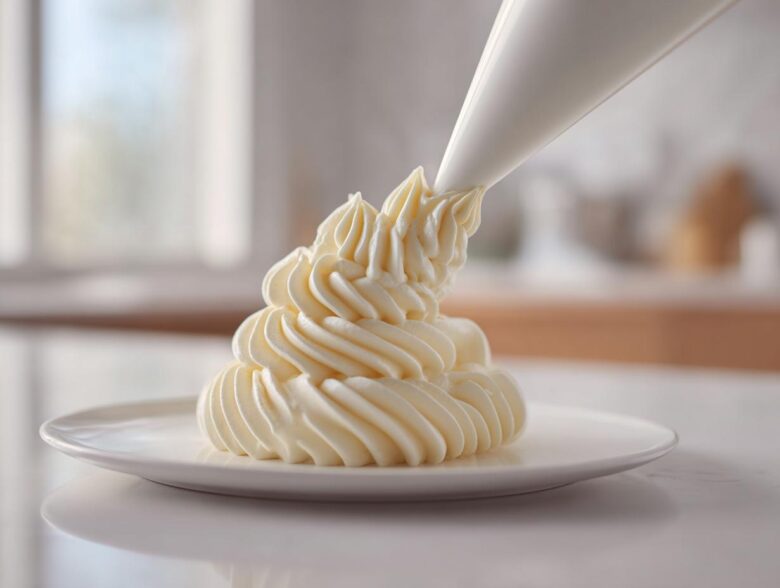
Look, I’m going to be honest with you—a beautiful cake is only as good as that cloud of frosting sitting on top, right? And if you’ve ever cried over frosting that’s too soupy to pipe those perfect swirls, you know the struggle. I spent years battling stiff peaks and grainy sweetness until I finally cracked the code on the **vanilla buttercream** that sets the standard. This isn’t just icing; this is the ultimate fluffy and stable recipe, perfect for all your piping needs. Once you master the timing of the final whip, you’ll never look back! It’s amazing how much better this tastes than some of those quick fixes; you can even check out my cream cheese frosting recipe for another favorite topping, but for pure, classic flavor, this is it.
Why This is the Best Vanilla Buttercream Recipe for Your Cakes
What makes this the absolute **best vanilla buttercream recipe**? It all comes down to texture and reliability. Seriously, you want a frosting that isn’t going to melt off your cupcakes the minute the room gets slightly warm, right? This version is incredibly light—we beat the air in for ages—so it has that incredible fluffy consistency. That’s why it’s such a fantastic **fluffy vanilla icing for cake**.
It holds its shape beautifully, too! Because we are careful about the liquid, this **vanilla buttercream** is totally stabilized, meaning those rosettes and sharp edges you pipe will actually stay put. You can use this same mixture on everything, from giant layer cakes to cute little sugar cookies. If you’re loving this frosting vibe, you have to check out my recipe for moist vanilla cupcakes to put it on!
Gathering Ingredients for Perfect Vanilla Buttercream
Okay, gathering your ingredients is where the magic starts, and for this vanilla buttercream, preparation is everything. Don’t just throw things in the bowl! We need precision here to get that perfect texture that mixes up to yield about 5 cups. Remember, with American Buttercream, the temperature of your butter is non-negotiable. If it’s too warm, your frosting will turn into soup—trust me, I’ve been there!
- 1 cup unsalted butter, softened to room temperature
- 4 cups powdered sugar, sifted (This step is key for smooth icing!)
- 1 teaspoon pure vanilla extract
- 1/4 teaspoon salt
- 2 to 4 tablespoons heavy cream or milk
Ingredient Notes and Substitutions for Creamy Buttercream
Let’s talk about that butter for a second. When I say softened, I mean it should yield just a little when you press it gently—it should leave a clean dent but not look greasy or melted. Don’t try to microwave it or put it near the oven; that’s a recipe for disaster!
For the vanilla, please, please use pure vanilla extract if you can swing it. The flavor difference is huge, giving you that rich, unmistakable taste that makes this **vanilla buttercream** shine. Imitation vanilla tastes… well, artificial. I stick to heavy cream over milk because it adds a little substance and richness without thinning out the texture too quickly, keeping our frosting beautifully **creamy buttercream**.
If you absolutely must use milk, use only cold milk, just one tablespoon at a time, to keep the mixture firm while you slowly incorporate it.
How to Make Vanilla Buttercream: Step-by-Step Tutorial
This is where we turn simple ingredients into frosting magic! Learning **how to make vanilla buttercream** flawlessly comes down to taking your time and trusting the mixer. We’re going for a **creamy buttercream tutorial** that works every single time, whether you’re a beginner or a seasoned baker. Remember, we’re using the paddle attachment for this. If you want to check out an alternative way to easily mix up frosting, I have a great linked guide to an easy vanilla buttercream frosting guide on the site, but let’s stick with the classic method right here!
First things first: Beat that softened butter alone on medium speed until it’s completely smooth and looks less like a cold stick and more like thick icing—that’s about two minutes. And don’t forget to scrape down the sides of the bowl immediately! We need every bit of butter incorporated.
Next comes the sugar. You absolutely MUST add the sifted powdered sugar slowly, just one cup at a time, keeping the mixer on low speed so you don’t create a massive sugar cloud that covers your entire kitchen. Once it’s incorporated, crank the speed up to medium-high and let it whip for a solid 3 minutes. This gets rid of that dense, heavy texture.
After that initial fluffing, toss in your salt and that gorgeous pure vanilla extract. Mix that in for a minute. Now for the liquid—this is where you control the final stiffness. Add your heavy cream or milk, one tablespoon at a time. If you are planning on piping tons of intricate designs, stop at 2 tablespoons. If you just need something easy to spread, you might need the full 4 tablespoons.
Achieving the Ultimate Fluffy Vanilla Buttercream Consistency
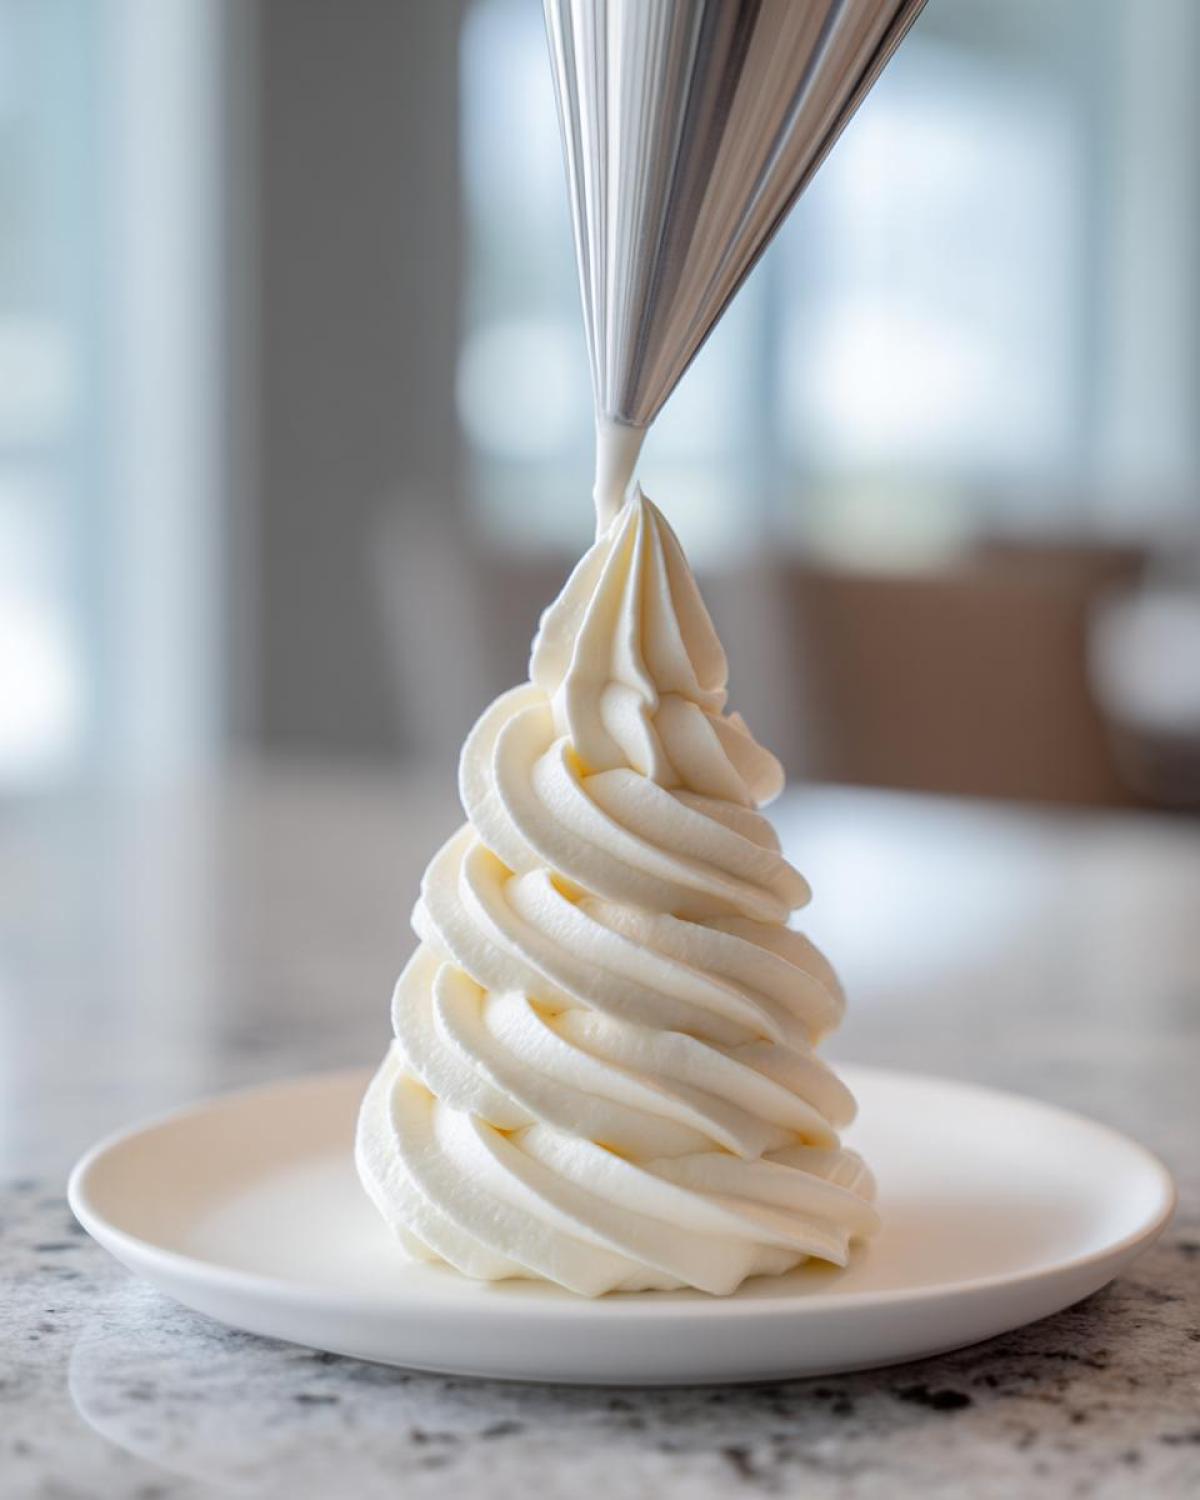
Now, here’s the secret step that separates weak frosting from truly amazing **vanilla buttercream**: the final high-speed whip. After you added your liquid, you must beat this stuff for an additional 3 to 5 minutes on medium-high speed. Yes, really! This long beating process is exactly what makes it so incredibly fluffy and gives it that stable structure you need for piping.
Think of it like whipping egg whites—you need that extended time to incorporate tons of air. This beating creates tiny bubbles that hold their shape at room temperature, which is why this turns into a fantastic **stabilized vanilla frosting** that won’t sweat on your cakes!
Tips for Success with Your Stabilized Vanilla Frosting
You’ve whipped it up, but maybe it’s a little… off? Don’t panic! Every baker runs into a small snag when making **vanilla buttercream**. Since this is a **stabilized vanilla frosting**, a few small tweaks can save the batch instantly. I always keep my mixing bowls clean because the notes I took from my grandmother show that knowing how to fix an issue is just as important as knowing the steps!
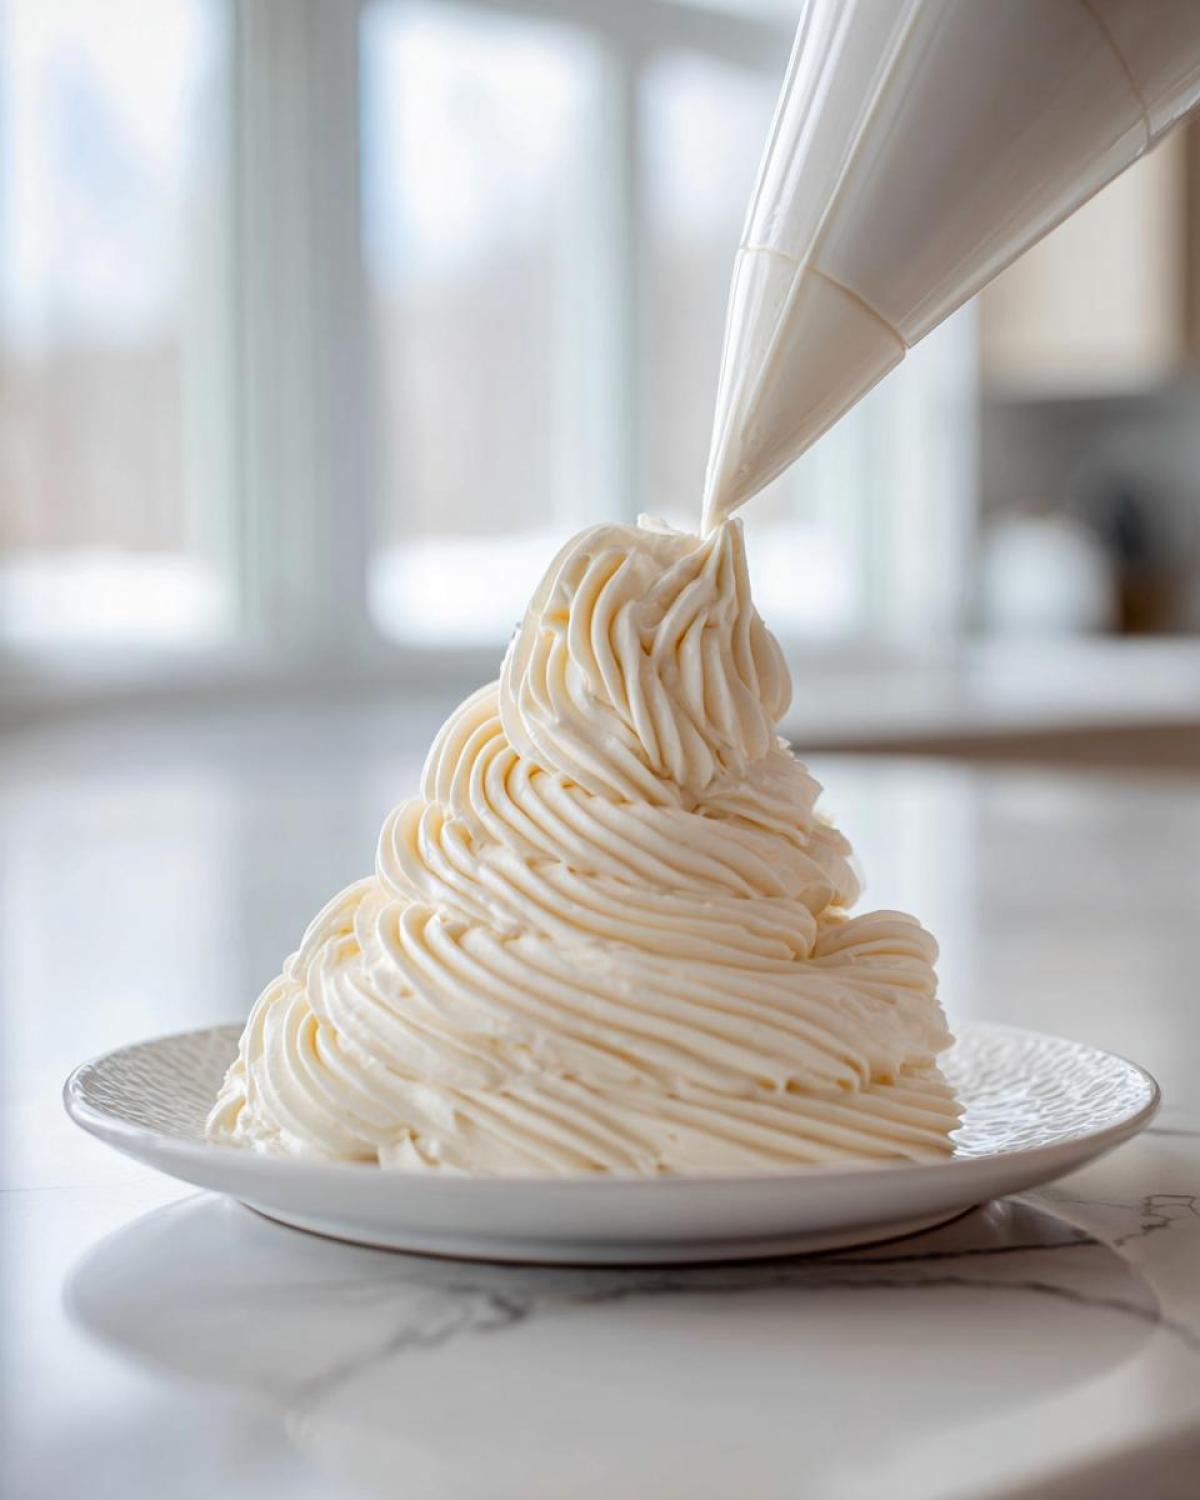
First, if your frosting seems chalky or grainy, that usually means the powdered sugar crystals haven’t dissolved completely. That’s why we beat it so long! If you hit that issue, just turn the mixer to medium-high speed and let it run for another three or four minutes. Patience here dissolves those crystals, leaving you with super smooth icing—way better than trying to force more liquid in.
What if you accidentally added too much liquid and now your frosting is slumping? This happens when I’m rushing to finish a batch! Don’t dump it! Just scoop in a quarter cup of sifted powdered sugar. Mix that in on low speed until it disappears, then bring it up to medium speed to whip the air back in. You might have to add sugar a bit at a time, but you can always thicken it up.
On the flip side, if your **vanilla buttercream** is just too stiff—maybe you live in a cold climate or used cold cream—it needs a little softening help. Add your heavy cream or milk just half a teaspoon at a time, beating thoroughly after each addition. Remember, the longer we beat the frosting after the liquid is in, the lighter it gets, so give it a good minute or two to see if that time incorporates enough air to loosen it up naturally before adding more liquid.
If you want more quick fixes for simple toppings, I’ve detailed a few more ways to adjust texture in my easy homemade frosting post. But honestly, for this recipe, sticking to the long beat time is your best defense against common failures!
Using Your Vanilla Buttercream for Piping and Decorating
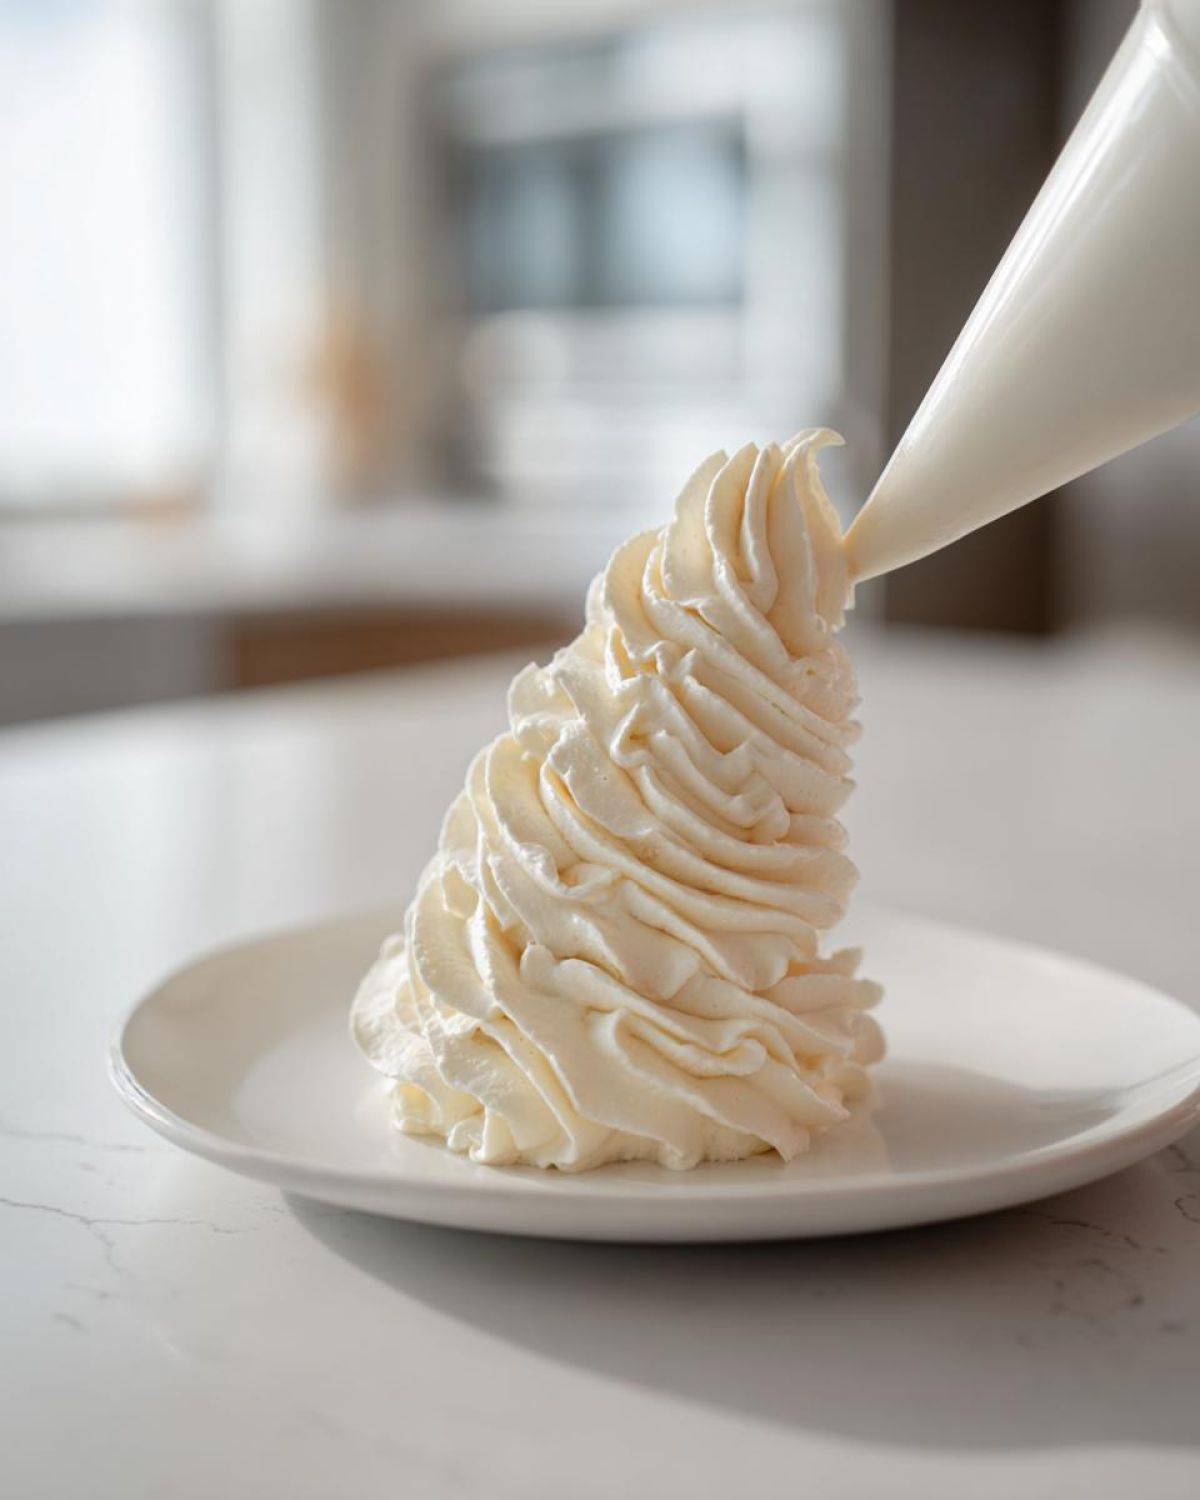
Everyone wants that gorgeous, professional look, and trust me, this **vanilla buttercream** delivers! The key is using the right amount of liquid when you’re finishing up the mixer. If you’re aiming for stars and shells, keep that heavy cream or milk addition right at the 2-tablespoon mark. That will give you a stiff, reliable frosting that truly is a fantastic **buttercream frosting recipe for piping**.
If you’re just looking for an easy spread to slap onto a sheet cake, go ahead and add that third or fourth tablespoon of liquid. That makes it much softer for getting beautiful, smooth sides. It’s amazing how versatile this simple sugar and butter base can be once you know the secret to controlling the consistency!
If you’re looking for other ideas on topping choices, I shared my thoughts on the beloved cream cheese frosting, but for true structure, this recipe is hard to beat.
Storage and Reheating Instructions for Vanilla Buttercream
So you made a giant batch of the best **vanilla buttercream** ever, and now you have leftovers? Fantastic! This recipe is actually super forgiving when it comes to storage, which is something I really appreciate because I never want to waste that perfect fluffy icing.
For short-term storage, like if you just need to put the mixer away for an hour while you run errands, leaving it in the bowl and just covering the top with plastic wrap pressed directly onto the surface works fine. But if you need to save it for longer than a day, you absolutely must refrigerate it. Place the **vanilla buttercream** into a clean, airtight container. Seriously, seal it up tight! Butter absorbs fridge smells like nobody’s business, and nobody wants frosting that tastes faintly of leftover onions, right?
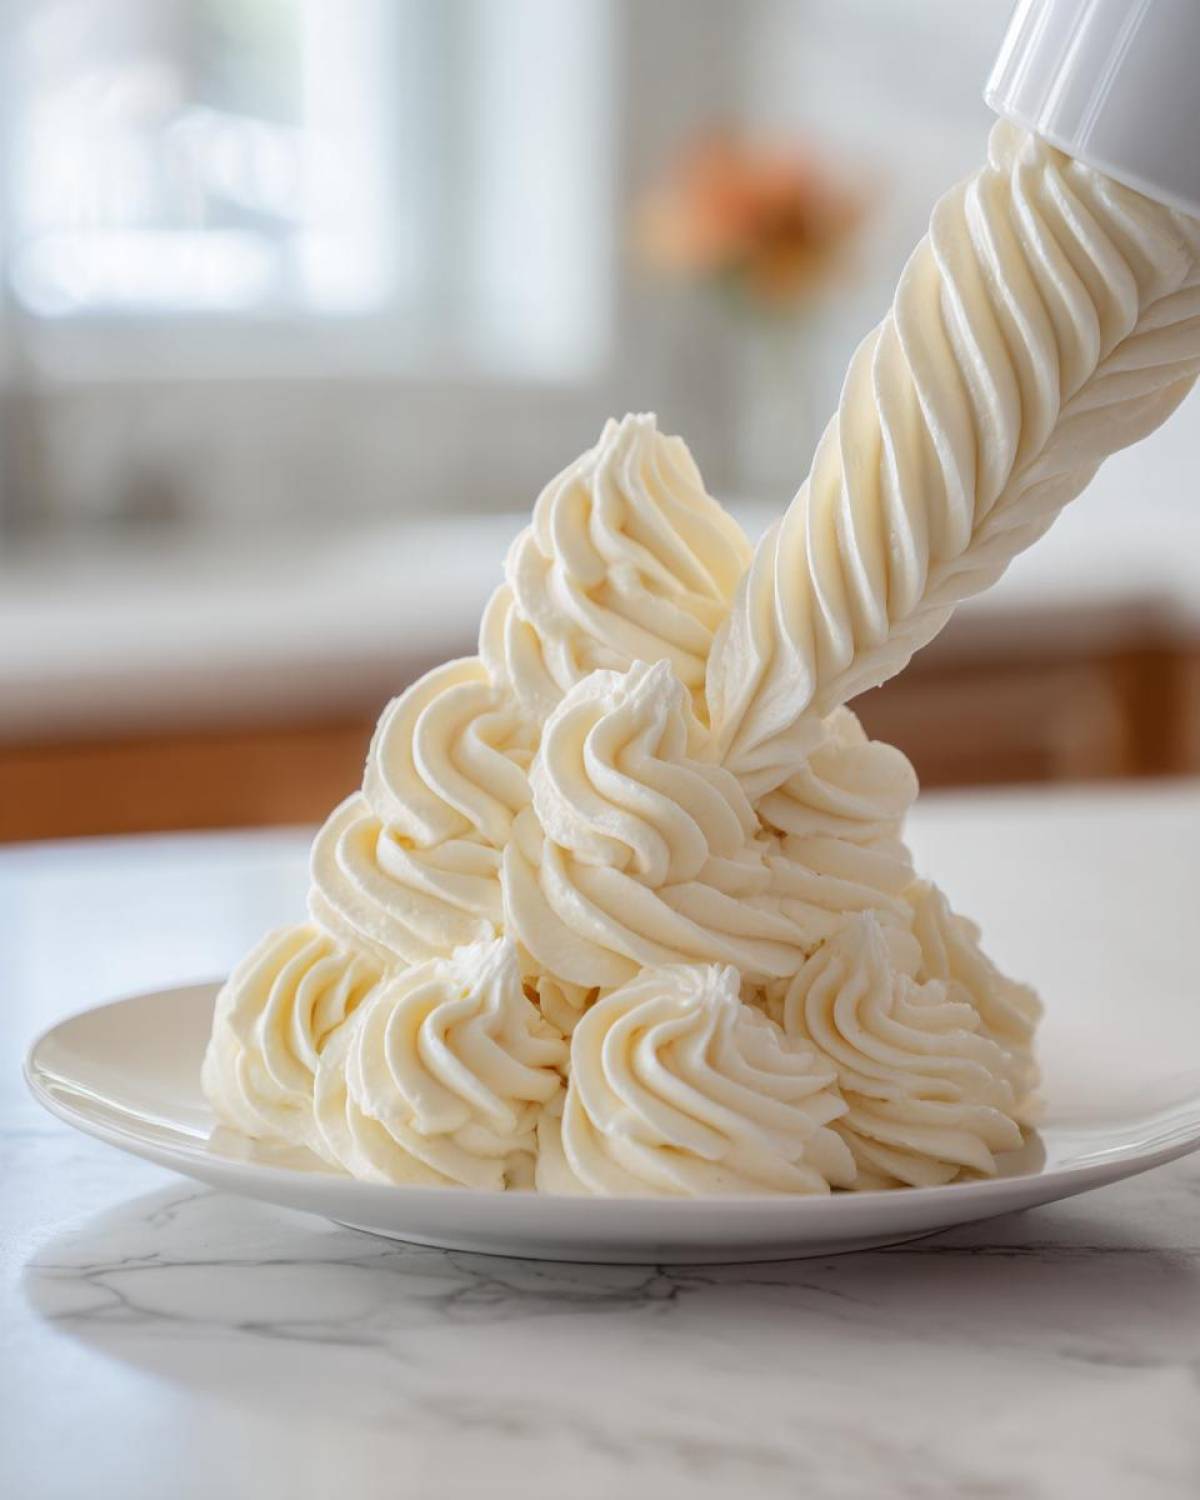
When you pull it out of the fridge, though, it’s going to look like a solid brick of butter, and that’s normal. Don’t even try to use it! You need to let it sit out on the counter at room temperature for at least an hour, maybe two, depending on how warm your kitchen is. You want it soft again, but definitely not melty.
Once the **vanilla buttercream** is pliable, it’s time for quick rescue mission: the re-whip! Put it back into your stand mixer, still using the paddle attachment, and beat it on medium speed for a solid two minutes. This whips all the air you lost while chilling right back into the frosting. It will magically transform from dense and heavy back into that beautiful, light, and fluffy texture we worked so hard to achieve!
If you find that after whipping it looks too stiff—which can happen if you chilled it for a few days—just add a half teaspoon of room temperature heavy cream and whip it again until it loosens up. It’s resilient stuff, this **vanilla buttercream** is!
Variations on Classic American Buttercream
The beauty of this recipe is that it’s our foundation! It’s a perfect classic American buttercream base, which means we can easily switch things up without needing a whole new recipe. Who wants plain vanilla all the time, anyway? We’ve got amazing cupcakes waiting, and sometimes they just need a little flavor twist, right? Check out my rich vanilla cupcake recipe to see this frosting in action!
If you want to move beyond vanilla, the easiest change is swapping out the extract. If you use pure almond extract instead of vanilla, you get a wonderfully fragrant frosting that tastes just like something from a professional bakery. Just use about half the amount of almond extract you would use for vanilla because almond is super potent!
Or, if you’re feeling zesty, try adding a full teaspoon of fresh lemon zest along with the vanilla. That bright, tart flavor cuts through the sweetness of the sugar perfectly. It makes any standard yellow cake feel fancy.
Now for my absolute favorite variation: chocolate! To turn this into a rich chocolate frosting, you need to be careful. Don’t just dump in cocoa powder; it’s far too drying for this American style. Instead, let your mixer incorporate the vanilla and 1/4 cup of sifted cocoa powder first.
Then, you’ll likely need an extra tablespoon of heavy cream to stay at the right consistency because cocoa absorbs moisture. Beat it until it’s smooth and deeply colored. That intense chocolate flavor is incredible, and the texture stays just as fluffy as the plain **vanilla buttercream**!
Frequently Asked Questions About Making Vanilla Buttercream
I know when you’re staring at a bowl of sugar and butter, a million little “what ifs” can pop into your head! That’s totally normal when you’re chasing the perfect **vanilla buttercream**. I’ve pulled together the most common things people ask me when they are trying to nail this **easy homemade frosting** recipe!
1. Can I use salted butter instead of unsalted butter?
Oh, this is a classic question! Yes, you *can* use salted butter, but you absolutely have to adjust the salt measurement we added. Unsalted butter is best because it lets you control the total sodium content, which really impacts the taste, especially in something this sweet.
If you only have salted butter, leave out the 1/4 teaspoon of salt we added in Step 4 of the recipe. Then, taste the frosting once it’s fully whipped. If it still feels like it needs a little something—a flavor brightener, I call it—add a tiny pinch of salt, maybe 1/8 teaspoon, and mix it in well. Most salted butters are fairly salty, so skipping the added salt entirely is usually the right call for this **vanilla buttercream**.
2. How do I prevent my vanilla buttercream from being too sweet?
American Buttercream, bless its heart, is famous for being sweet because it’s mostly powdered sugar. If you’re sensitive to that intense sweetness, I have two main tricks up my sleeve for this **sweet vanilla topping** that keep it from tasting like pure sugar.
First, use high-quality vanilla extract (like we talked about)! Pure vanilla has deeper, more complex notes that fight back against the sugar, balancing the flavor profile. Second, make sure your butter is perfectly room temperature, not cold. When the butter is fluffy (thanks to our long whipping time!), the sugar seems to dissolve more seamlessly, making the overall taste smoother rather than sharp and saccharine.
If you still want to cut the sweetness, some people like to add a tiny squeeze—like just a quarter teaspoon—of lemon juice right at the end with the vanilla. It won’t make it taste like lemon, but it adds a little acidic punch to balance everything out! It’s a total game-changer for a less sweet profile.
3. Can I easily color this vanilla buttercream?
This is such a fun question, and the answer is a big YES! This **vanilla buttercream** is an amazing canvas for color because it starts off bright white, which means your colors will be vibrant. However, you want to use gel food coloring, not the liquid grocery store kind.
Liquid coloring adds unwanted moisture, and we worked really hard to get that perfect, stable consistency! A small toothpick dip into gel coloring goes a long way. Add your color right after you add the vanilla and salt (Step 4), before you add the final liquid in Step 5. This way, if you need an extra splash of cream later to thin it out, you don’t accidentally dilute your beautiful color.
If you’re looking for natural colors or want to see some great decorating inspiration, have a look at my guide for easy homemade frosting ideas on the site, which goes into depth about those color additions!
4. My frosting isn’t stiff enough for complex piping designs—what do I do now?
If you need more structure for those really detailed **vanilla decorating frosting** designs, you need to treat it like a stiffening challenge! If you followed Step 6 and gave it that final 3-5 minute beat, and it’s still too soft, it usually means you added too much liquid early on.
The fix is simple, but patience is needed! Start by adding 1/4 cup of sifted powdered sugar. Mix it in on low speed until it’s incorporated, then beat it again on medium speed for a minute. If it’s still too soft for the nozzle you are using, add another 1/4 cup. Keep adding small amounts until it feels firm enough to hold a sharp edge. This is how we get that gorgeous **bakery style vanilla frosting**!
Nutritional Estimates for This Sweet Vanilla Topping
Okay, let’s take a quick peek at the numbers, because even though this **vanilla buttercream** tastes like pure joy, it’s good to know what we’re working with! Remember, since we are dealing with butter and sugar, these figures are just general estimates. Your actual numbers might shift around a little bit depending on the exact brand of butter you use or how much cream you needed to thin it out. Treats are all about balance, right? But for a standard serving size, here’s what you can usually expect from this delightful **sweet vanilla topping**.
Here is the breakdown for a typical 1/4 cup serving size:
- Calories: 350
- Sugar: 55g (Yep, it’s a treat!)
- Sodium: 50mg
- Fat: 15g
- Saturated Fat: 9g
- Trans Fat: 0g
- Carbohydrates: 55g
- Protein: 1g
See that zero in the Trans Fat column? That’s because we stick to real butter and avoid all those nasty shortcuts! That’s non-negotiable in my kitchen. This is a richer frosting, not something you’ll be eating by the spoonful every day, but when you use it to finish off a perfect cake, it’s worth every bit of that wonderful sweetness!
PrintThe Ultimate Fluffy & Stable Vanilla American Buttercream Frosting
This recipe provides instructions for making a classic American vanilla buttercream that is light, fluffy, creamy, and stable enough for piping and decorating cakes and cupcakes.
- Prep Time: 15 min
- Cook Time: 0 min
- Total Time: 15 min
- Yield: About 5 cups
- Category: Dessert Topping
- Method: Mixing
- Cuisine: American
- Diet: Vegetarian
Ingredients
- 1 cup unsalted butter, softened to room temperature
- 4 cups powdered sugar, sifted
- 1 teaspoon pure vanilla extract
- 1/4 teaspoon salt
- 2 to 4 tablespoons heavy cream or milk
Instructions
- Place the softened butter in the bowl of a stand mixer fitted with the paddle attachment. Beat the butter on medium speed until it is smooth and creamy, about 2 minutes. Scrape down the sides of the bowl.
- Gradually add the sifted powdered sugar, one cup at a time, mixing on low speed until incorporated after each addition.
- Once all the sugar is added, increase the speed to medium-high and beat for 3 minutes until the mixture is light and fluffy. Scrape down the sides again.
- Add the vanilla extract and salt. Beat for 1 minute to combine.
- Add the heavy cream or milk, one tablespoon at a time, beating well after each addition until you reach your desired consistency. For piping, use less liquid (2 tablespoons). For spreading, you may need up to 4 tablespoons.
- Beat the frosting on medium-high speed for an additional 3 to 5 minutes. This extended beating time incorporates air, making the buttercream very fluffy and stable.
- Use immediately for frosting cakes, cupcakes, or cookies.
Notes
- For the best texture, ensure your butter is truly softened but not melted. It should yield slightly when pressed.
- If the frosting seems too stiff after adding the liquid, continue beating for a few extra minutes; the air incorporation often lightens it significantly.
- If the frosting is too soft, add powdered sugar 1/4 cup at a time until firm enough for piping.
- If the frosting appears grainy, beat it longer on medium-high speed to dissolve the sugar crystals.
Nutrition
- Serving Size: 1/4 cup
- Calories: 350
- Sugar: 55
- Sodium: 50
- Fat: 15
- Saturated Fat: 9
- Unsaturated Fat: 6
- Trans Fat: 0
- Carbohydrates: 55
- Fiber: 0
- Protein: 1
- Cholesterol: 45