

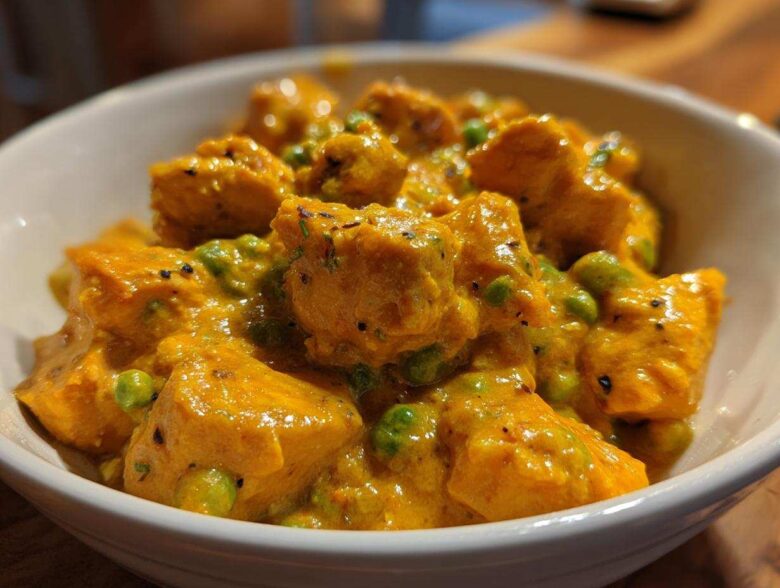
If you’re anything like me, those Tuesday nights demand flavor, but nobody has time for an hour of simmering on the stovetop, right? I totally get it! That’s why figuring out the Instant Pot Creamy Coconut Chicken Curry was a game-changer for my busy family. Seriously, this recipe makes this decadent, rich coconut chicken curry in record time, all thanks to the magic of pressure cooking. Trust me, mastering a quick curry that doesn’t feel like a compromise took some testing, but this version delivers that unbelievable, velvety sauce you dream about, and it’s all done in one pot. You won’t believe how fast you get dinner on the table!
Why This Instant Pot Creamy Coconut Chicken Curry Works So Well
Listen, making a rich, restaurant-quality curry traditionally means standing over the stove, stirring curry paste until your arm aches, trying to coax those deep, complex flavors out slowly. Who has that kind of time on a Wednesday?
That’s where the Instant Pot saves the day for this Easy Electric Pressure Cooker Curry. The pressure locks in flavor incredibly fast, forcing the aromatics and spices deep into the chicken pieces almost instantly. It turns what used to be an hour-long simmer into a total hands-off experience. It truly turns into the ultimate One Pot Chicken Curry Dinner. I rarely bother with massive ingredient lists now because the pot does all the heavy lifting!
Achieving the Perfect Creamy Coconut Chicken Recipe Texture
The biggest fear people have with coconut milk in pressure cookers is that it splits or curdles when rapidly heated or stirred aggressively. Not here! The secret to the perfect Creamy Coconut Chicken Recipe texture is twofold: you need that glorious full-fat can, and you absolutely must layer it correctly.
We put the broth, chicken, and flavorings on the bottom, and then we gently pour the thick coconut milk right over the top *without* stirring before we seal it. Pressure cooking gently heats that top layer, allowing the flavors to meld without aggressively breaking the milk fats. When you open it up and stir at the very end, boom—velvety perfection, no graininess whatsoever!
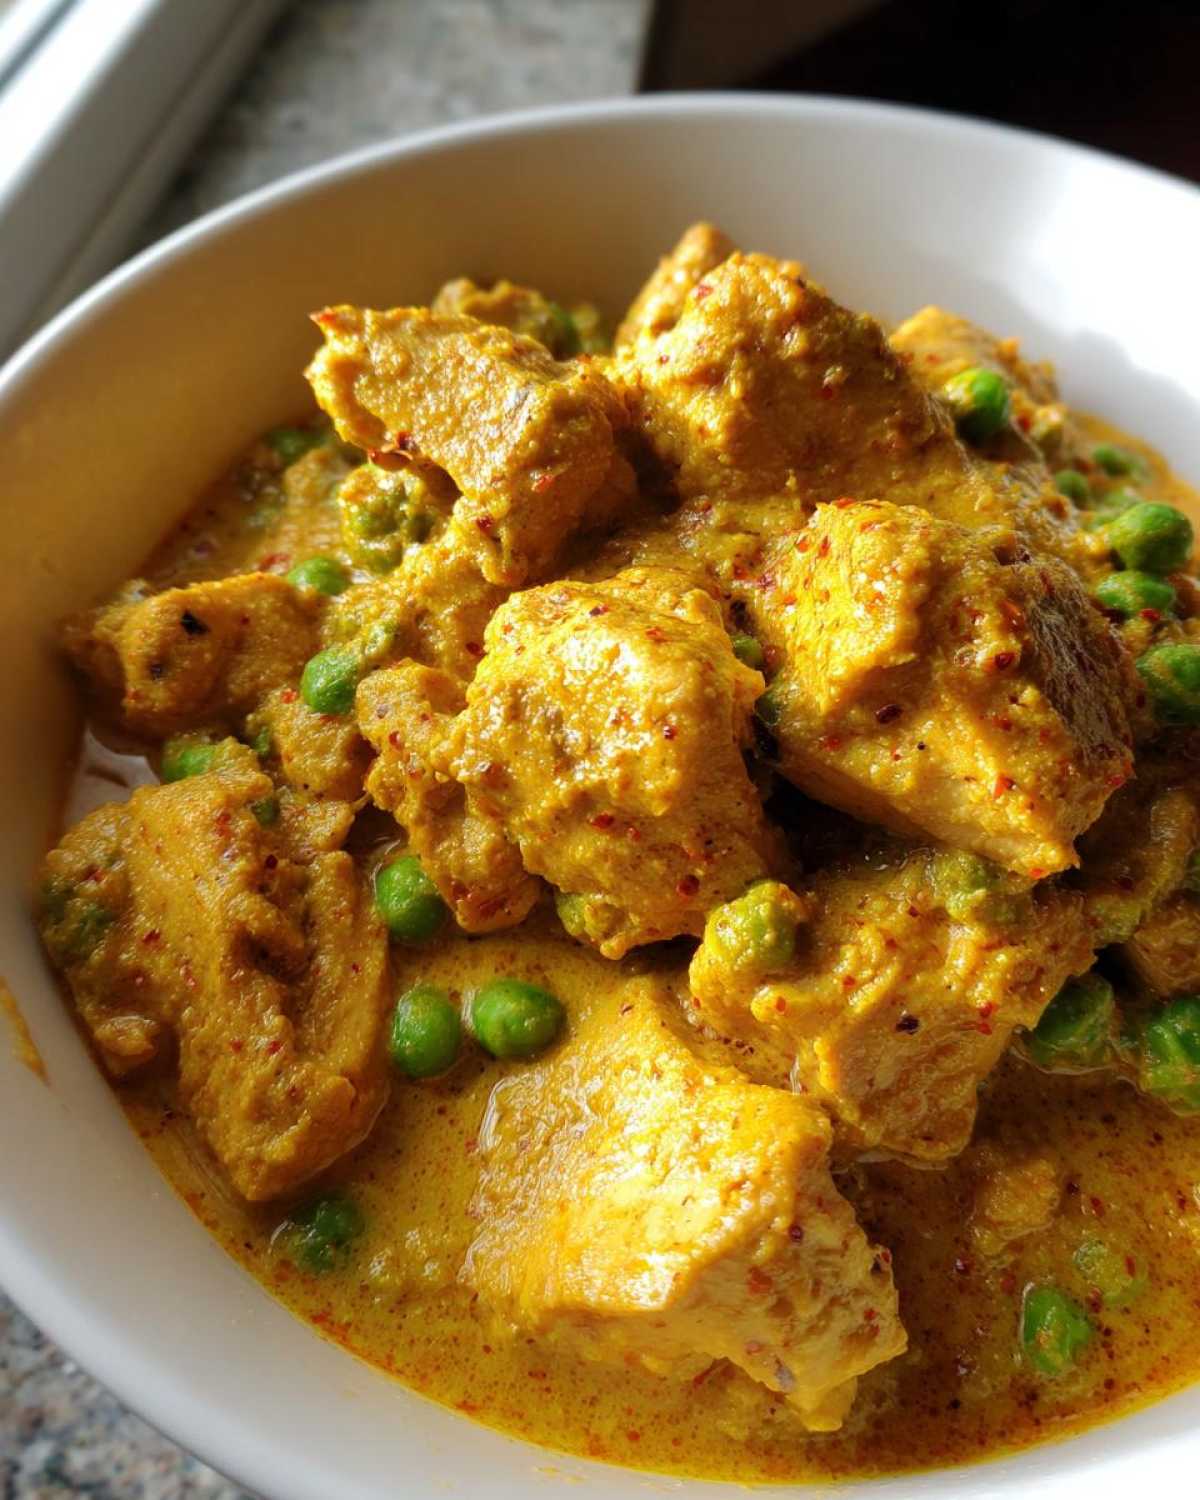
Gathering Ingredients for Instant Pot Creamy Coconut Chicken Curry
Okay, let’s talk shopping! Because this is a quick meal, we want to make sure we have everything prepped so we can move fast when it’s time to cook. I promise, unlike some fancy curry recipes, the list here is totally doable for a weeknight run to the store. We are relying heavily on classic pantry staples bolstered by fresh aromatics!
Here’s exactly what you need to grab to make this simple Instant Pot Creamy Coconut Chicken Curry sing. Make sure that coconut milk is the full-fat kind—that’s non-negotiable for the creaminess we are aiming for. When you chop the chicken, aim for nice, uniform 1-inch pieces so they cook evenly. And please, grate that fresh ginger; the pre-minced stuff just doesn’t have the same punch!
- 1.5 lbs boneless, skinless chicken breasts or thighs, cut into 1-inch pieces
- 1 tablespoon coconut oil
- 1 large yellow onion, chopped
- 3 cloves garlic, minced
- 1 tablespoon fresh ginger, grated
- 2 tablespoons red curry paste (or to taste)
- 1 teaspoon ground turmeric
- 1 teaspoon ground cumin
- 1 (13.5 oz) can full-fat coconut milk
- 1 cup chicken broth
- 1 tablespoon fish sauce
- 1 teaspoon brown sugar
- 1/2 teaspoon salt (or to taste)
- 1 cup frozen peas
- 1/4 cup fresh cilantro, chopped (for garnish)
- Juice of 1/2 lime
Step-by-Step Instructions for Instant Pot Creamy Coconut Chicken Curry
Alright, now for the fun part! This is where the Instant Pot shines, turning a few simple additions into a fabulous Quick Coconut Milk Chicken dinner in under 30 minutes total. The key here is paying attention during the Sauté phase so we don’t scare the machine into giving us that dreaded ‘Burn’ notice. Don’t worry; I’ll show you exactly how to avoid it!
Sautéing Aromatics and Building the Curry Base
First things first, set your Instant Pot right onto Sauté mode—medium heat is usually perfect. Toss in the coconut oil and let it get nice and shimmering. Chop your onion and get it in there first. You want about three minutes for it to soften up just a little. That’s when you drop in your fresh garlic and ginger. These cook fast, so only let them hang out for about 60 seconds until the whole kitchen smells absolutely divine!
Next, we bloom the spices! Add your red curry paste, turmeric, and cumin right into that oily, aromatic mix. You need to stir this combo constantly for a full minute. This step is crucial; it toasts the spices and deepens the flavor of the curry paste immensely. It’s like waking up all the flavor potential!
Pressure Cooking the Instant Pot Creamy Coconut Chicken Curry
Time to de-glaze! Pour in the chicken broth and take a wooden spoon and scrape up every little browned bit stuck to the bottom—that’s flavor gold, and it keeps the pot happy. Now, add in your chicken pieces, the fish sauce, brown sugar, and salt.
Here comes the big secret for our creamy sauce: Pour that entire can of full-fat coconut milk right over the top of the chicken mixture. Do not stir it in! We are layering, not mixing yet. Seal the lid, make sure the vent is set to Sealing, and forget about it for 6 minutes on High Pressure. After the 6 minutes are up, let it rest for a 5-minute Natural Pressure Release (NPR). Then, carefully switch the valve to Venting to knock out the rest of that steam.
Finishing Touches and Achieving Final Creaminess
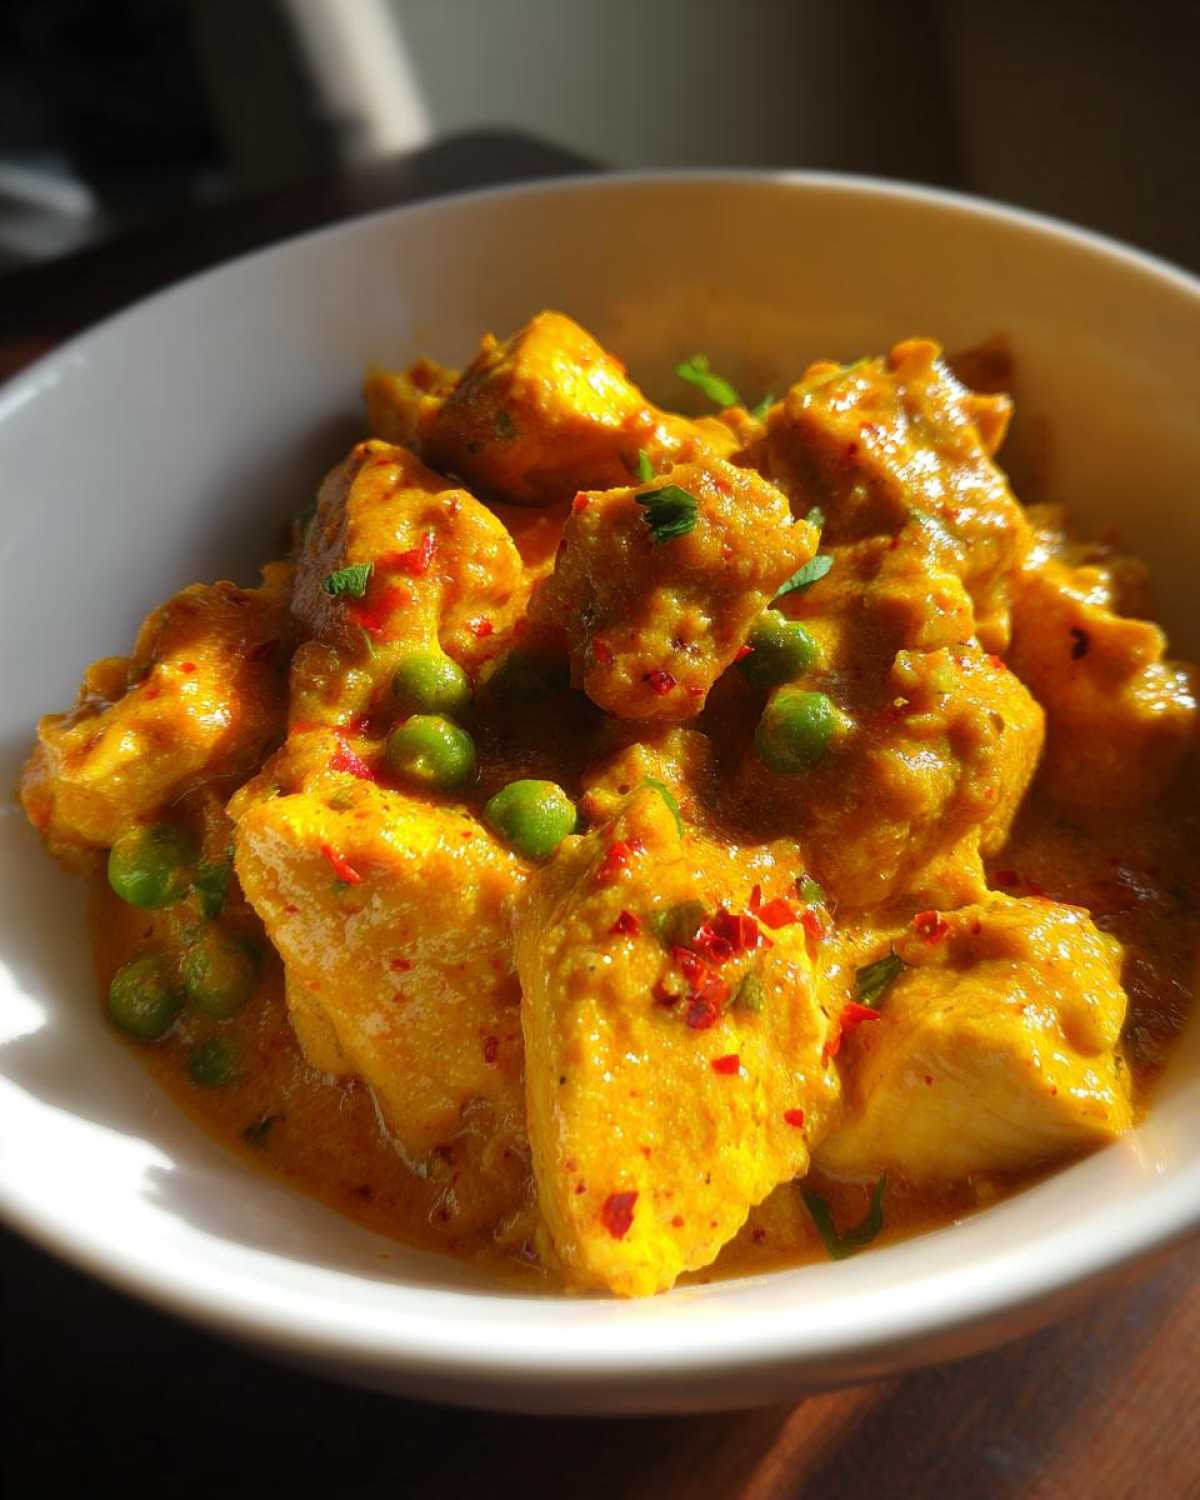
Listen for that hiss, and carefully open the lid. Aren’t you amazed at how everything looks? Now, with your pot still off (or on the Keep Warm setting), give everything a really enthusiastic stir. This is when the magic happens, and your broth mixes with that creamy coconut layer to form a rich, beautiful sauce.
Toss in your frozen peas and the fresh lime juice. The residual heat is plenty to warm those peas right up in about two minutes. That lime juice just brightens everything up beautifully! Dish it out, top with cilantro, and dinner is served. See? Super easy!
Expert Tips for the Best Instant Pot Chicken Curry
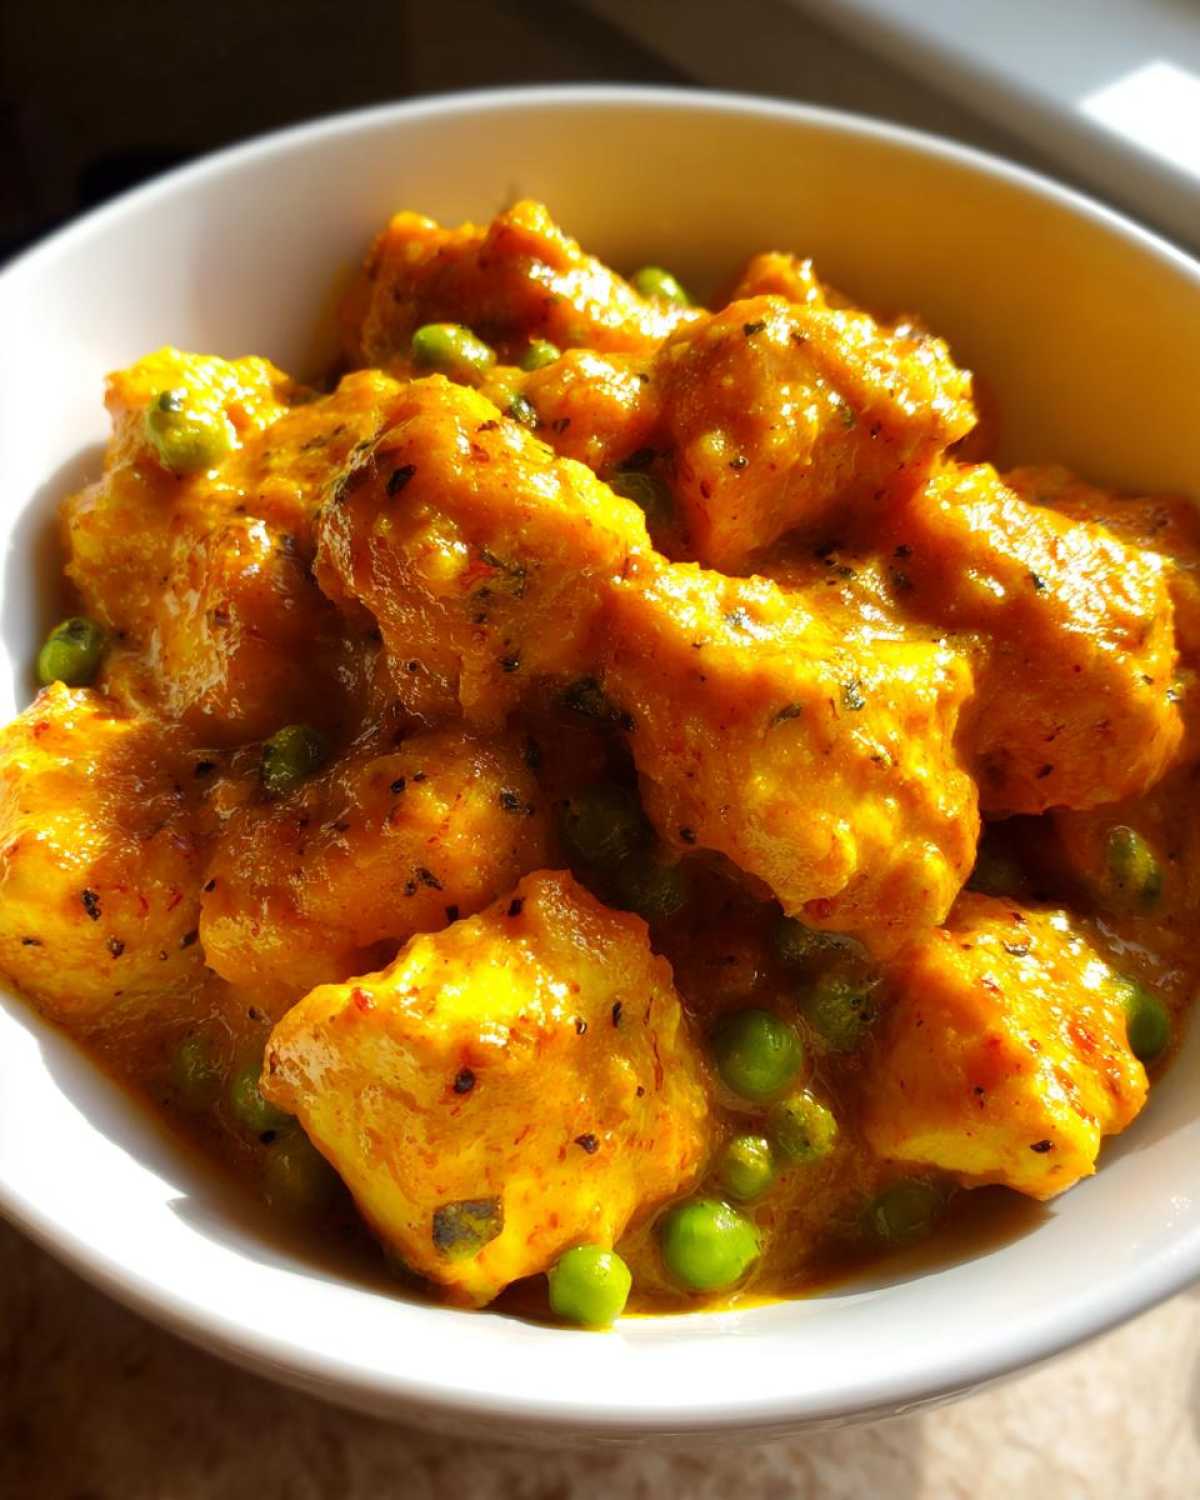
I’ve made this recipe dozens of times—for hurried weeknights, for unexpected company, and just because I needed that comfort food fix. Over time, I’ve picked up a few little tricks that elevate this from good to one of the Best Instant Pot Curry Recipes you’ll ever try, hands down.
Don’t let the pressure cooker intimidate you into skipping the final touches. Those few minutes after the pressure releases are crucial for tailoring the dish exactly to your taste. This is how you get maximum flavor payoff!
If you like your sauce a little thicker than soup, you absolutely have to try the reduction step I mentioned in the notes. Once pressure cooking is done and you’ve stirred everything together, switch your Instant Pot back to Sauté mode, but keep it on LOW, and let it bubble gently, uncovered, for maybe three to five minutes. I mean, watch it closely because it goes from perfect to thick paste fast! That gentle simmer evaporates just enough liquid to make the sauce coat the back of your spoon beautifully without affecting the creaminess.
Also, let’s talk chicken choices. While the recipe calls for breasts because they cook super fast, I always prefer thighs—they just stay juicier under pressure, which is a lifesaver. If you swap in thighs, they like a little extra loving. Just bump that pressure cook time up by one minute. So instead of 6 minutes, go for 7 minutes on High Pressure. You still get the speed, but the texture is always spot-on tender.
Lastly, a little trick for flavor depth I’ve learned from many Indian cooking books: if you have an extra 30 seconds, take a tiny pinch of sugar (I use the brown sugar already listed) and let it just sizzle for about 10 seconds right in the oil *before* the onions go in. It adds a really subtle caramelized base note that makes people ask what secret ingredient you added. Shhh, it’s our little secret!
Ingredient Notes and Substitutions for Your Creamy Coconut Chicken Recipe
I think the most important thing about any Creamy Coconut Chicken Recipe is respecting the fat content, especially in a pressure cooker situation. That full-fat coconut milk isn’t just there for flavor; it’s purely structural! If you try to use the light kind just to save a few calories, you are going to end up with watery curry. The fat content is what keeps the sauce emulsified and rich, even when it’s rapidly heated and then released. Trust me on this one—buy the full-fat can, and thank me later when your sauce is thick enough to eat with a fork!
Since this recipe is naturally built around coconut milk, it hits that sweet spot for being a fantastic Dairy Free Chicken Curry option right out of the box. We aren’t using any heavy cream or yogurt here, which is wonderful for folks with dairy concerns!
Now, let’s talk spice adjustment. That 2 tablespoons of red curry paste is my sweet spot for medium heat—it gives body and flavor without making you sweat. If you are sensitive to spice, maybe start with just one tablespoon. You can always add more heat later, but you can’t take it out once it’s been pressure cooked in there! On the flip side, if you like it fiery, go ahead and use 3 full tablespoons, or mix in a teaspoon of chili flakes right with your other dry spices.
As for the broth, chicken broth is standard, but if you need to keep this strictly dairy-free or want a deeper flavor, switching to vegetable broth works just fine. You won’t notice a huge difference since the coconut milk and curry paste dominate the flavor profile anyway. Just make sure whatever you use is low sodium so you can control the final salt level after the fish sauce goes in.
Serving Suggestions for This Thai Style Chicken Curry Instant Pot Meal
So, you’ve got this incredibly flavorful, rich, and creamy sauce—that’s the best part of the Thai Style Chicken Curry Instant Pot experience, right? Now you have to decide how to present it! The sauce is so amazing you’ll want something perfect underneath to soak up every last drop, but you don’t want to pull focus from that gorgeous coconut flavor.
My absolute go-to, the classic winner, has to be Jasmine rice. It’s slightly sweet, smells incredible when it’s steaming hot, and perfectly absorbs the sauce without getting mushy. I usually cook a fresh batch right while the Instant Pot is in its Natural Pressure Release phase so everything finishes at the same time. You end up with that gorgeous contrast between the fluffy rice mounds and the beautifully sauced chicken nesting on top.
But sometimes, I’m feeling a bit more rustic, or maybe I’ve already eaten a ton of carbs that week! In those cases, I bring out warm, fluffy naan bread. There is no greater joy than tearing off a piece of naan and using it almost like a spoon to scoop up the chicken, peas, and that luxurious sauce. It feels so comforting! If you want to keep it lighter, especially if you’re pairing this with that leftover rice, honestly, steam some cauliflower florets until they are just tender, and toss them right into the bowl with the curry poured over. It captures the sauce just as well, but keeps the meal feeling much brighter.
And don’t forget the garnish contrast! A generous sprinkle of that fresh cilantro we saved, plus maybe a few extra wedges of lime on the side, gives you that necessary fresh, acidic lift right before you dive in. It just cuts through the richness perfectly!
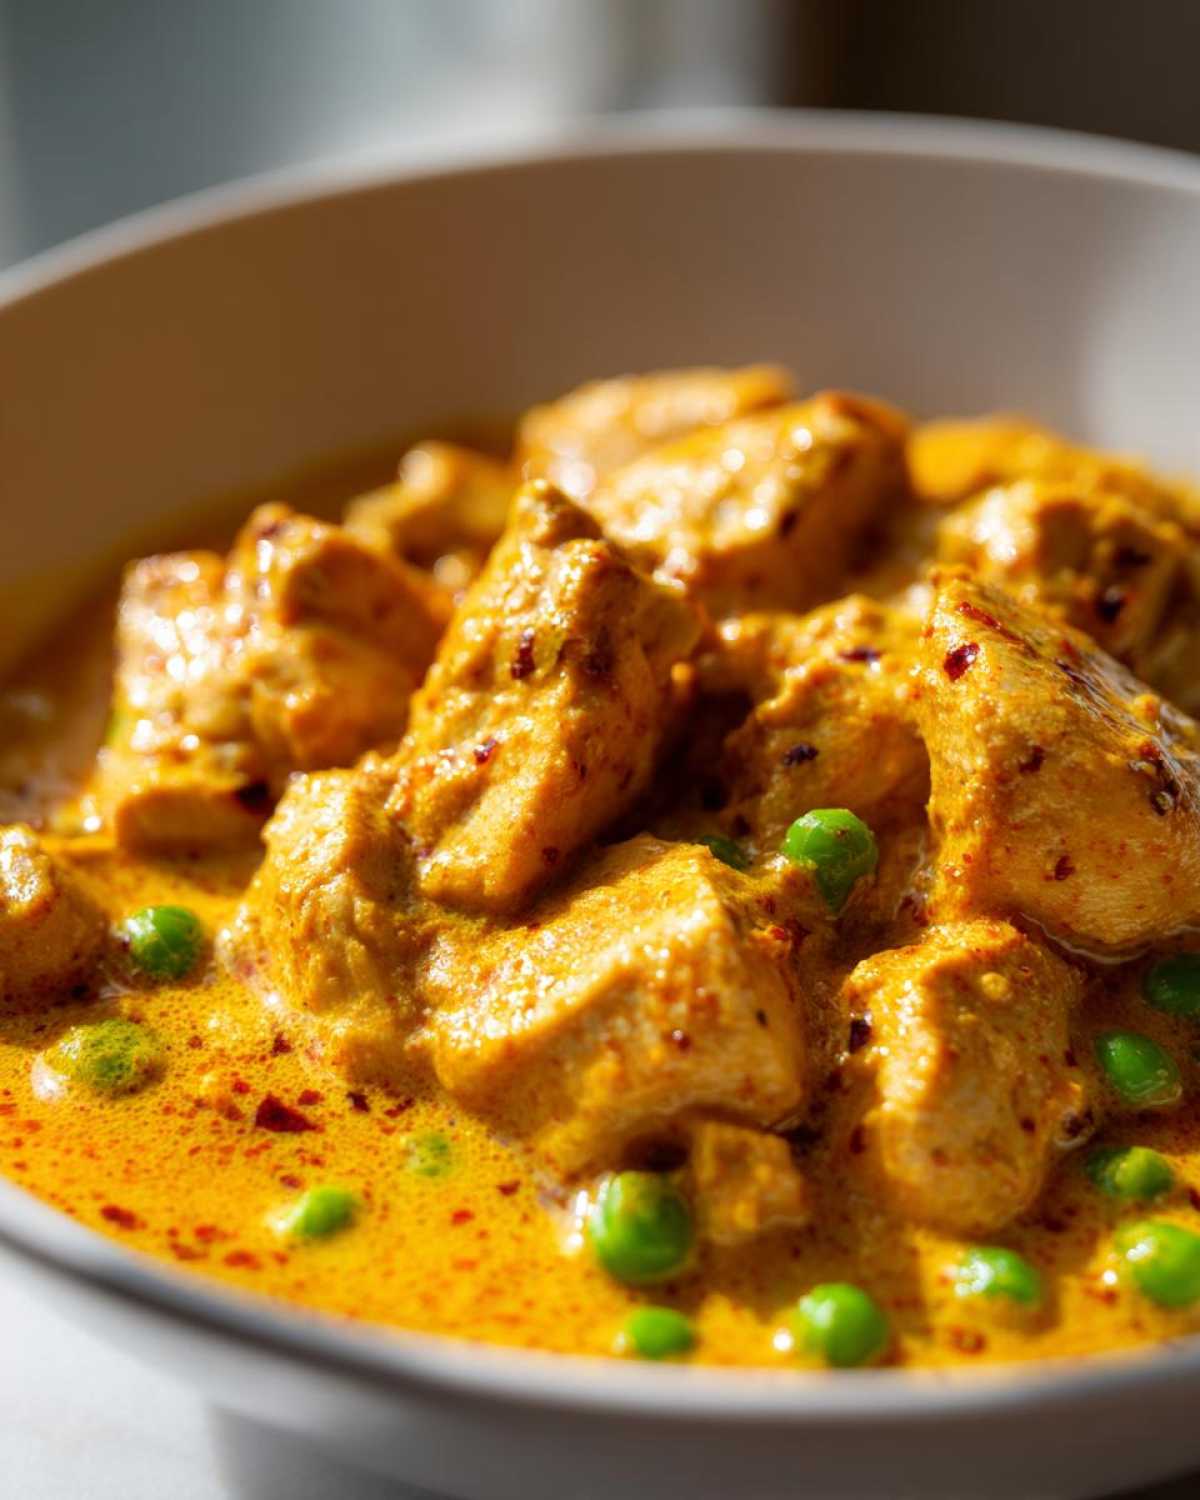
Storage and Reheating Instructions for Leftover Instant Pot Curry
Okay, so you survived dinner, but you were smart enough to make this glorious Instant Pot Curry recipe double batch—good job! Or maybe you just have leftovers, which, let’s be honest, often taste even better the next day once those spices have truly had time to marry. Dealing with leftovers from coconut-based dishes can sometimes be tricky, but this one holds up beautifully if you follow a couple of simple rules.
The number one thing you must do is cool that curry down quickly! Don’t just seal up that hot pot of curry and shove it into the fridge. It needs to cool relatively quickly to stay safe and keep its quality. I usually transfer the leftovers into wide, shallow glass containers instead of using one giant deep one. This helps it chill down in the fridge much faster.
Keep it in the refrigerator in a tightly sealed, airtight container. Honestly, this Instant Pot Chicken Curry is usually fantastic for up to three days. If you push it, maybe four, but I find the flavors are best enjoyed within 72 hours.
Now, for the reheating part—this is where you protect the texture!
Do NOT microwave this on high heat or try to blast it on the stovetop. High, sudden heat is what causes that beautiful creaminess to seize up and potentially split your coconut sauce. We want gentle heat, exactly like we cook pancakes on low!
Take the amount you want to eat and put it into a small saucepan over medium-low heat. As it starts to warm up, stir it constantly. If it looks a little thick for your liking—and sometimes after refrigeration, it firms up more than you expect—just splash in a teaspoon or two of plain water or extra chicken broth. It’ll loosen right up without watering down the flavor profile because you’re only adding a tiny bit!
If you absolutely *must* use the microwave, heat it in 30-second bursts on 50% power, stirring really well after every burst until it’s steaming hot all the way through. Slow and steady wins the curry race, trust me!
Frequently Asked Questions About Making This Quick Coconut Milk Chicken
I know you guys are going to have questions once you start whipping up this fantastic Weeknight Coconut Curry! That’s the sign of a great recipe—it makes you think about how to customize it. I’ve pulled together the three questions I seem to get asked most often about using the pressure cooker for this specific dish.
Can I use light coconut milk instead of full-fat in this Instant Pot Creamy Coconut Chicken Curry?
Oh, I really, really advise against it if you want the result promised in this post! Remember how we talked about structure? Full-fat coconut milk has the necessary fat content to remain smooth and creamy when it’s rapidly cooked under pressure. If you use the light version, you’re basically adding mostly water, and what you’ll end up with after the 6 minutes is a thin, somewhat separated broth that just doesn’t have that luxurious, thick coat-the-chicken texture we are after. If you’re making a Creamy Coconut Chicken Recipe, you need the real deal!
What if my Instant Pot gives me a ‘Burn’ warning?
Ugh, the dreaded Burn notice! Don’t let it stress you out; it’s almost always user error, and it’s totally fixable. This usually happens because you didn’t scrape the bottom well enough after sautéing the aromatics and spices—any little speck of cooked onion or spice clinging to the metal pan acts like a hot spot and tells the sensor, “Hey, something is scorching here!”
If you get that warning light, first turn the pot off immediately. If the seal is still intact, you can cancel the cook cycle and just let it come down naturally. If the food seems okay (not actually burnt), you can carefully try to release the pressure, but if it’s really stuck, you might have to do a manual quick release. Next time, promise me you’ll scrape that bottom until it’s sparkling clean! If the sauce looks a little sad, just switch back to Sauté mode when you open it up and simmer it down gently to thicken it back up.
Estimated Nutritional Data for Instant Pot Creamy Coconut Chicken Curry
I always like to give you guys a general idea of what you’re whipping up here, especially since we’re aiming for delicious but also somewhat balanced weeknight eats! This Instant Pot Creamy Coconut Chicken Curry is genuinely loaded with protein thanks to all that chicken, and while we use full-fat coconut milk for creaminess (which means some saturated fat), the whole dish stays really satisfying.
Here’s the breakdown based on one serving from the recipe yielding four portions. Just remember, this is an estimate! If you use leaner chicken breasts or go lighter on the fish sauce, those numbers might shift a bit. Also, if you serve it over a mountain of jasmine rice, you’ll want to add the rice nutrition into your personal tally!
- Calories: 450
- Protein: 40g
- Fat: 25g (of which Saturated Fat is 18g)
- Carbohydrates: 15g
- Fiber: 3g
- Sugar: 6g
- Sodium: 550mg
- Cholesterol: 120mg
The great thing is we’ve kept the added sugar really low with just that tiny teaspoon of brown sugar to balance the spice. You’ll notice this recipe is naturally quite low in carbs, but if you use cauliflower rice instead of actual rice beneath it, you’re looking at a super light, but incredibly satisfying meal!
PrintInstant Pot Creamy Coconut Chicken Curry

Make a rich, creamy coconut chicken curry quickly using your Instant Pot. This recipe uses simple steps for a flavorful weeknight dinner.
- Prep Time: 10 min
- Cook Time: 15 min
- Total Time: 25 min
- Yield: 4 servings
- Category: Dinner
- Method: Pressure Cooking
- Cuisine: Thai-Inspired
- Diet: Low Fat
Ingredients
- 1.5 lbs boneless, skinless chicken breasts or thighs, cut into 1-inch pieces
- 1 tablespoon coconut oil
- 1 large yellow onion, chopped
- 3 cloves garlic, minced
- 1 tablespoon fresh ginger, grated
- 2 tablespoons red curry paste (or to taste)
- 1 teaspoon ground turmeric
- 1 teaspoon ground cumin
- 1 (13.5 oz) can full-fat coconut milk
- 1 cup chicken broth
- 1 tablespoon fish sauce
- 1 teaspoon brown sugar
- 1/2 teaspoon salt (or to taste)
- 1 cup frozen peas
- 1/4 cup fresh cilantro, chopped (for garnish)
- Juice of 1/2 lime
Instructions
- Set your Instant Pot to Sauté mode. Add coconut oil. When hot, add the chopped onion and cook until softened, about 3 minutes.
- Add the minced garlic and grated ginger. Cook for 1 minute until fragrant.
- Stir in the red curry paste, turmeric, and cumin. Cook for 1 minute, stirring constantly.
- Pour in the chicken broth and scrape the bottom of the pot to release any browned bits.
- Add the chicken pieces, full can of coconut milk, fish sauce, brown sugar, and salt. Do not stir after adding the coconut milk on top of the other ingredients.
- Secure the lid and set the vent to Sealing. Select Manual/Pressure Cook (High Pressure) for 6 minutes.
- When the cooking cycle finishes, allow a Natural Pressure Release (NPR) for 5 minutes, then carefully move the valve to Venting to release any remaining pressure.
- Open the lid. Stir the curry well to combine the creamy sauce.
- Stir in the frozen peas and lime juice. Let the residual heat warm the peas through, about 2 minutes.
- Serve immediately garnished with fresh cilantro.
Notes
- For a thicker sauce, remove the lid after the pressure release and set the Instant Pot to Sauté mode (low setting) for 3-5 minutes until the sauce reduces slightly.
- You can substitute chicken thighs for breasts; adjust the cooking time to 7 minutes on High Pressure if using thighs.
- Use store-bought curry paste for speed, but check the spice level before adding the full amount.
Nutrition
- Serving Size: 1 serving
- Calories: 450
- Sugar: 6
- Sodium: 550
- Fat: 25
- Saturated Fat: 18
- Unsaturated Fat: 7
- Trans Fat: 0
- Carbohydrates: 15
- Fiber: 3
- Protein: 40
- Cholesterol: 120